Offerings can be anything from free opt-in lead magnets, courses, memberships, teams, affiliate centers, and anything that needs to be protected behind your login area.
Here you'll learn how to create your offerings and pull everything into a cohesive client experience.
ARTICLE CONTENT:
Here’s What You’ll Need to Create a Course
1
Create Your Mockup
Before creating your courses or memberships with AccessAlly, draw out a mockup so that you have an idea how you want your content to look and feel.
2
Use the Offering Wizard Templates
The Offering wizard templates can help you set up the most common types of courses, memberships, and more. Or start from scratch to design things the way you want.
3
Add Additional Registration Forms
Create additional opt-in forms or paid order forms for your offering.
4
Link it all together with an automation
At this point, you have all the pieces set up. All that's left is linking them up so that everything happens automatically, from collecting payments to creating unique logins for each user. You'll make this happen with an automation inside your CRM system or via AccessAlly Emails.
5
View Your Dashboard
Once you've created your latest offering, visit the dashboard page of your site to ensure the offering icon is displayed.
How Content Works in Offerings
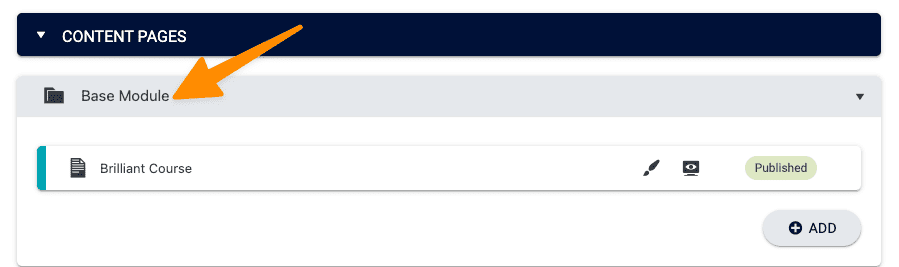
Base Module: Pages added to the base module are available immediately after purchase. When a new offering is created a single base page will be added to the module. It is important that this page be published and used as it controls the offering icon and sales page redirect for the offering.
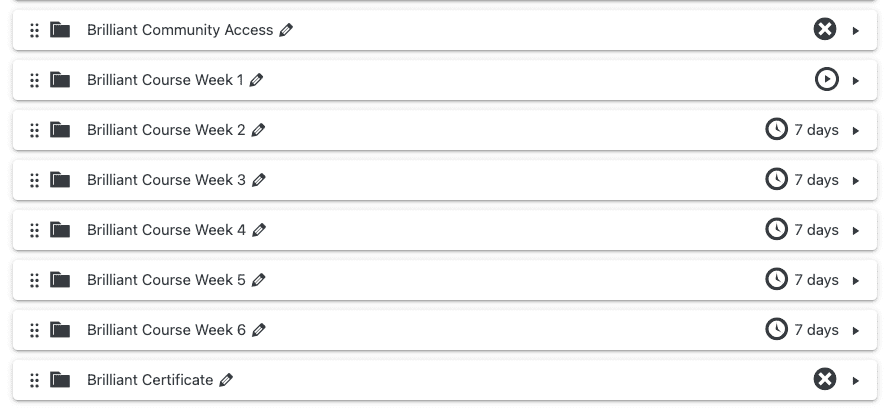
Additional Modules can be added to an offering to created dripped content.
The Different Ways to Sell an Offering
Take your offering and sell it multiple different ways. You can diversify and customize how you sell your content with Toggles, Order Bumps, 1-Click Upsells, Bundles & Promos.

