This guide walks you through using AccessAlly’s built-in email sending to automate invoices, share affiliate sale notifications, let users know when new modules are released, and so much more.
ARTICLE CONTENT:
Types of Emails You Can Send with AccessAlly
With AccessAlly’s email settings, you can automate the following email types:
- Invoices – this email sends an invoice email when a purchase (and/or recurring charge) is made
- Welcome emails – this email welcomes the user and can provide login details, set expectations, and more.
- Payment failed emails – this email sends automatically to a user when a recurring charge fails to process on their card.
- Renewal reminder emails – this email is sent before a subscription is about to renew, to remind people of an upcoming charge.
- Affiliate sale emails – this email notifies an affiliate when they’ve made an affiliate sale or when their current affiliate has made a recurring payment.
- Module release emails – this email notifies a participant that a new dripped module has been released.
Enable Admin Notifications
Click here to enable admin email notifications, for sales, invoices, failed payments, and cancellations.
Use Fluent SMTP to Deliver Your Emails
WordPress email sending does not typically boast of reliable deliverability. To ensure your AccessAlly Emails get delivered, while keeping them out of spam folders, we recommend Fluent SMTP.
Resource: Improving Email Deliverability Rates
Use Templates and Shared Blocks to Create On Brand Emails
Create the best user experience with Email Templates and Shared Blocks – click to see how!
Set Up Your Emails
Now, it’s time to choose what type of emails you’d like to send. Each type will include your company information and shared header/footer blocks.
- Invoice Emails
- Welcome Emails
- Payment Failed Emails
- Affiliate Sale Notification Emails
- Module Release Notification Emails
- Renewal Reminder Emails
AccessAlly Emails vs CRM Integrations
Using Webhooks with Integrated CRM Systems
If using an integrated CRM or 3rd party platform to take payments, you can use AccessAlly Emails – or create robust automations in your CRM system to release Offerings.
The webhook lets AccessAlly know to start the dripping process. Simply applying a tag to the contact will give them access, but not start the drip process.
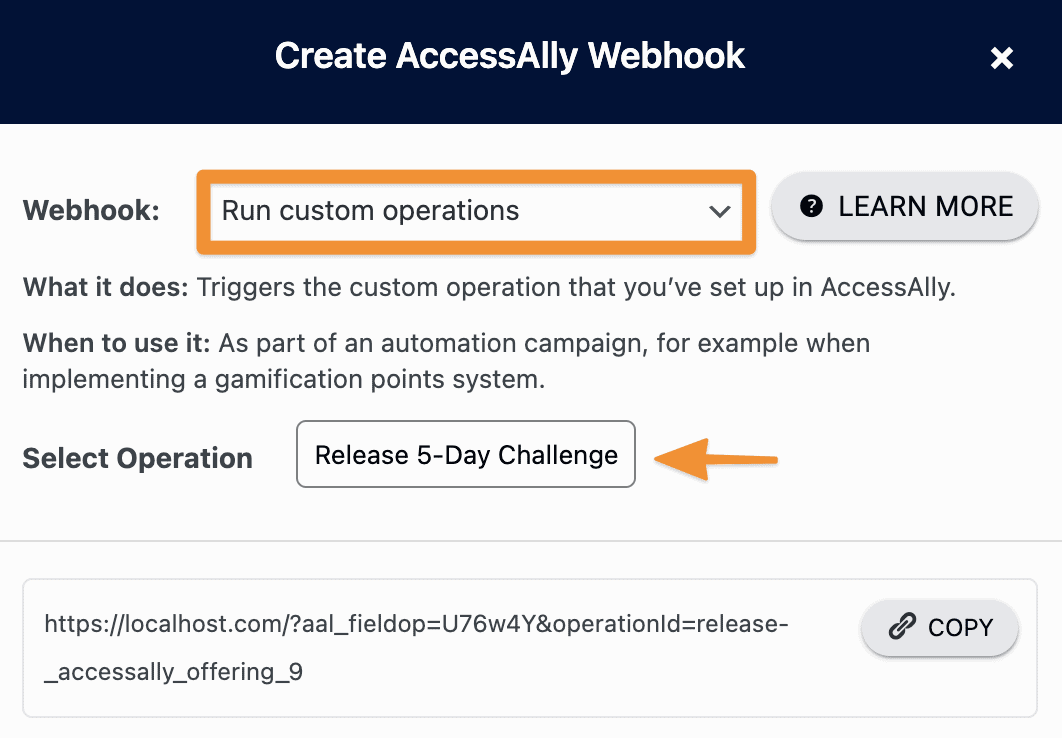
Use the Webhook generator, choose Custom Operations and select the “Release” for the offering in question.

Then run this webhook in your CRM to give access to members and enroll them in the dripped functionality, which includes release emails.
DMARC Requirements
As of February 2024, Gmail and Yahoo require DMARC for sending bulk emails at 5,000 emails per day. We recommend reaching out to your hosting company (if your business email address is through your hosting company) or your email service provider for steps to verify your domain and set up DMARC to use with AccessAlly Emails.
You may also find this article helpful.

