With the AccessAlly Pro private notes feature, you can create spaces for taking course notes, journaling, sharing PDF homework assignments, or with your 1:1 coaching clients to send replay links and coaching call notes.
ARTICLE CONTENT:
Creating Private Notes
You can add private notes to any page or post on your site. Each has a unique ID number to the page/post it is on, deleting one does not reuse or renumber it.
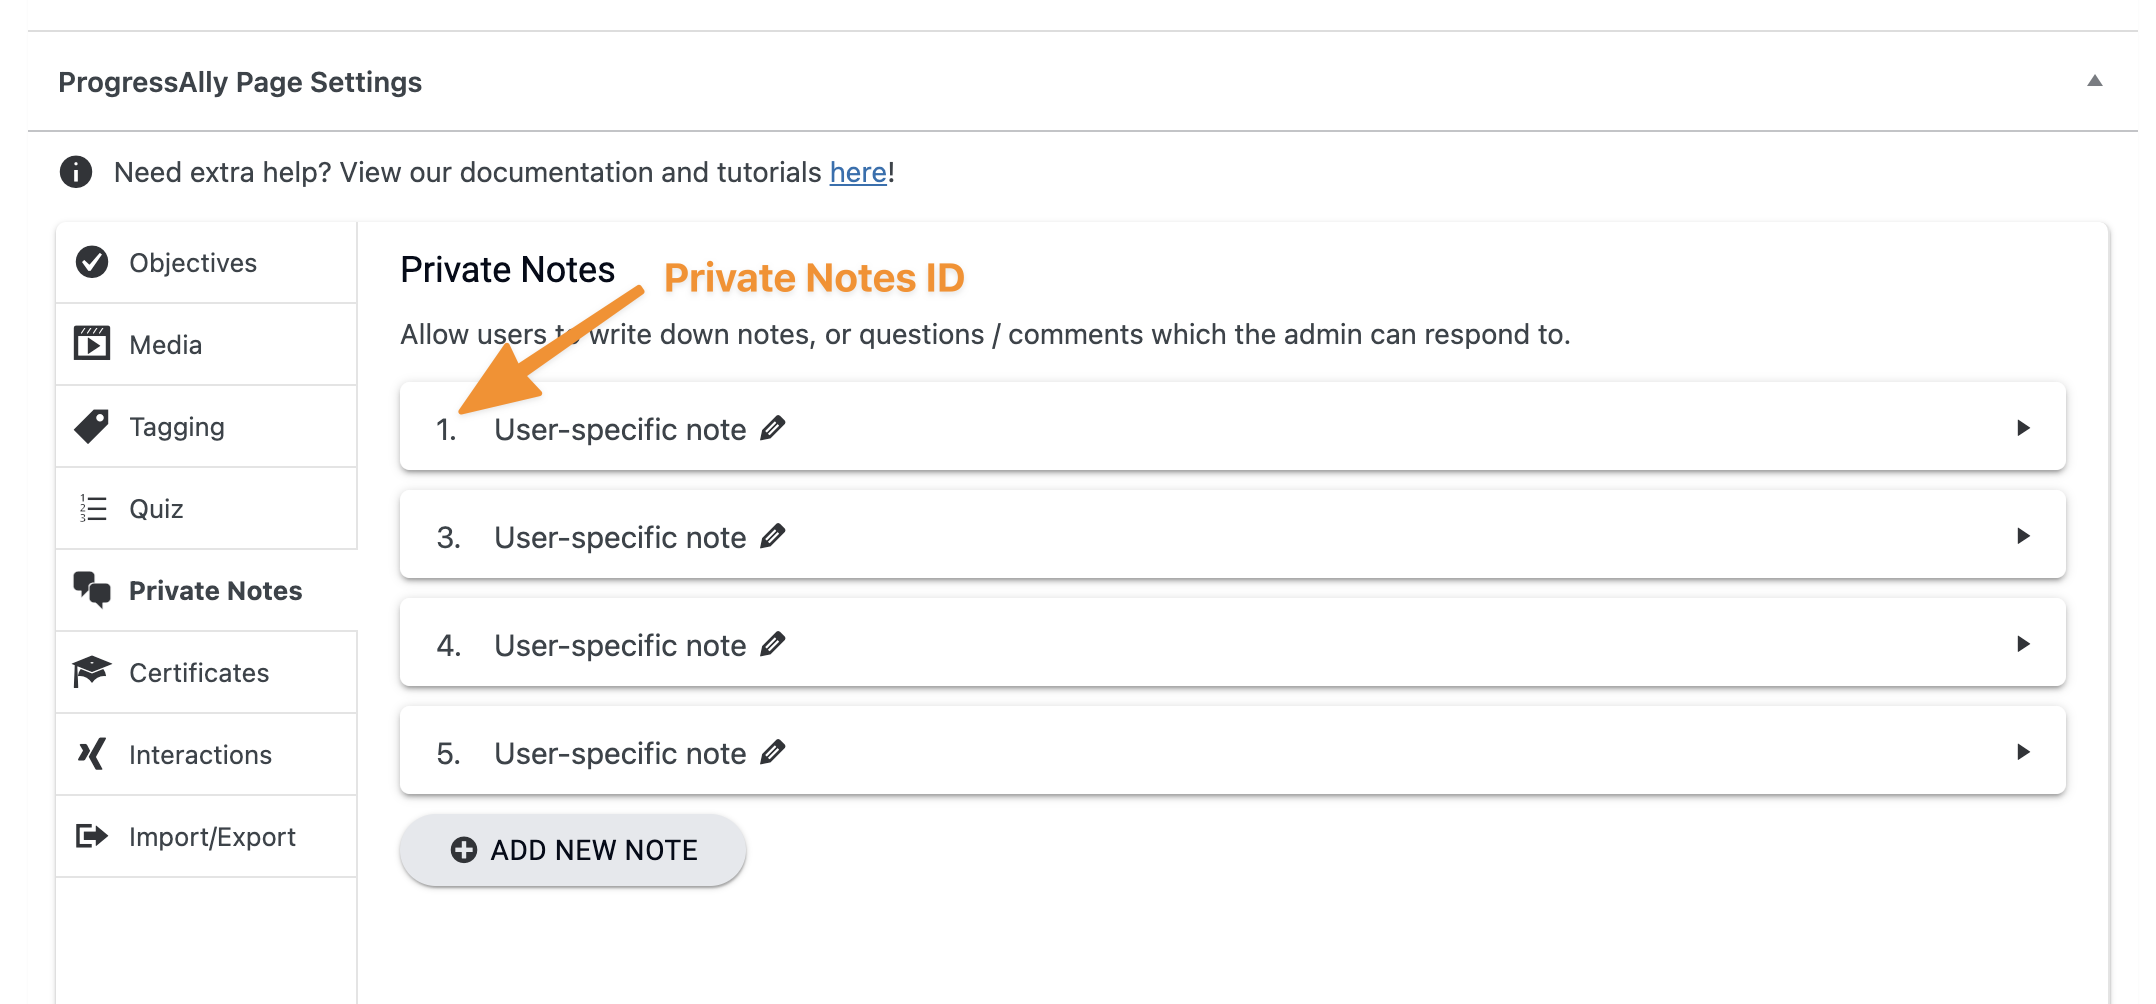
Private notes have two steps:
- Creating a note – Private Notes tab under ProgressAlly Page Settings
- Displaying a note – Use the AccessAlly Shortcode Generator to create the shortcode to paste on your WordPress page.
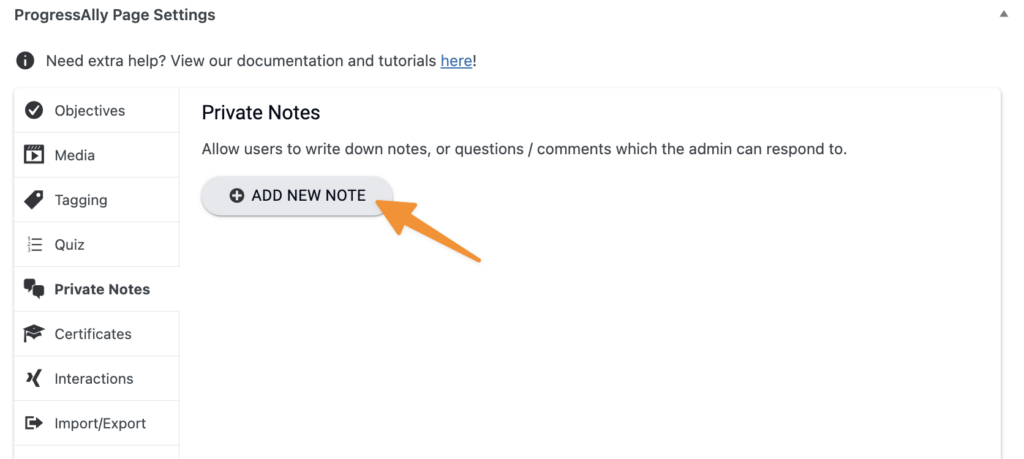
Creating a Note
Go to the page you’d like to add your Private Note, scroll to ProgressAlly Page Settings → Private Notes tab.
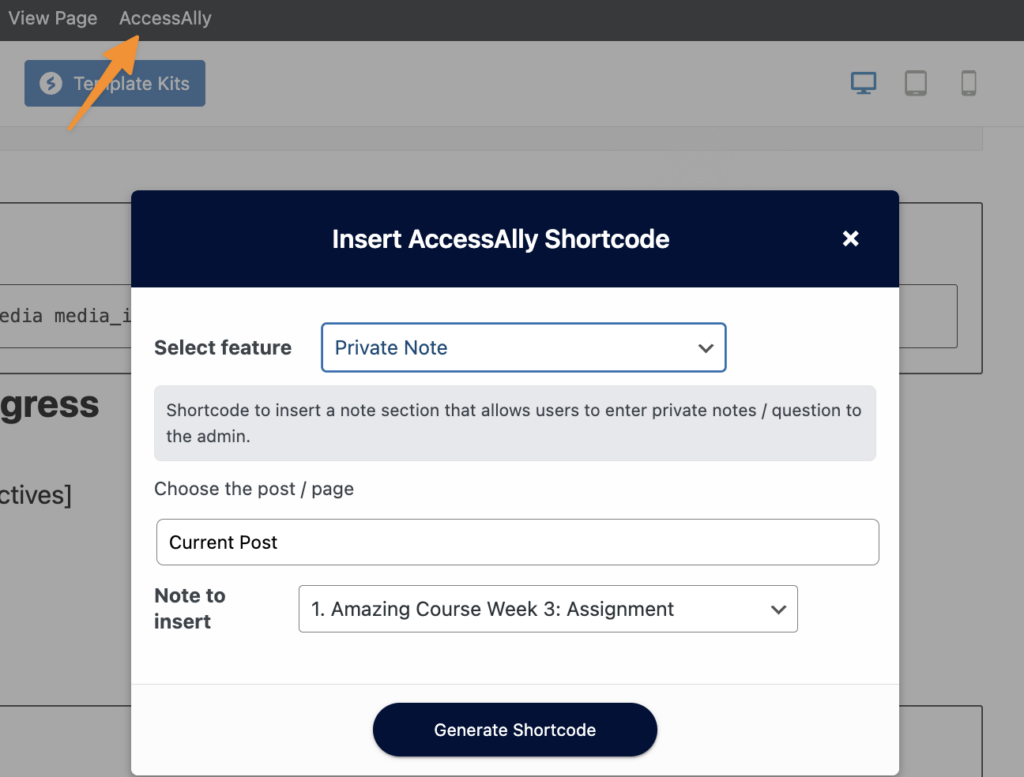
Displaying a Note
Add the note to the page with the AccessAlly Shortcode Generator. Paste the shortcode where you’d like your Private Note to appear on the page.
Types of Private Notes:
There are five options to choose from.
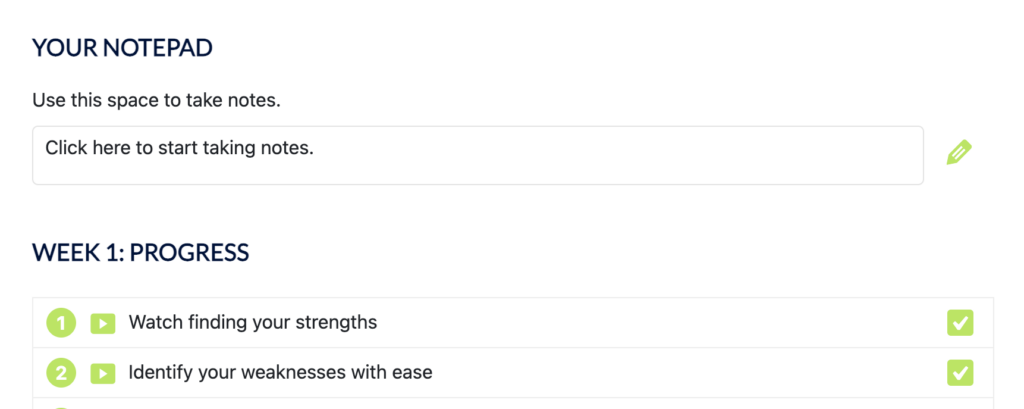
Private Course Note
The Private Course is like a notepad. Your participants can take notes and update as often as they like in this space.
Question and answer
This note type can be used for one-time questions. Admins can then reply to a question asked. Once the reply has been sent this note closes out. This note type is great for gathering testimonials or feedback about your programs.

Admin-initiated note
This note type is initiated by a site admin. You would use this note type if you want to select the person to send a note to, versus the participant starting the note by answering a question.
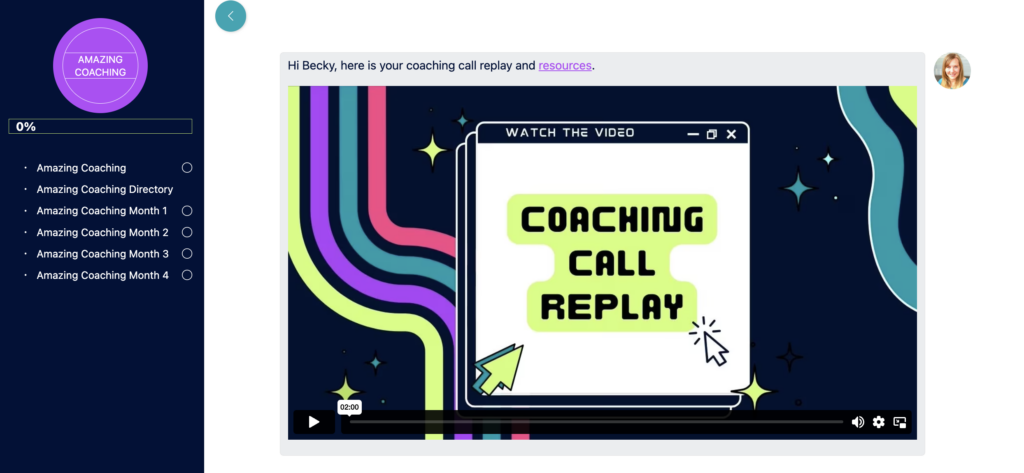
A popular way to use this type of note is if you have a 1:1 coaching program and need to send a client their coaching call replay.
Admin reviewed answer
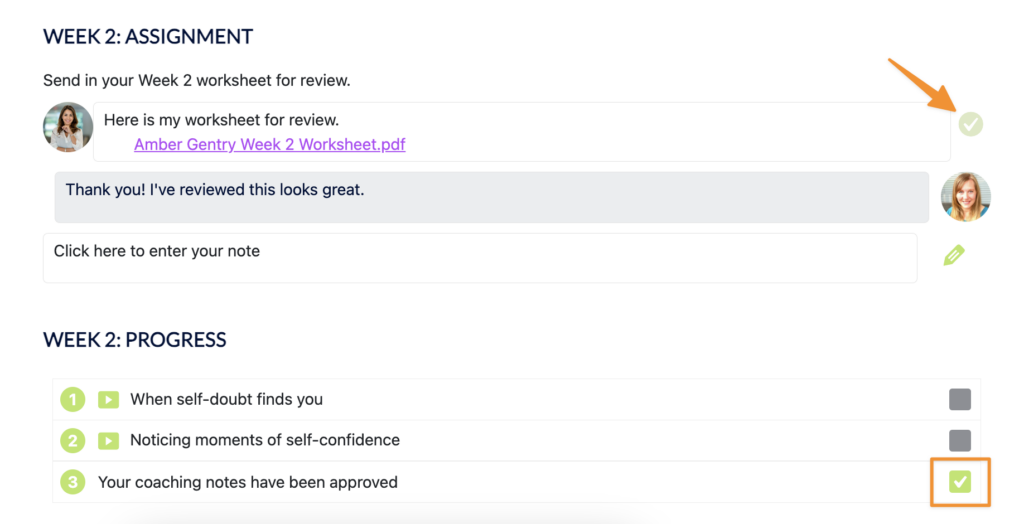
This note type is used in conjunction with the Note objective. The corresponding note objective is only marked as completed when an admin or team leader approves the note.
When the user submits content via this note type, the admin will be notified. Then, the admin can review the answer and approve it.
Custom
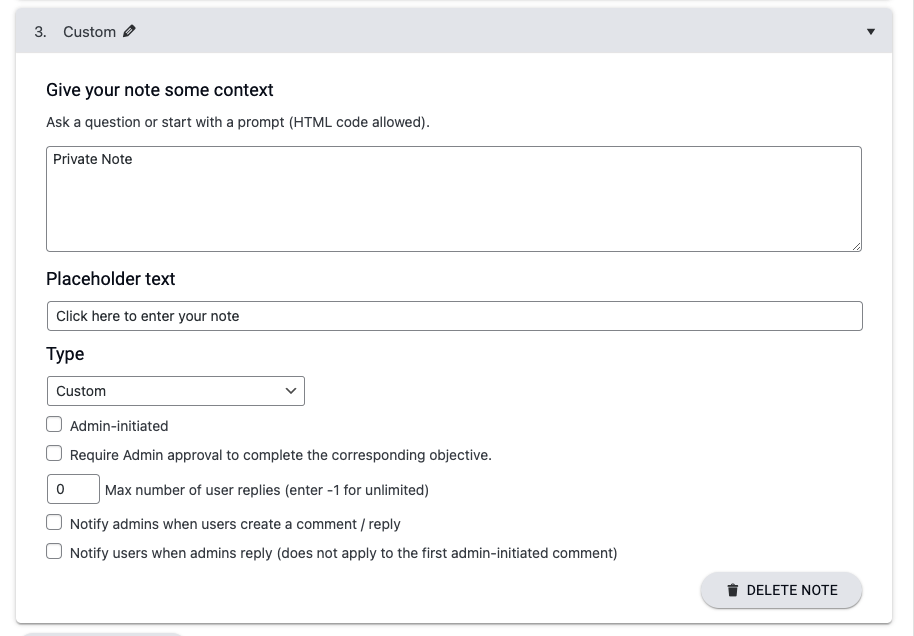
The custom note type includes additional customization options (shown below) so you can mix and match features to create your own note type.
Adding Attachments to Private Notes
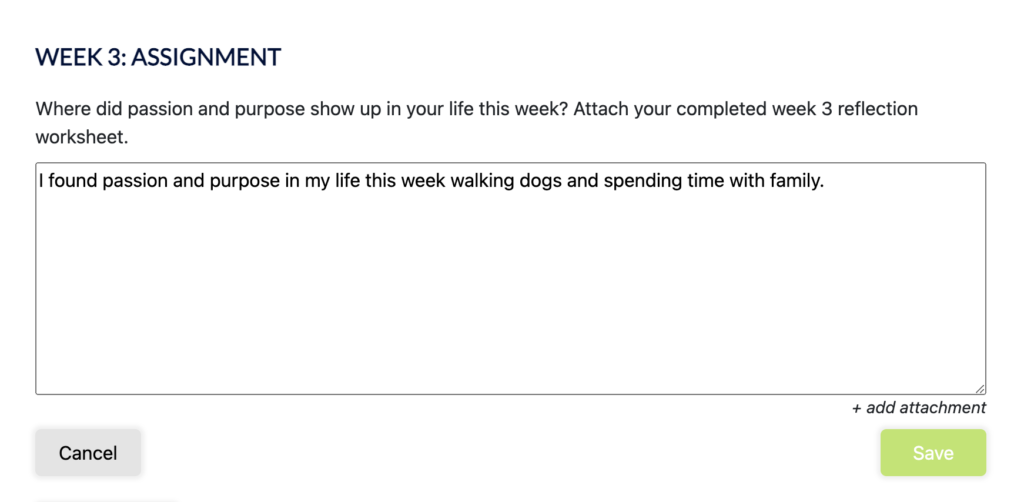
Most often used to send a completed homework assignment.
If you need to send or receive a file in a Private Note use the “+ add attachment” option. Currently, the max file size for uploads is 10MB.
Sharing Videos in Private Notes
Site Admins
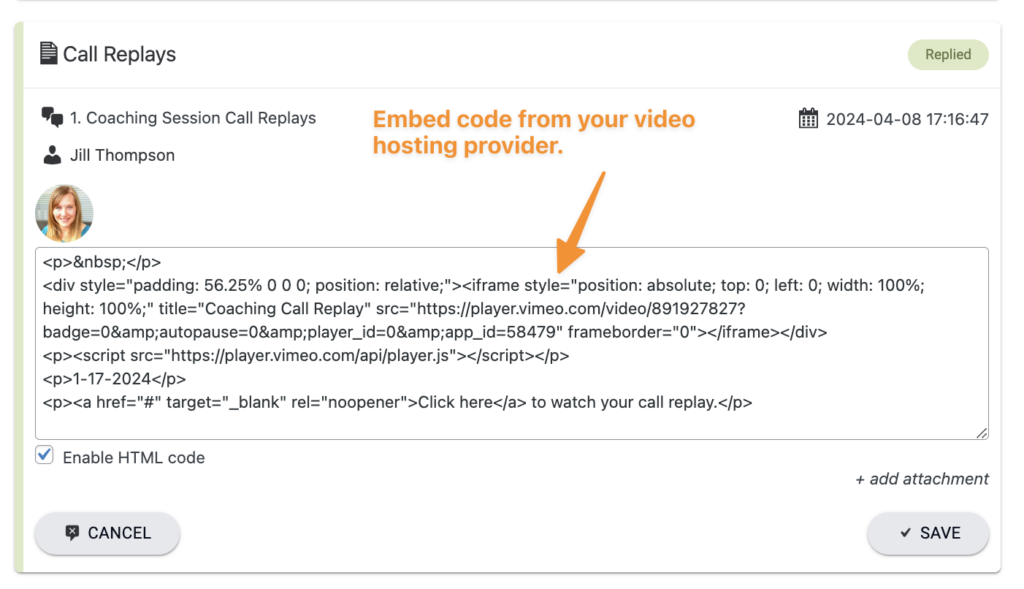
As a site admin, you can use the HTML option to embed your hosted video in a Private Note reply.
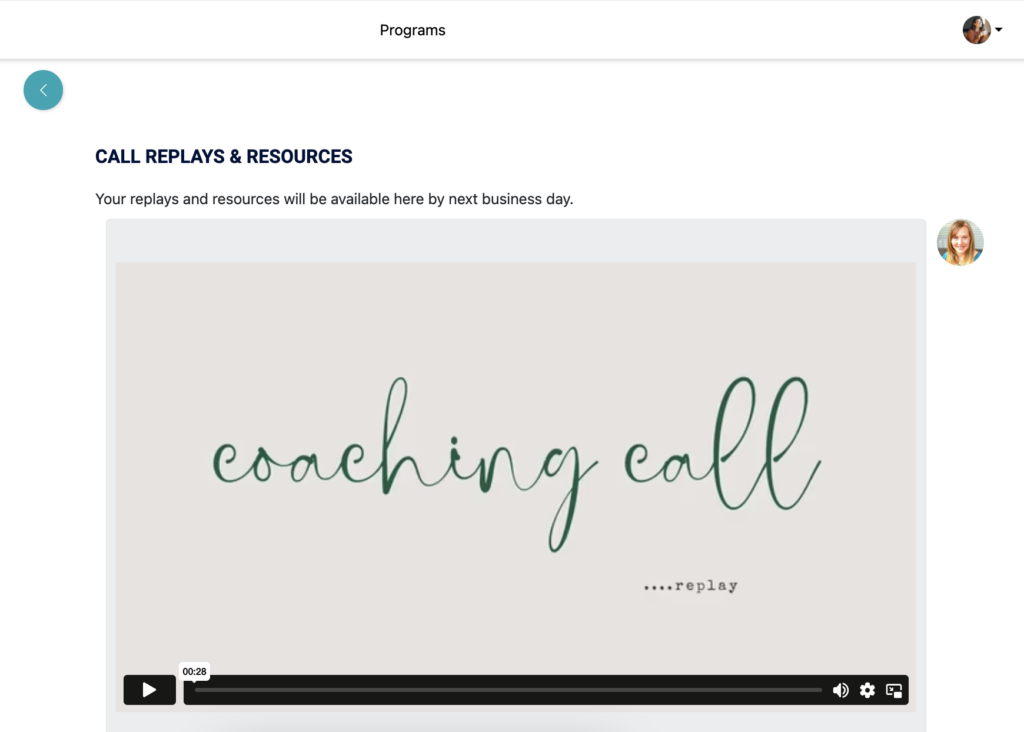
The client view of the embedded video.
Members Sending Videos in Private Note Replies
Private Notes for Teams
Team leaders can view, reply, and approve private notes submitted by their team members. Learn how here.
Answering Private Notes
As a site admin you can review Private Notes by going to ProgressAlly → Private Notes and selecting how you’d like to view your notes.

Closing Private Notes
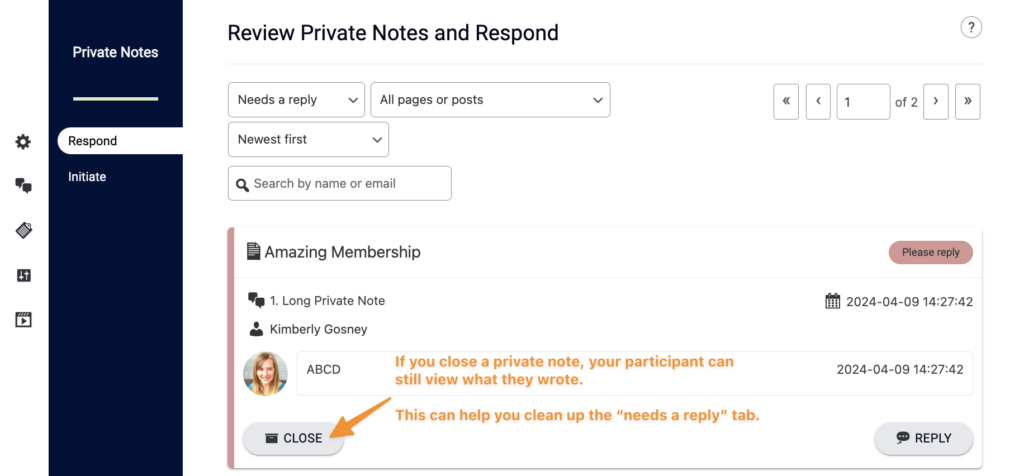
If a private note appears as “needs a reply” but you do not need to answer it, you can “close” the private note. After closing it, the participant can still view it, but it no longer appears in the admin view as needing a reply.
Private Note Profile Photos
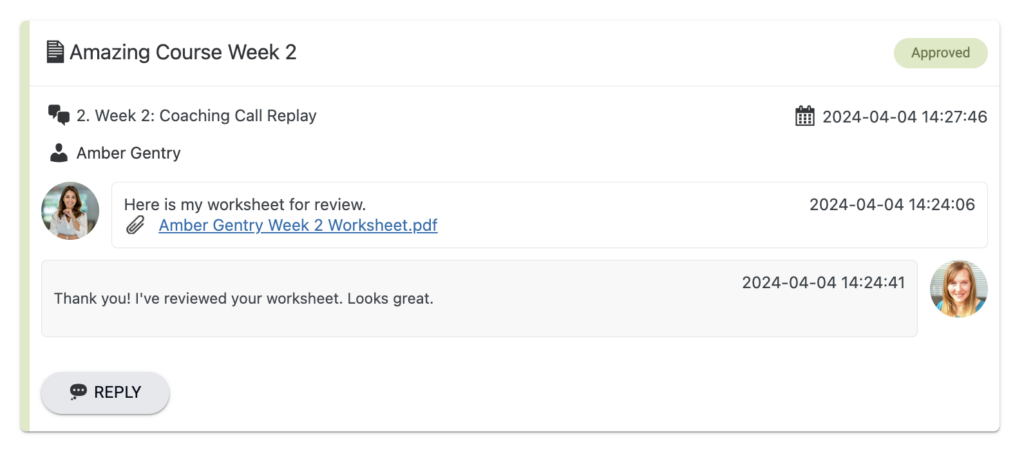
By default, the WordPress avatar of a member will be pulled from Gravatar or you can use AccessAlly’s profile photo so your participants can upload their own photos!
Go to AccessAlly → Settings → General Settings → Display Settings.

Then check the box called “Member Profile Image”, to enable AccessAlly profile images to be shown instead of default WordPress profile images.

You can also decide if you want to show these profile images on the front end to your members (not just administrators).
Go to ProgressAlly → Settings → Private Notes and enable the checkbox for profile images:


