Create a unique limited-time coupon so you can offer a special discount code that expires and share it in your marketing and promotional emails!
ARTICLE CONTENT:
Prep Steps
The following items are needed before getting started.
- Unique custom field in your CRM system to hold coupon code it will only be used for this promotion.
- Refresh CRM Info to bring your newly created custom field into your site
- Kit: you will also need a unique webhook trigger tag
1. Create CRM Activated Coupon Code
Go to Sales > Promo Setup Tab > “+ NEW PROMOTION”
Select Mode
The option you select here can be customized. Simple or Advanced (if you need to replace the order form when coupon code is used.)

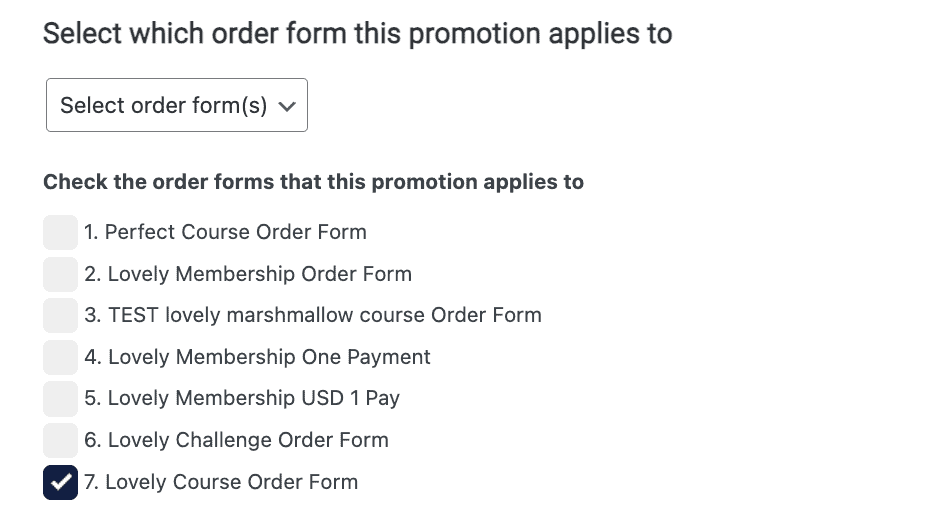
Select Order Forms
Add a check by all order forms this promo code will be used on.
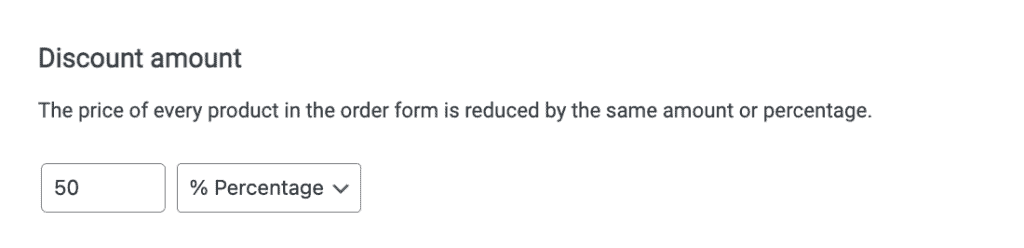
Add Desired Discount Amount
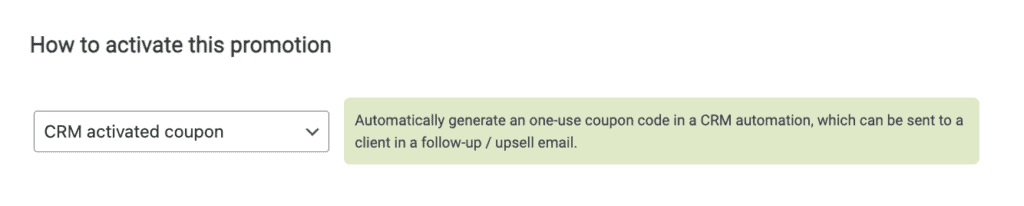
Select CRM Activated Coupon
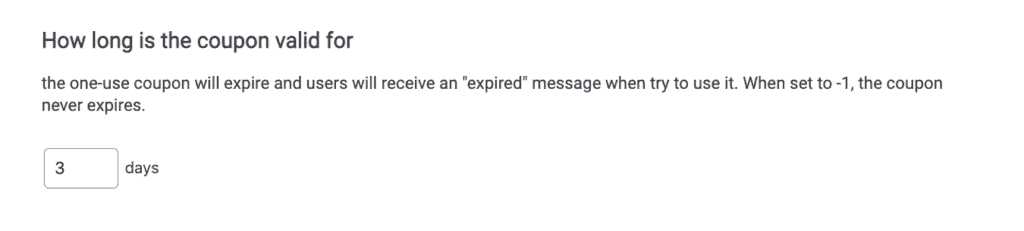
Enter Days Coupon Is Valid
Add CRM Custom Field
Assign unique custom field here. This will hold the coupon code.

Webhook
For ActiveCampaign, Drip, Keap, and Ontraport UsersClick “COPY TO CLIPBOARD” and use the webhook in your CRM automations to generate the coupon code.

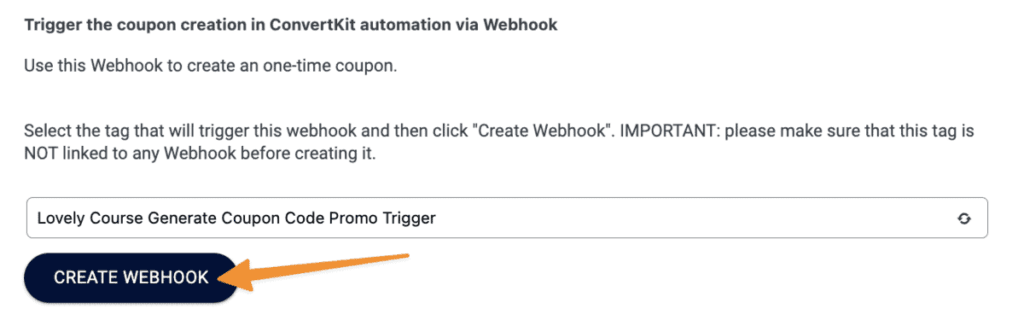
Add the unique tag you created in Prep Steps, click “CREATE WEBHOOK”, when in your Kit account, add this tag to your visual automations to generate the coupon code.
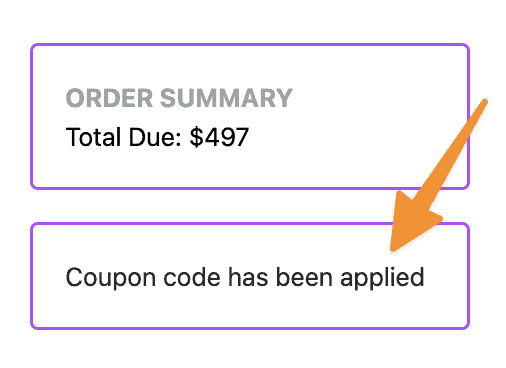
Add Coupon Display Message, and SAVE coupon
Change display message wording, then click “SAVE” to save your coupon code.

Example of this message in use on an order form.
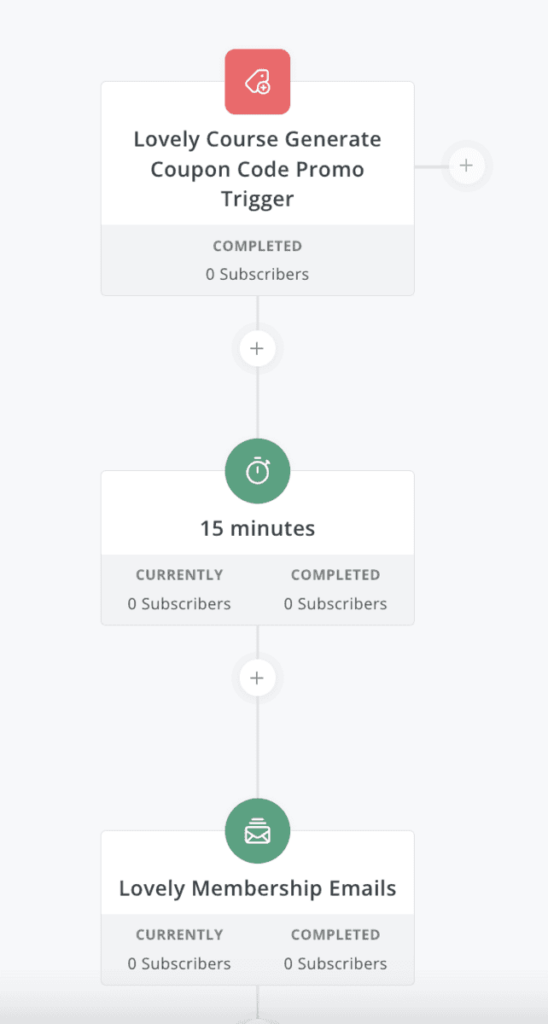
2. Generating the Coupon in Your CRM
Use the webhook you created as a step in your CRM automation to generate the coupon code.
Add your webhook (webhook trigger tag for Kit users), then add a 15 minute wait to give your CRM time to generate the coupon code.
This works in places like your abandon cart automations to get people back to your order forms with a discount.
Here’s an example in Kit.
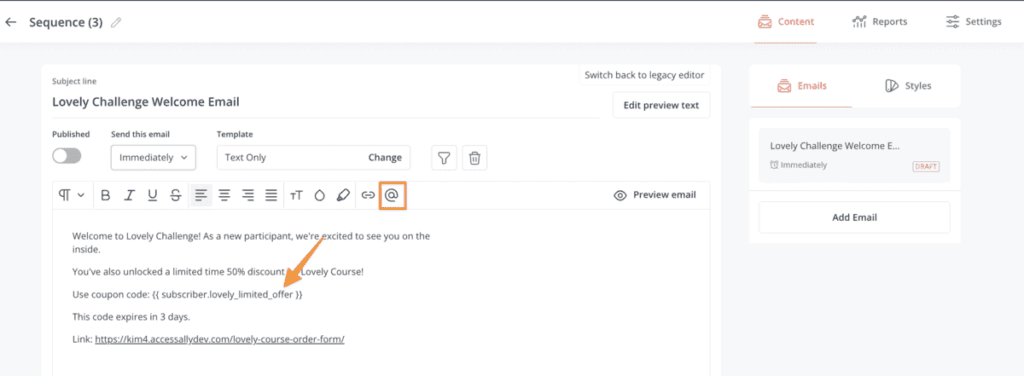
3. Emailing the Coupon Code in Your CRM
In your promotional emails, add a link to your order form, then personalize to add the custom field holding the coupon code.
Here’s an example in Kit.
4. Next Steps
Now that you’ve created your first CRM activated coupon code, you may be wondering about additional ways you can use and display this coupon code.
Generate the limited time offer coupon code inside your AccessAlly site!
