There are a few ways to send invoices or receipts to people who purchase through AccessAlly:
- Customer downloads a copy from the My Orders page
- Customer receives an invoice from an AccessAlly Email
- Stripe receipts
- Quaderno invoices
- Triggering an email in your CRM
ARTICLE CONTENT:
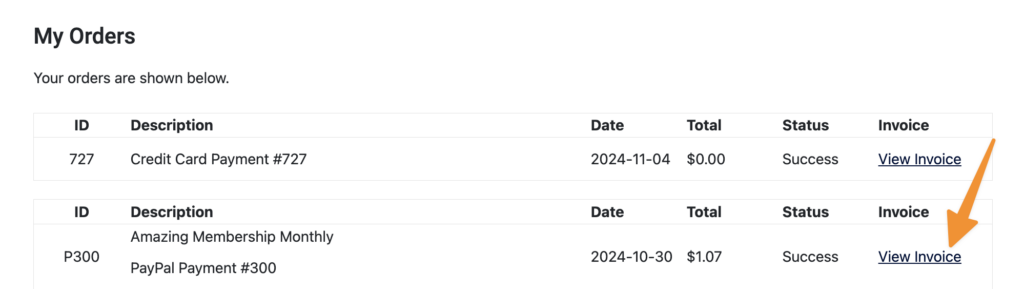
Download From My Orders Page
Customers can log into your site, visit the “My Orders” page, and “View Invoices.” This option is the quickest and easiest way and will show invoices for both one time and recurring subscription payments made via Stripe and/or PayPal.
Important: This option is available when using AccessAlly order forms to collect payments on your site. It uses the [accessally_list_order] and [accessally_list_subscription] shortcodes.
Customer view of Orders Shown Below
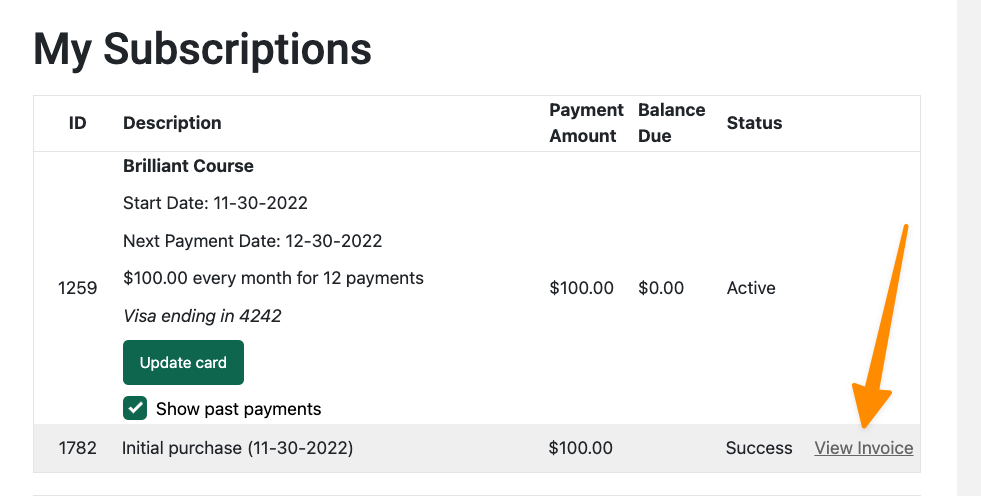
Customer view shown of Subscriptions Shown Below
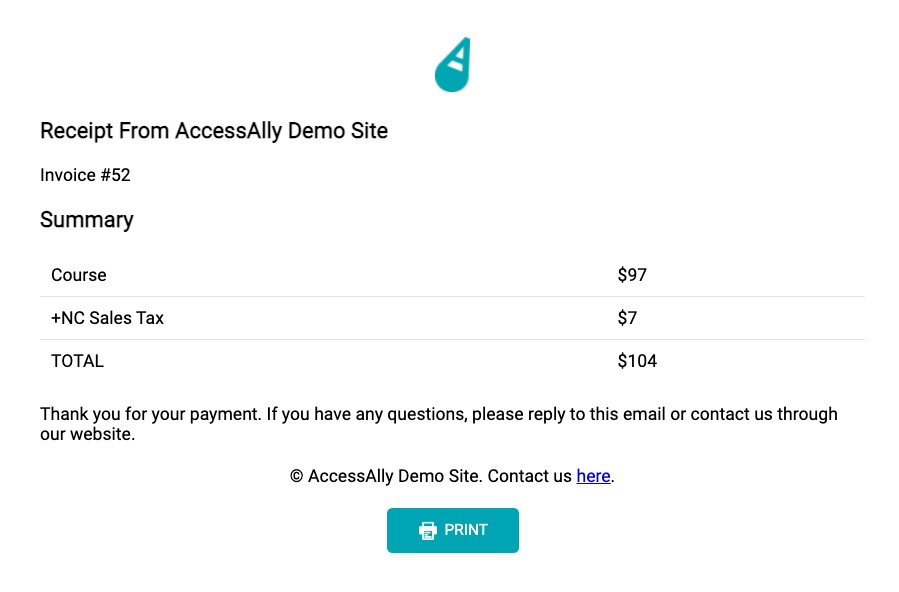
Customer view of the Invoice (Receipt) shown below.
AccessAlly Invoice Emails
There are two types of invoices you can send review each option to see which one is best for your needs.
- Default Invoices: once enabled, this invoice will send after any and all purchases made with an AccessAlly order form
- Customized Invoices: if enabled, this option allows you to send a customized invoice for a specific offering(s) and/or recurring payment(s)
Recommendations
- Install and activate the Amazon SES plugin (if you haven’t already) to ensure payment failed emails land in the inbox and not the SPAM folder
- Create shared blocks for styling your emails
- If you need to add VAT tax numbers to your invoices review this article
Setup Invoices
Option 1: Use the default invoice email
Sends the same default invoice email for all offerings and recurring payments on your site
- Go to AccessAlly > Dashboard > Emails > Invoices
- In the Default invoice section click the dropdown and choose Send customized email
- Personalize the invoice email using the editor
- Below the Email subject section click the send test email button which sends you a test email to review
- Click the SAVE button on the top right to save your changes
Option 2: Send a customized invoice
Use this option if you want to send a custom invoice for a specific offering(s) or recurring payment(s) on your site
- Go to AccessAlly > Dashboard > Emails > Invoices
- Click the + NEW button
- Choose when to send the invoice email
- Choose the offer(s) that will receive this invoice email
- In the Send settings dropdown choose to Send customized email
- Personalize the invoice email using the editor
- Below the Email subject section click the send test email button which sends you a test email to review
- Click the SAVE button on the top right to save your changes
Optional: Send blind carbon copy invoices
- Go to AccessAlly > Dashboard > Emails > Advanced
- In the Invoice email copy section, you can add blind carbon copy email addresses when sending invoices to clients. This is useful for sending the same invoice notifications your clients get to your accountant or yourself.
How to Send a Receipt Via Stripe
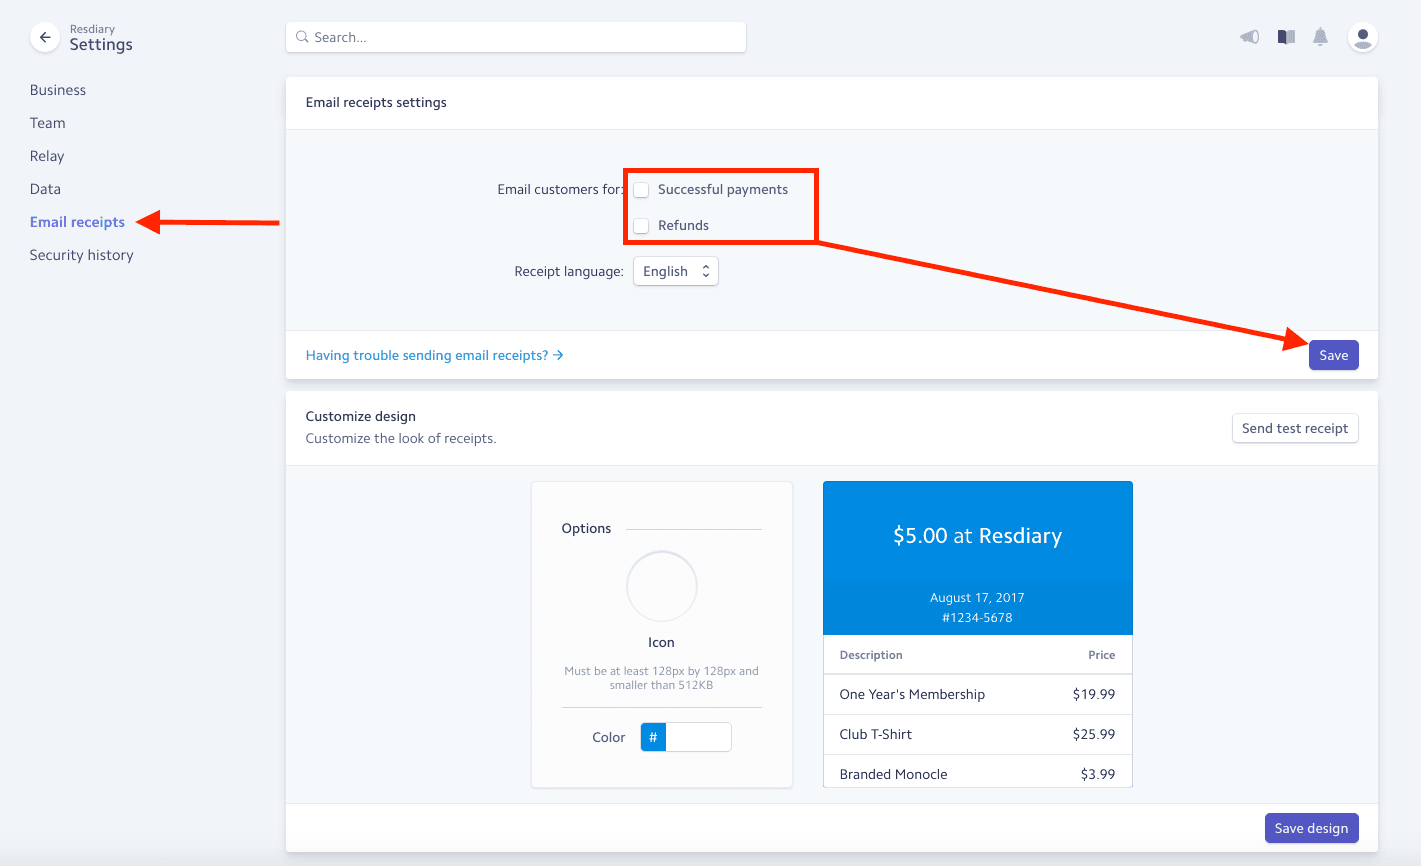
This method is a convenient approach since Stripe handles the email sending for you.
You can find the documentation here: Stripe Tutorial
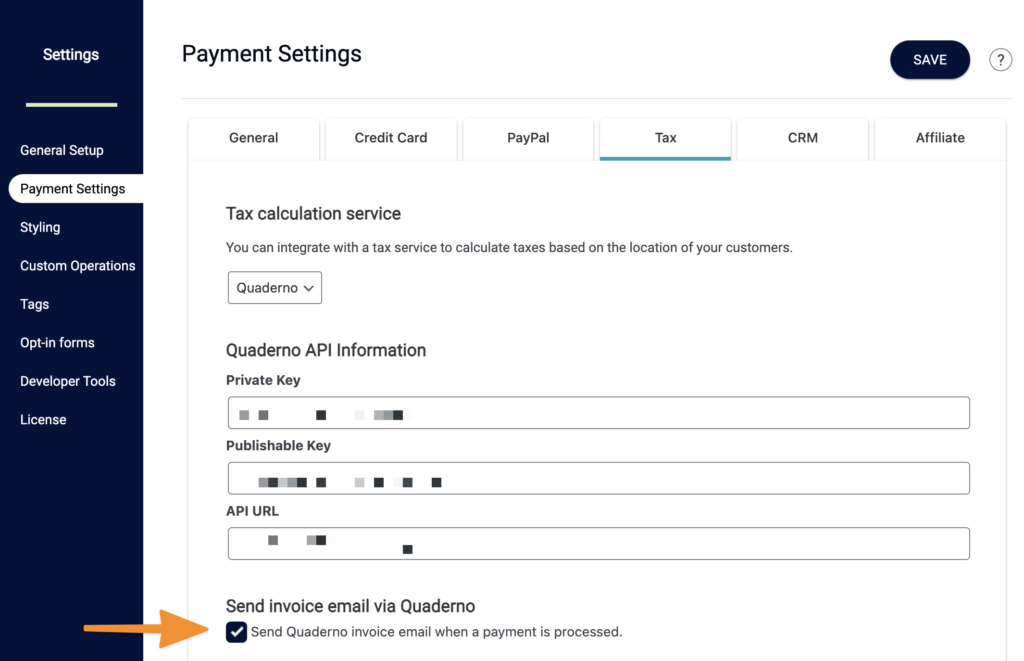
Quaderno invoices
If you’re using Quaderno for tax calculations with AccessAlly’s integration, then you will also be able to get invoices to send your clients or for your own purposes through your Quaderno account.
How to Send a Receipt Via CRM
Alternatively, you can add a receipt email as an extra step in your course welcome automation. Although this method allows for more email customization, it also requires more setup work and can become complicated if you are using multiple payment options, discounts, etc.
You can find the tutorial for the creating welcome automation here: CRM Automation.
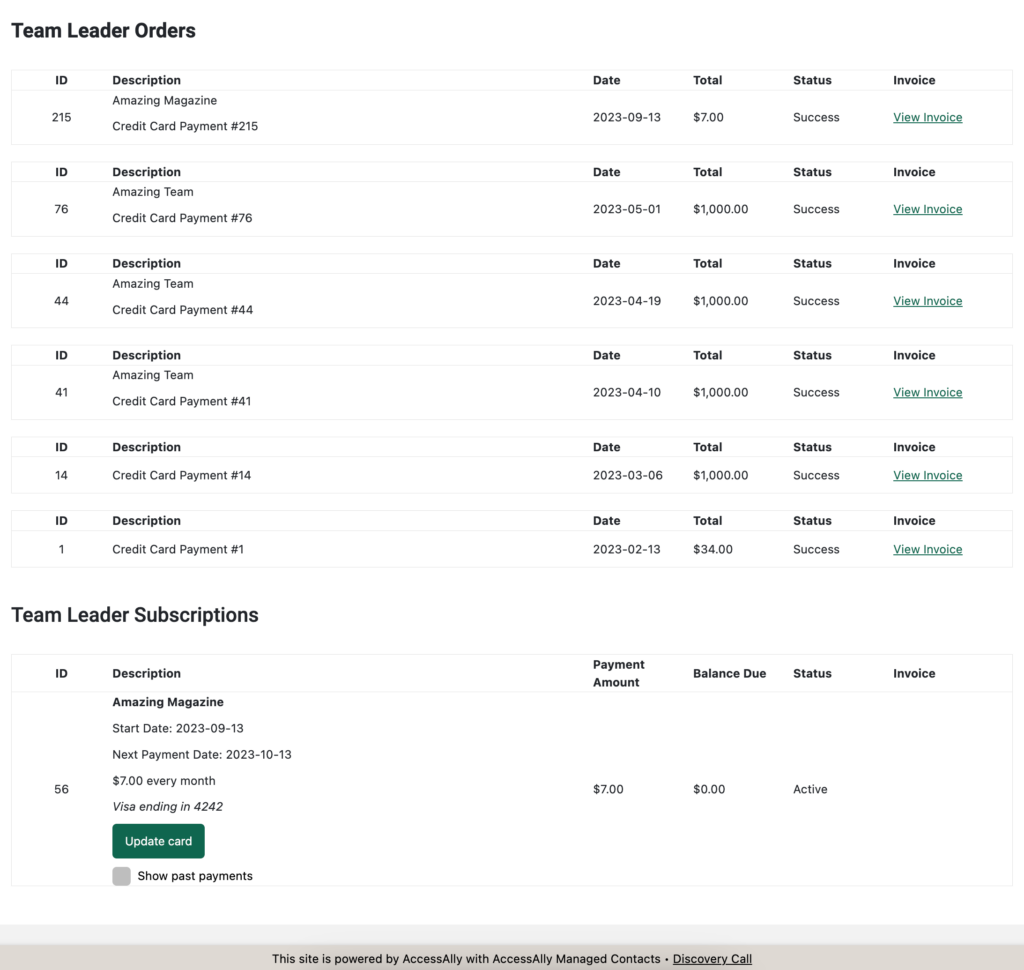
Allow Team Members to See Team Leader Invoices
When using the teams feature you may wish to allow a team member to download invoices based on a team leader purchase. You can do that by adding the following code to any page your team member has access to.
Replace the number 1 in the code below with the number of your team.
[accessally_team_show_as_admin team_id=”1″]Team Leader Orders[accessally_list_order]Team Leader Subscriptions[accessally_list_subscription][/accessally_team_show_as_admin]
Team leader’s orders and subscriptions as viewed by a team member.