Many of the features in AccessAlly need a custom field to store information. As you build out offerings, you may create multiple custom fields, each with a unique purpose.
For example, if you wish to store the number of points a member has, you’ll create a custom field to hold the number of points a user has.
Another example would be if you need to collect a course completion date, you’ll create a custom field to hold the date of completion.
ARTICLE CONTENT:
How to Create Custom Fields by CRM
Below you’ll find links to creating custom fields in Keap based on which version you have with the most up-to-date information.
When prompted to choose the field type option choose TEXT (most use cases) or WHOLE NUMBER (used to store the number of points/credits a user has.)
- Keap Pro, Lite, and Max
- Keap Max Classic (formerly Infusionsoft)
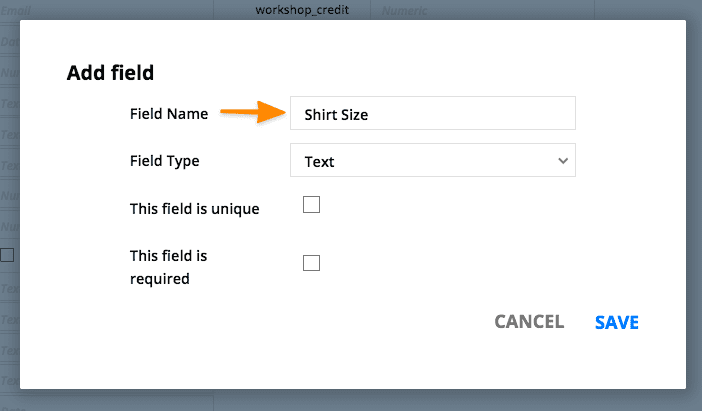
Below you’ll find the to creating custom fields in Ontraport with the most up-to-date information. When prompted to select the field type choose TEXT (most use cases) or NUMERIC (used to store the number of points/credits a user has.)
Create and Customize Fields in Ontraport
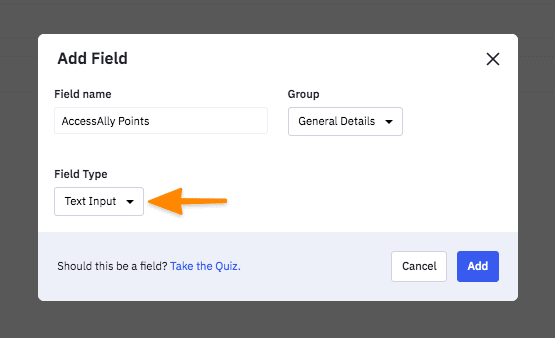
Below you’ll find the most up-to-date information on adding custom fields in ActiveCampaign. When prompted to Add Field you’ll choose the field type Text Input (most use cases) or Text Area (if creating a custom field that will store large amounts of text.)
Overview of custom contact fields in ActiveCampaign
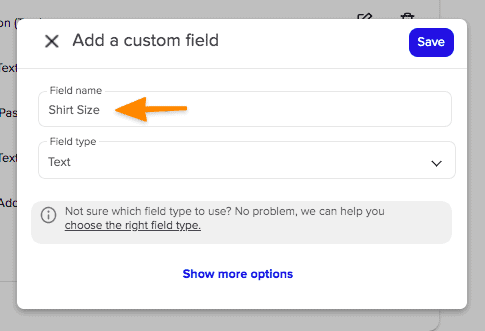
Below you’ll find a link to the most up-to-date information on adding custom fields in Kit. When creating a custom field in Kit name the field something descriptive and leave the field value blank.
How to Add Custom Fields to Subscribers

Below you’ll find the most up-to-date information on creating custom fields in Drip. When creating a custom field in Drip name the field something descriptive and leave the field value blank.
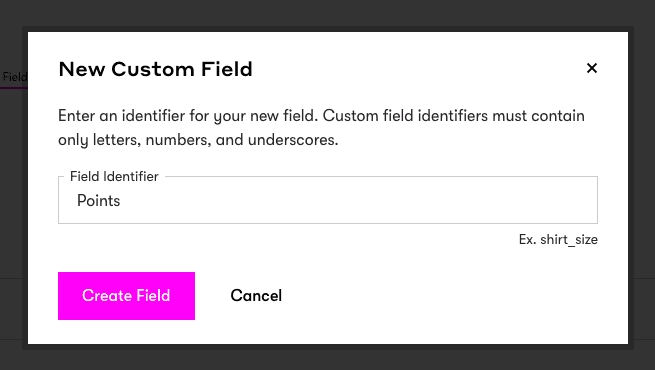
With AccessAlly Managed you’ll create custom fields inside AccessAlly following the article linked below.
Refresh CRM Info
After creating new custom fields, click Refresh CRM info (as shown in the image below) to pull these new custom fields into your AccessAlly site.
From the Edit Page view of your site hover over AccessAlly > Refresh CRM info

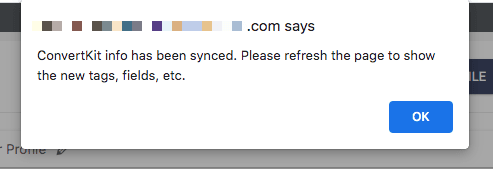
Once your CRM has been refreshed you will see a success message with a prompt to refresh the page to see your newly created custom fields.
