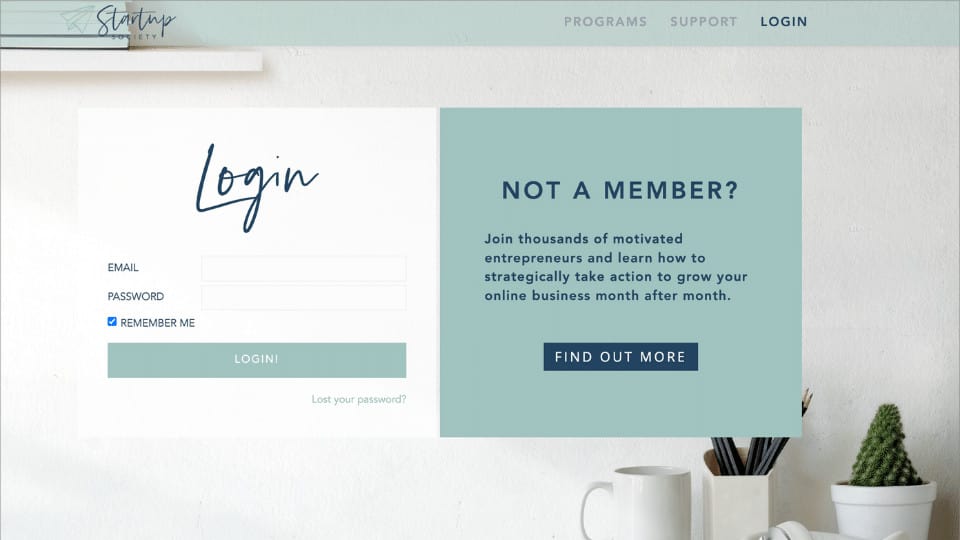
If you’re sending people to the default WordPress login page, and you’d like to spice things up then this tutorial will show you exactly how to change the login on WordPress.
Why would you want to use a customized login page on your WordPress site?
- To keep your branding consistent and improve trust
- For the upsell possibility, if they aren’t a member yet – you can ask them to join
- To give more information about your site and link to other key sections (like a contact page)
With these goals in mind, let’s dive into this tutorial!
ARTICLE CONTENT:
Why Create A Custom Login Page for WordPress?
The default WordPress login page is pretty bland.
But the biggest headache for membership site owners is that paying customers might get confused when they land on this default WordPress login area.
They might think to themselves: “Did I click the right link?”
“Did something go wrong?”
“Should I go back?”
That’s one of the biggest reasons why you’ll want to create a custom login page for WordPress.
The good news is that you don’t need to mess with any code – all you need is a good membership site plugin and a simple shortcode.
What You’ll Need To Create A Custom Login Page for WordPress
The tool list you need is pretty short:
- A WordPress website
- The AccessAlly membership plugin for WordPress
- A tag-based CRM (see the current list of integrations)
WordPress Login Page Video Tutorial
Prefer to watch a video tutorial? No problem, here’s how to set up your own customized login page:
How Do Custom Login Pages Work?
When a membership site is built on WordPress, each of the subscribing members are given a unique username and password. They use these credentials to login to WordPress and access the protected content on the site.
The AccessAlly plugin includes a login shortcode that will change the default login page for WordPress to the page of your choosing. This new login page can be styled however you’d like – and the AccessAlly plugin will automatically forward users to this new login page.
Their same username and password will work as before… but now, their experience is branded from start to finish.
How To Create A Custom Login Page for WordPress
Once you’ve got all of the right tools in your toolbox, customizing your login page is as easy as creating and editing any other page on your site.
The look and feel of your page will depend on your WordPress theme, so keep that in mind.
Step 1: Install AccessAlly on Your Site
First, you’ll want to obtain your own AccessAlly plugin license, and install the plugin on your site.
Step 2: Create a New Page
Add a new page to your site by clicking Pages > Add New.
This will be your new login page.
Hint: When you run the AccessAlly onboarding wizard, a Login Page will automatically be generated for you!
Step 3: Add the login shortcode to the page
Locate the AccessAlly shortcode adder in the toolbar, then select the Login shortcode from the dropdown.
For the settings, make sure the top two boxes are checked, then click on the yellow “Add Shortcode” button.
Step 4: Design, Then Publish the New Login Page
By default, the AccessAlly login widget is a blank slate… so you can create whatever design you want to for this page using your WordPress theme settings.
When you’re ready, hit “publish”.

Step 6: Designate the New Login Page in AccessAlly Settings
Once your login page is designed and published, head into the AccessAlly general settings on the left sidebar.
Click on the “Special Pages” tab.
Here, you can select the new login page you created from the dropdown.
Hit the yellow “Save Changes” button… and you’re ready to roll!
As a bonus, when you set this up, this same page also becomes the “reset your password page” – so your members will never need to see the default WordPress login page. It’s a seamless experience from end to end.
Obviously, AccessAlly’s robust functionality does more than just create login widgets – it’s a full-featured membership site plugin that’s both user-friendly and extremely powerful.

