ARTICLE CONTENT:
About the Login Page
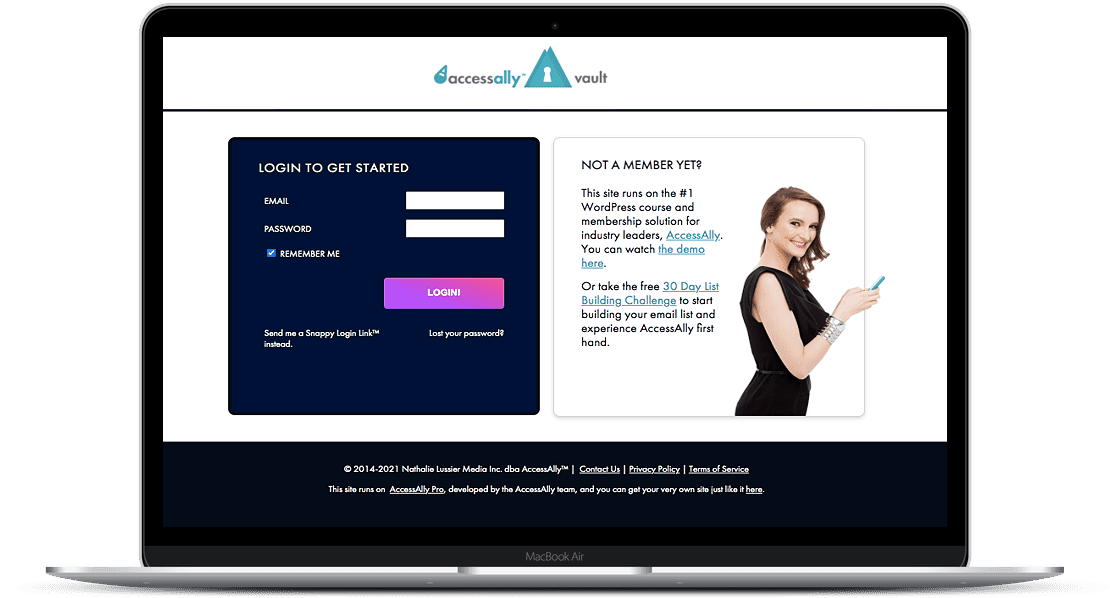
- This is a key page that is created for you automatically when you install the AccessAlly plugin. By default, it will be located at https://yoursite.com/login-to-you-account/
- There must be an AccessAlly login widget used on this page. Using a 3rd party login block or widget from your theme or page builder will not work.
- The permissions for this page must be a public-facing page that does not require a user to be logged in to view the page (as shown in the image below.)

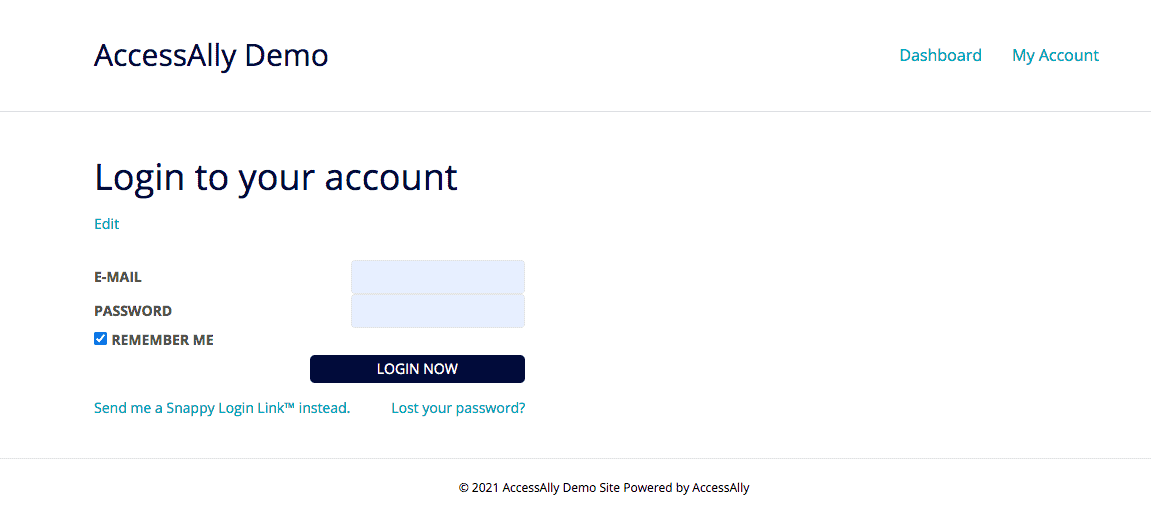
Default Login Widget Options
When you set AccessAlly up from the Onboarding Wizard the login page widget will display the E-mail field, Password field, Snappy Login Link™, and the Lost your password? sections.
How to Find the Login Widget Options
If you’d like to make changes to the default login page options you can use the AccessAlly Shortcode Generator! Visit your WordPress Dashboard, hover over AccessAlly in the top WordPress bar, click Shortcode Generator.
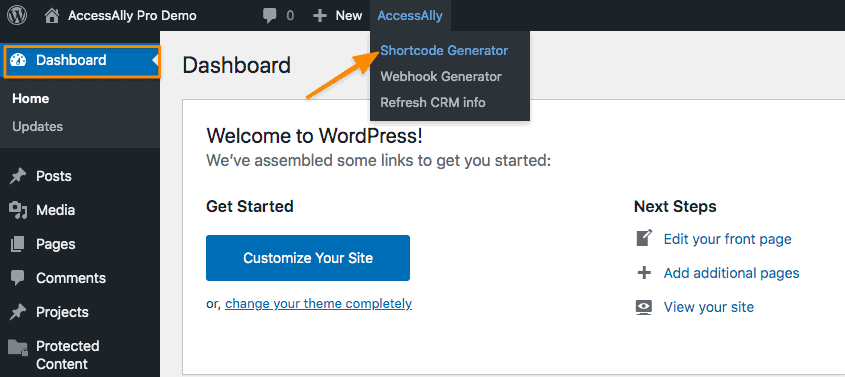
The Shortcode Generator (shown below) allows you to grab any AccessAlly shortcode you need so you can paste it into your pages using your favorite WordPress Theme and/or Page Builder.
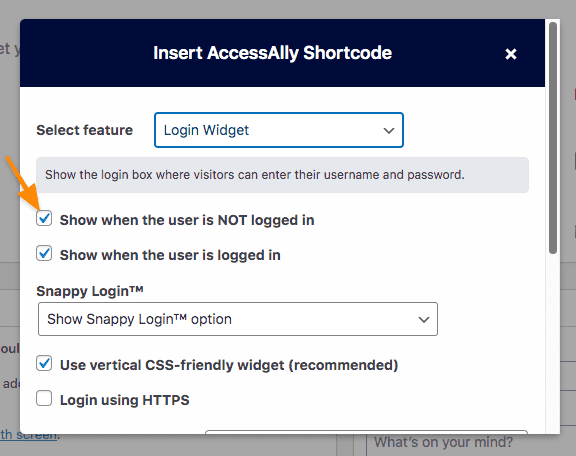
Login Widget Options
Show When the User is NOT Logged In
We recommend keeping this option box checked to ensure the best user experience possible.
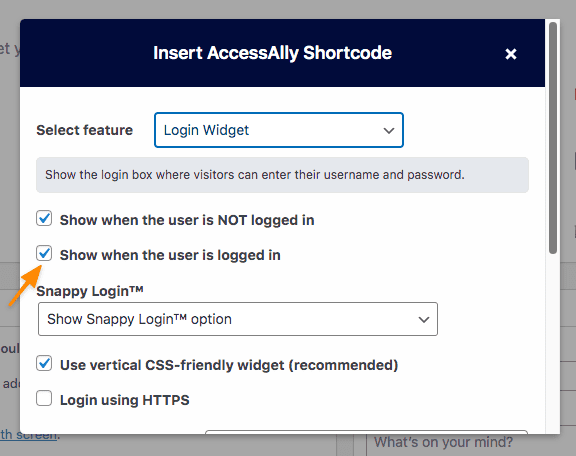
Show When The User Is Logged In
We recommend keeping this option box checked to ensure the best user experience possible.
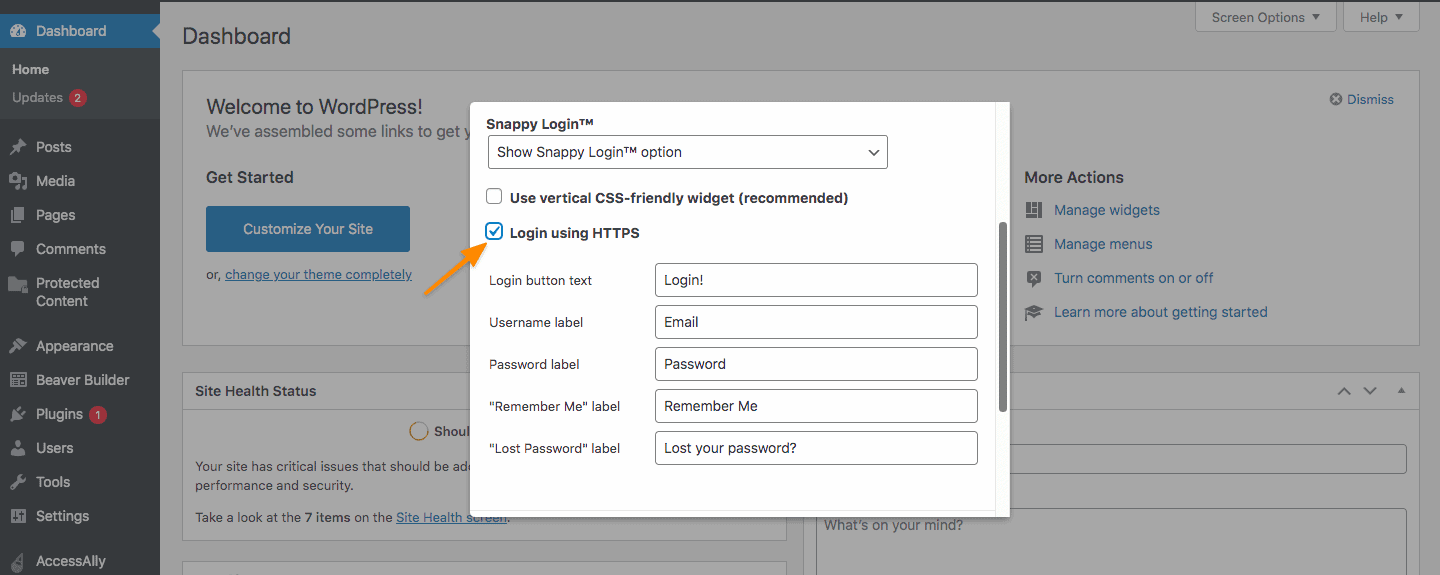
Snappy Login™ Options
AccessAlly’s Snappy Login Links™ will allow your users to receive a one-time-use login link delivered to their inbox. If you choose to include the Snappy Login™ feature on your login page, users no longer need to remember their username and password.
For setup, you have three choices:
- Show Snappy Login™ Option – shows the Snappy Login link on the bottom left of the WordPress page.
- Do not allow Snappy Login™ – this option does not display a Snappy Login Link™ or Snappy Login™ button
- Only allow Snappy Login™- this option removes the Email and Password fields and displays a Snappy Login™ button

Vertical Styling
Vertical Styling Turned On
By default vertical CSS is enabled this allows the fields on your login form. This option allows for better CSS styling / customization. This option is highly recommended.

Vertical Styling Turned Off
Require HTTPS
This option processes user login over SSL.
Article FAQs
The Divi login module (shown in this article) is not compatible with AccessAlly. In order to have users log in to your AccessAlly site use one of the login options outlined in this article.
Resources
Wondering how your members will log out? Check out this tutorial: How to Set Up Log Out Links In Your Membership Site
