Integrate AccessAlly with PayPal to sell your online courses, memberships, and more using WordPress.
Important: You must use a PayPal Business account for integration with AccessAlly.
To integrate with Stripe, please see this tutorial: How to Integrate Stripe with AccessAlly.
ARTICLE CONTENT:
Why Integrate PayPal With AccessAlly
AccessAlly includes a built-in ecommerce feature that’s designed especially for you if you’re looking for a quick and easy way to sell a small variety of products and/or subscriptions from inside your membership site.
Note: when you are placing testing orders, you cannot use the same PayPal account that was integrated in the AccessAlly -> Settings -> Payment Settings section.
Step 1: Integrate PayPal With AccessAlly
Important: You must use a PayPal Business account for integration with AccessAlly.
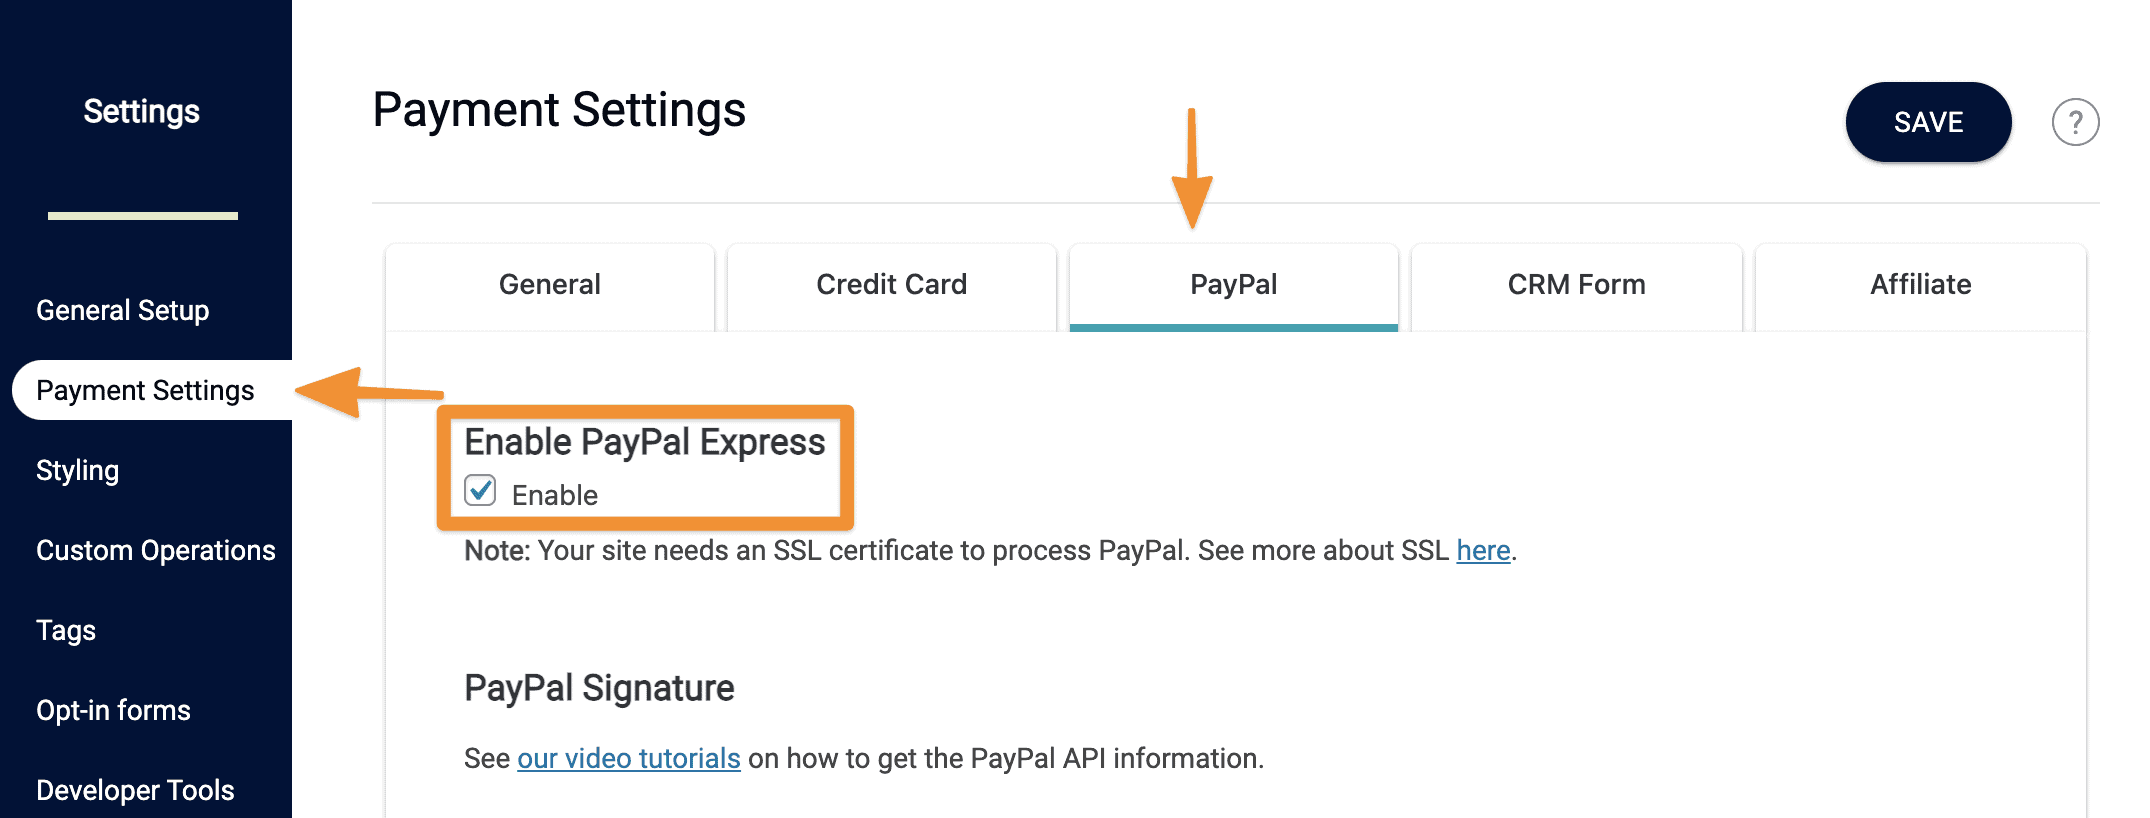
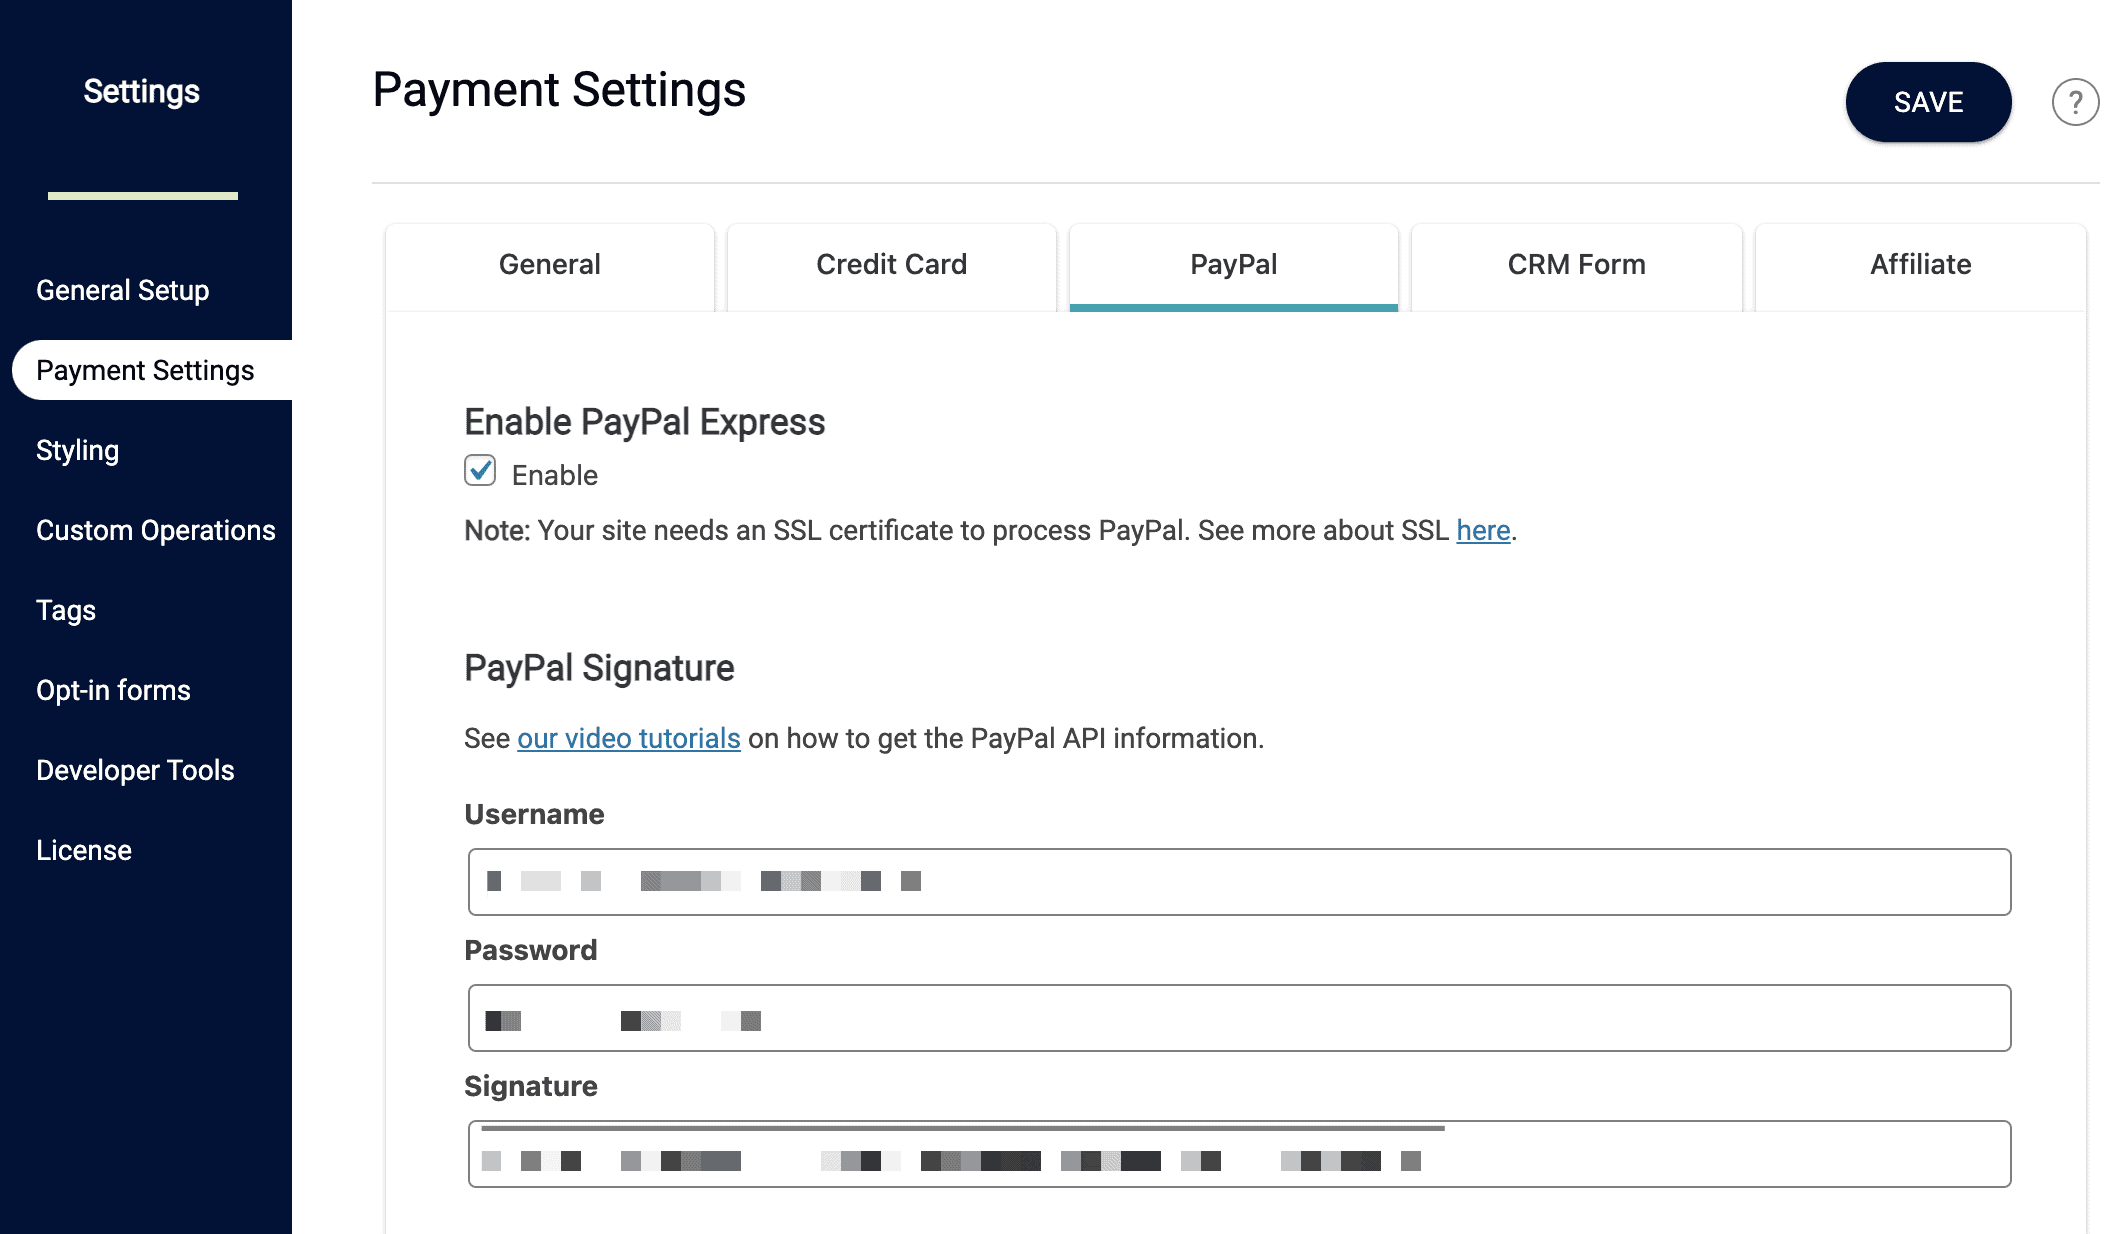
Enable PayPal Express in AccessAlly
Go to AccessAlly’s General Settings -> Payments -> PayPal tab and click the checkbox to next to “PayPal Express” to enable PayPal.
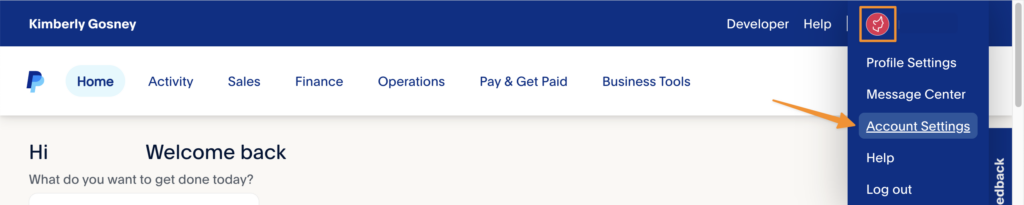
Login to PayPal: Choose “Account Settings”
Once you’ve logged into your PayPal account, choose the “Account Settings” in the top navigation.
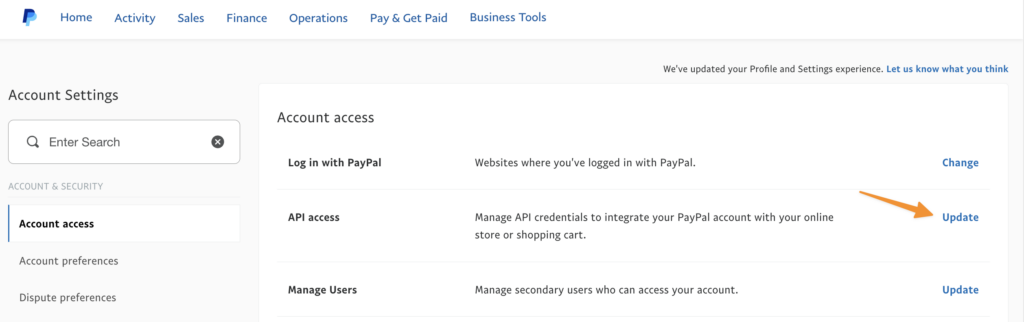
Select API Access
Click the “Update” link next to the API Access section.
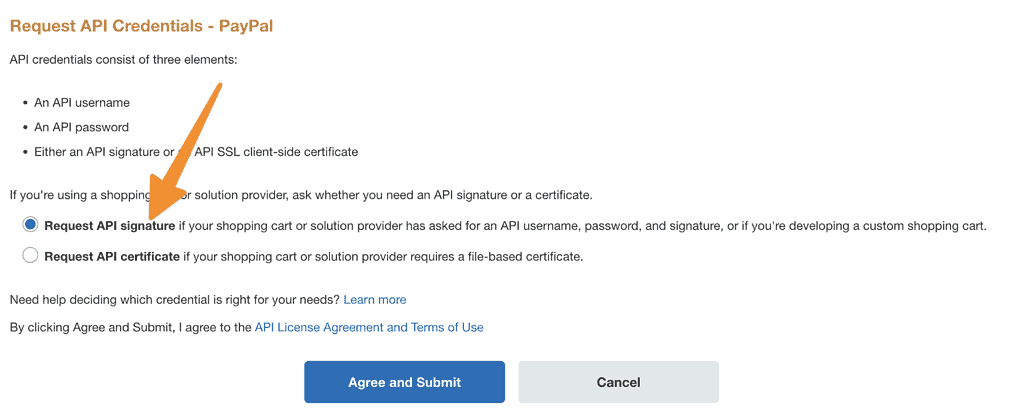
If prompted to select an API Signature or API Certificate select the Request API Signature as shown in the image below.
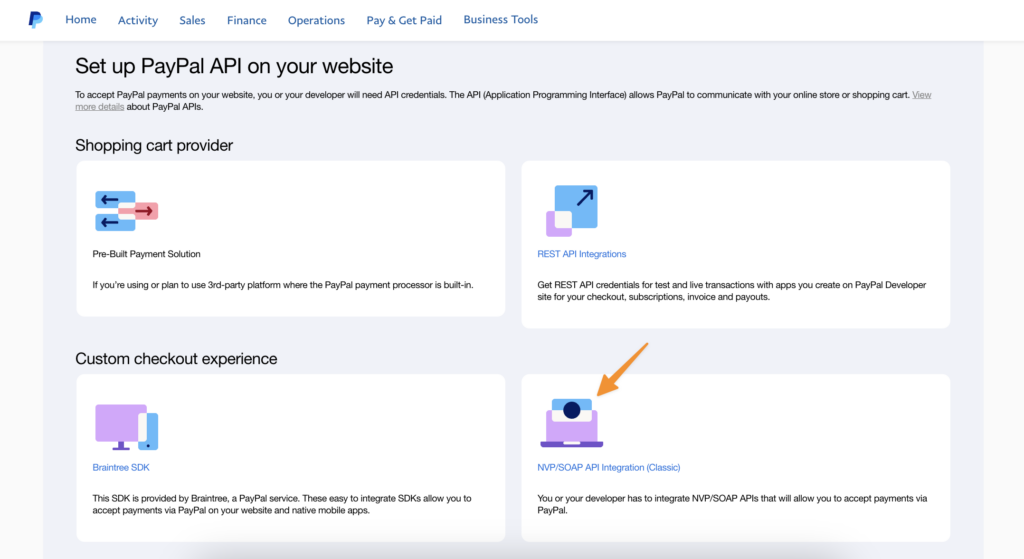
Click on NVP/SOAP API Integration
You may need to create a new set of API keys here, or if you’ve already created some you’ll see a link to manage existing keys. If you don’t select the NVP/SOAP API integration section, you won’t get the right kind of API keys to integrate with AccessAlly.
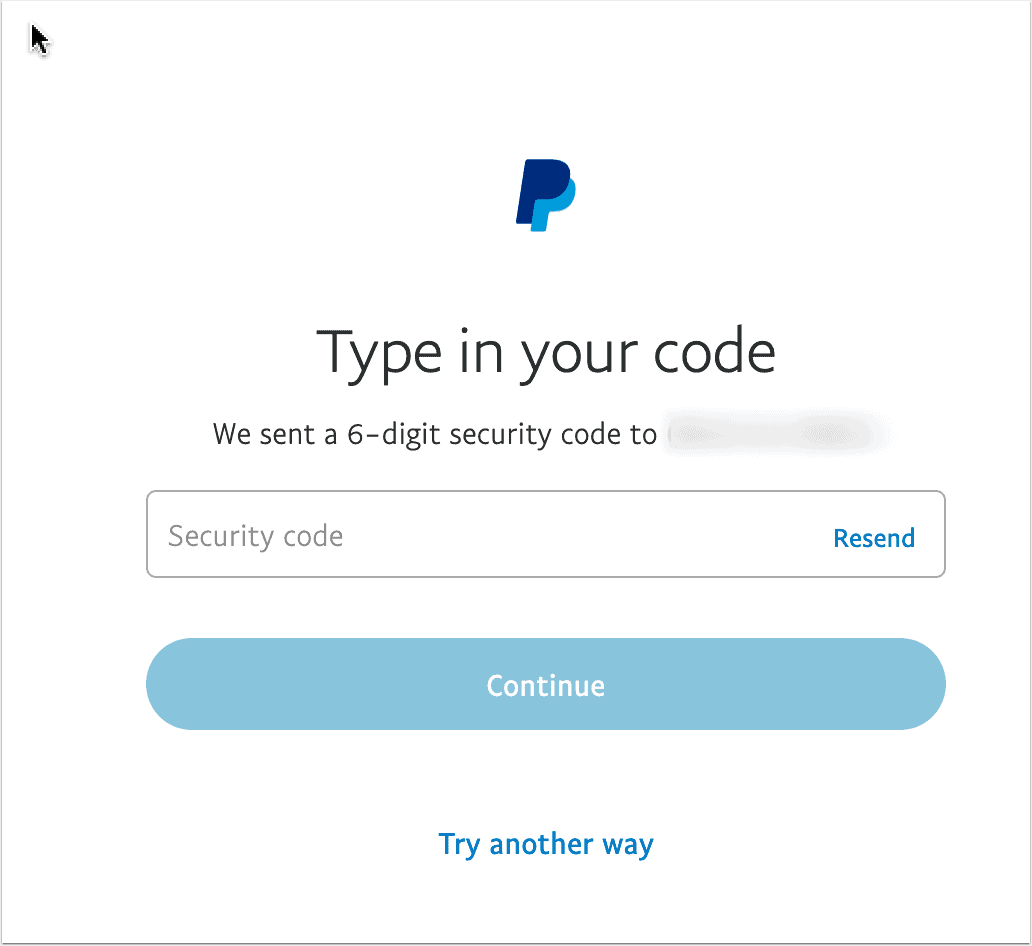
Answer PayPal’s Security Prompt
You may be asked to verify your credentials before you can proceed to the API keys.
Copy & Paste the API Keys into AccessAlly
Copy and Paste the 3 sections from inside your PayPal account directly into your AccessAlly settings. Hit save, and make sure that no errors appear after you’ve saved your API keys.
Step 2: Additional CRM Configuration
There are special cases where someone who has opted out of your email list in your CRM makes a new purchase. In these cases, AccessAlly uses an opt-in form that you create specifically for AccessAlly to re-add them to your CRM so you can deliver your goods.
If you haven’t configured this yet, here’s how to do it in your CRM:
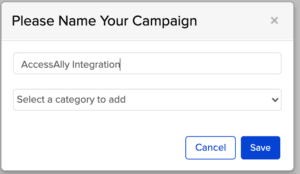
First create a new campaign:
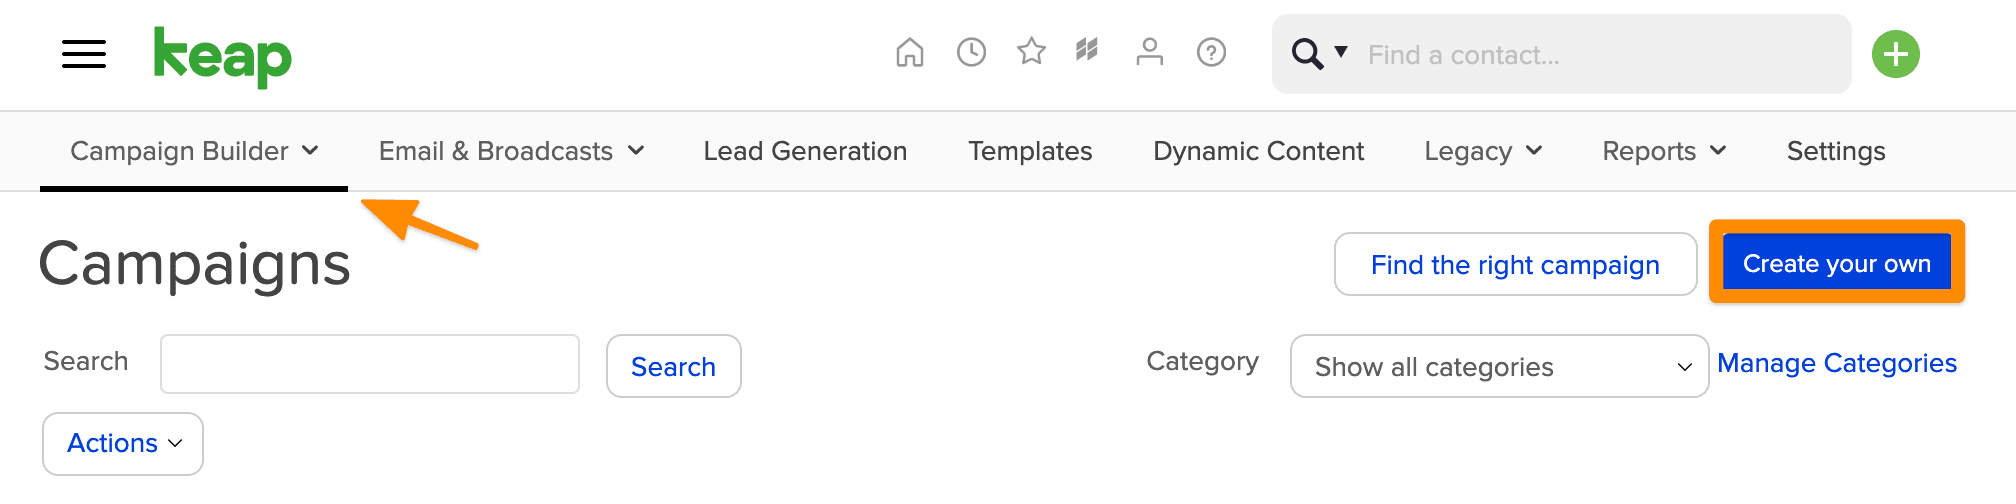
Name your campaign something that will remind you this is for AccessAlly Integration.
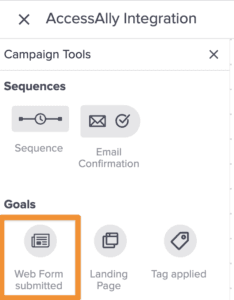
Add a “Webform submitted” option by dragging and dropping it into your campaign. Do not add any other elements attached to it, it should be on its own.
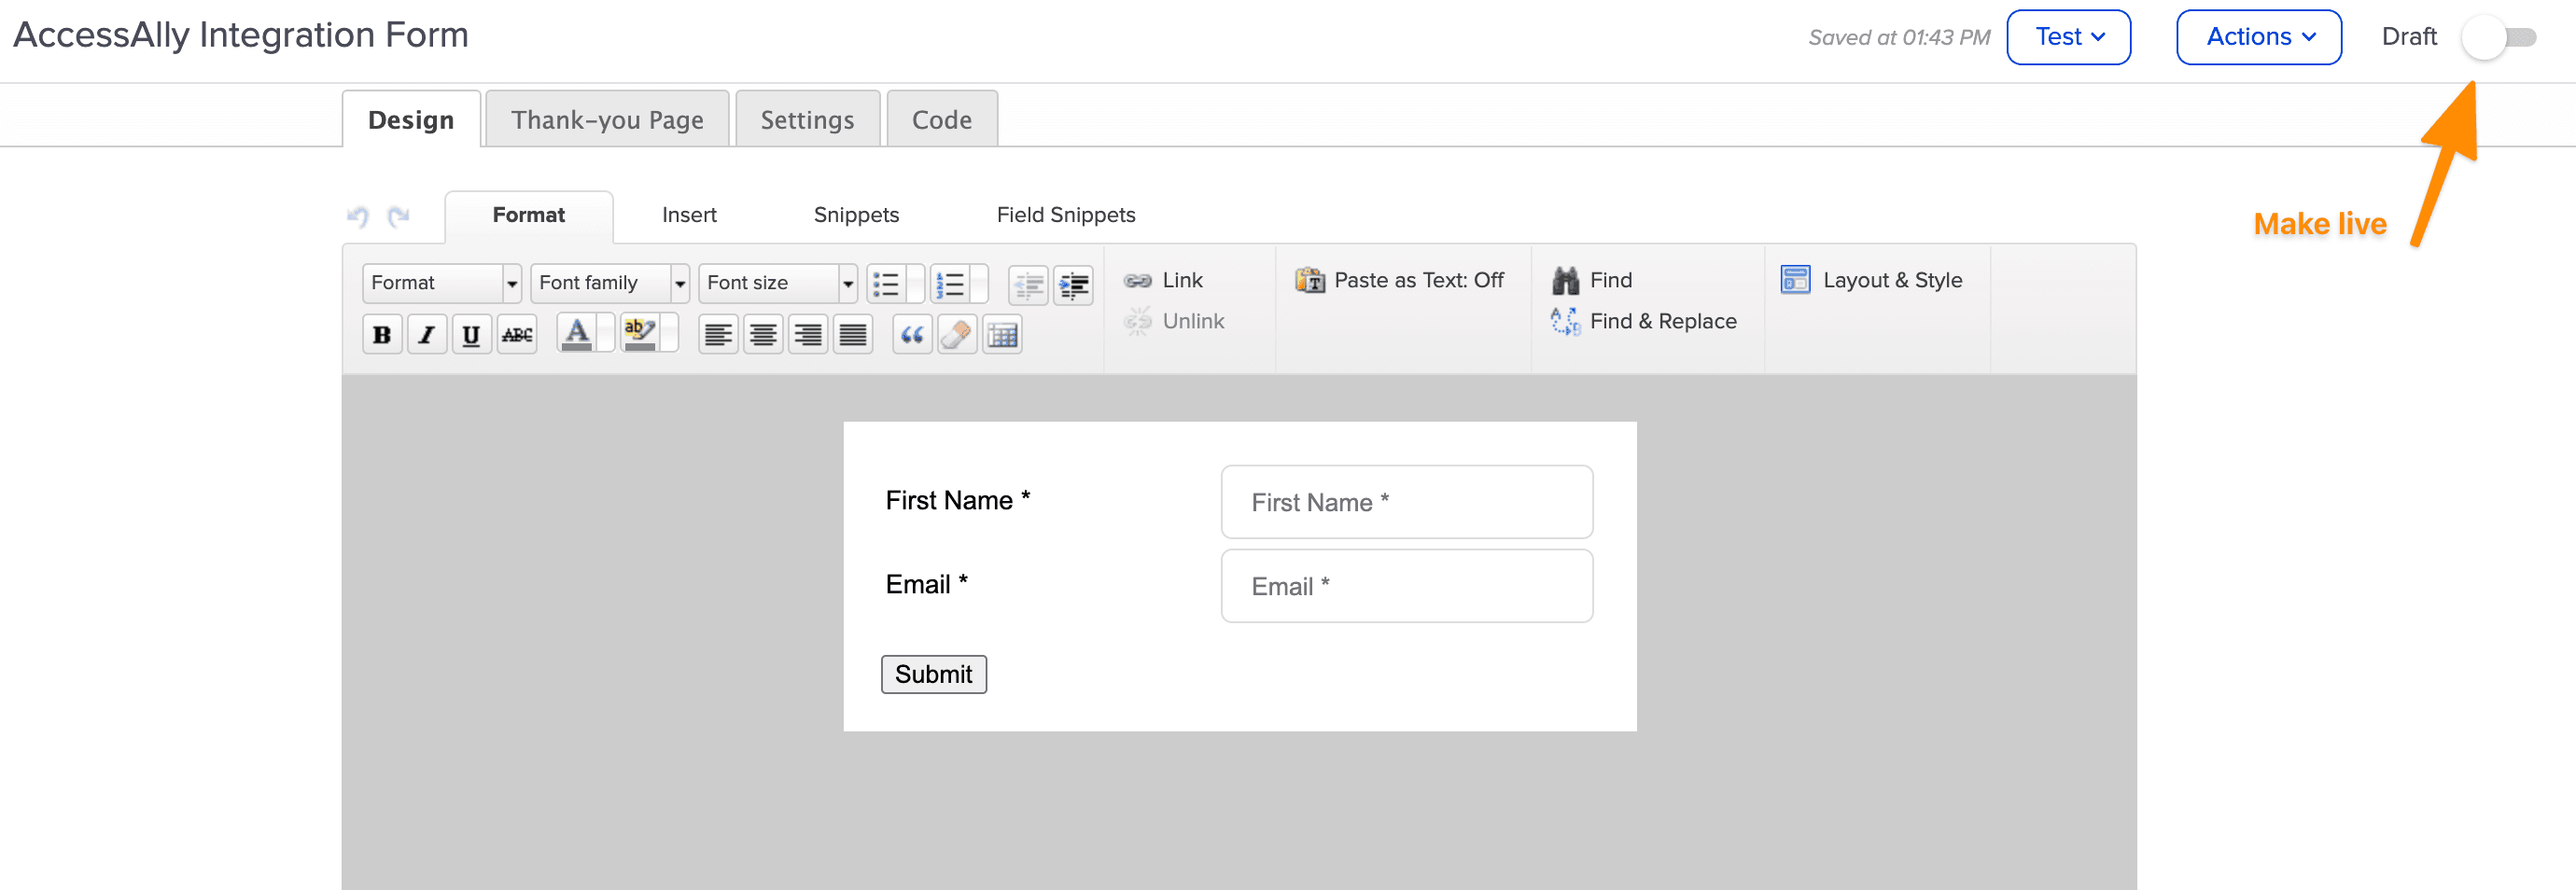
Name the form like AccessAlly Integration Form.
Edit the web form. You don’t need to make any changes to the default. Just make sure you switch from Draft to Live.
Then publish the campaign.

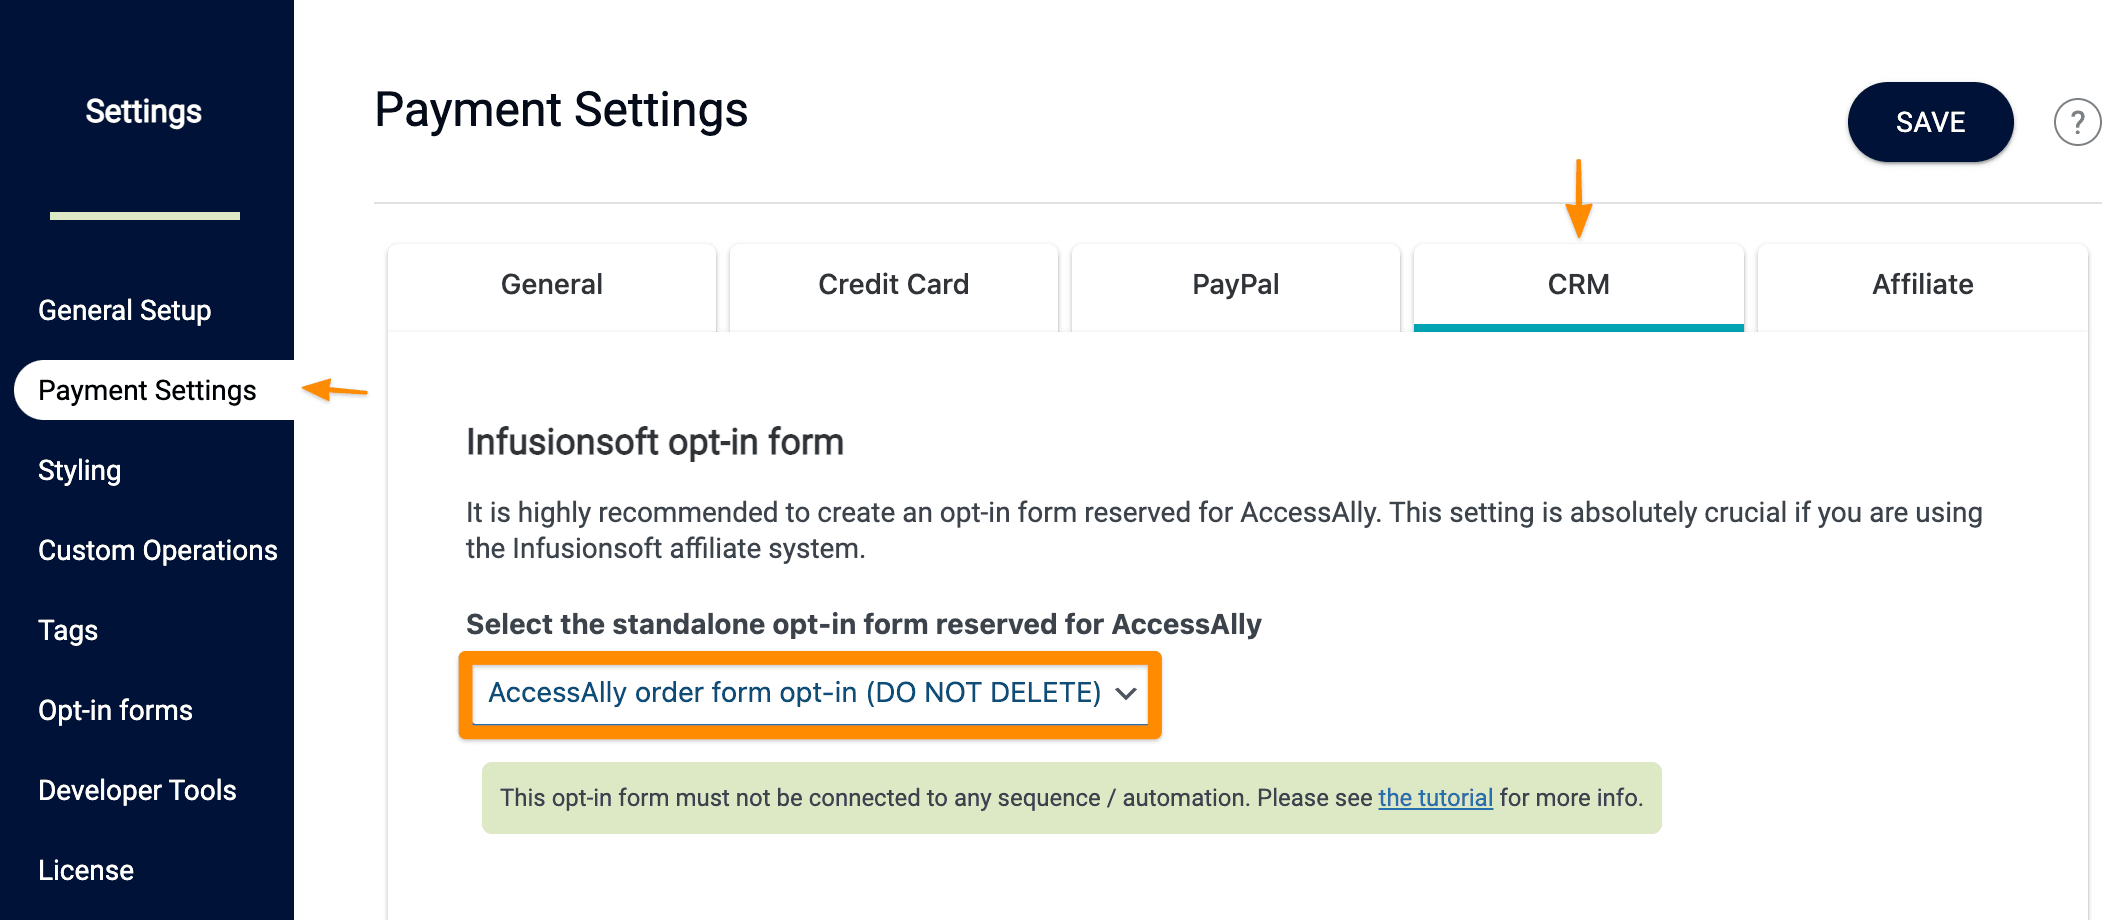
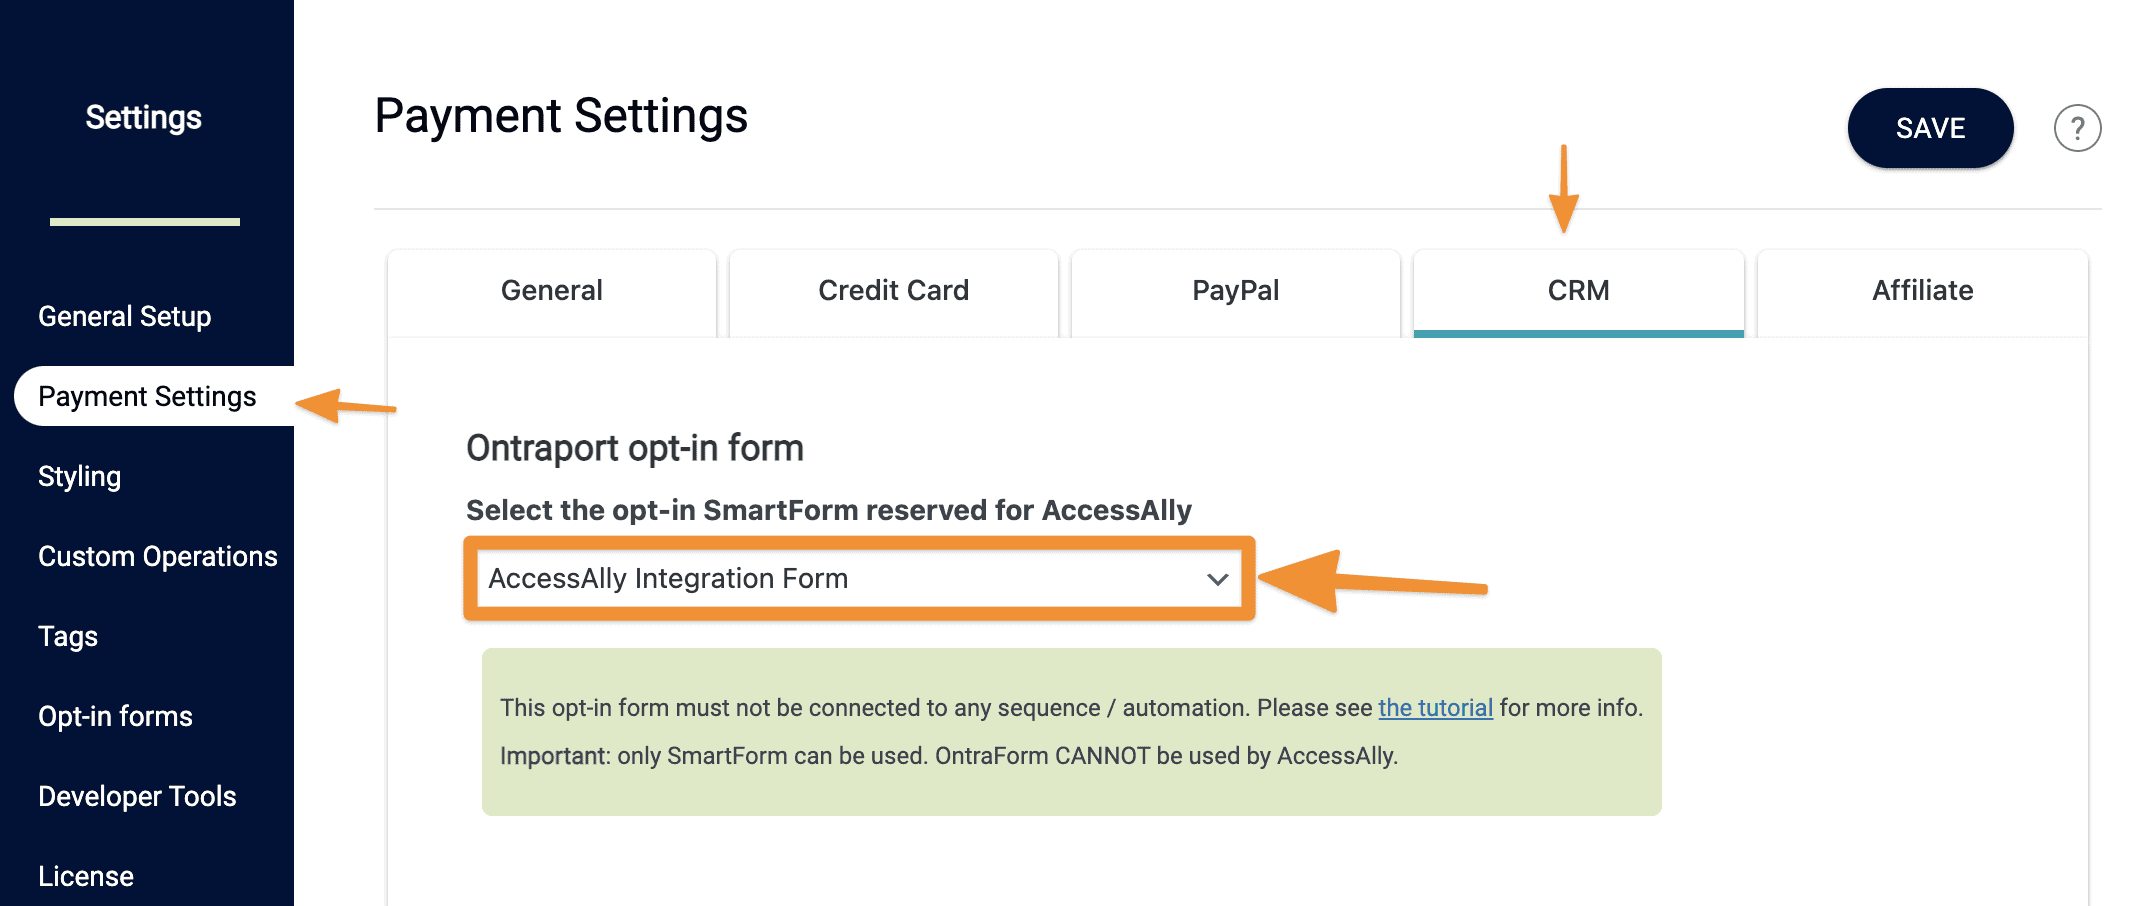
Now under AccessAlly > Settings > Payment Settings > CRM, choose the new Form you just created and hit save.
Hit Save.
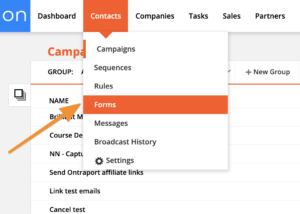
First go to Contacts > Forms.
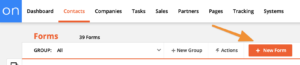
Choose the “Create new form” button.
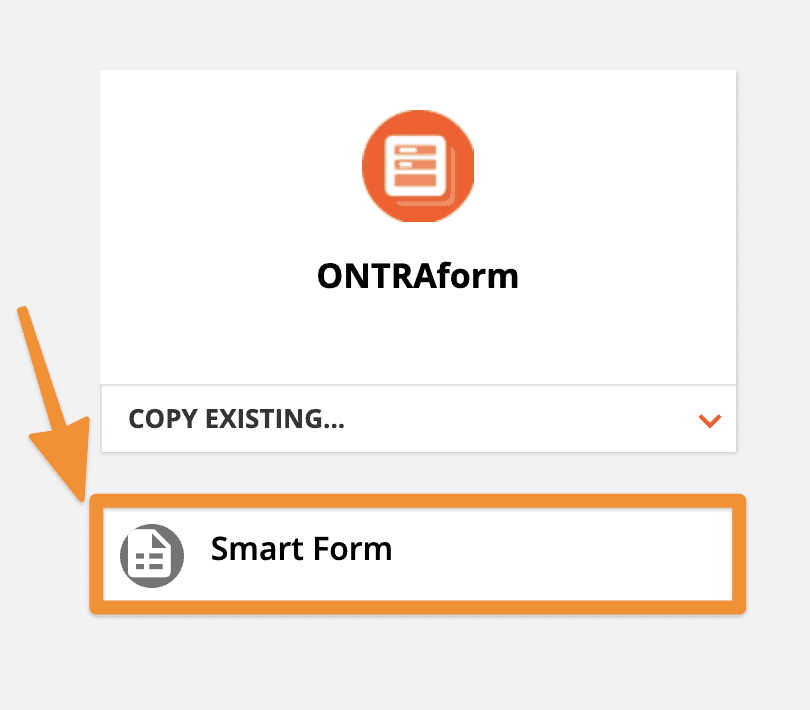
Now select the “Smart Form” option to create the simplest type of Ontraport Form.
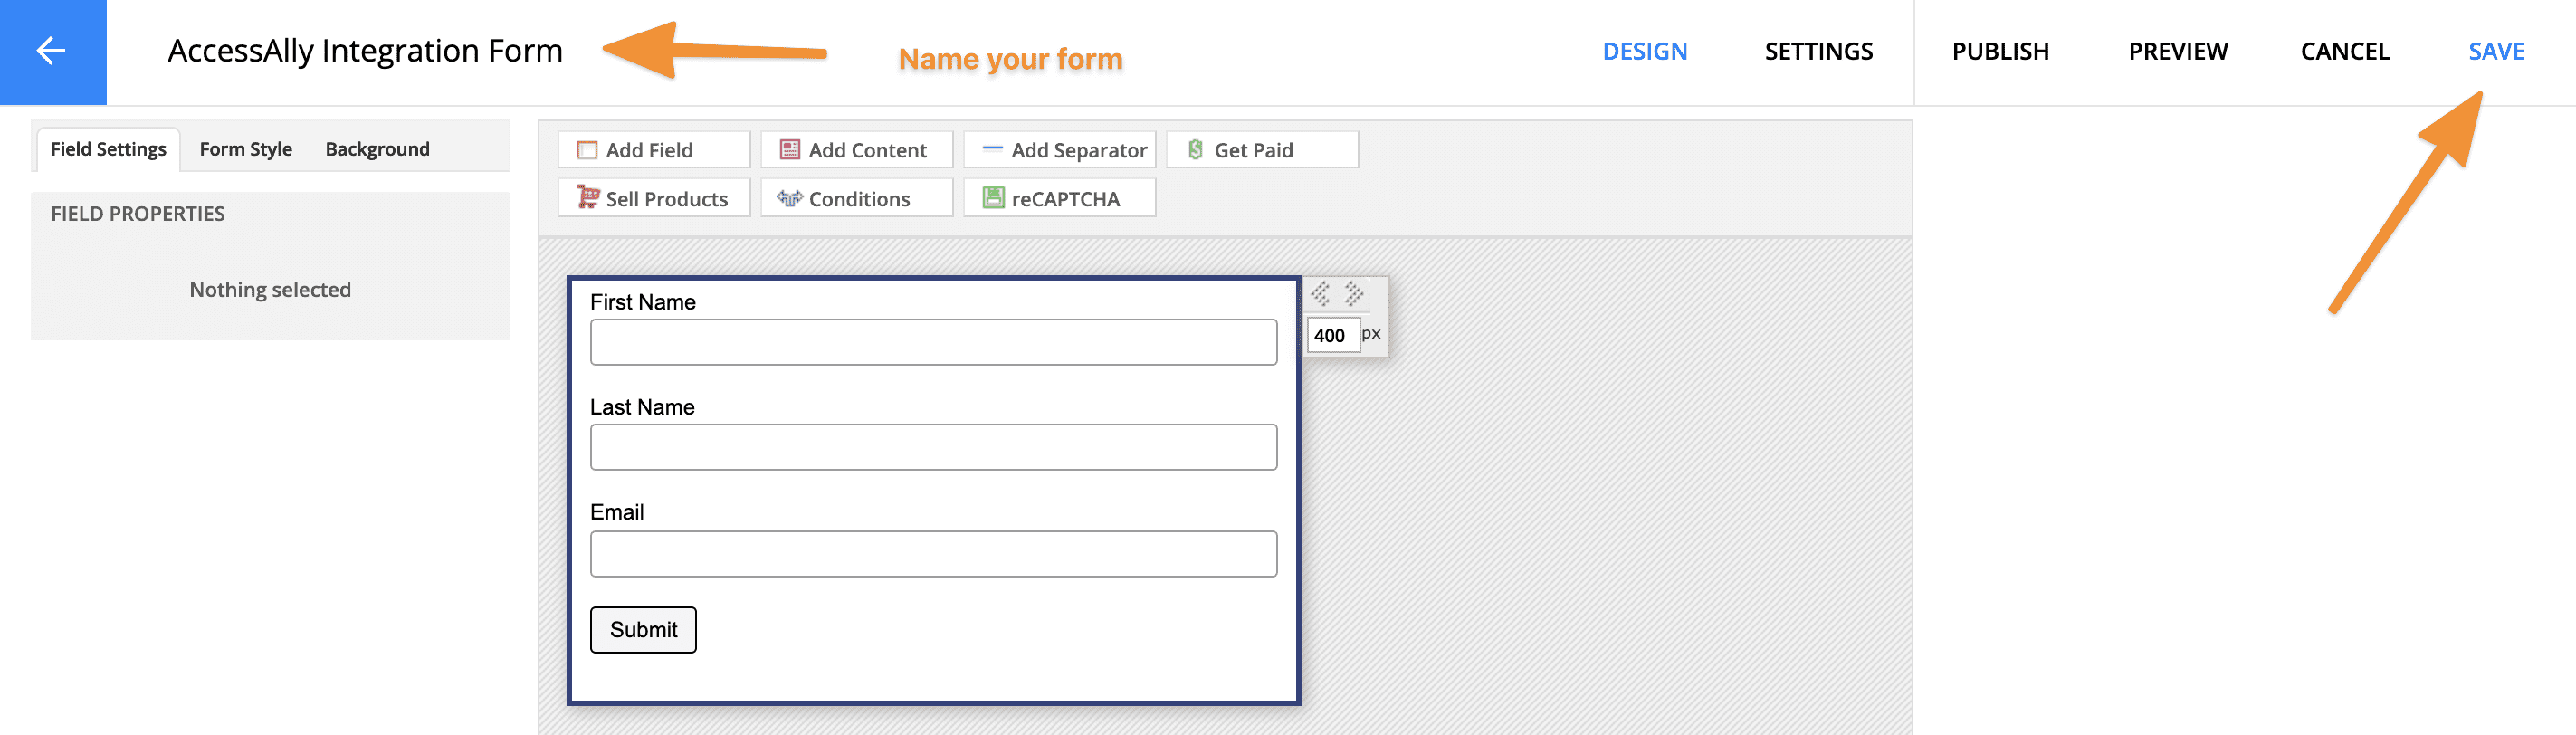
Here all you have to do is name your form so you can easily find it later, and hit save.
Now under AccessAlly > Settings > Payment Settings > CRM, choose the new Form you just created and hit save.
Step 1: Create a list in ActiveCampaign to use with AccessAlly.
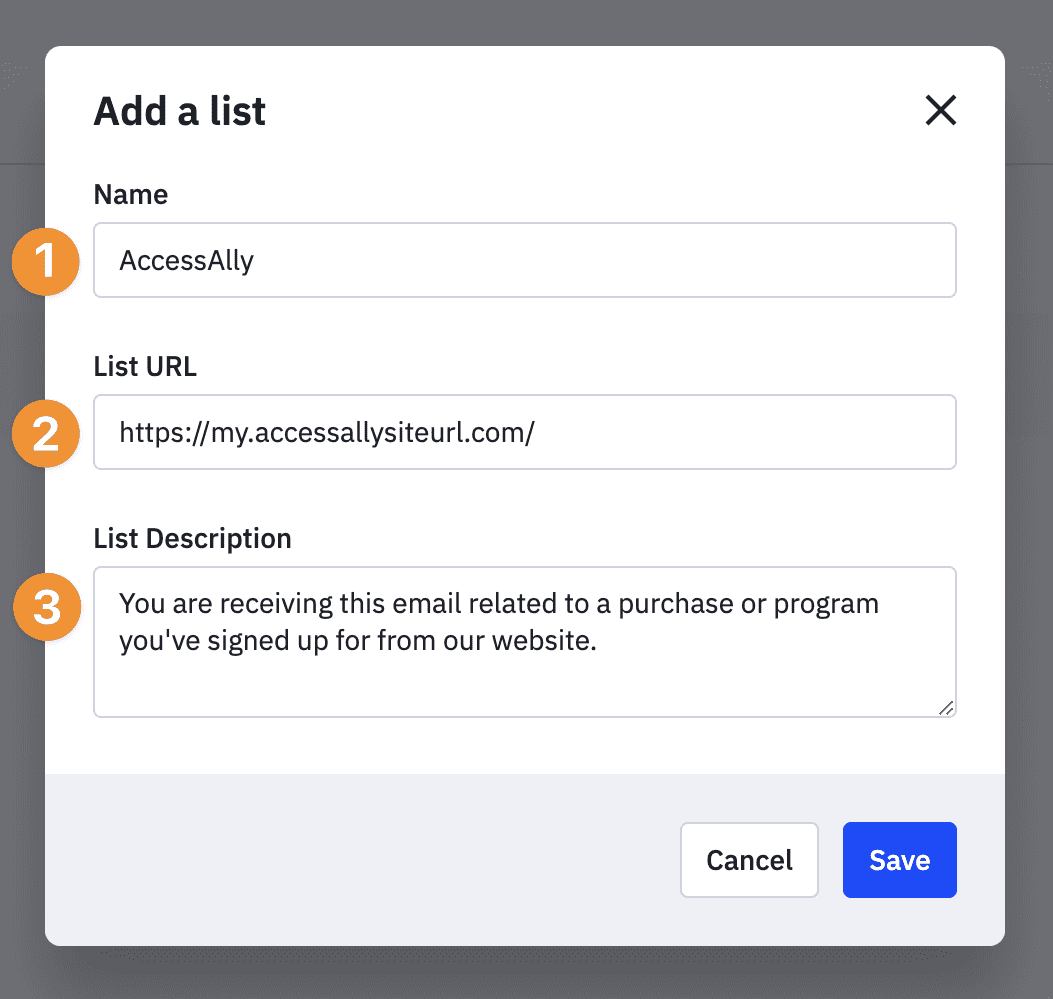
Go to Contacts > Lists > “Add a list“

Create a new list called “AccessAlly”.
Step 2: Add a new form.
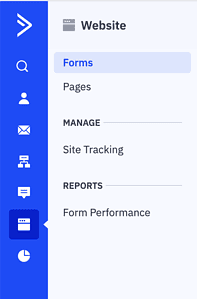
Go to Website > Forms > “Create a form”
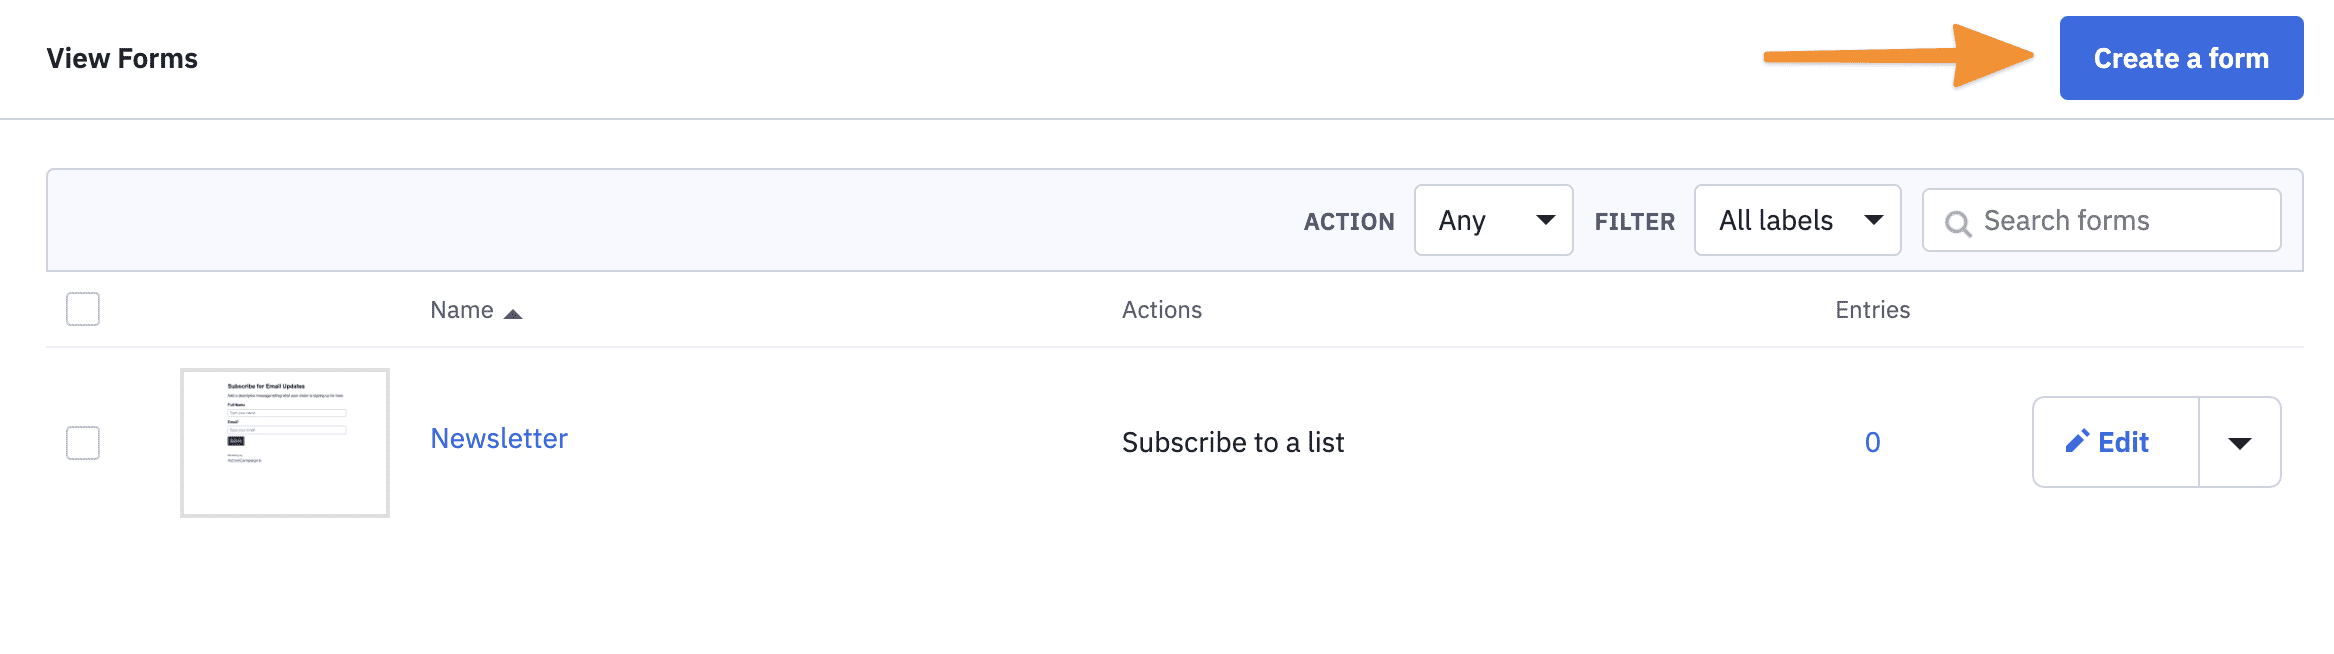
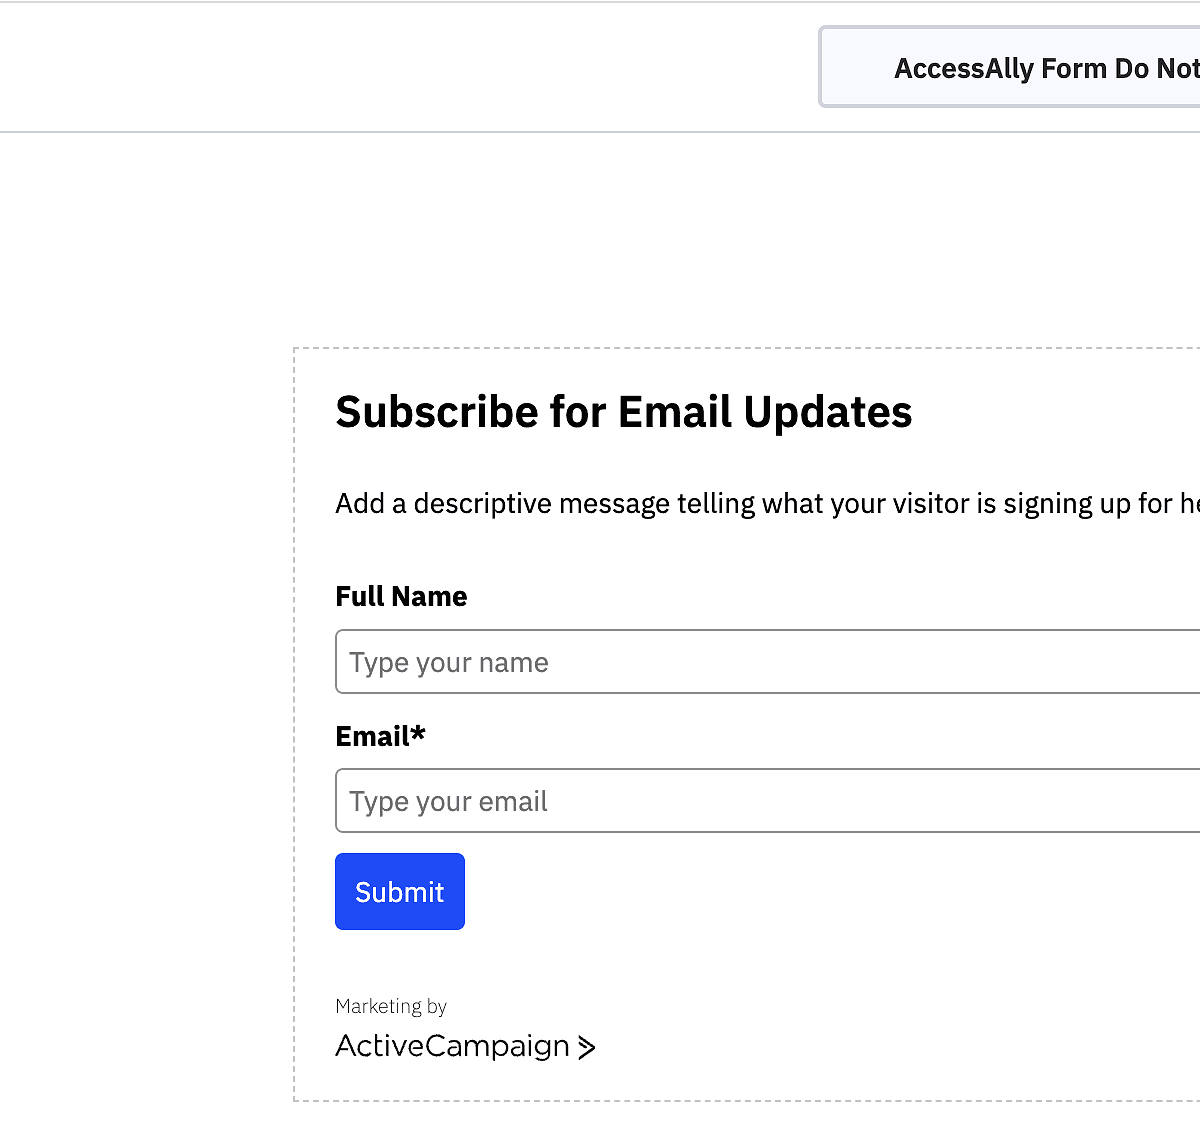
Name your form and under action choose “Subscribe to a list” and select your AccessAlly list from the dropdown.
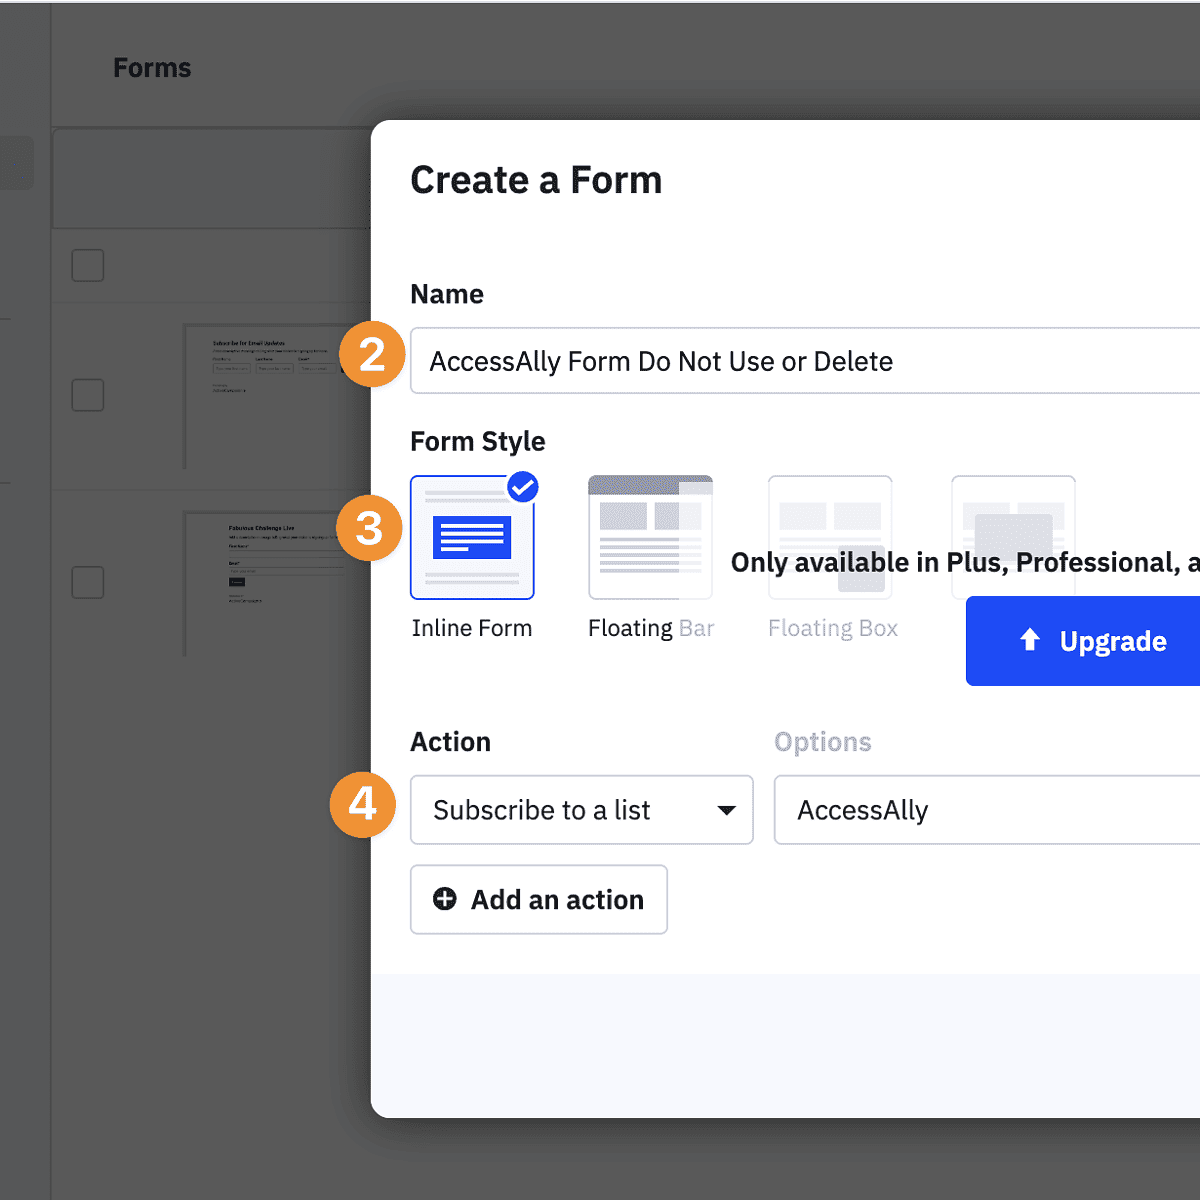
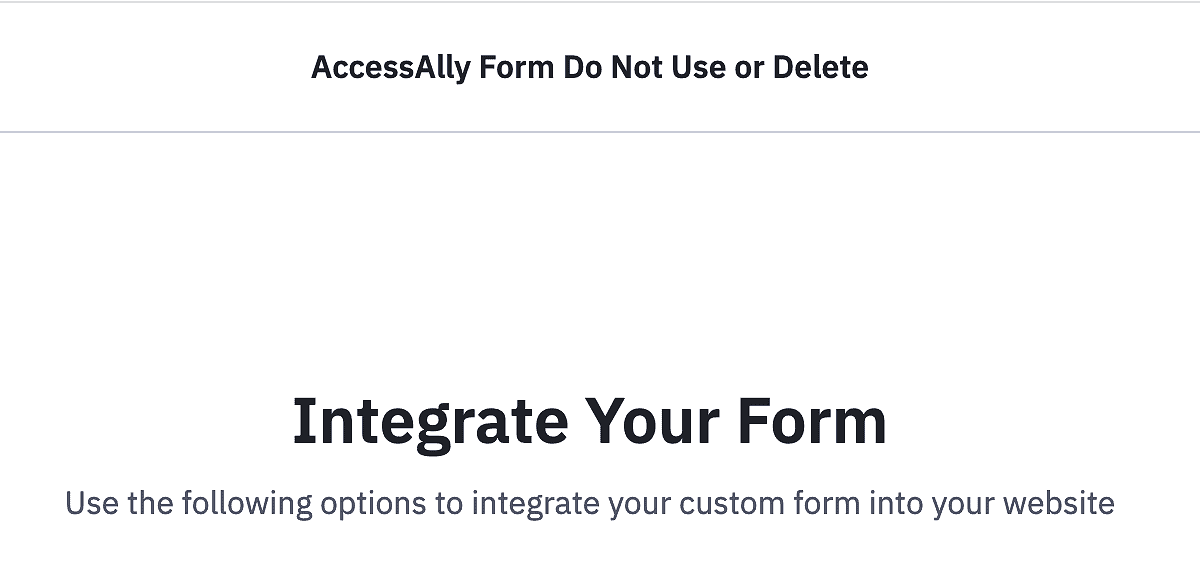
Go to the next step by clicking “Integrate”.
There is no need to save this code or use it anywhere, simply hit Save and Exit.
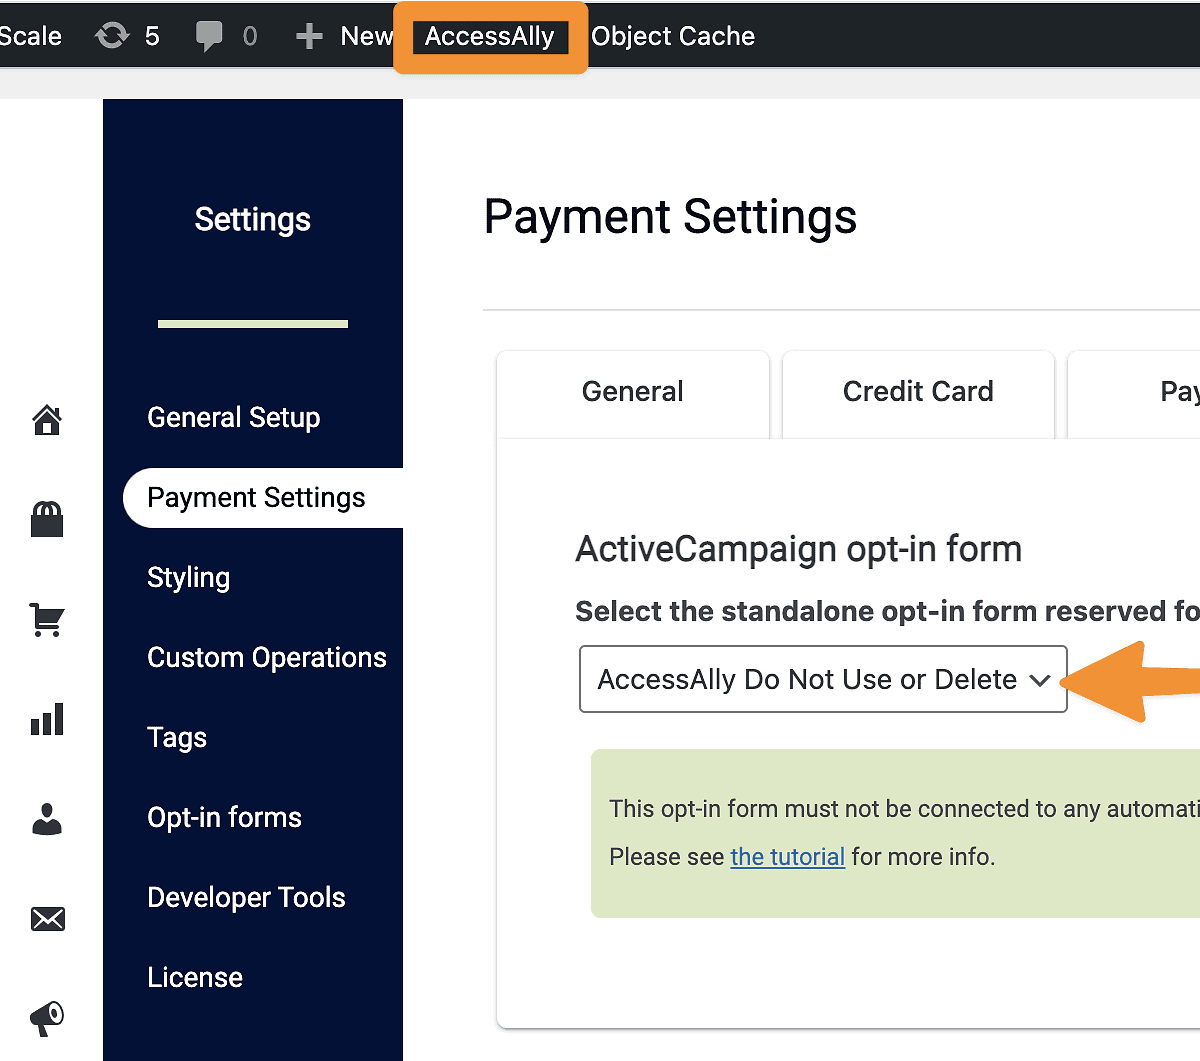
Now under AccessAlly > Settings > Payment Settings > CRM tab, choose the new Form you just created and hit save. If you do not see your form hover over AccessAlly in the top bar and click “Refresh CRM info”.
First choose “Landing pages and forms” from the top bar.

Choose “Create New”.

On the next screen, choose Form.

Select the Inline option.
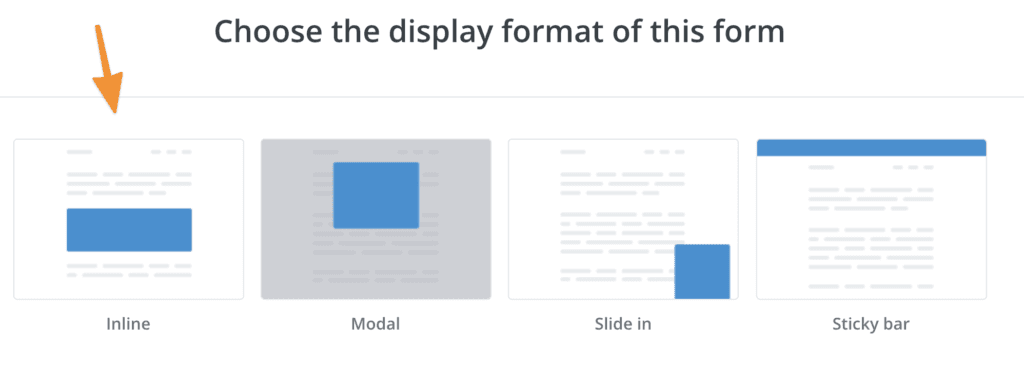
Next, you can choose any design since it won’t be shown publicly.
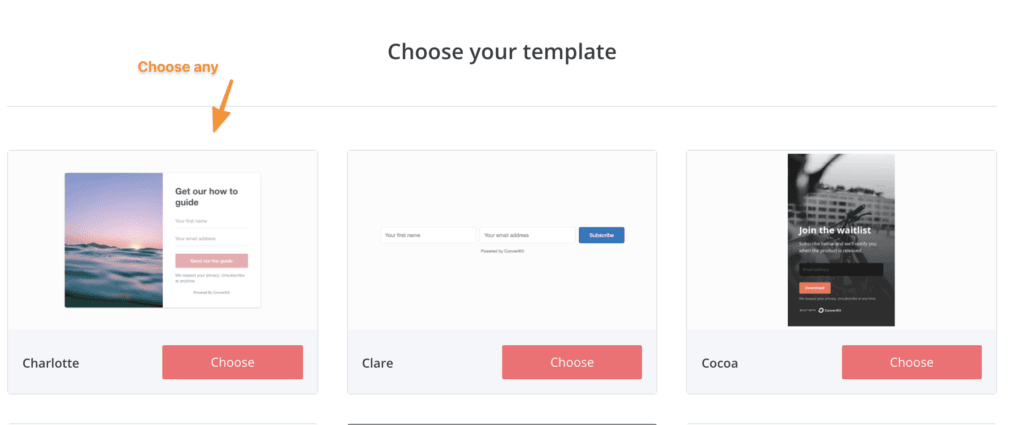
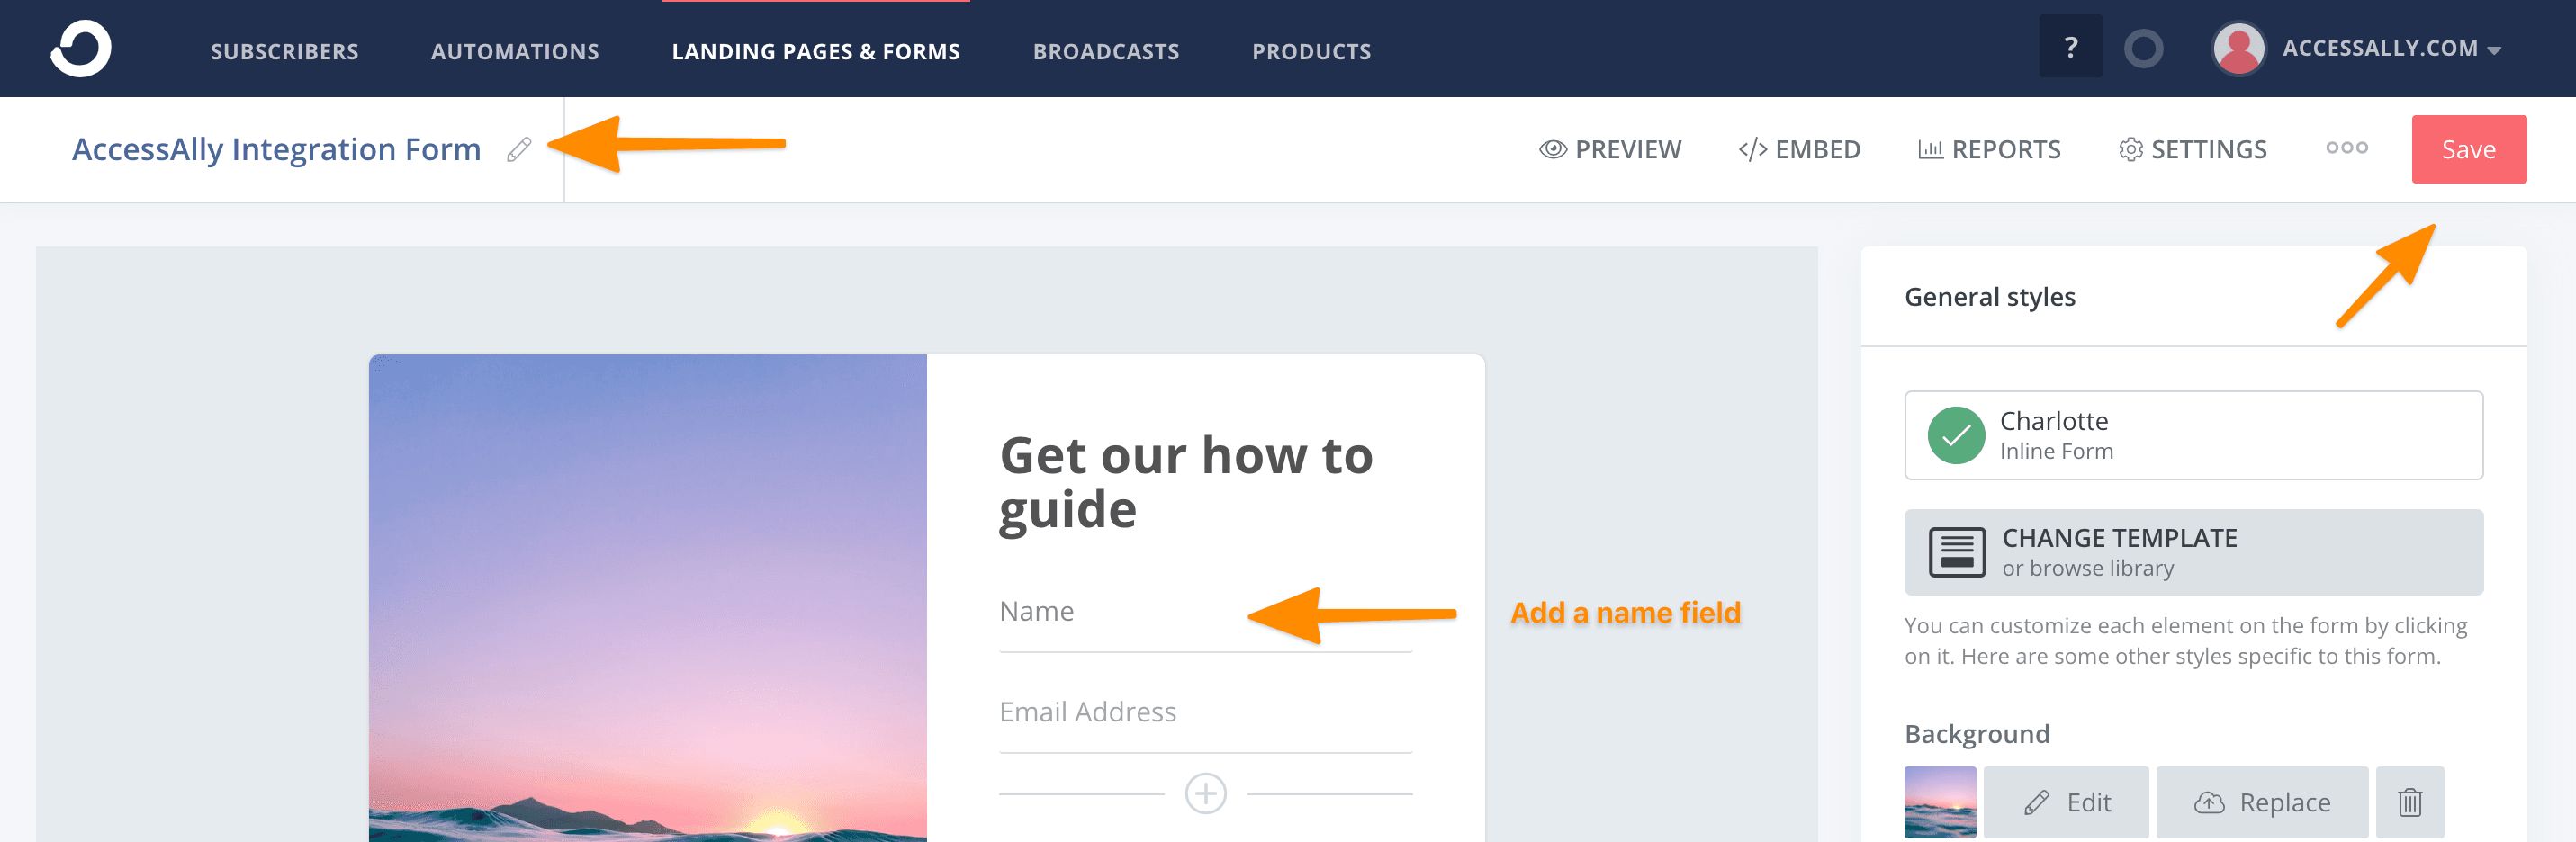
Name your form so it’s easy to find inside AccessAlly later. You should also add a name field that connects back into your Kit fields, so you have all the info you need.
Then click on “Settings” for your form. You have two options, under “Incentive”:
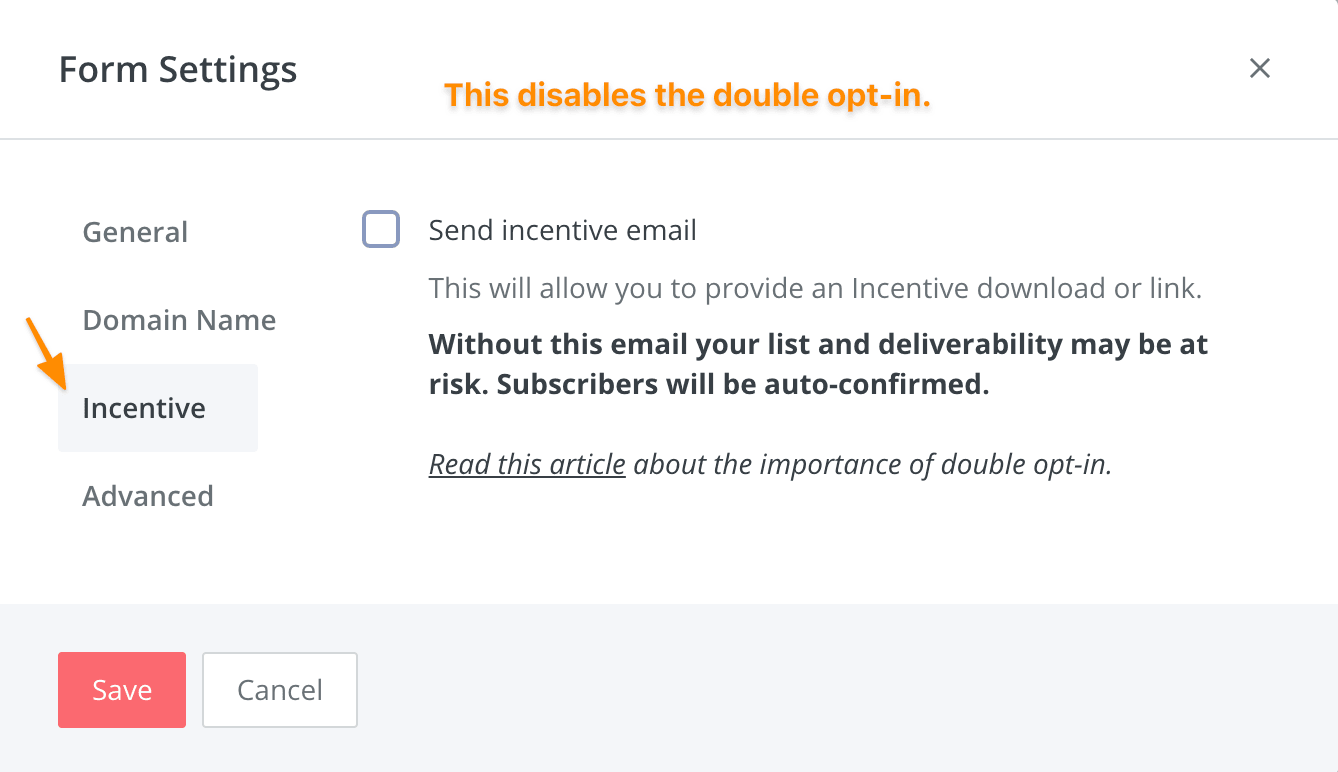
You can disable the incentive email which will turn off the double-opt in confirmation. This is the recommended option for order forms and taking payments through AccessAlly. This way people won’t need to confirm to receive their welcome email and access.
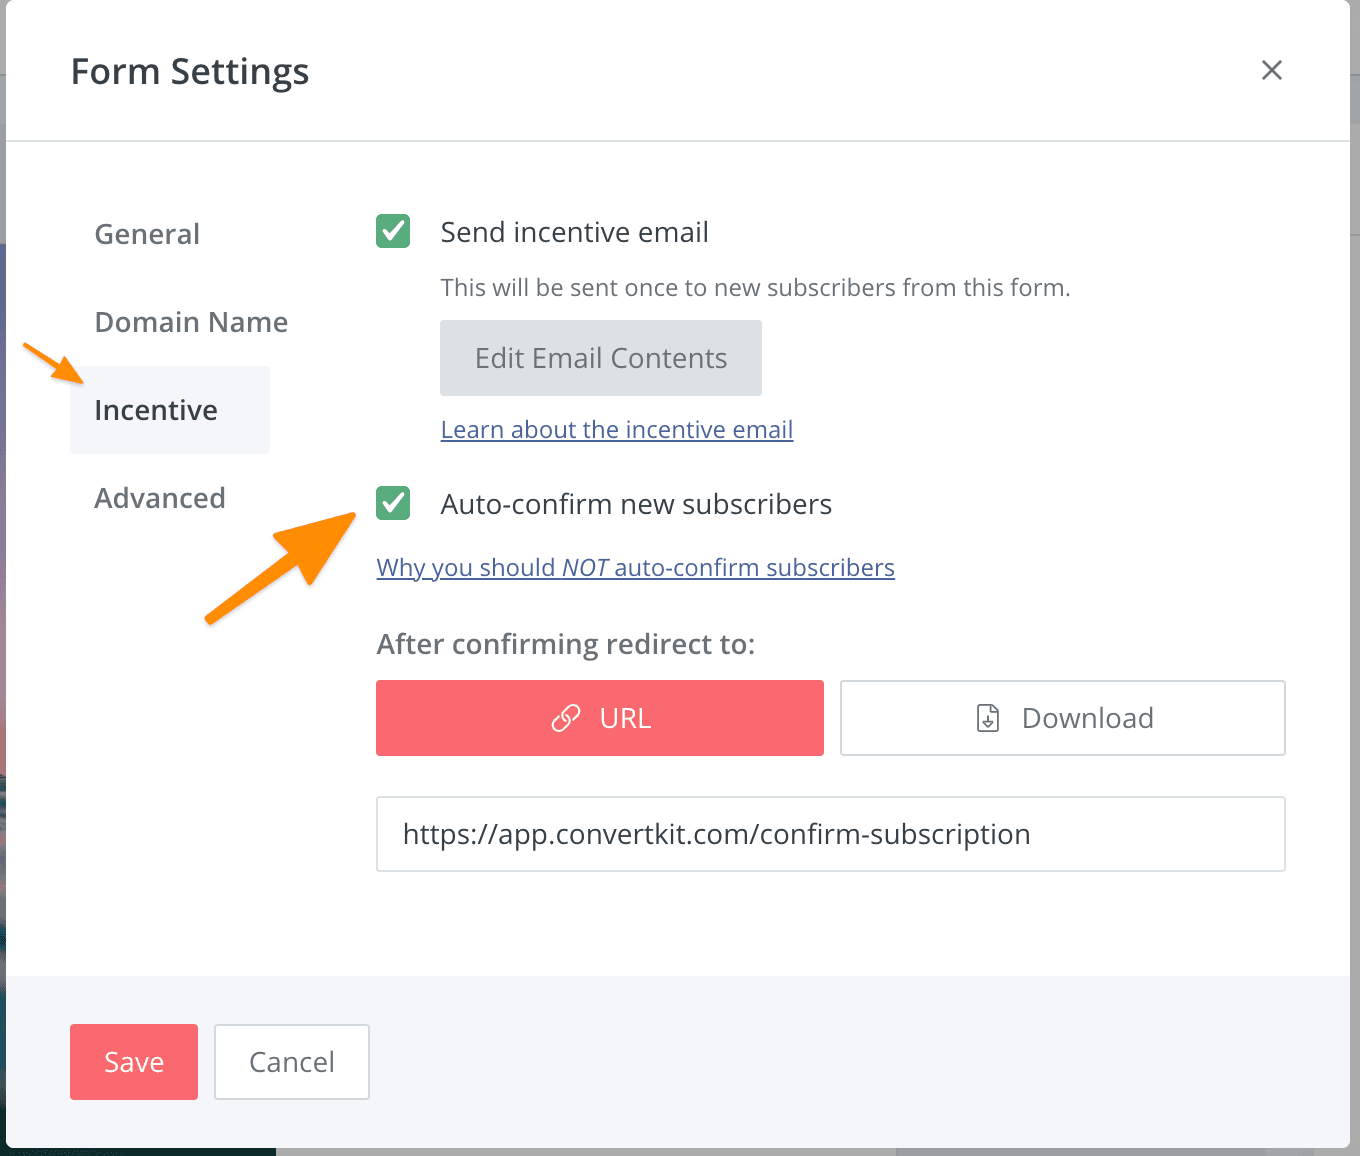
You can also keep the incentive email, but enable the checkbox to Auto-confirm subscribers, which will also help with getting people access as soon as possible.
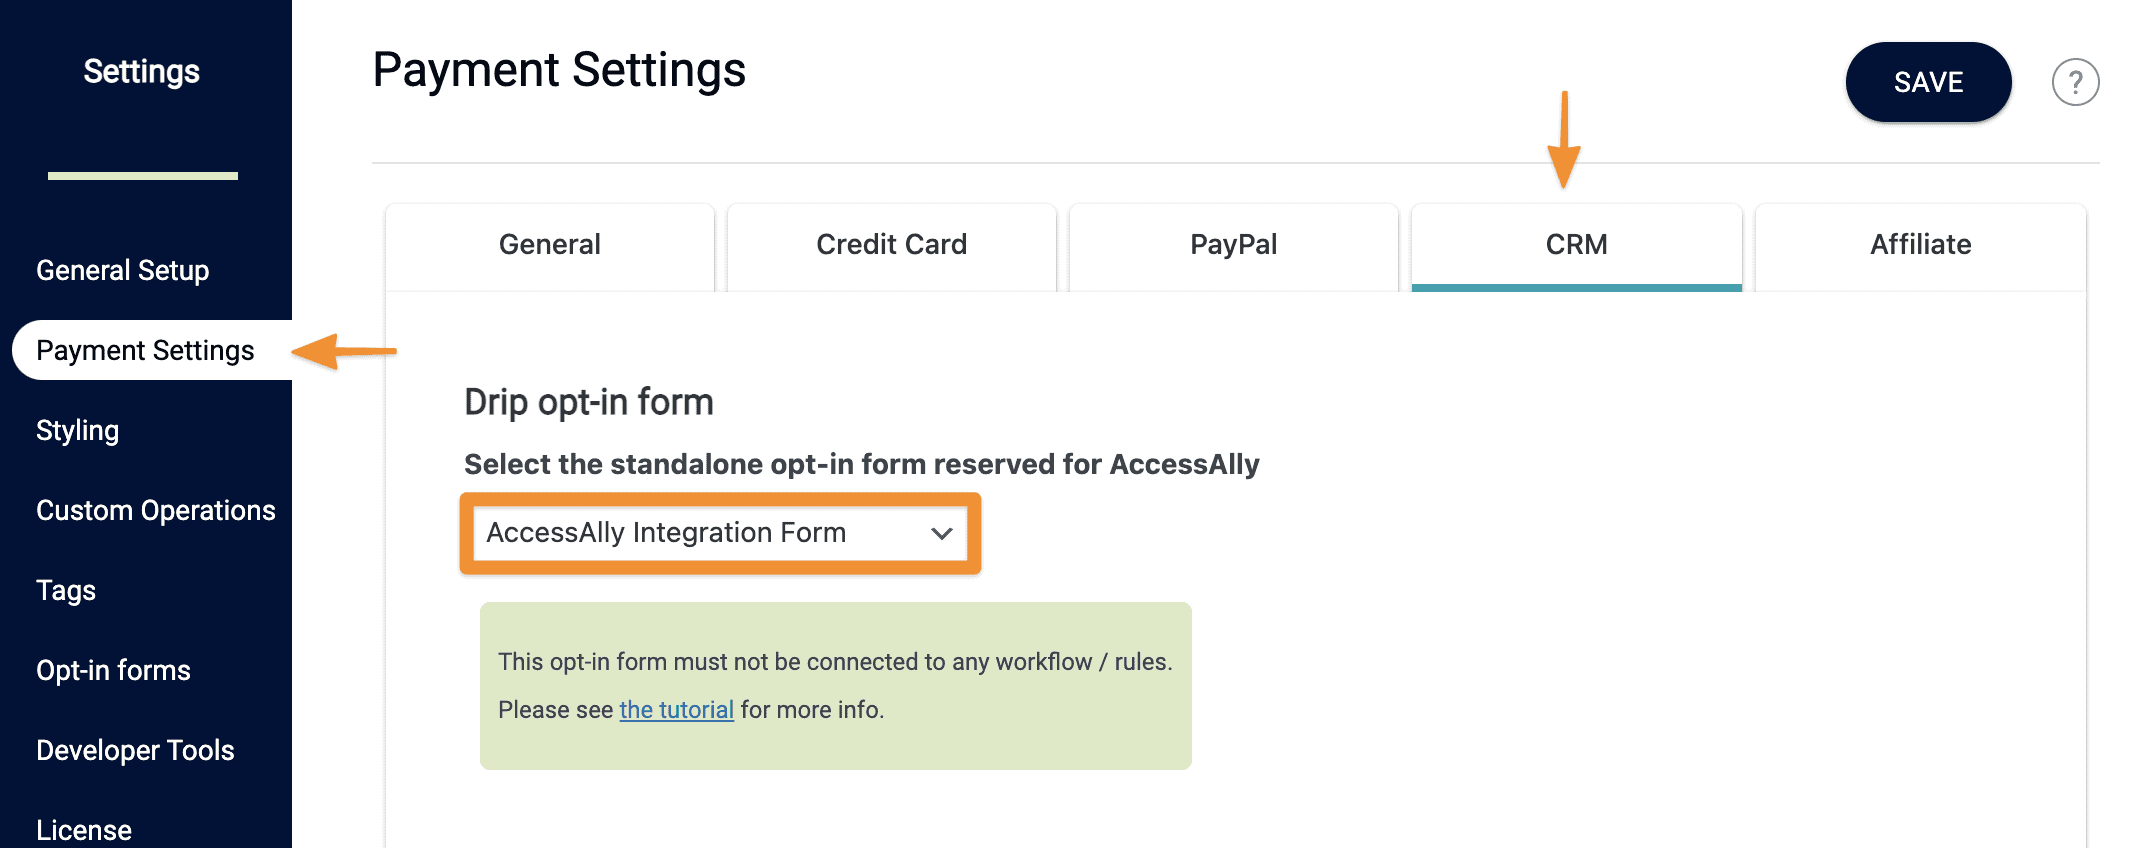
Now under AccessAlly > Settings > Payment Settings > CRM, choose the new Form you just created and hit save.

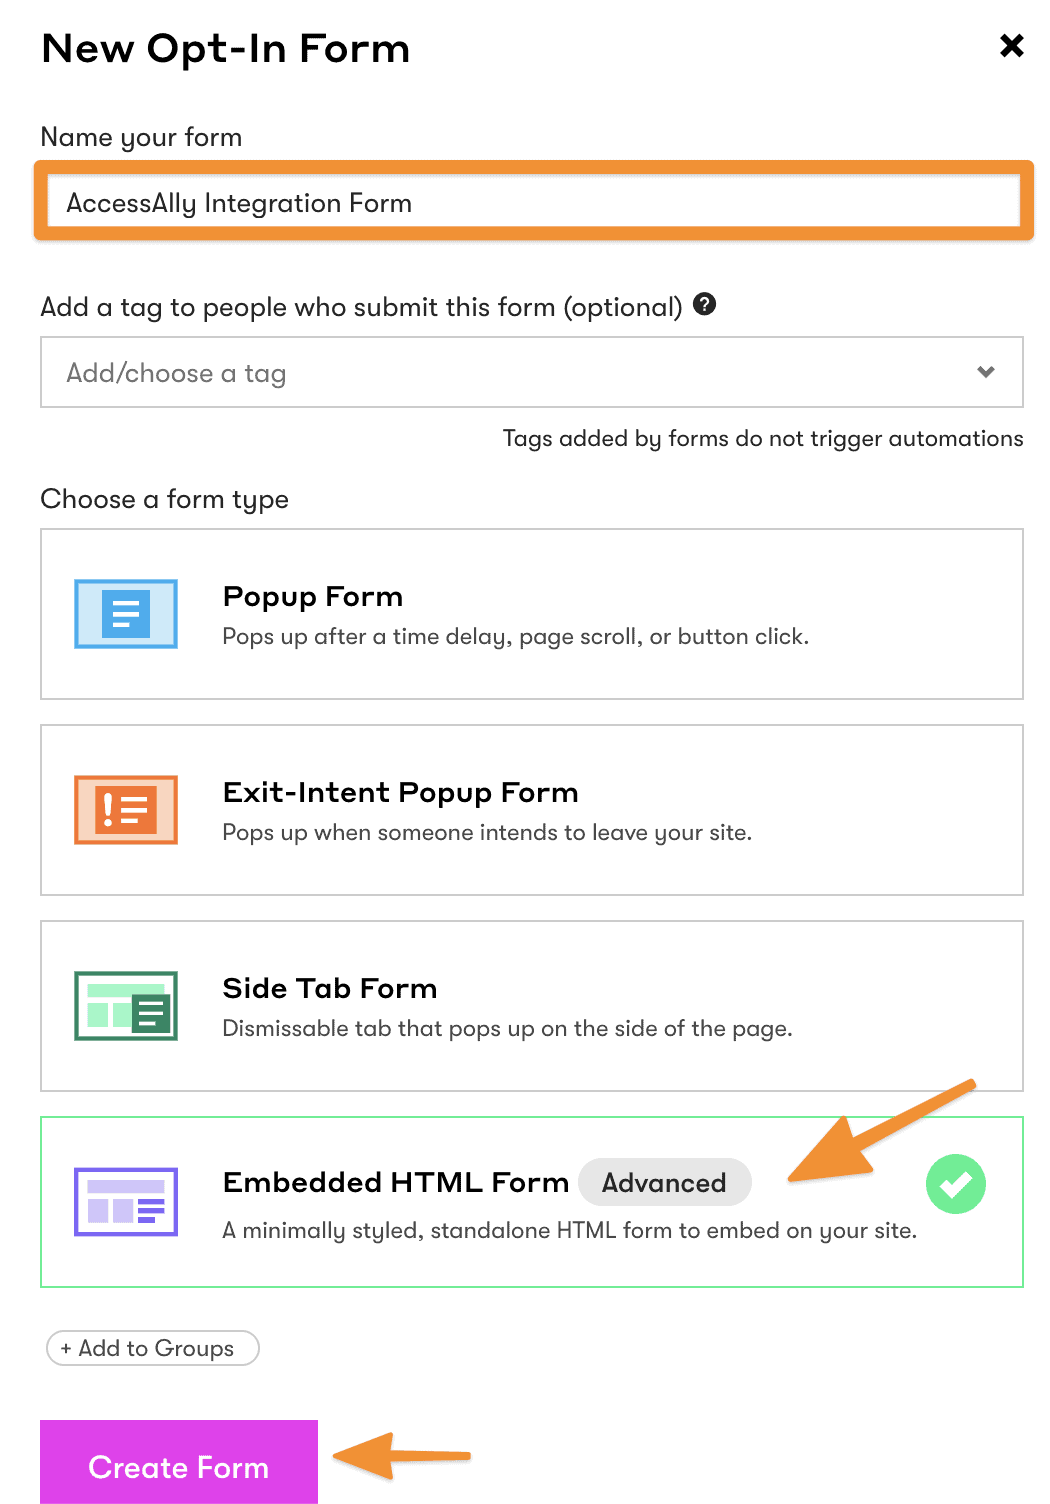
First click on Forms in the top navigation.

Choose to create a new form.

Name your form something that you will be able to find later. Choose the “Advanced” form option, since we just want a plain form and it won’t be used anywhere else.
Make sure that Double Opt-in is disabled for this form.
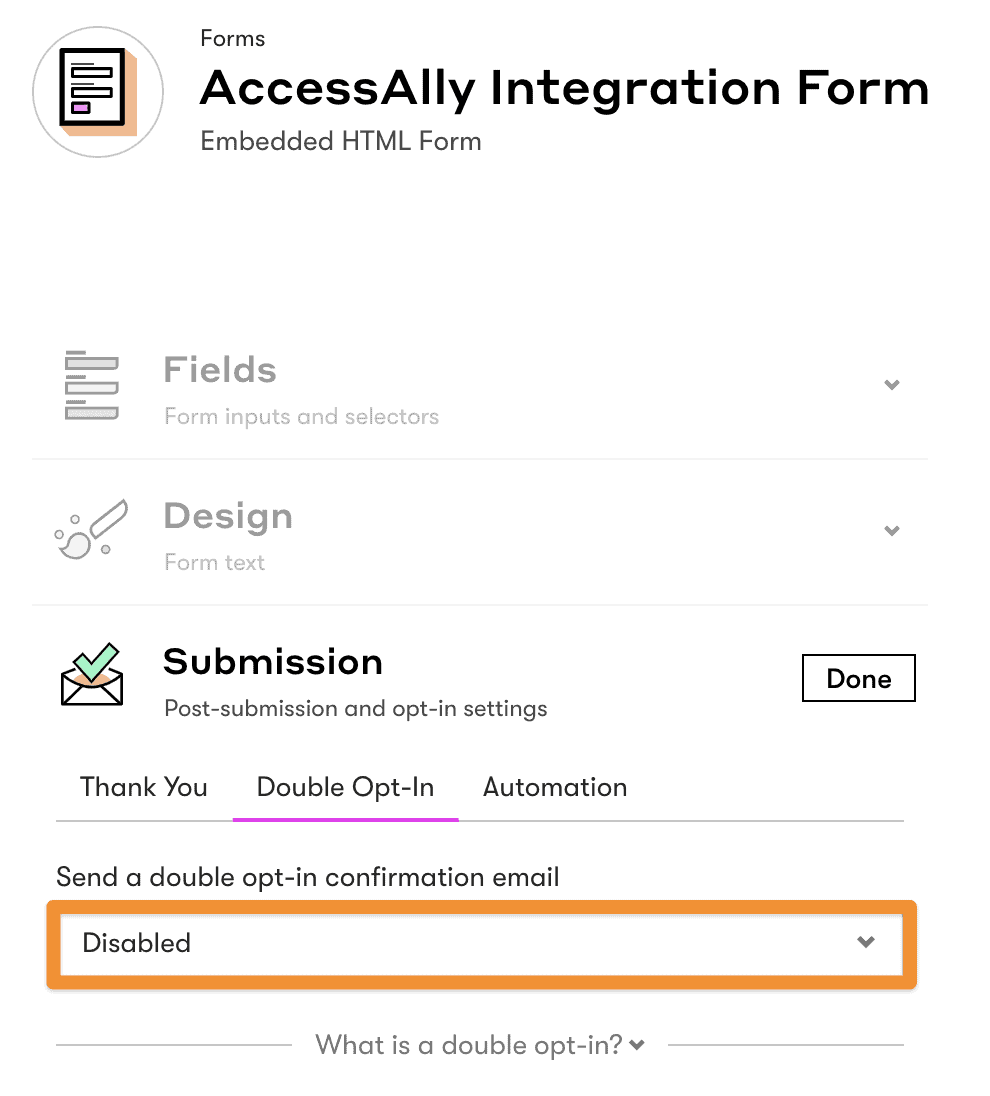
You’re done creating your form.
Now under AccessAlly > Settings > Payment Settings > CRM, choose the new Form you just created and hit save.
Step 3: Enable Recurring Payments For PayPal (Optional)
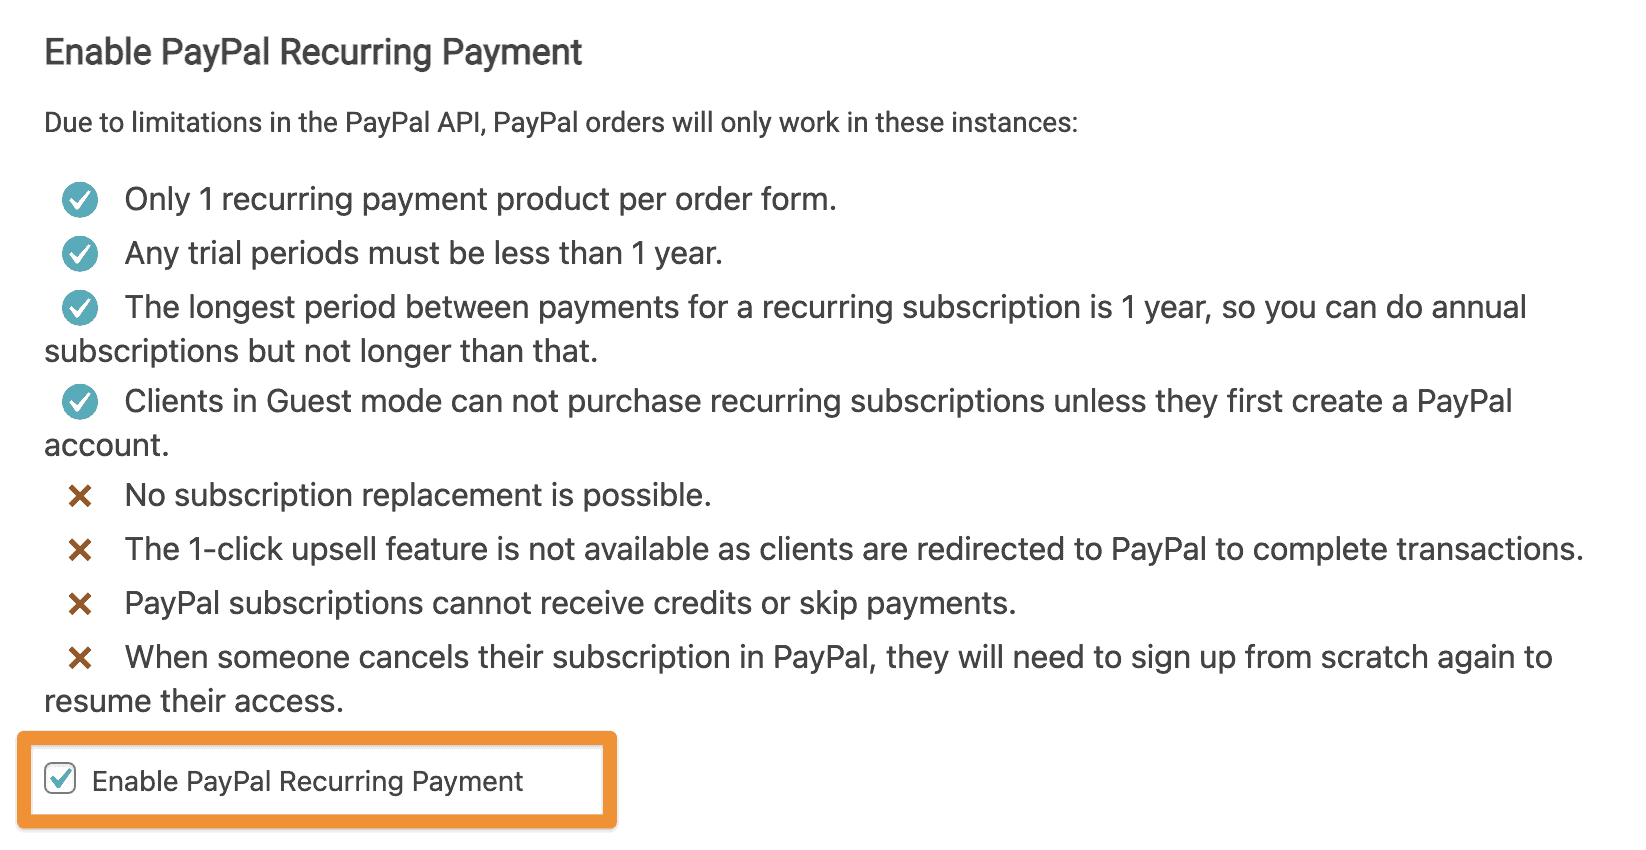
By default, PayPal recurring subscriptions are not enabled, because there are certain restrictions with PayPal subscriptions. If you would like to go ahead with PayPal recurring payments keep reading to enable them.
Here’s what you can and cannot do with PayPal recurring payments, due to restrictions with PayPal’s system:
- There can be at most 1 recurring payment product in the offer.
- The longest period between payments for a recurring subscription is 1 year, so you can do annual subscriptions but not longer than that.
- The trial period (if configured) cannot exceed 1 year.
- The offer cannot contain subscription replacements.
- Clients in Guest mode can not purchase recurring subscriptions unless they first create a PayPal account.
- The 1-click upsell feature is not available as clients are redirected to PayPal to complete transactions.
- You can’t add credits for PayPal recurring payments.
- When someone cancels their subscription in PayPal, they will need to sign up from scratch again to resume their access.
Sounds good? Then scroll down to enable the checkbox on the “PayPal Recurring Subscriptions” section and hit Save.
That’s all you have to do to enable recurring payments or payment plans through PayPal. Now when someone checks out through the AccessAlly order forms, they can pay for a payment plan or recurring subscription via their PayPal account.
A few things to keep in mind:
- Anyone can cancel a subscription through their own PayPal account. If they cancel, AccessAlly will apply the “Payment Failed” automation so you can get in touch with the customer to come back and complete their payments.
- This is especially important for a payment plan instead of a recurring monthly subscription, and you may want to word your follow-up emails accordingly.
- Members can still cancel their subscriptions through AccessAlly’s interface, too.
- If you decide to turn off and disable PayPal recurring subscriptions down the line, your existing PayPal subscriptions will continue to be charged and run successfully – but the PayPal option will stop showing on the checkout pages.
Tagging PayPal purchases
Since PayPal subscriptions don’t allow for all of the same operations as Stripe payments, it’s useful to be able to distinguish between the two types of orders.
You can do that by applying a new tag when someone purchases through PayPal, like this:
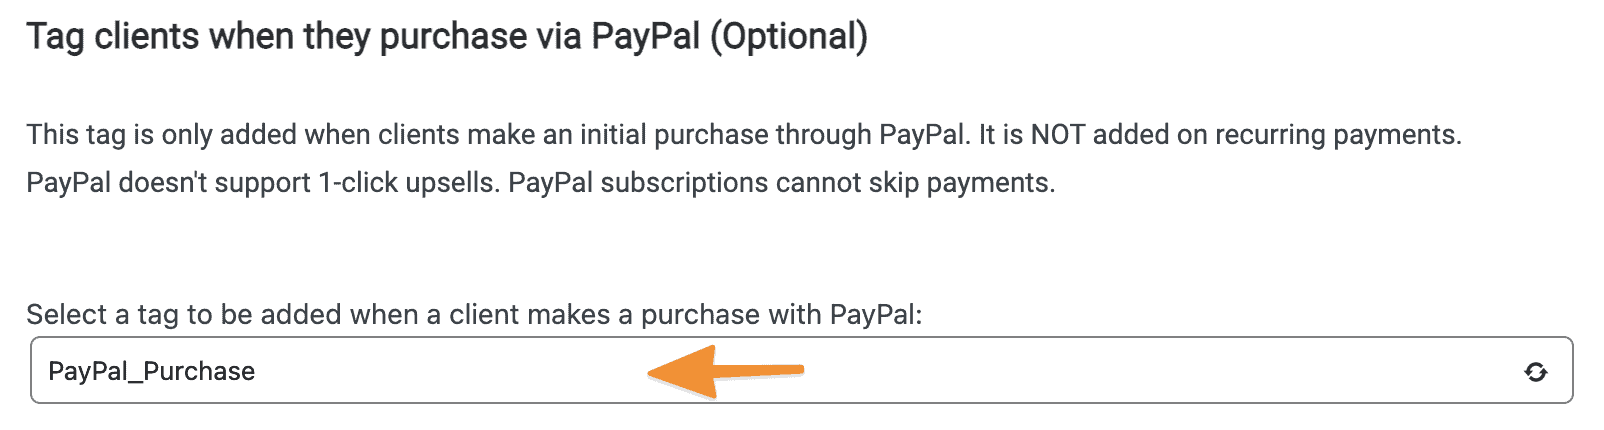
Then, when you’re setting up a self-management area you can hide any options like the skip payment options for those who have this PayPal tag using conditional shortcodes.
Managing Recurring Payment Refunds
With AccessAlly’s PayPal recurring payments, you can refund the initial payment with one click right inside AccessAlly.
However, if you want to refund future payments (payments number two and up) then you’ll need to login to PayPal and do the refund manually.
Step 4: Configure PayPal Timezone Settings
Here, scroll down until you see the timezone settings.
Please set the Time zone to match the one set in your PayPal account. (PayPal > My Profile > My settings > Time zone)
If these timezones do not match, you might receive the “Subscription start date should be greater than current date” error when purchasing a subscription.
Testing & What The End Client Will See
It’s always a good idea to test your integration with a small dollar payment (you can set up a coupon for yourself).
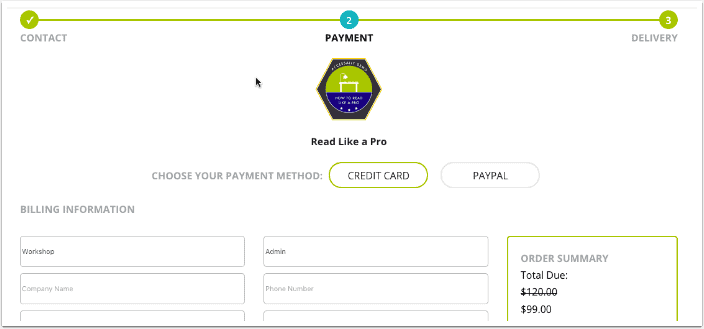
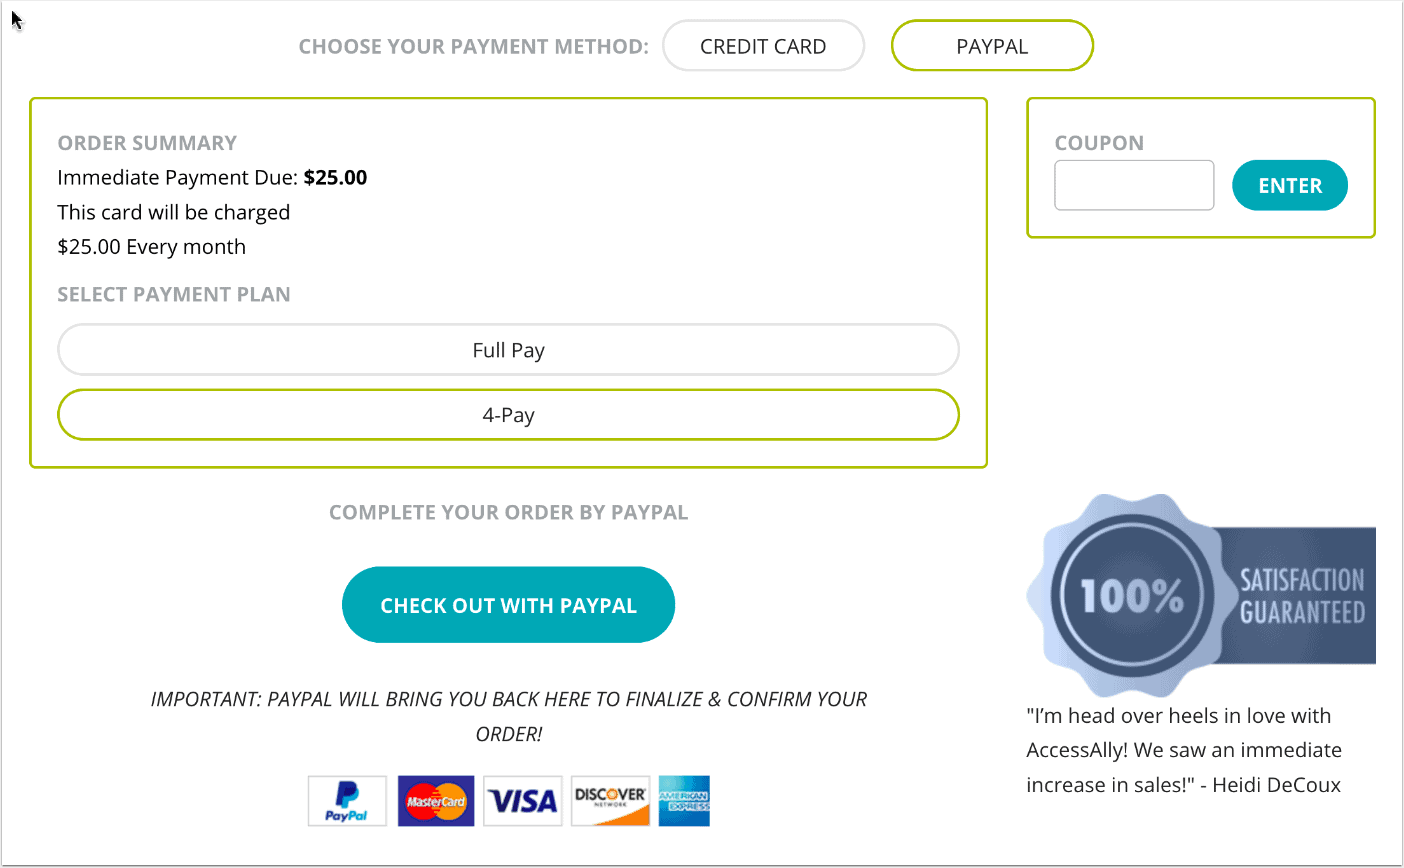
On the 2nd step of the order form, you’ll be able to select the PayPal option (if you also have Stripe enabled).
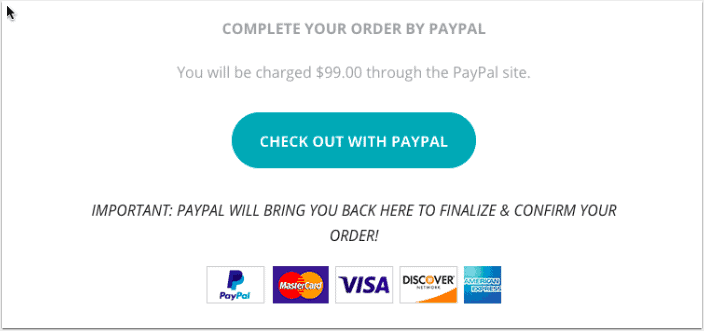
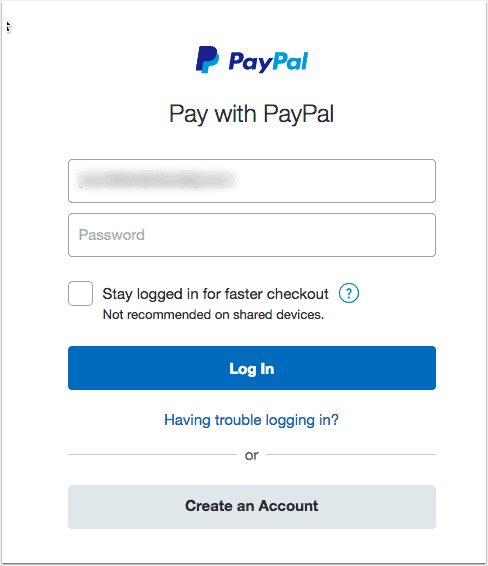
Then you’ll see a button to click to process the payment in PayPal. When you click it, you’ll see a new screen open up prompting you to login to PayPal.
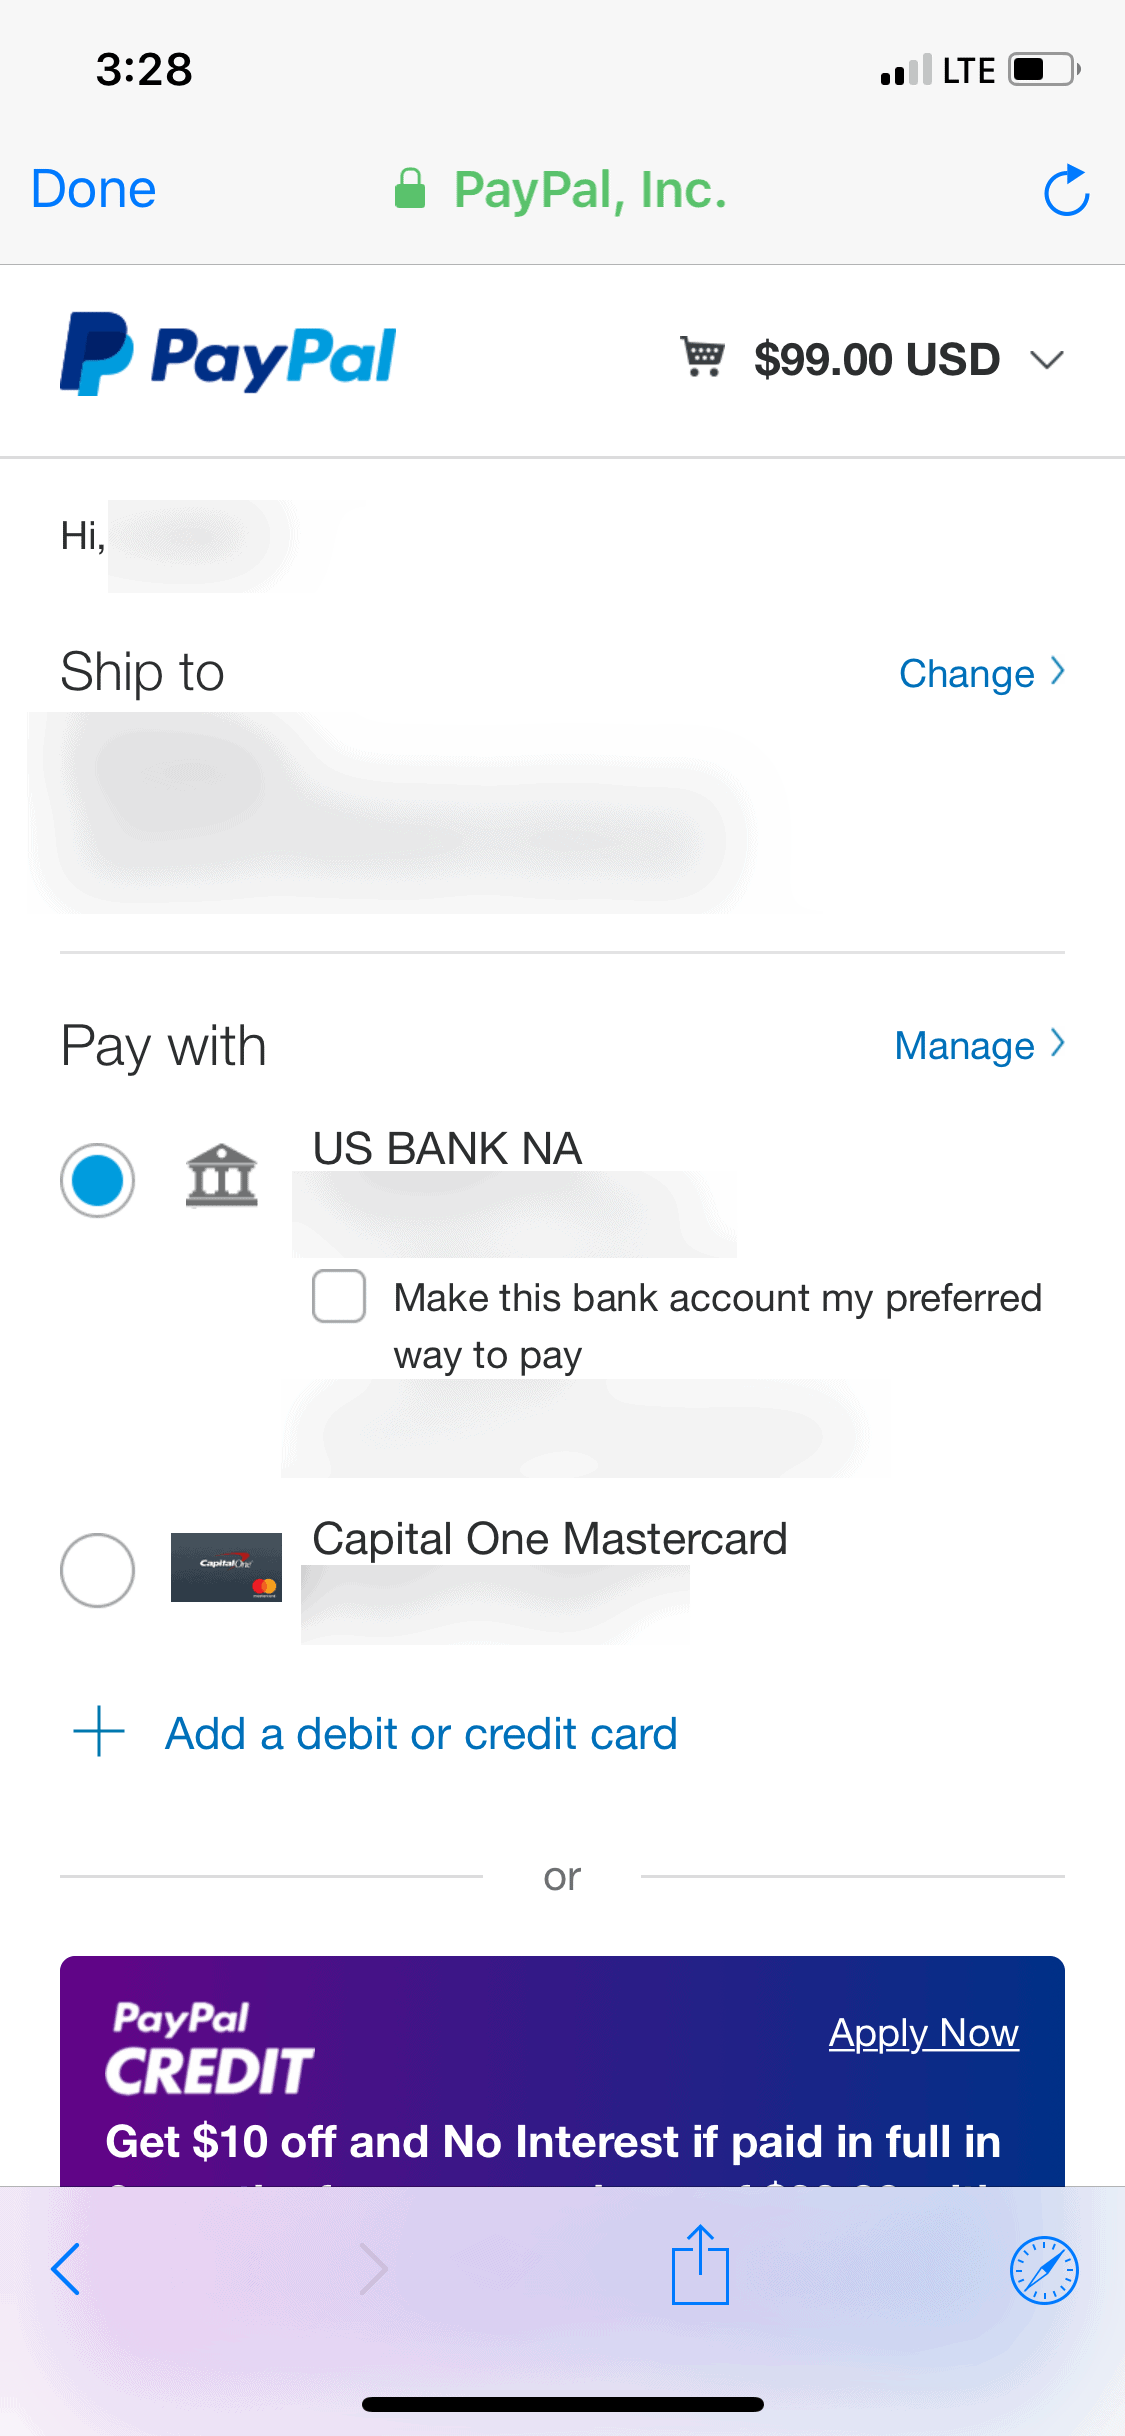
After logging in, you’ll be able to choose the source of funds. This does include any linked credit cards or bank accounts, as well as PayPal Credit.
Note for Facebook Browser Users
Please be aware that making a purchase via PayPal is currently not possible within the Facebook browser. If a user does attempt an order form purchase with PayPal when using the Facebook browser, they will see this message:
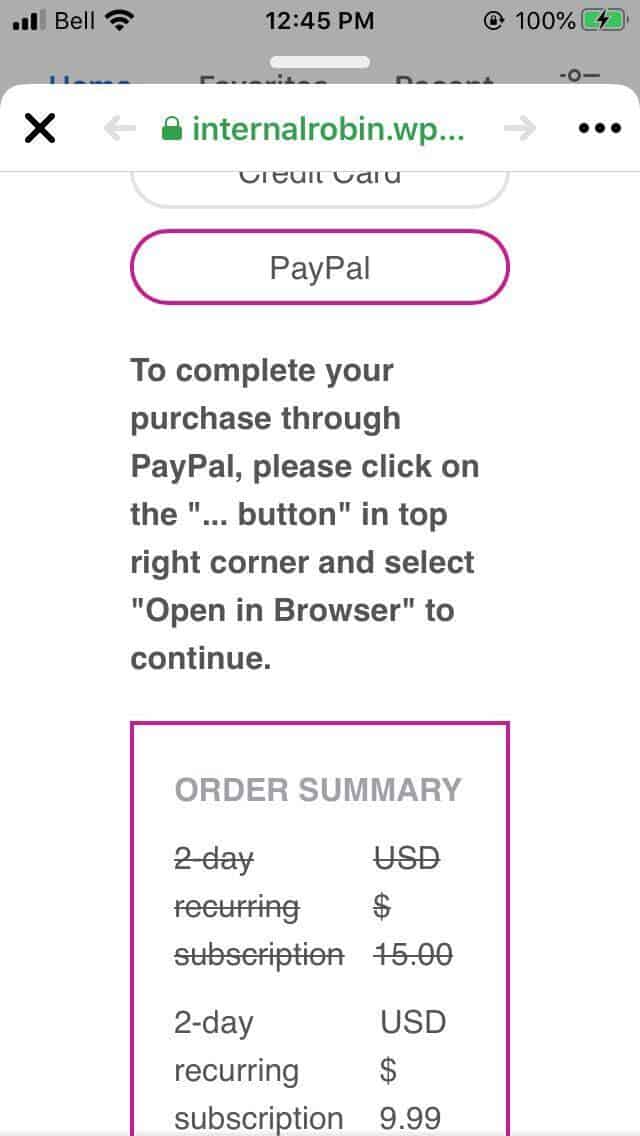
This is especially pertinent if you are running Facebook ads to an AccessAlly order form with PayPal enabled.
