Learn how to create a 5 day challenge in AccessAlly. This is a great way to let potential clients get to know you and your content.
ARTICLE CONTENT:
Pre-Challenge tips
Here are a few questions to explore before creating your challenge. We also have an article on Creating Online Courses with AccessAlly that can help you structure your challenge content!
- Are you running a free or paid challenge?
- Does your challenge have live rounds (everyone goes through the challenge together starting on the same date) or is it evergreen (challenge participants can start and join anytime?)
- What do your challenge participants need to know or do before they start the challenge to get the best results during the challenge?
Run a Free Challenge
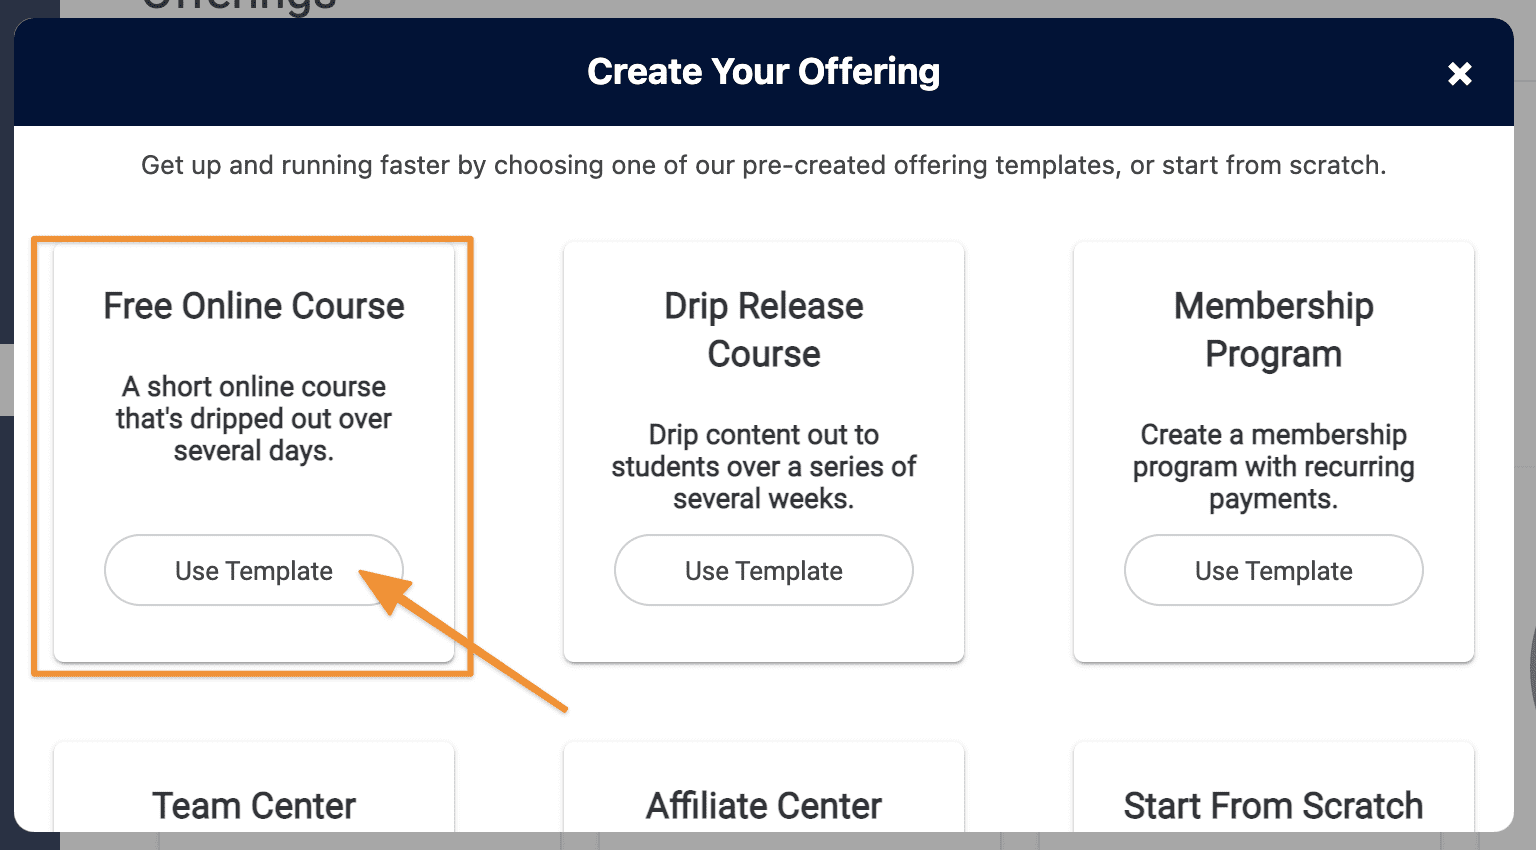
Use the Offerings wizard to create a Free Online Course.
1. Create your free course and add content
1. Go to: AccessAlly > Offerings > +Create > Choose Free Online Course, Use Template

2. Configure your free offering
Name your offering > Click Next
Behind the scenes, we’ll set up your opt-in form, permissions, and content pages so all you have to do is drop in your content.
3. Save and add your content
- Click Save at the top of the page. This will change your offering from Pending to Published. Note the pages will remain in Draft mode.
- By default, 5 pages are created. Click the pencil icon to open and edit each of these pages. Publish each page when you’ve made your changes. Remember the permissions and redirects were automatically created through the Offerings wizard.
- If you want to modify the release schedule, click the clock icon for each Module.
%22%20transform%3D%22translate(4%204)%20scale(7.95313)%22%20fill-opacity%3D%22.5%22%3E%3Cellipse%20fill%3D%22%23fff%22%20cx%3D%22115%22%20cy%3D%224%22%20rx%3D%2283%22%20ry%3D%224%22%2F%3E%3Cellipse%20fill%3D%22%236a6a6a%22%20rx%3D%221%22%20ry%3D%221%22%20transform%3D%22rotate(-94.9%203.6%20-3.3)%20scale(4.74956%2038.64769)%22%2F%3E%3Cellipse%20fill%3D%22%23838383%22%20rx%3D%221%22%20ry%3D%221%22%20transform%3D%22rotate(-173.3%20113.2%20-6.6)%20scale(53.3426%204.98493)%22%2F%3E%3Cellipse%20fill%3D%22%237f7f7f%22%20cx%3D%2283%22%20rx%3D%22111%22%20ry%3D%221%22%2F%3E%3C%2Fg%3E%3C%2Fsvg%3E)
Forms
The free access form was automatically created when you created your Offering.
Click Forms to edit it, or add additional forms to your offering.
Settings
Add additional details, view the WordPress menu, and/or add a course icon under Settings.
Move to the CRM setup section of this article.
Run a Paid Challenge
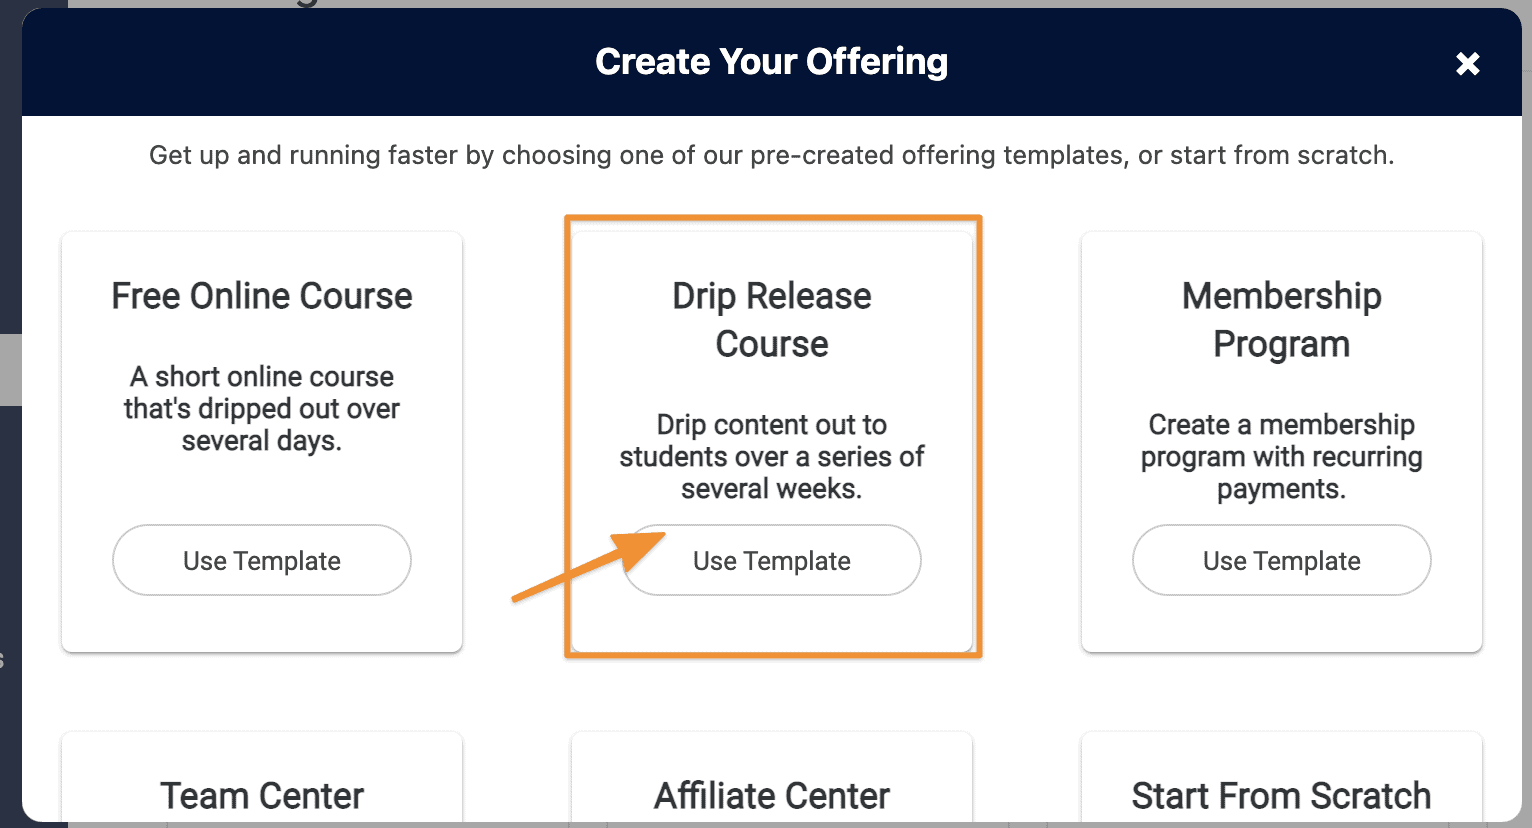
Use the Offerings wizard to create a paid challenge.
1. Create your paid challenge and content
1. Go to: AccessAlly > Offerings > Drip Release Couse, Use Template.

2. Work through three steps of the template:
- Name your course
- Pick a price
- Add your content now or later
3. Save your offering and customize further (optional)
- Click Save at the top to change your offering from pending to published
- Be default, a Base Module and 5 Weeks are added. You can edit the names, modify the schedule, and view and publish pages that go with each module
Forms
The order form (paid access form) was automatically created when you created your Offering.
Click Forms to edit it, or add additional forms to your offering.
Settings
Add additional details, view the WordPress menu, and/or add a course icon under Settings.
Move to the CRM setup section of this article.
Create A CRM Automation / Campaign
Now it’s time to create a CRM delivery campaign for your challenge! The integration step will walk you through how to do this based on your CRM system.
A couple of things to keep in mind when creating your Challenge Delivery campaign:
- Give people access to the Welcome page (Base page) when they join and use this page to get people excited about and ready for your challenge!
- Use caution with date timers! Date timers release content on a specific set date (example: February 1). If a challenge participant joins after a specific date has passed they will skip over those parts in your CRM challenge delivery campaign and will not get tags or content for those days! It’s best to use wait timers (example: waits 24 hours) inside your CRM challenge delivery campaigns.
For the CRMs below we have pre-made 5-Day Challenge campaigns that you can add to your CRM and customize the tags and emails so you do not have to build the delivery campaigns from scratch.
Test
In the Automations section of your free or paid course, you’ll find step-by-step testing instructions.
![]()

