AccessAlly’s affiliate functionality is based on tags: if a contact in your CRM system has the designated “affiliate tag” then they will have all of the affiliate features enabled.
How you handle creating new affiliates is up to you, but there are generally two ways:
- Invite potential affiliates to opt-in directly to become referral partners
- Have an application form that you review before granting affiliate access and links
You might choose to allow anyone to become an affiliate, or to screen applicants to make sure they are legitimate partners. Either way, you can follow this tutorial to see how to make it work in your CRM and AccessAlly.
ARTICLE CONTENT:
Create an Opt-in Form
The first step will be to create an opt-in form in AccessAlly.
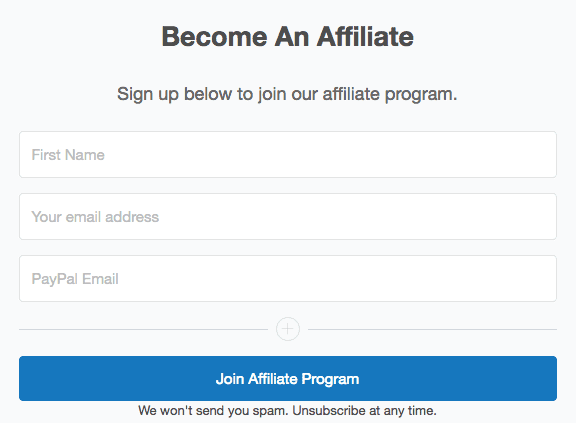
Similar to a general opt-in form, the only distinction here is that you might want to add additional fields to gather an affiliate’s PayPal address (which is often different from their main communication email).
If you’re doing the 2-step process of reviewing an application before accepting affiliates, then you can also ask for more information upfront – like how they plan to promote you or what the website link is.
How to Set Up Affiliate Opt-In and Registration Forms in AccessAlly
Navigate to AccessAlly > Offerings > Your Affiliate Program.
Select the Forms tab and click the paintbrush to edit the default opt-in form that was automatically created when you setup your affiliate program.
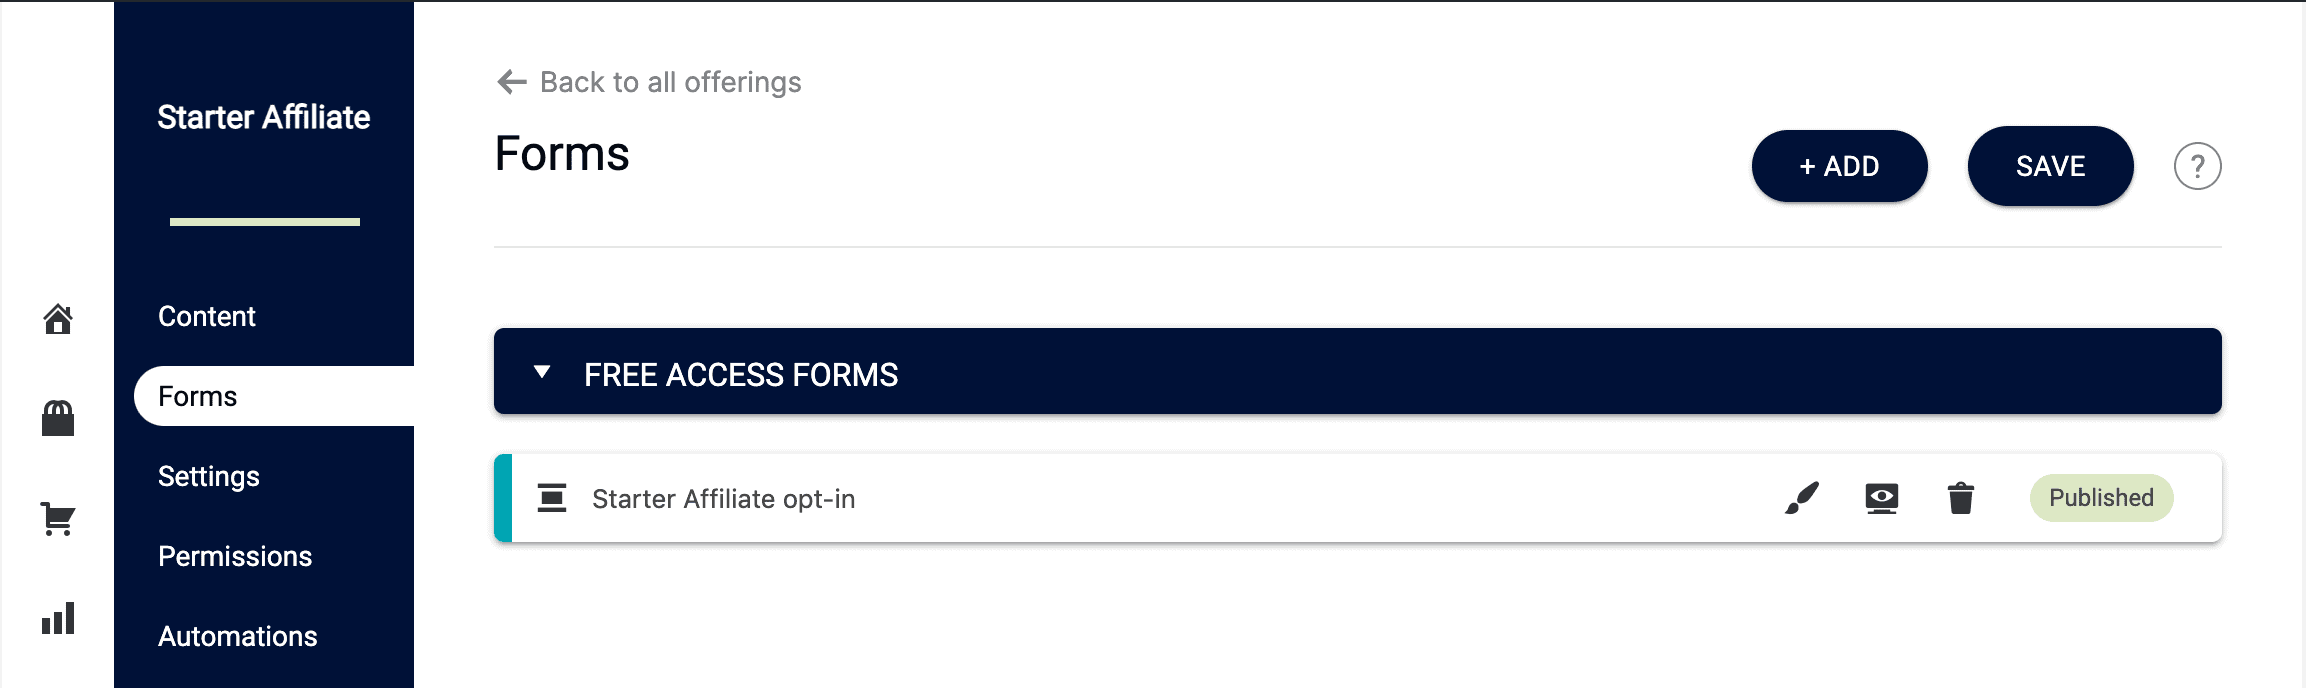
You will be redirected to Settings > Opt-in Forms with your selected form displayed for editing.
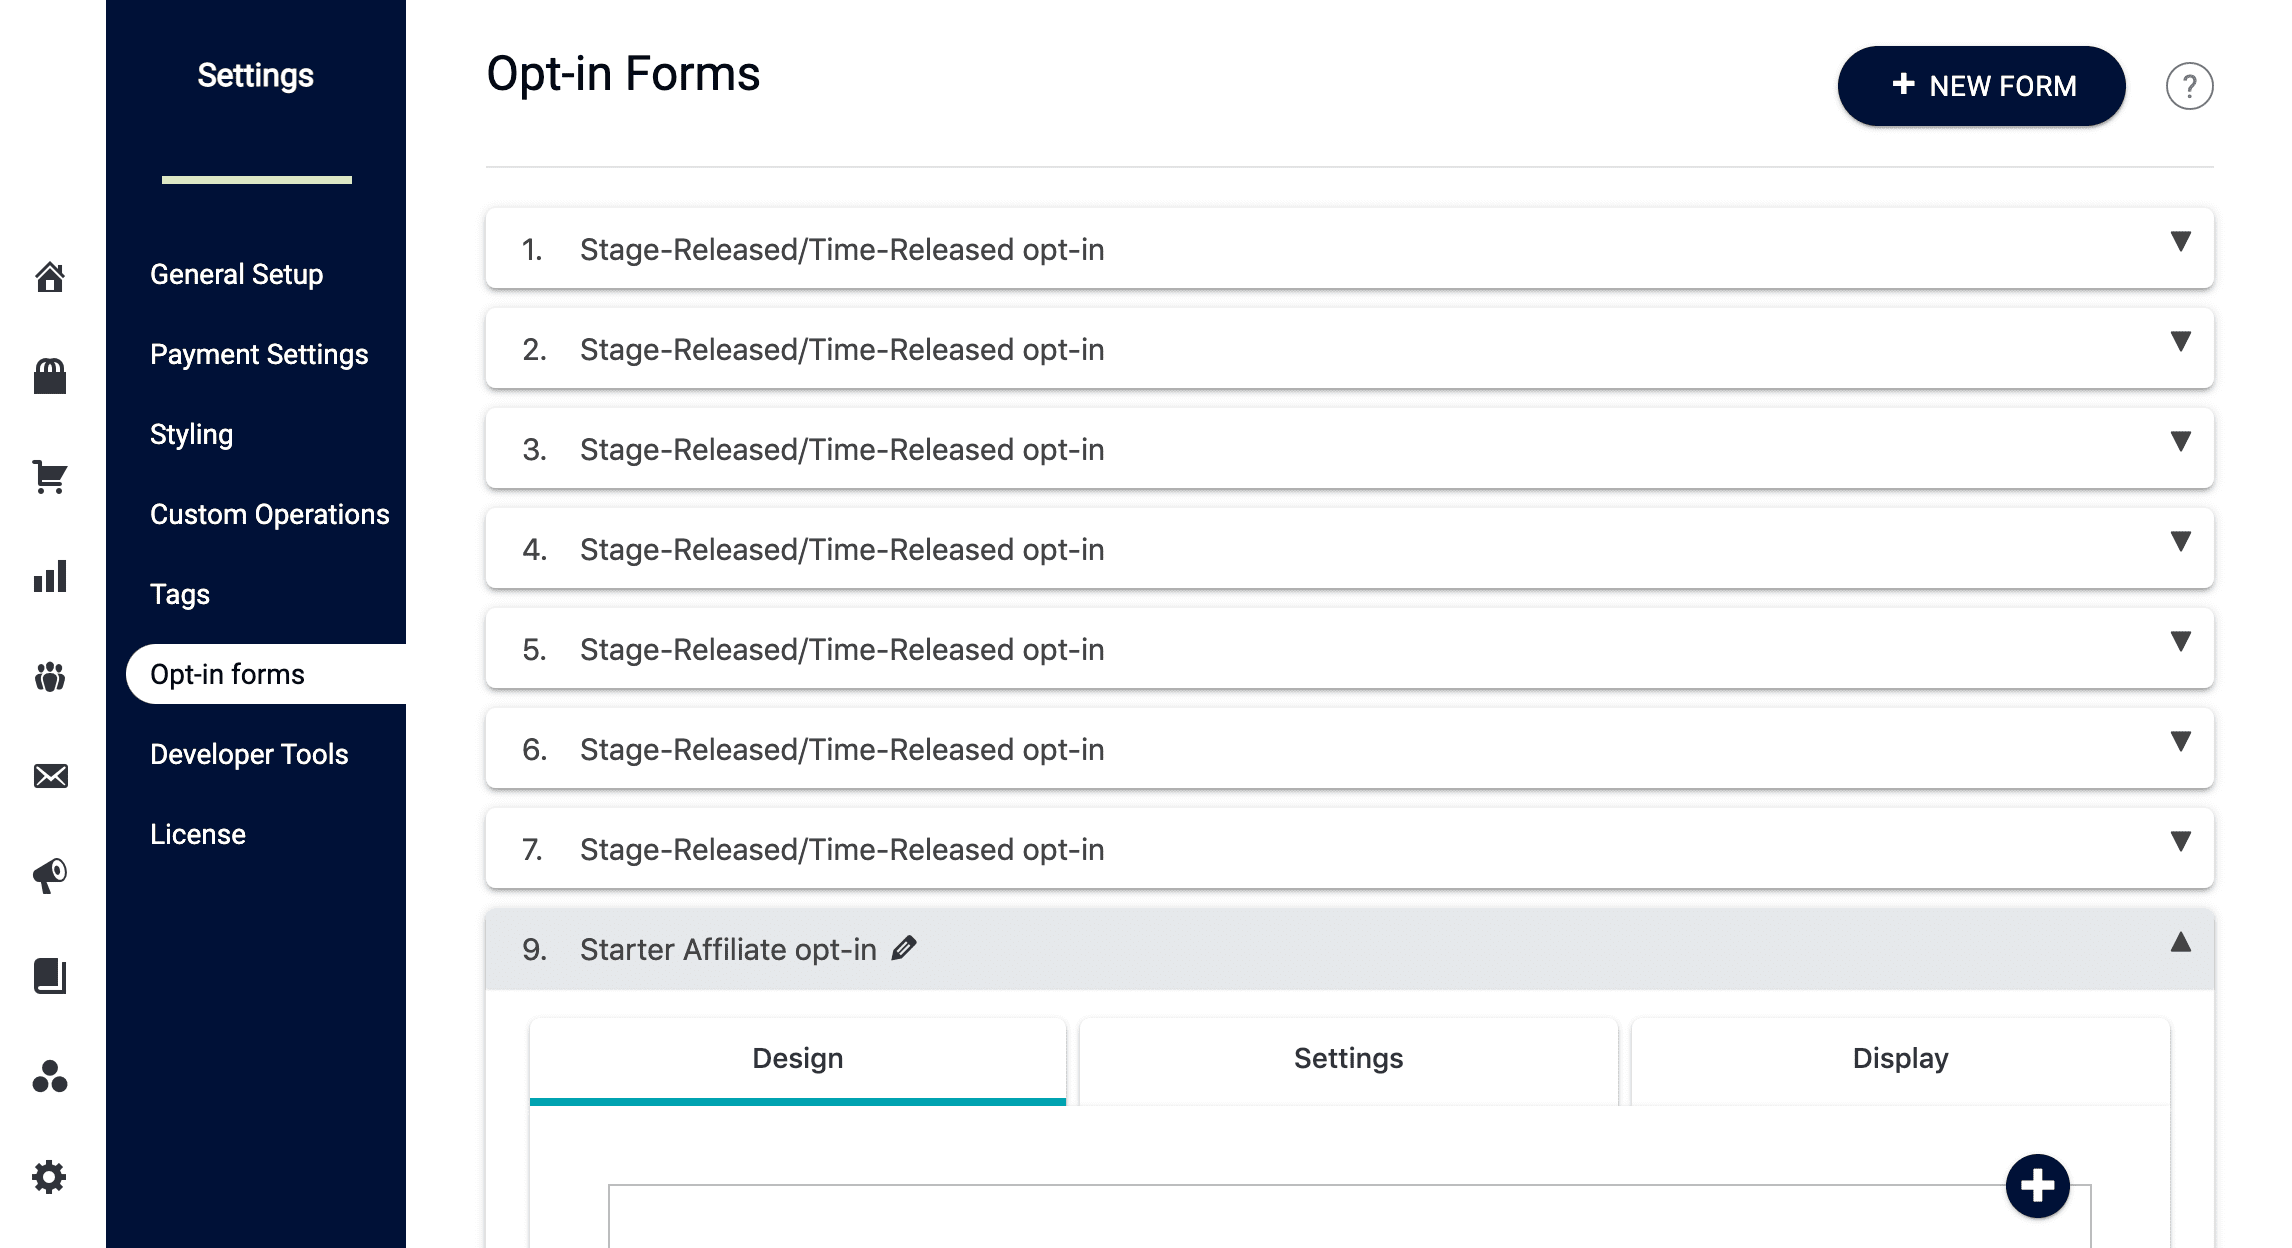
Design: add any fields to the form that you require to become an affiliate using the drag-and-drop editor.
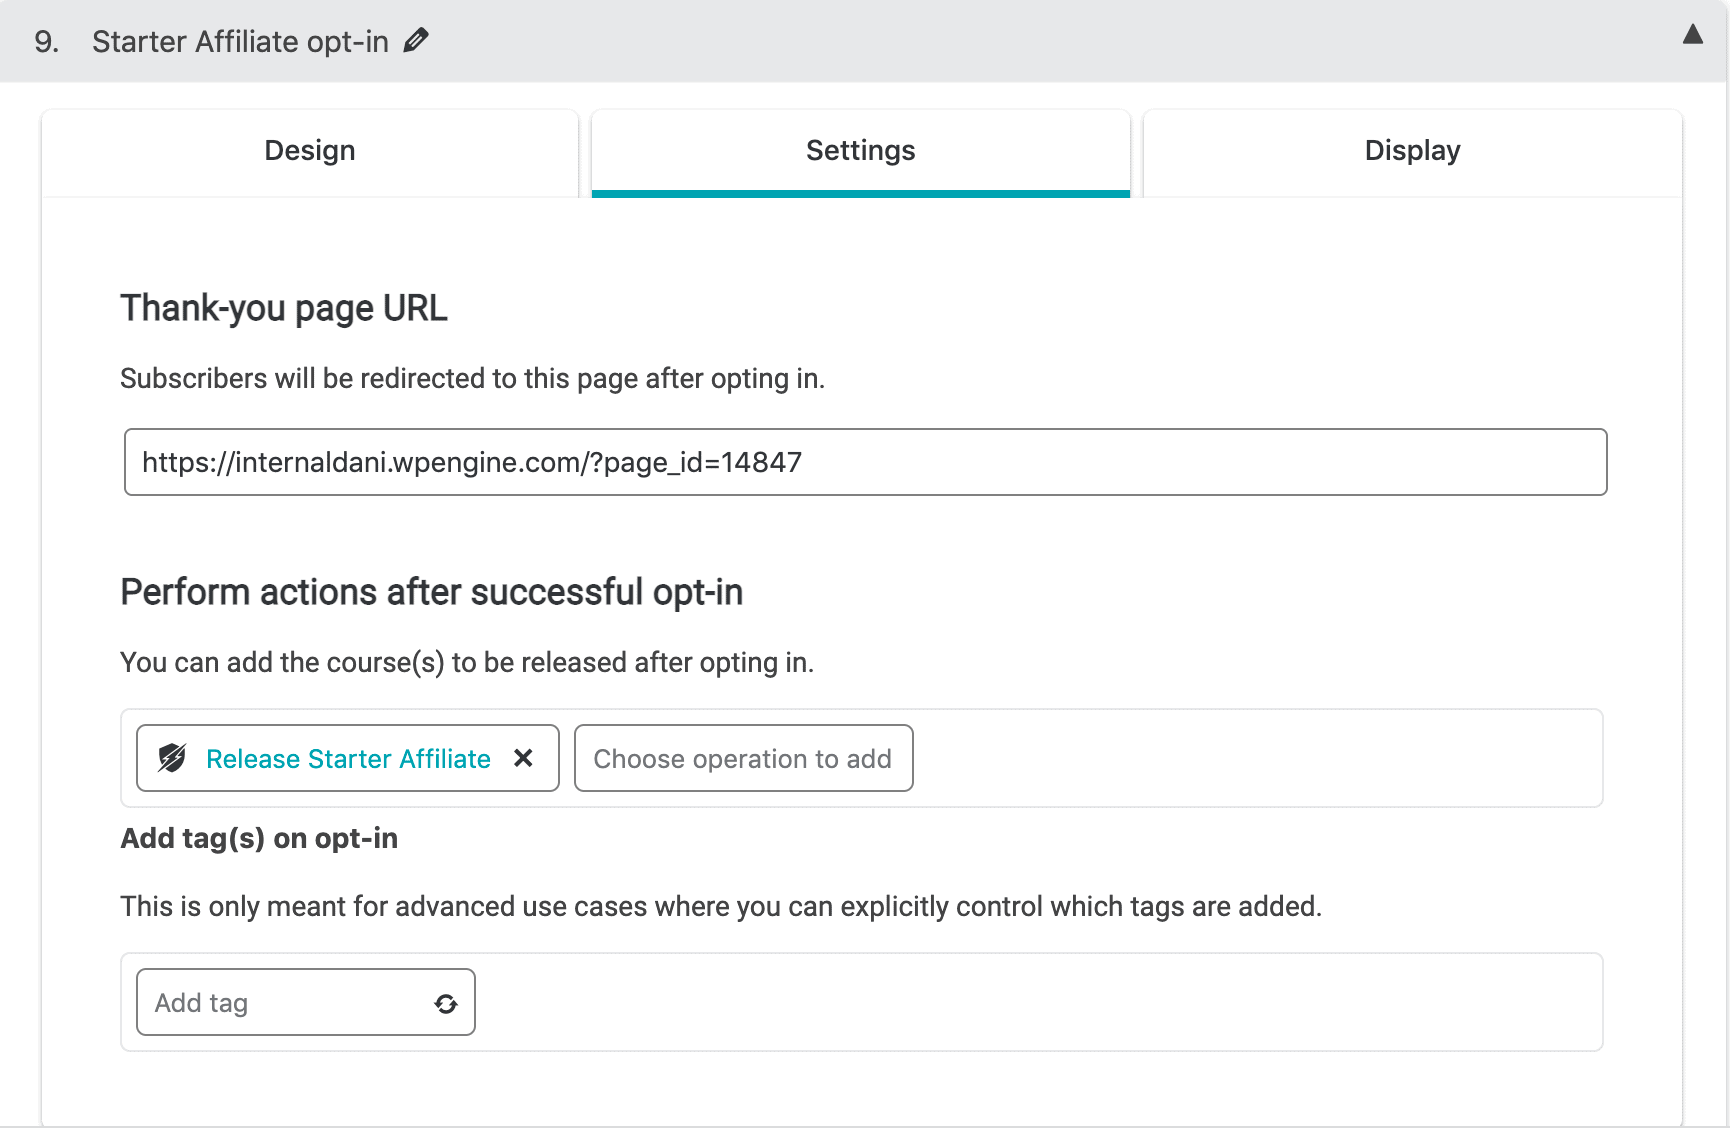
Settings: Specify your Thank you Page URL, assign any additional custom operations (the release operation will automatically be added for you), and specify any tags you would like applied on signup.
If you have an affiliate campaign or automation setup inside your CRM, applying the tag here would be ideal for kickstarting that campaign or automation.
If you want to manually approve your affiliate signups, remove the Release “Your affiliate program” custom operation.
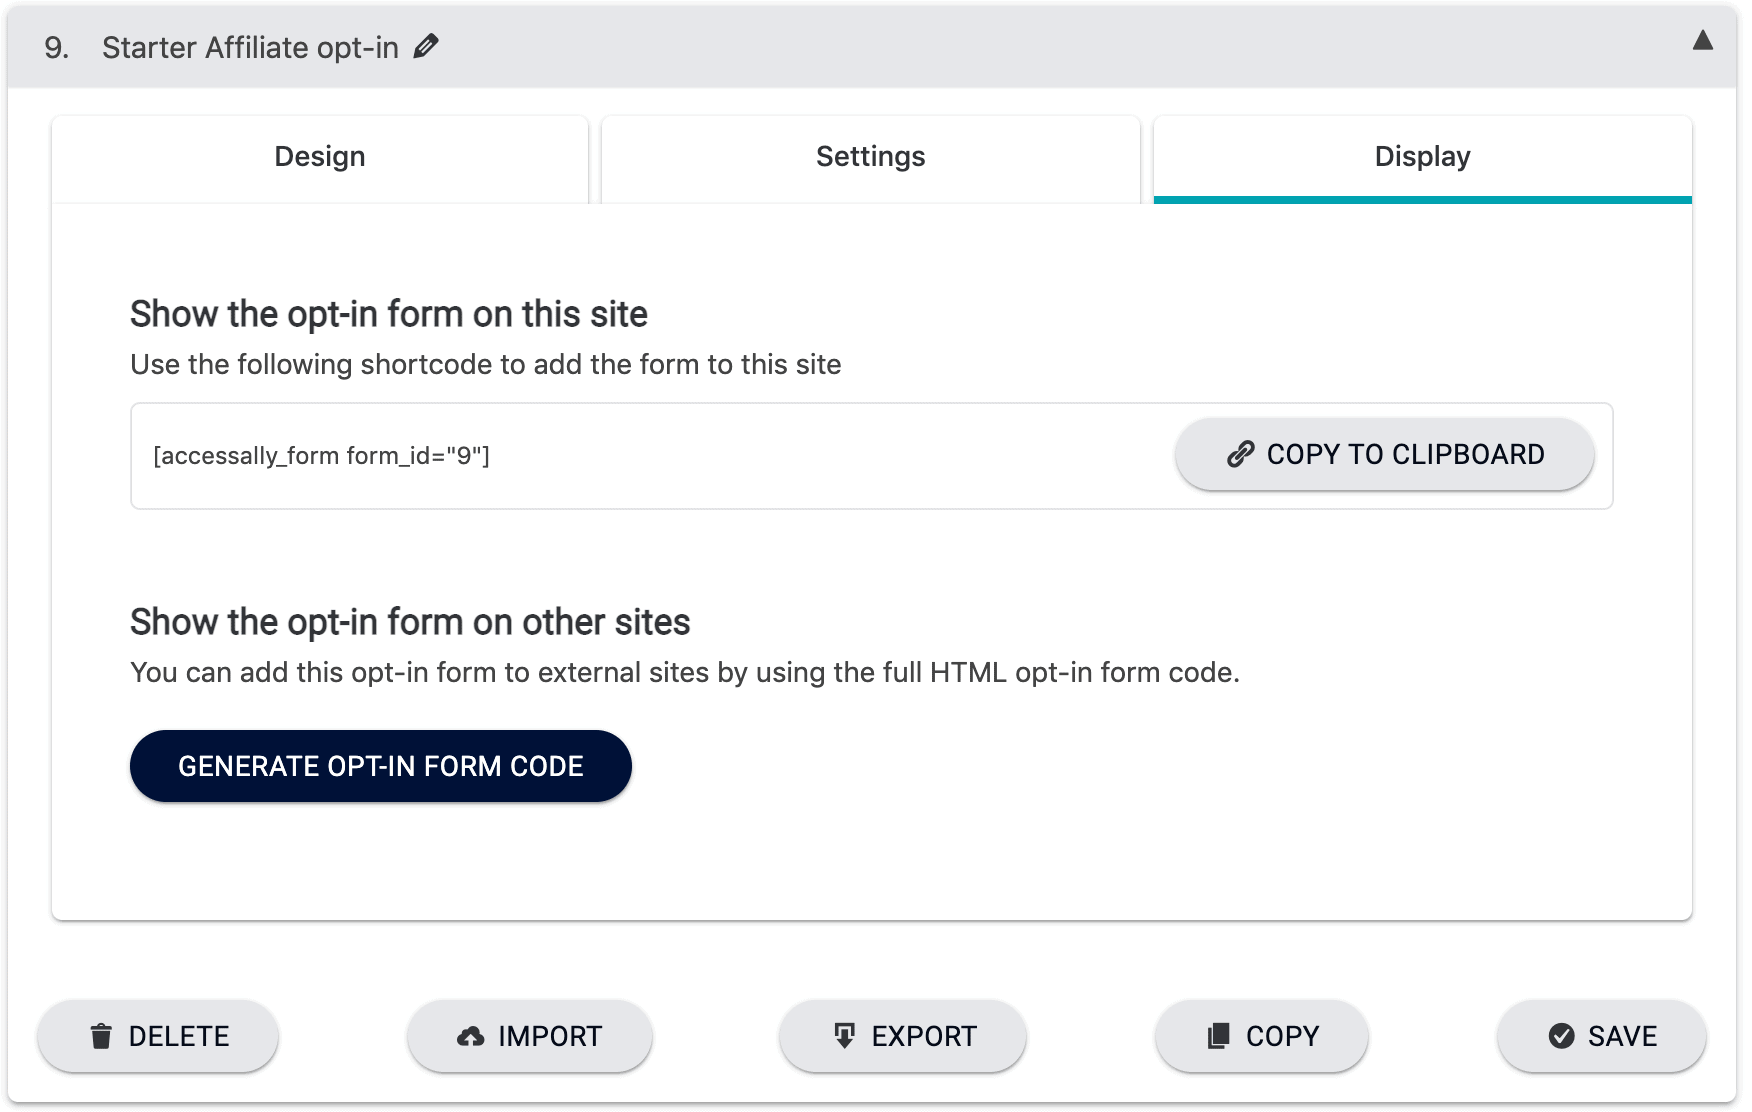
Display: copy the form shortcode to your clipboard for embedding on a page within your AccessAlly powered site, or retrieve the form code to embed on a different URL and click save.
How to Set Up Affiliate Opt-in and Registration Forms in Your CRM
1. Create the form in your CRM.
If you do not want to use the AccessAlly opt-in/sign-up form in AccessAlly, you can do so in your CRM. Each CRM will have a slightly different way to set up an opt-in form, so here are the tutorials to guide you:
- Kit Opt-in Form Set Up
- ActiveCampaign Opt-in Form Set Up
- Drip Opt-in Form Set Up
- Infusionsoft/Keap Opt-in Form Set Up
- Ontraport Opt-in Form Set Up
2. Run the Webhook to Generate the Affiliate Account on AccessAlly
Once you’ve had a potential affiliate opt-in to your form through your CRM, you need to set up some automation in a campaign or sequence to:
- Apply the right tags to the affiliate (which you designated in your affiliate tier set up)
- Run the “aal_genpass” AccessAlly Webhook to tell AccessAlly to generate the account and password (if they’re not already an existing user)
- Send a welcome email with the affiliates’ login details (this is the same as you would do for any paid or free opt-in)
If you are manually reviewing affiliate applications, you’ll want to set up a trigger tag that kickstarts the same automation described above.
When you approve an affiliate, just apply the trigger tag to start the automation that applies the affiliate tag, sends the webhook, and sends a welcome email.
Please make sure that you’re sending a “genpass” webhook, even if this person might already be a contact in your CRM and have an AccessAlly account already.
This will make sure that the affiliate details are created and you can start creating links for your affiliates.
3. Send to Members Area for Affiliate Center
Once an affiliate gets their welcome email, possibly with an auto-login link, they’ll be able to see the affiliate center that you’ve created inside the membership site.
From there, they can grab their affiliate links, see their stats, and more.
