Tags allow for creating unique experiences for members logged into your AccessAlly site. In this article we’ll cover each tag that is automatically created by AccessAlly and as a bonus you’ll learn how to display content on a page based on tags!
ARTICLE CONTENT:
Conditional Display by Tag
With AccessAlly’s conditional display shortcodes, you can show and hide a different area of a page based on what tags someone has. Watch this video to learn how:
Offering Tags
When you create an offering in AccessAlly a unique set of tags will be created. View the tags for an offering by going to AccessAlly > Offerings > Permissions.

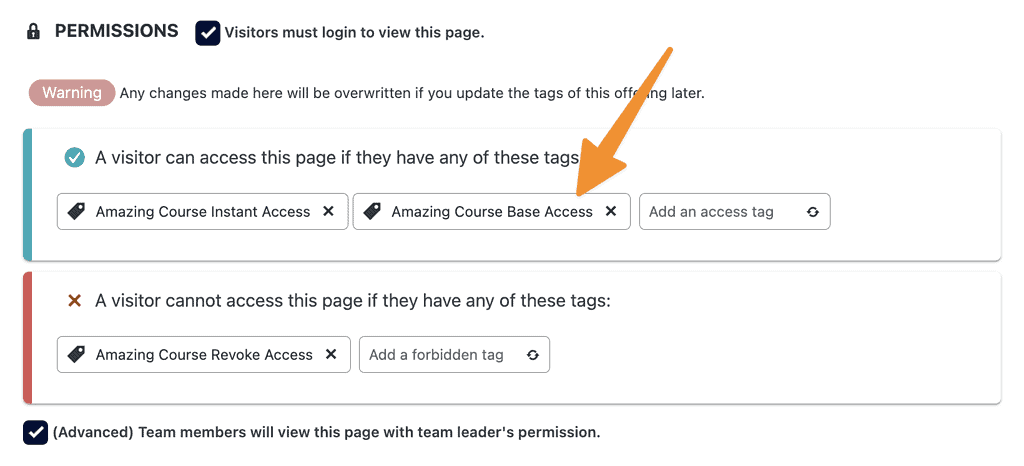
Basic access
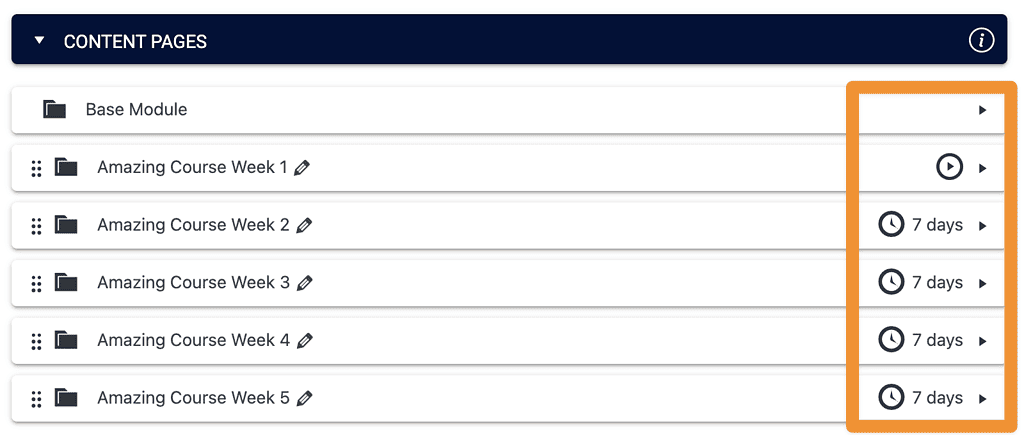
All pages under Content Pages in the Base Module dropdown are released with this tag.
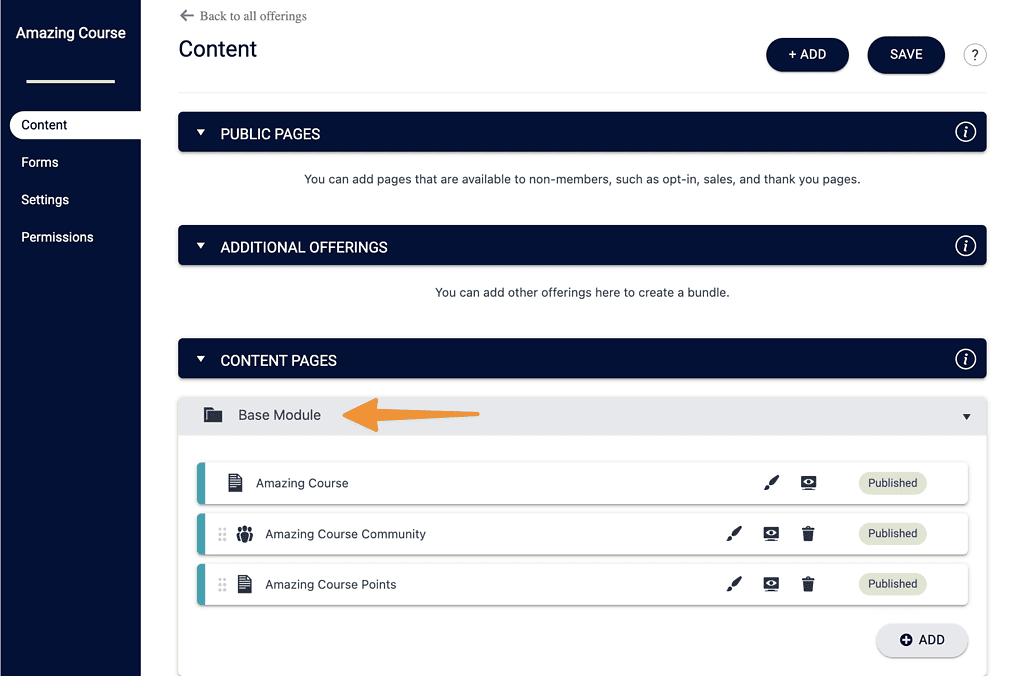
Click the brush icon by any base module page to see this tag.
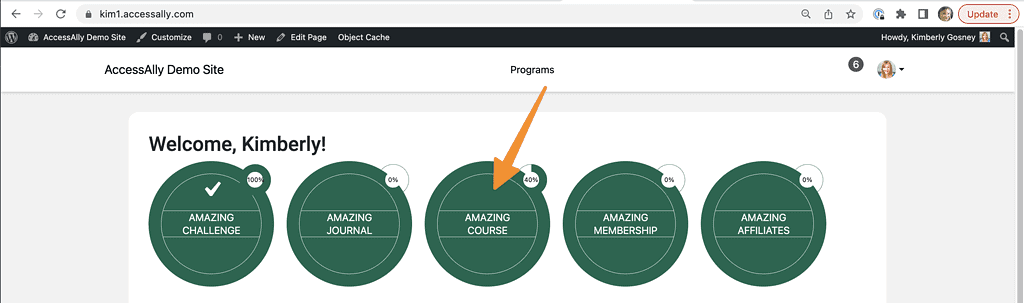
This tag also controls display of the AccessAlly offering icon.
Instant Access
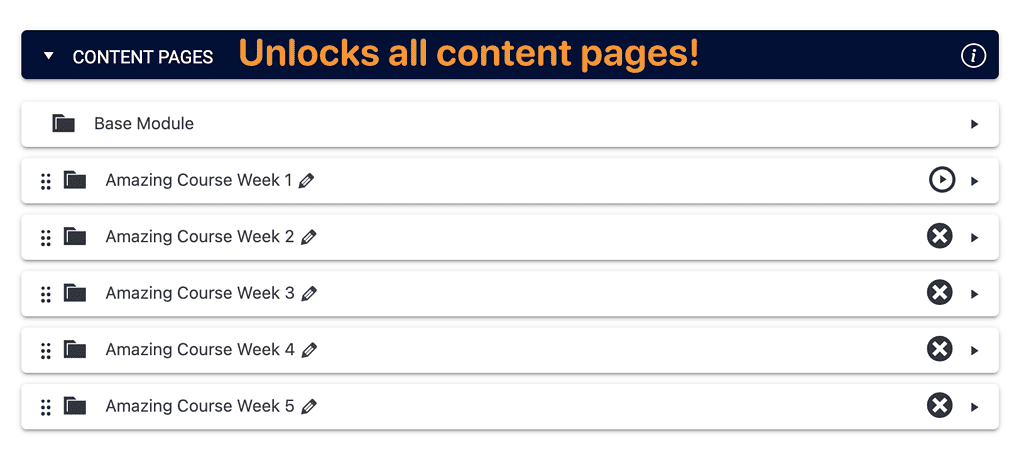
All pages in an offering contain this tag. If a contact has this tag all pages in the offering are “instantly unlocked” even if the offering contains time released content. A great use case for this tag is having a free 30 day challenge with an option to purchase and get the entire challenge without the wait… “instantly!”
This tag releases all pages/posts in an offering — even if dripped release timers are set or there is a drip release automation for this offering in the CRM.
Revoke Access
This tag removes access to content in an offering usually when a refund has been requested or the max failed payments attempts have been reached.
This tag will override base access, instant access, and has access tags preventing a contact from seeing pages in the offering.

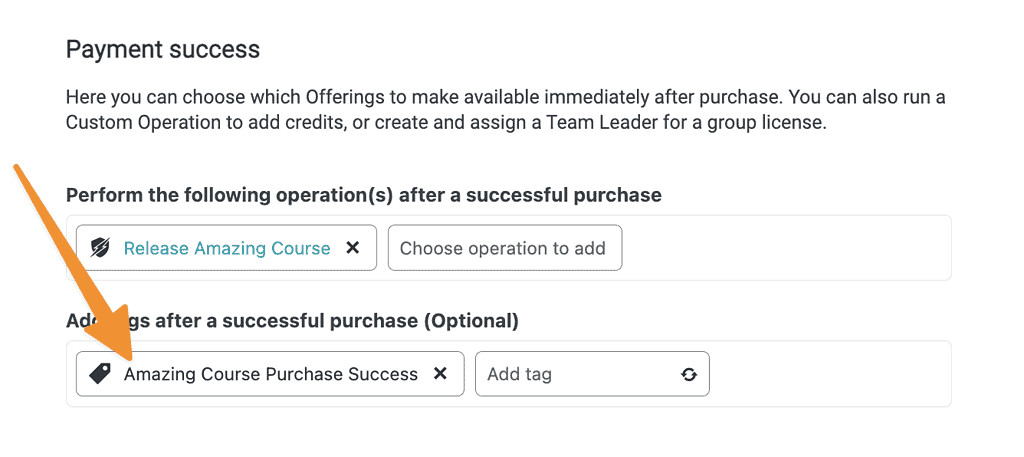
Purchase Success
This tag is applied after a successful purchase on an AccessAlly order form and is helpful if you are creating a CRM automation to drip content after a purchase.
See this tag under AccessAlly > Sales > Order Form Setup > Automations Tab.
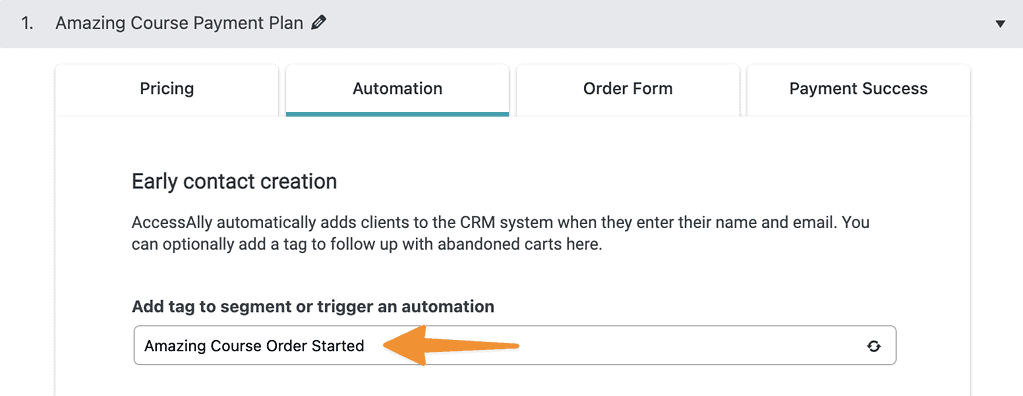
Early Contact Creation
This tag is added to a contact after the first step of an AccessAlly order form is completed and is most often used as part of an abandoned cart CRM automation.
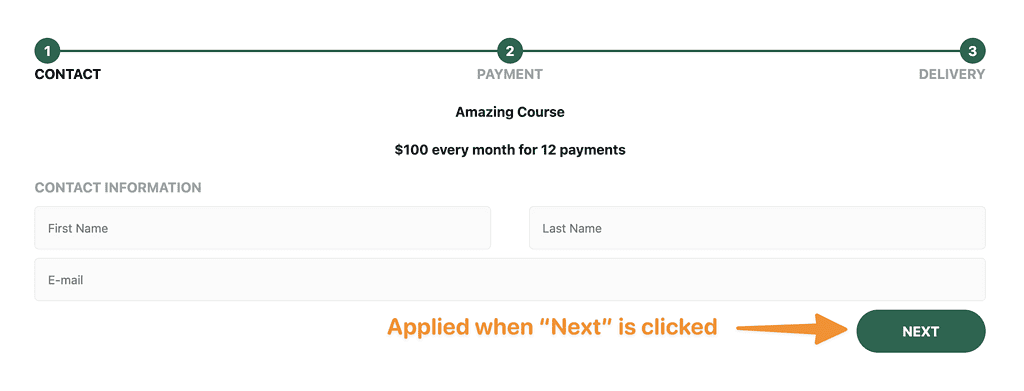
This tag is found under AccessAlly > Sales > Order Form Setup > Automation.
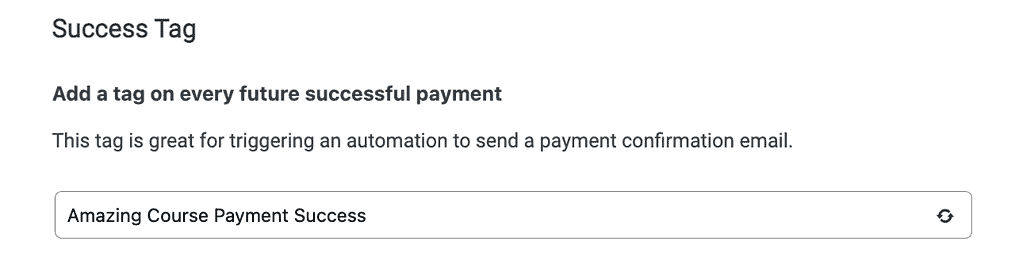
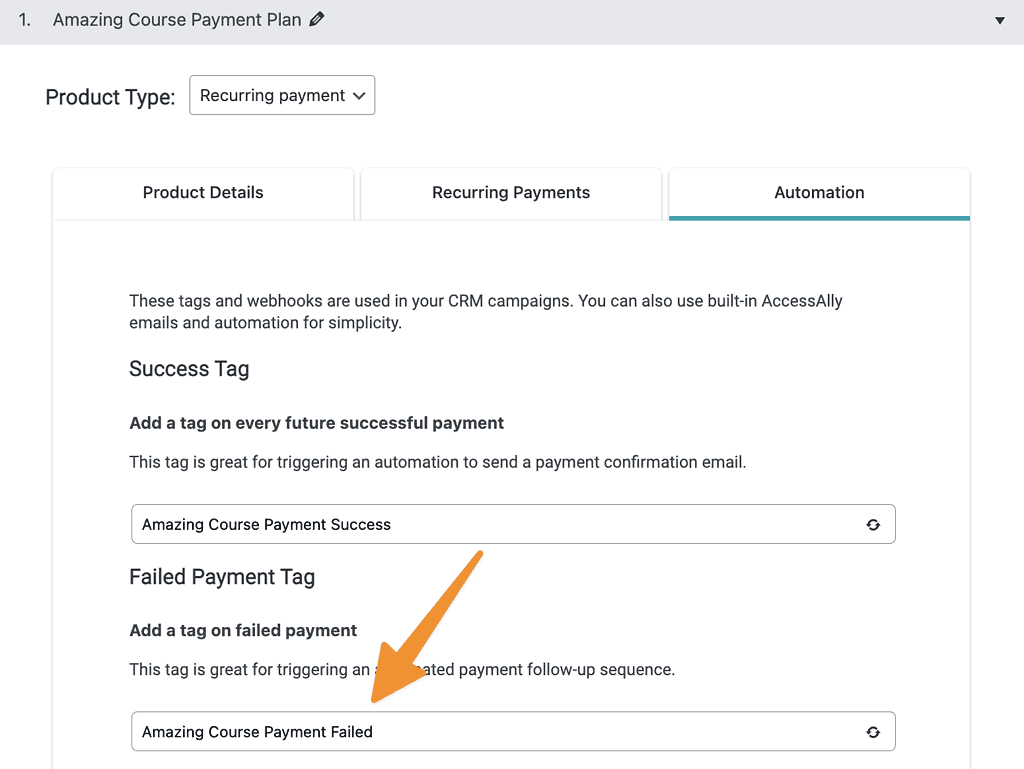
Subscription Payment Success Tag
This tag is shown in AccessAlly > Sales > Product tab > Automations and is used for managing recurring successful subscription payments.
Subscription Payment Failure Tag
Also called the Failed Payment tag!
This tag is shown in AccessAlly > Sales > Product > Automation tab and is used for managing recurring subscription failed payments. This tag is automatically applied by AccessAlly after three unsuccessful payment attempts.
- Will send an AccessAlly Failed Payment email (if enabled)
- Can send a failed payment reminder sequence in your CRM system (if integrated)
Shown in use under AccessAlly > Sales > Product Setup > Automation Tab
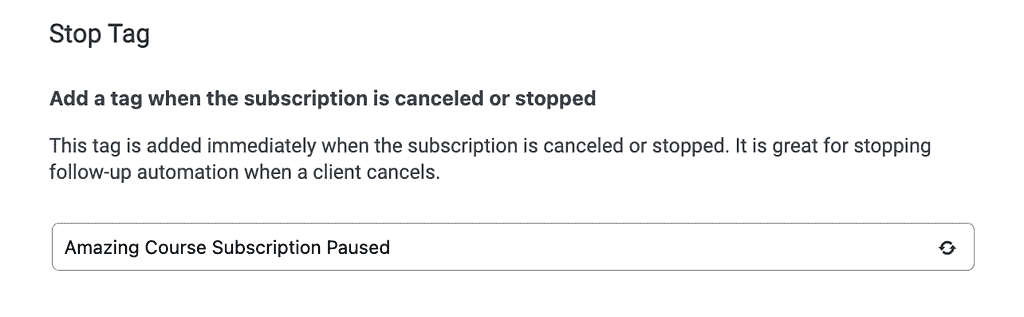
Subscription Paused Tag
This tag is applied when a member cancels an upcoming subscription payment plan. This allows the member to have access to the content in an offering until the next subscription payment is due. Instead of charging for the upcoming recurring payment the revoke tag will be applied to remove access.
See this tag under AccessAlly > Sales > Product Setup > Automations Tab
Example of using this tag with a custom operation “cancel” button.

The My Orders page will show this as status “Canceled” meaning no future payments will be processed.
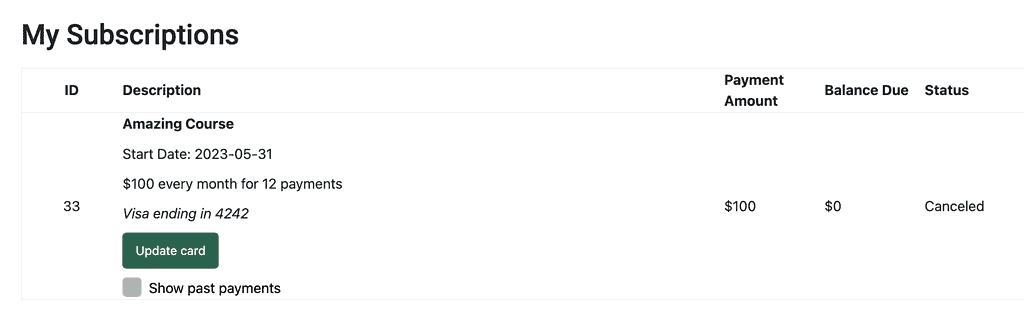
The contact will have the Subscription Paused tag added.

The sales log will show this as client canceled and the next billing date will be the date the revoke tag is applied to remove access.

Has Access Tag
When a unique module is created in an offering you’ll have one or more “Has Access” tags. These tags are used to unlock content in unique modules placed inside the “Content Pages” section of your offering.
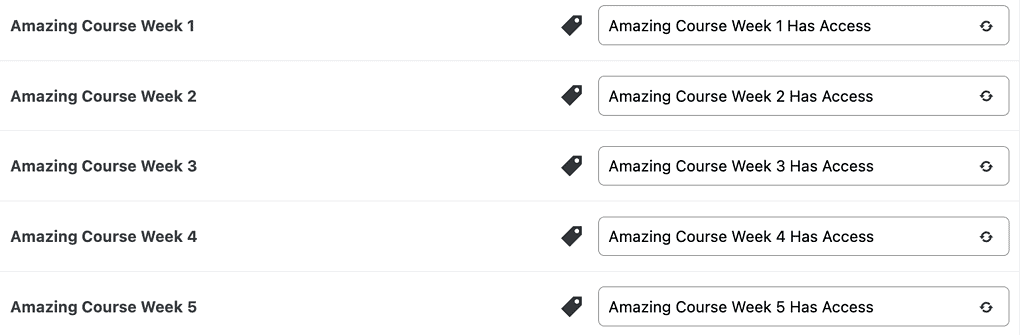
Has Access tags are used by:
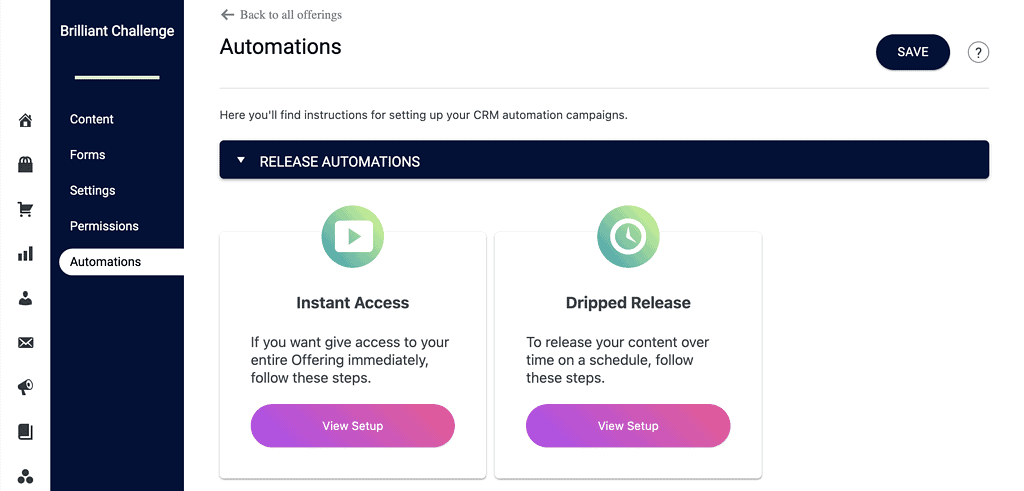
Option 1: Release custom operation with release timers (AccessAlly > Offerings > Content Tab) most often to be used with AccessAlly Emails (AccessAlly > Emails > Welcome Email + Module Release Emails.)
Option 2: Dripped release CRM automations you build (see how under AccessAlly > Offerings > Automations Tab.)
FAQs
Tags are used to give your members access to pages. AccessAlly Emails are sent out to your members, based on your Module Release timers. See our article on Tags vs Release Offerings for more details.
You can create tags in the Tags Tab.
Tags in AccessAlly Offerings are displayed in the Permissions Tab. This tab shows you what tags are used by AccessAlly in that Offering.
You may also be using custom or unique tags to trigger different automations in your CRM system.
We recommend creating a Google sheet or doc to use as an internal guide. This way you can outline tags used in your CRM automations & AccessAlly tags per Offering.
This is extremely helpful if you have team members (working on different pieces in your business) to keep everyone in the loop.
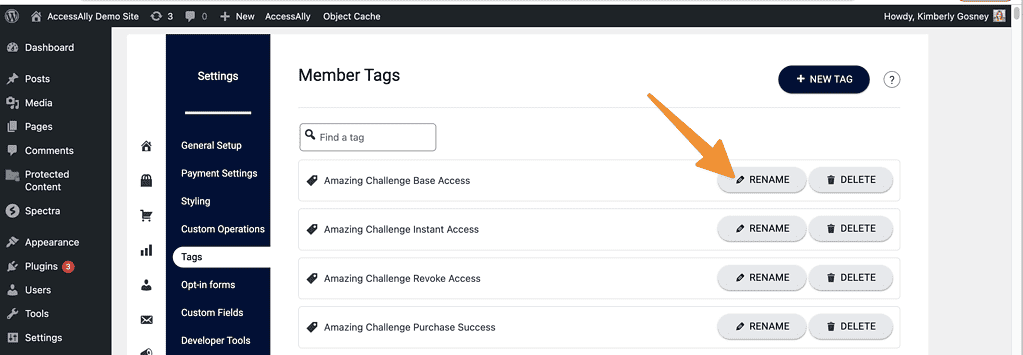
If you would like to change the names of tags in an offering you can go to AccessAlly > Settings > Tags > Rename
Renaming tags in this way updates your CRM system with the new tag names and your AccessAlly offering upon save. Don’t forget to review any CRM automations to ensure that the correct tags are being used!
AccessAlly support inbox is [email protected] contact us for support.
