WordPress comes with predefined user roles that determine what a user can do in the WordPress back-end. AccessAlly doesn’t rely on roles to protect content, rather it uses tags and sign-up information to determine permissions.
ARTICLE CONTENT:
Subscriber Role
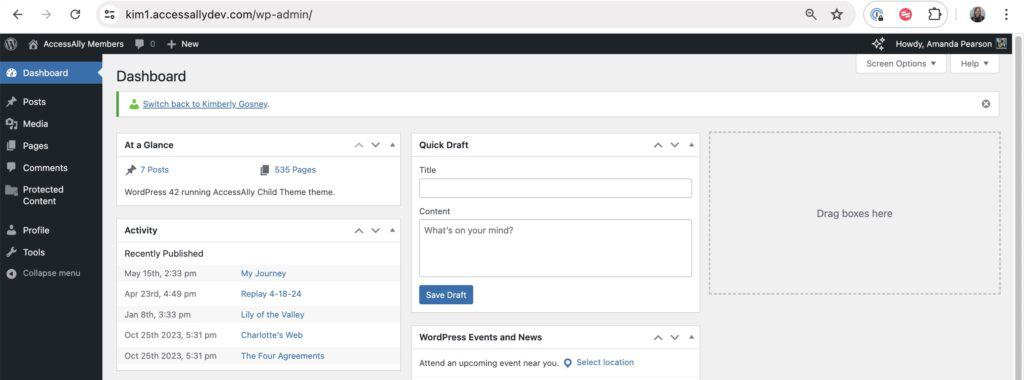
AccessAlly assigns the Subscriber role to all users that opt-in or place orders on your AccessAlly site. This role hides everything in the back-end of WordPress from view.
A Subscriber sees only the front-end experience of your AccessAlly site.
Editor Role
Users with this role are able to see, edit, add, and makes changes to all items on the site shown on the left in WordPress.
Changing User Roles
The most common uses for changing User Roles include protecting certain forums and running private podcast feeds.
In this tutorial you will learn how to automatically change roles through AccessAlly’s Custom Operations.
(Optional) Create New WordPress Roles
If you’re using a plugin that automatically generates the new User Roles you will be using, then you can skip this step.
However, if you want to create different roles that match some of your offerings or mirror some of your tags, this is how you can do it manually. This only needs to be done once, and then AccessAlly will handle assigning the roles automatically.
You will want to install the “User Role Editor” plugin from the WordPress Directory (it’s free):
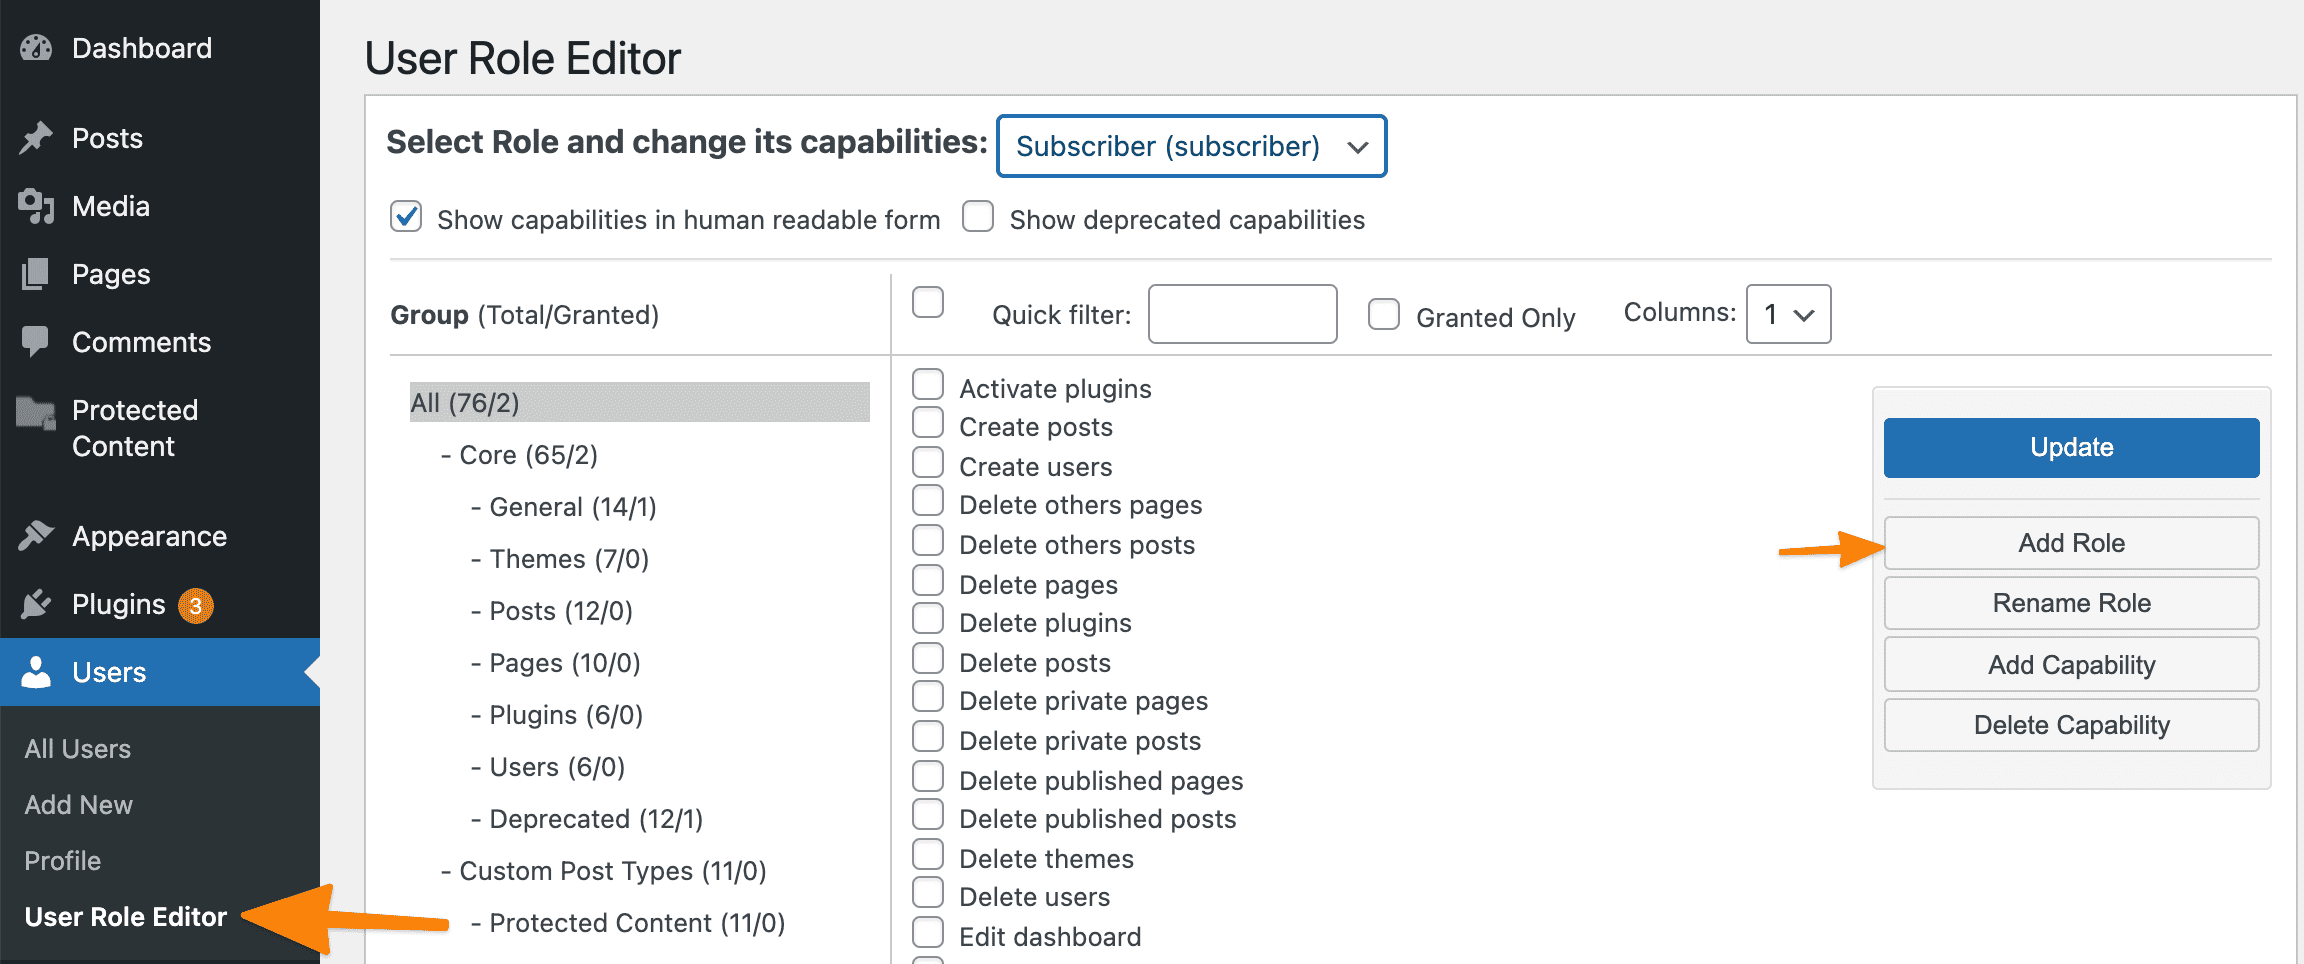
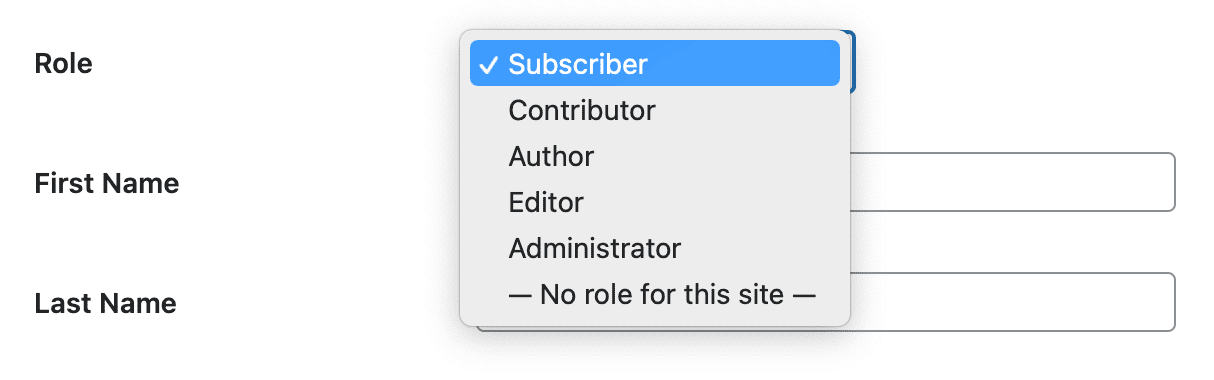
You’ll then navigate to Users -> User Role Editor, where you can add new roles and decide what capabilities this type of user will have.
Create a Custom Operation to Assign the User Role
Go to AccessAlly Settings -> Custom Operations and click “New Operation”.
Then select the “Change User Role” option from the dropdown, which will reveal the different ways you can change a member’s WordPress user role.
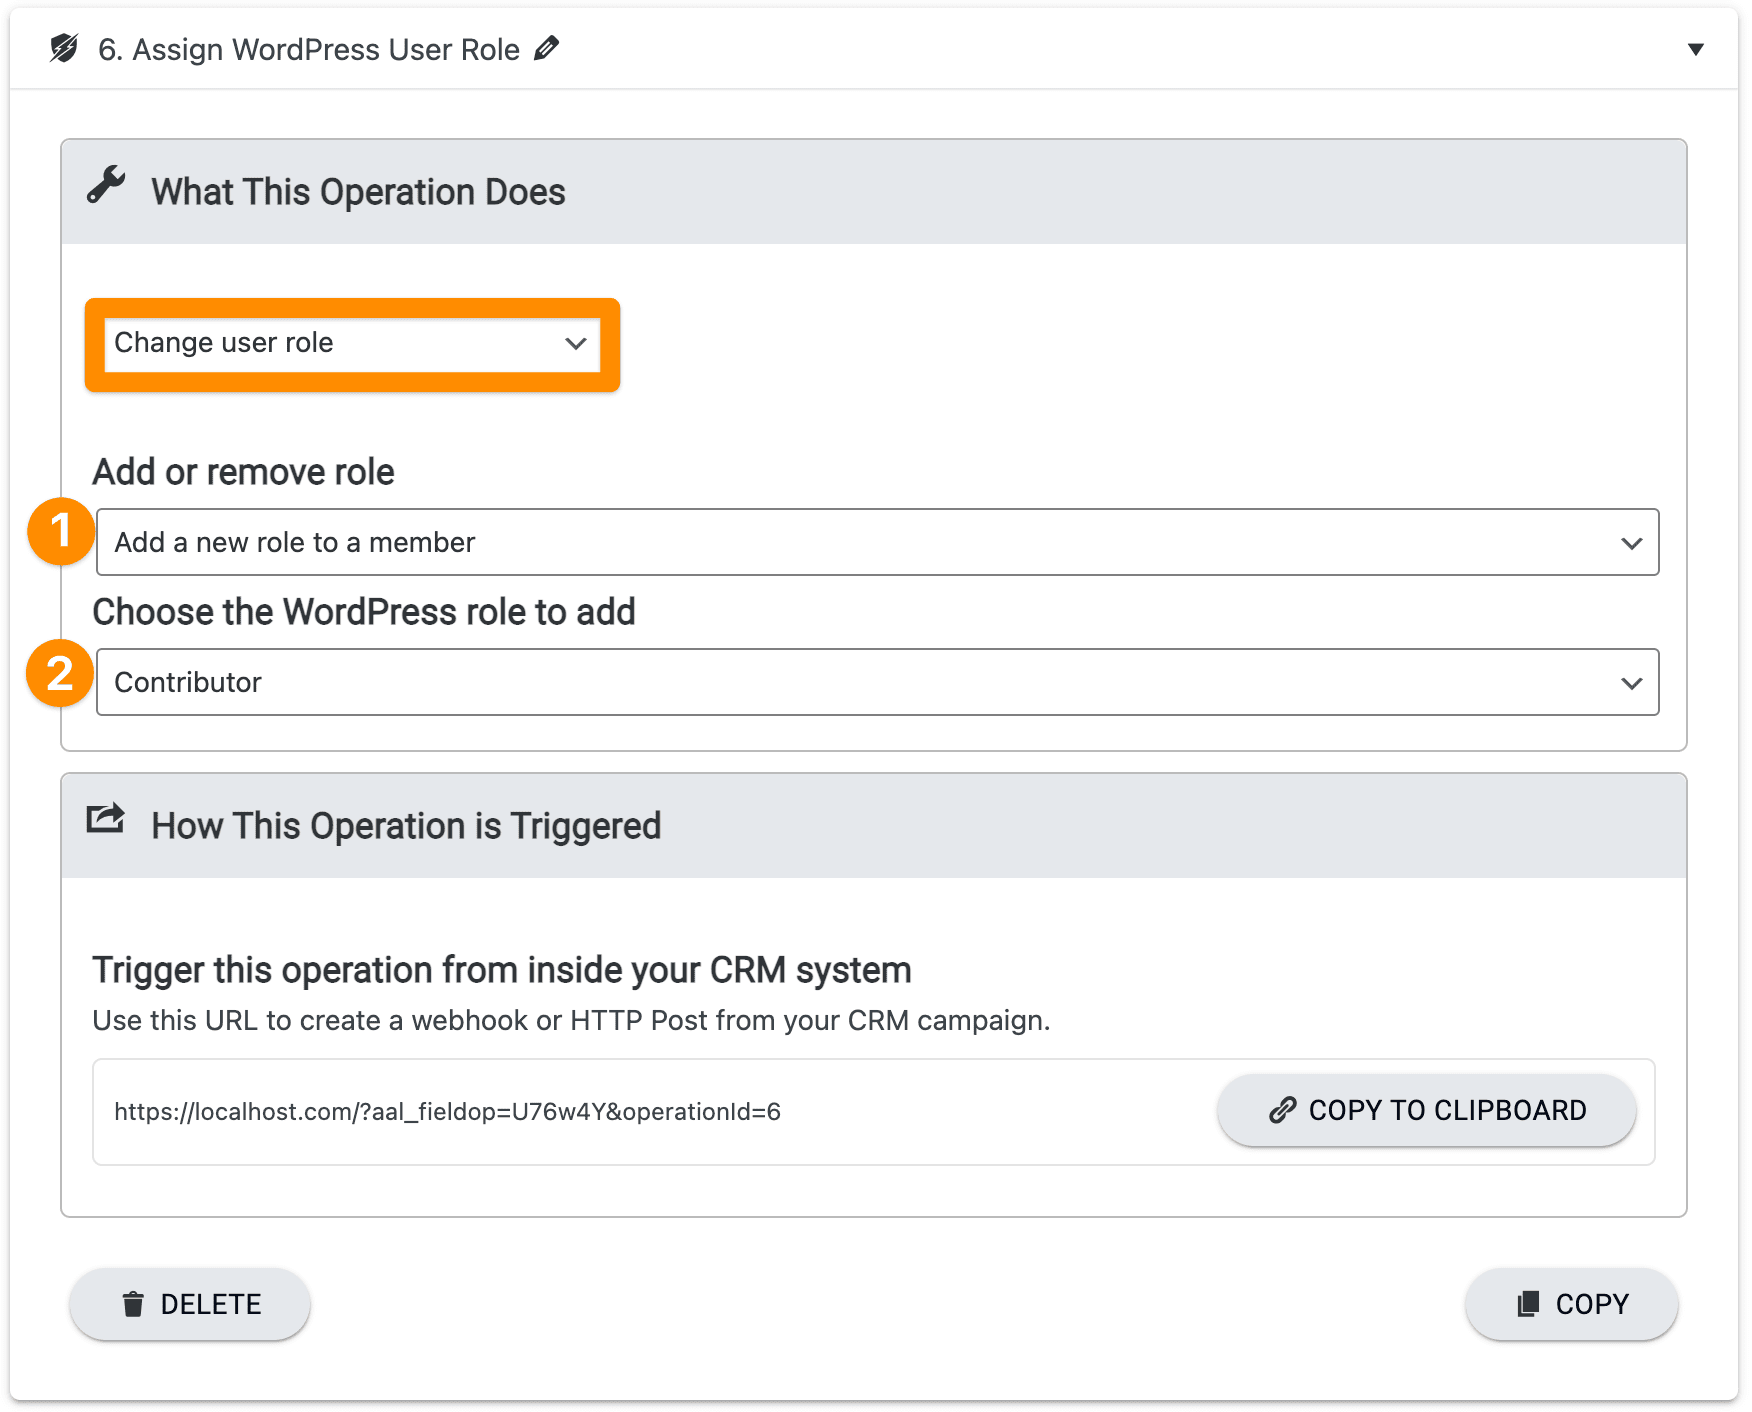
You can choose to:
- Add a new role to a member
- Assign a role to a member and remove all other roles
- Remove a role from a member
Next, you will choose which WordPress Role you want to add or remove.
Save your changes.
Now you can use this Custom Operation anytime someone needs to have these roles updated.
Run the custom operation on your members
Here are some suggested ways to run your custom operation.
After sign up or purchase in AccessAlly
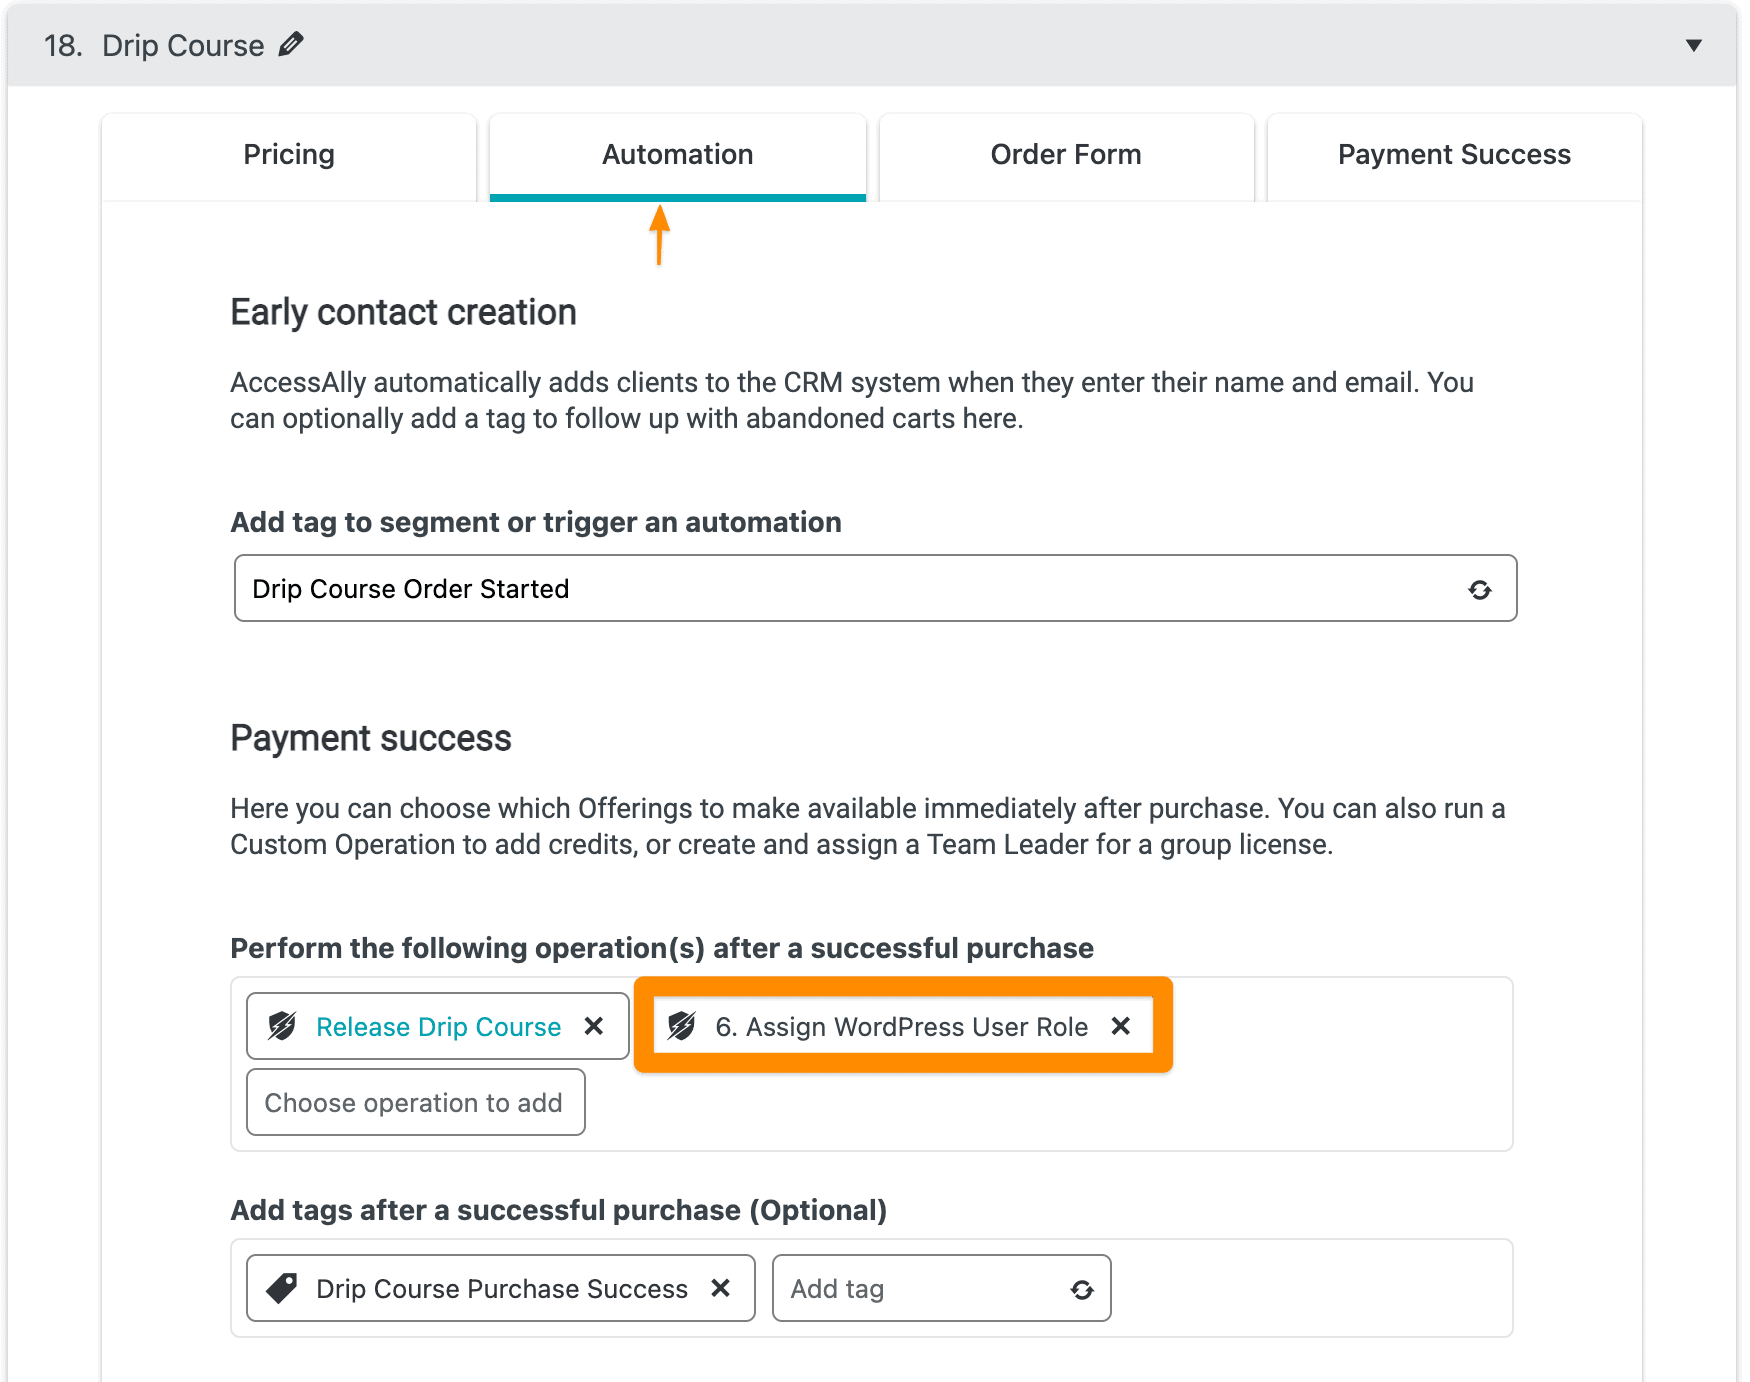
In your Offerings -> Forms area, you can edit your form:

And then under “Automation” you will see the option to run a Custom Operation after a successful purchase.
Similarly, for your free opt-in forms, you can run a Custom Operation under “Settings”, once you open it up to edit.
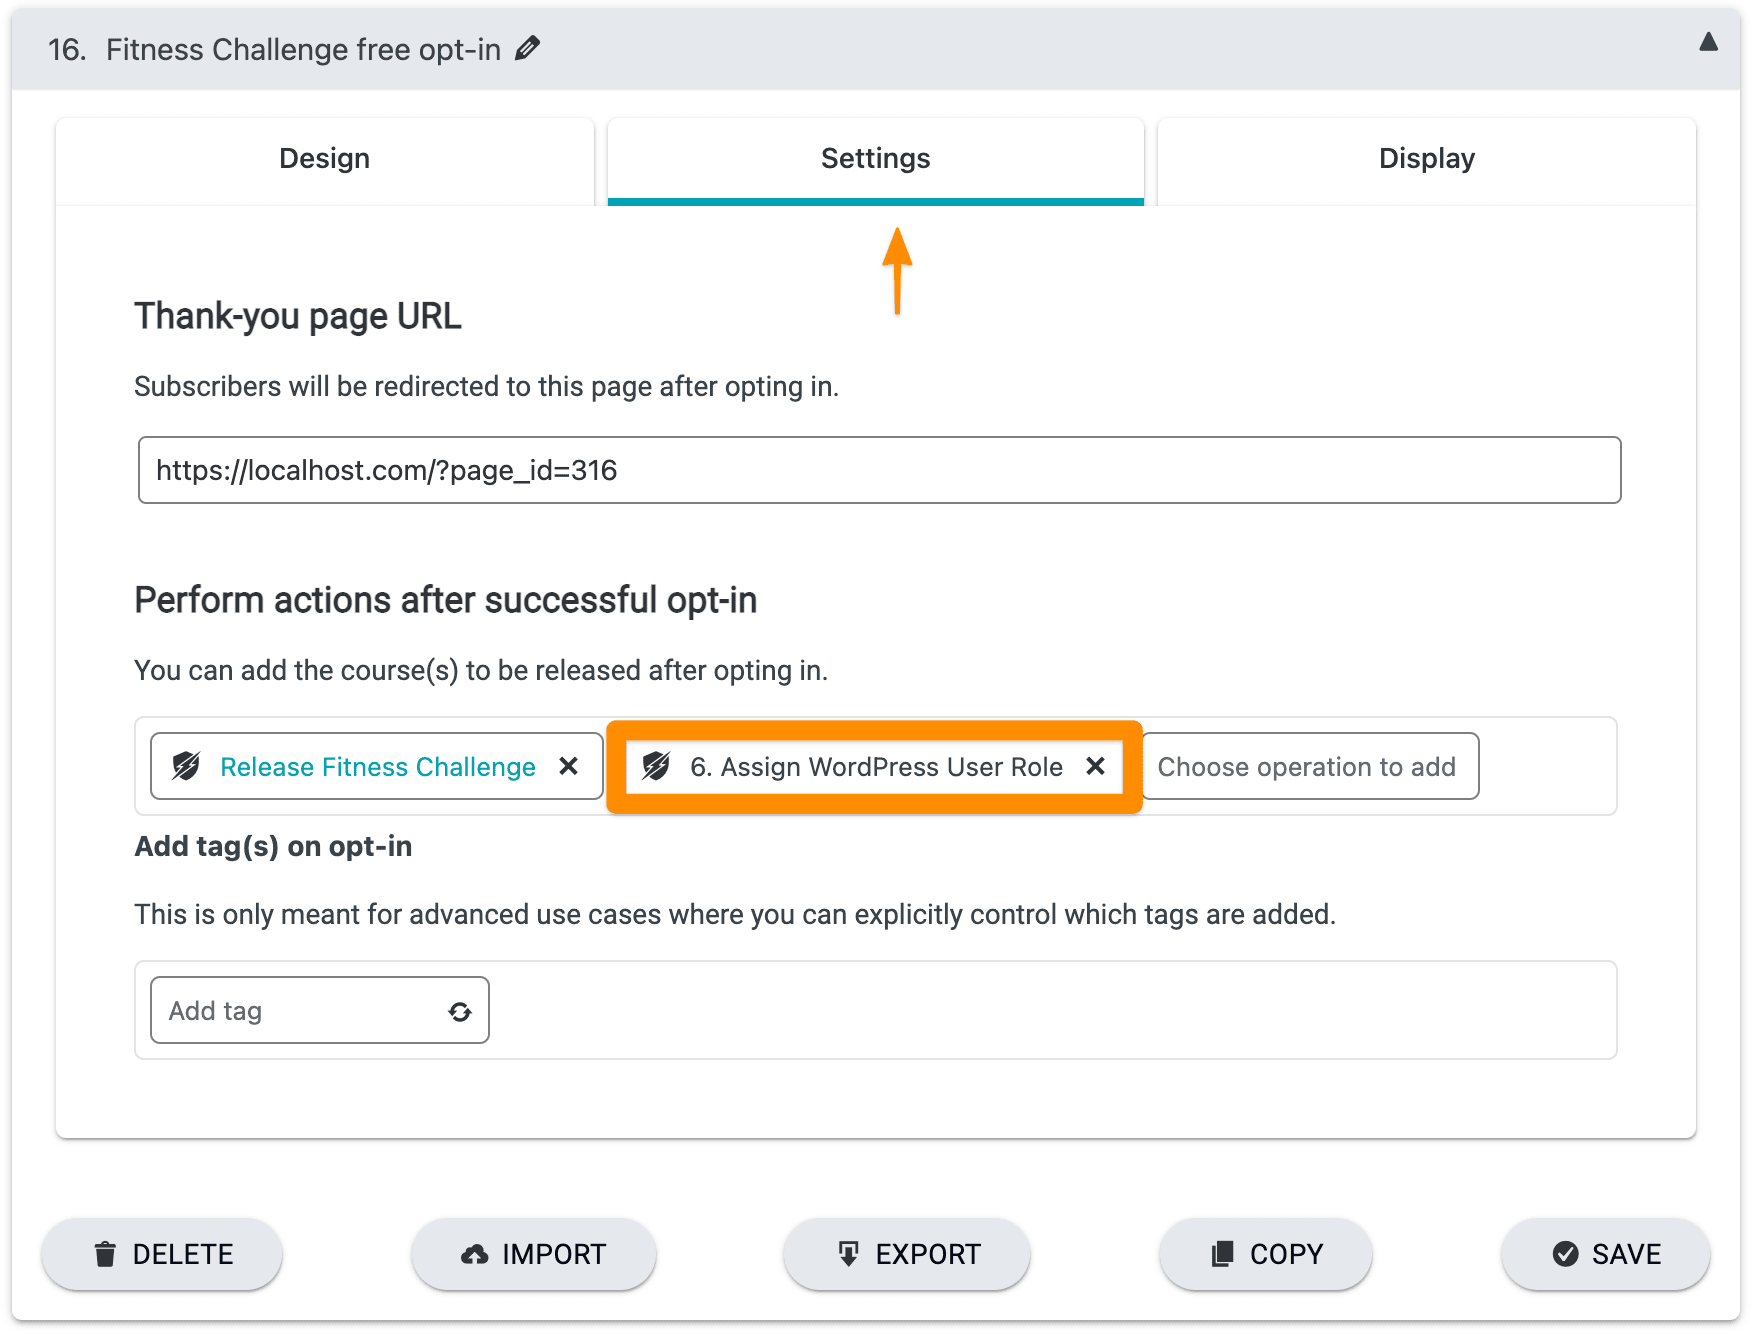
Now when someone purchases or opts in, their role will be updated.
Through a Webhook in your CRM
You can change roles through a CRM campaign, by running the associated custom operation webhook.
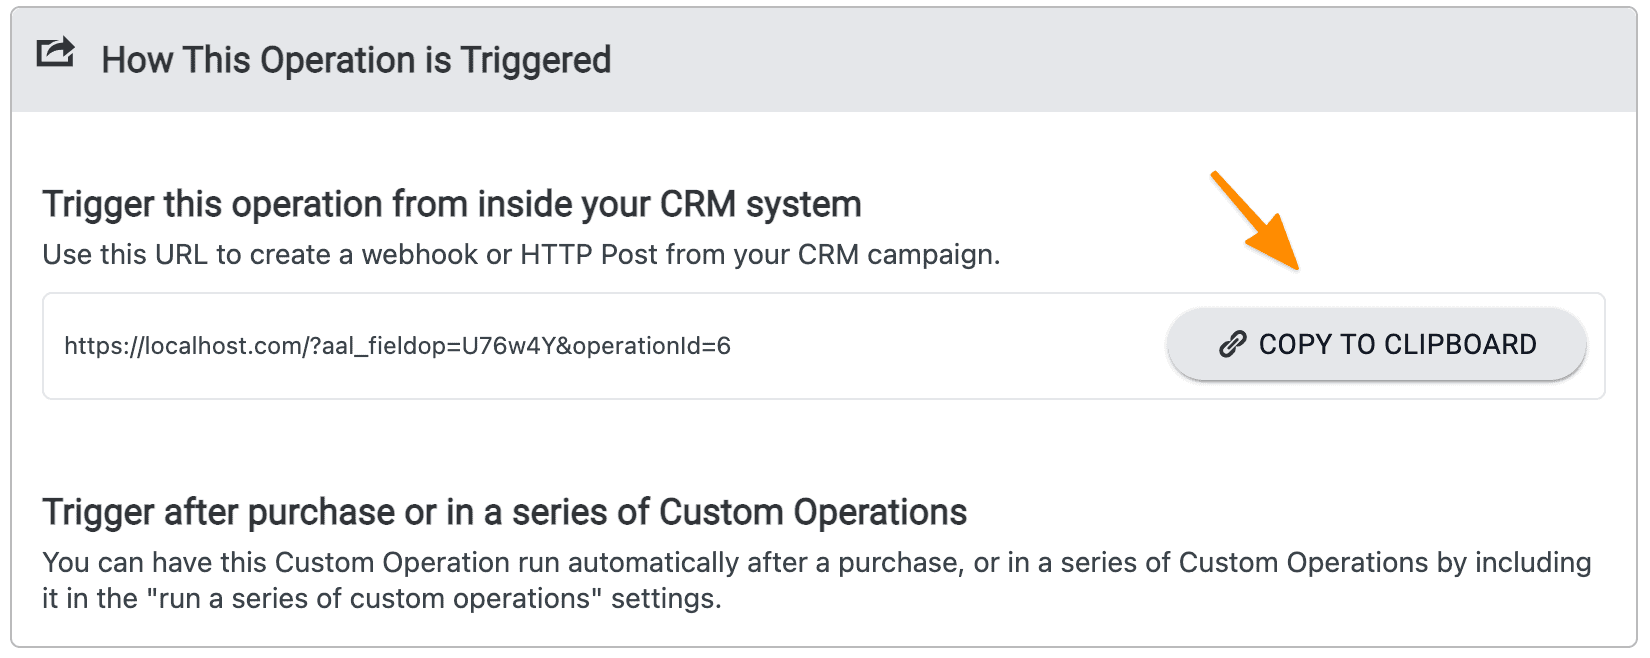
Copy the webhook, and then follow the instructions in the Webhook Guide for how to add it to a campaign in your particular CRM.
Triggered Through another Action
You can also use ProgressAlly Events to trigger custom operations, for any number of actions that a member might take.
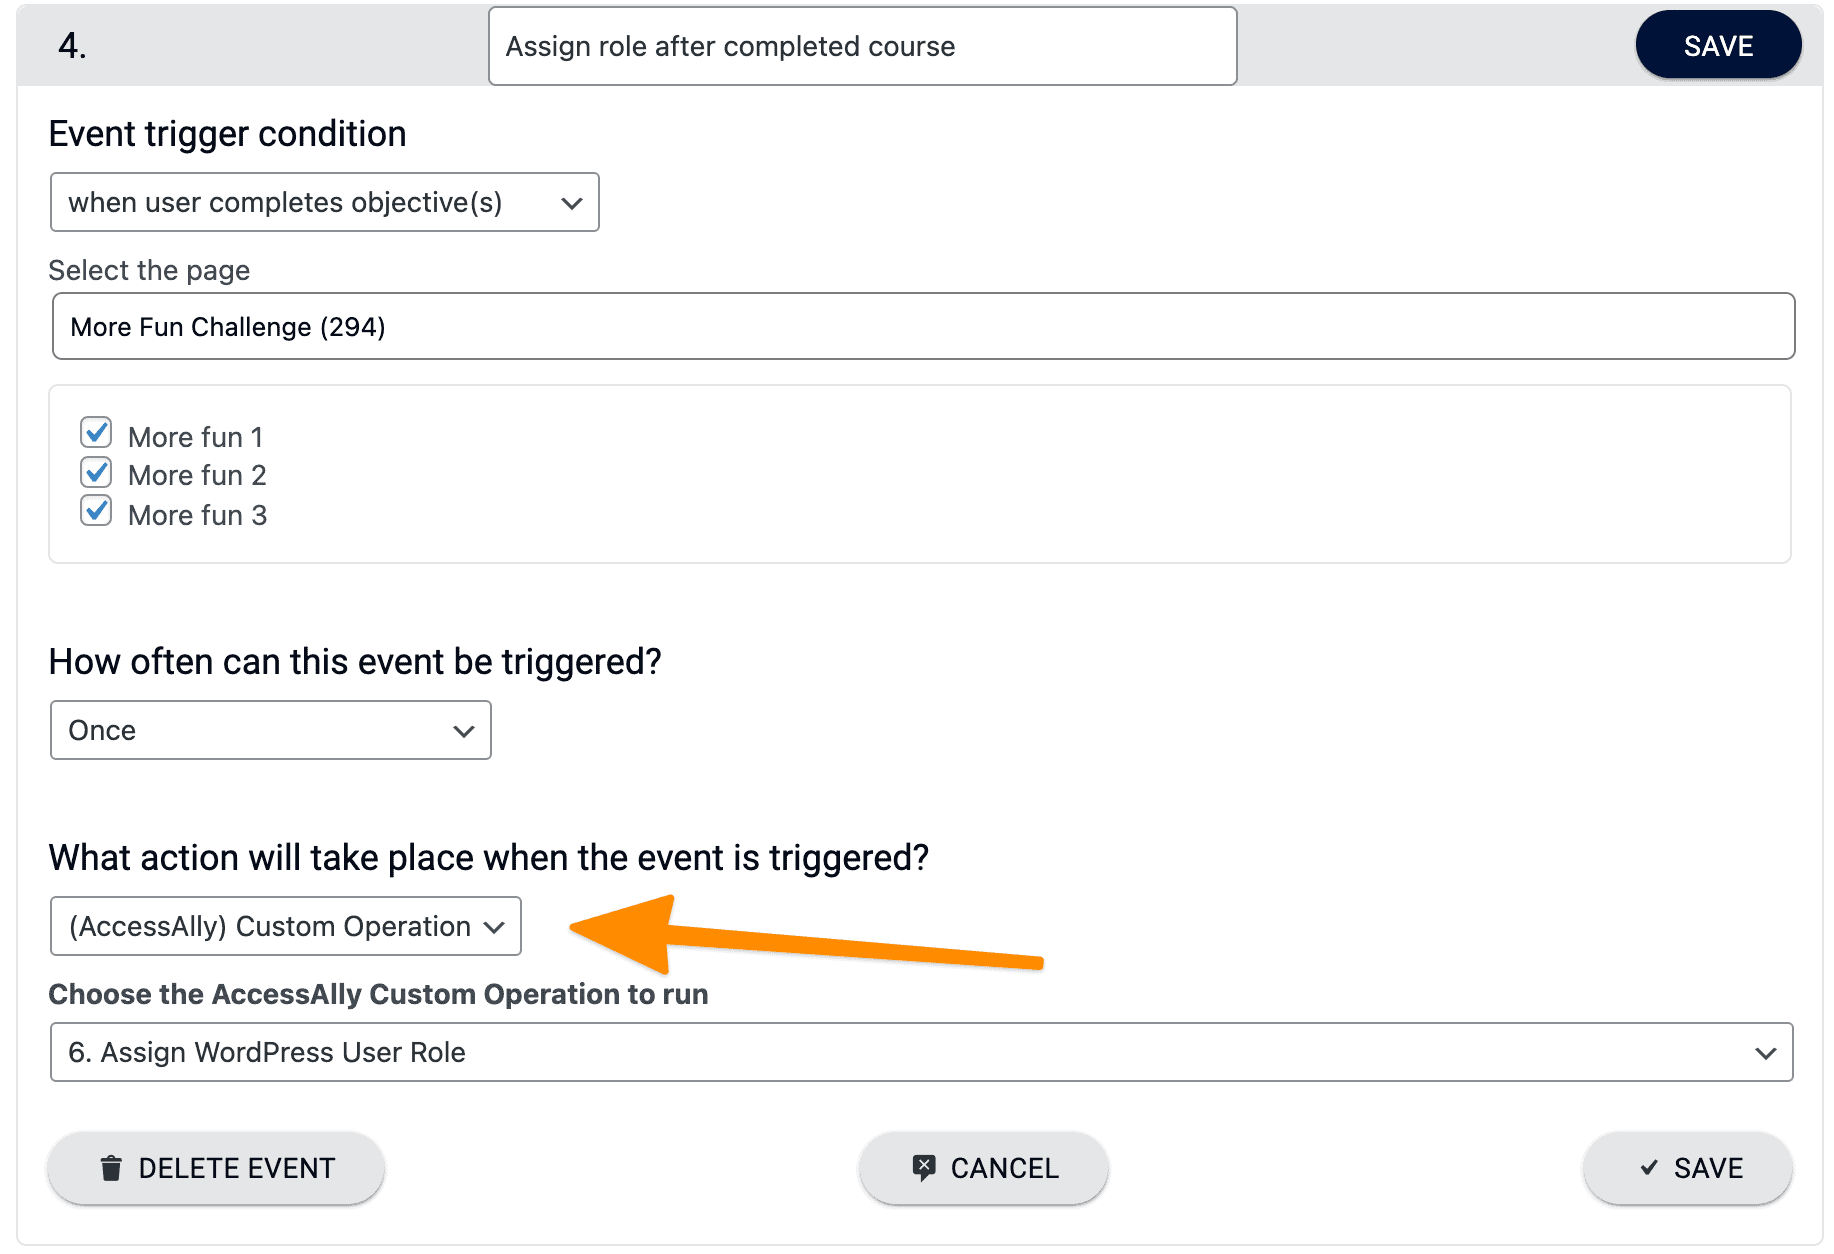
Create new events by going to ProgressAlly -> Events, and then selecting the action and associated custom operation.
