Skill Level: Beginner
Scenario: You’ve created an e-book that you would like to sell or use as an opt-in freebie. You would like to create everything you need to deliver your e-book with AccessAlly.
ARTICLE CONTENT:
1. Before You Begin
The article linked below, will show you how to setup the Protected Content Feature.
2. Add the E-Book File to an Offering
- Navigate to AccessAlly → Offerings
- Select the Offering you would like to add your E-Book to (or create a new Offering.)
- Go to the module (either an existing “Base Module” or a new one.)
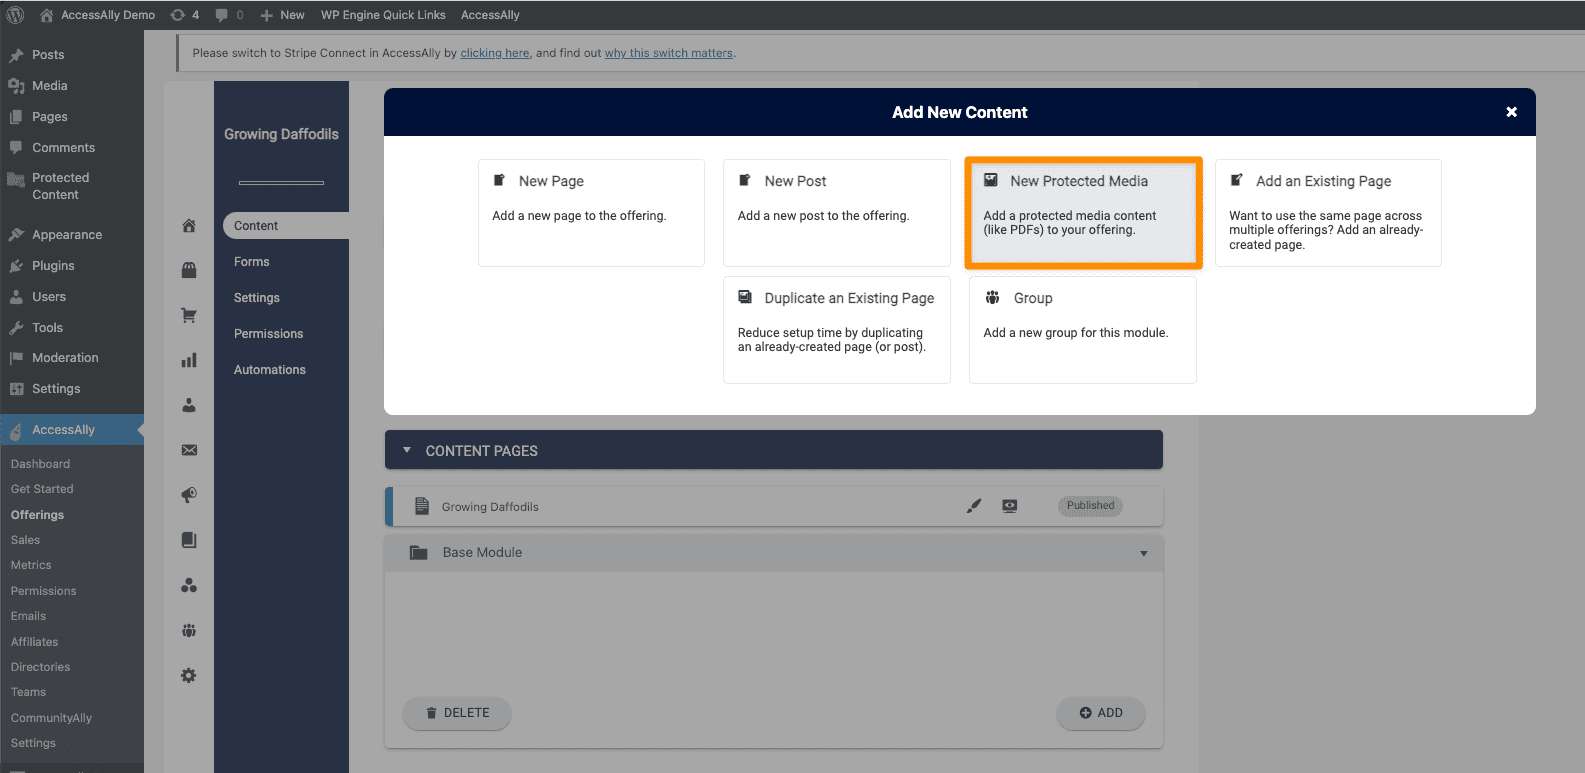
- Click “+ ADD” and choose New Protected Media.
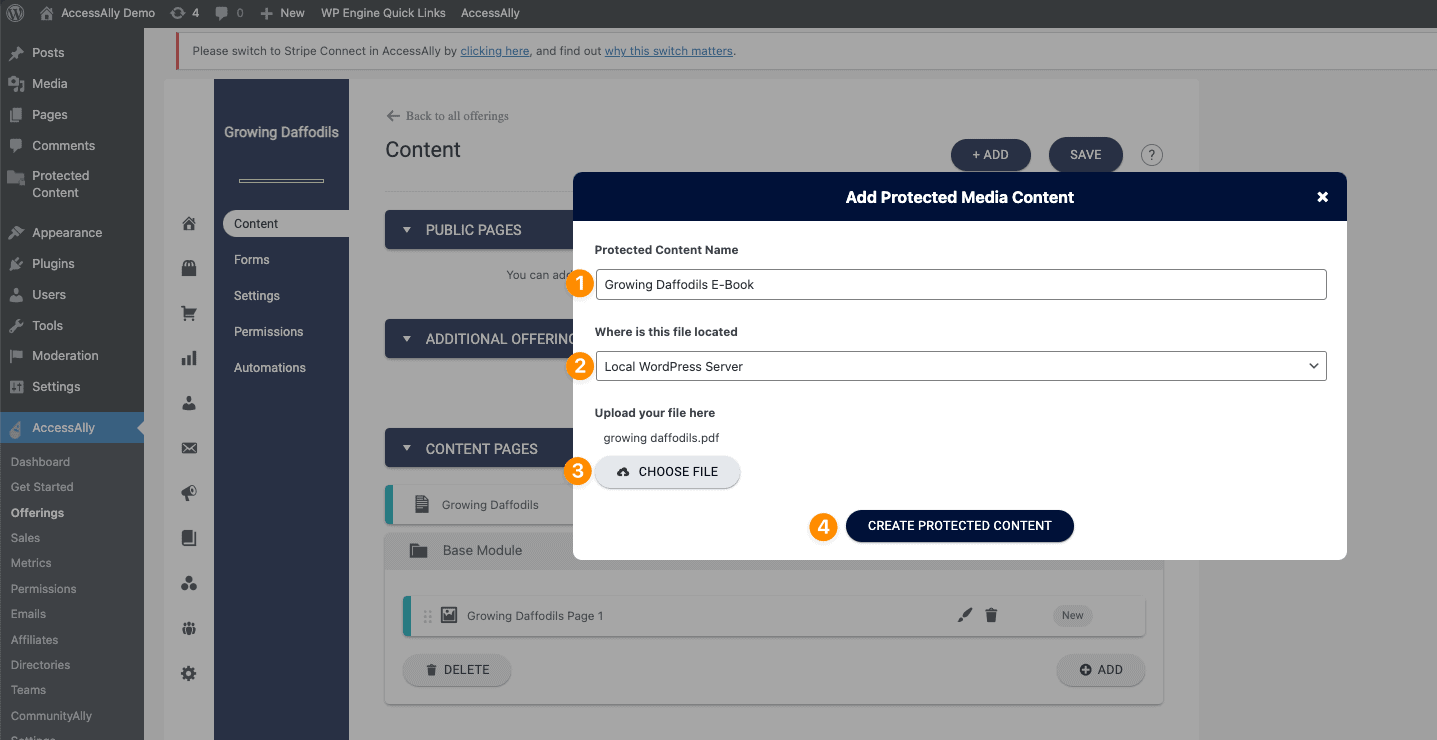
- Customize the media: give it a name, pick where it will be stored, then upload your e-book file.
- Save your work.
You can customize the name, where the file is stored, and upload your e-book right inside your offering!
Adding your e-book to your offering means all the necessary tags are created and used for this e-book.
Don’t forget to save your progress!
3. Edit / Update or Revise E-Book File
Anytime you want to update or revise the e-book (new edition or revision,) you can edit the protected content file directly via the offering.
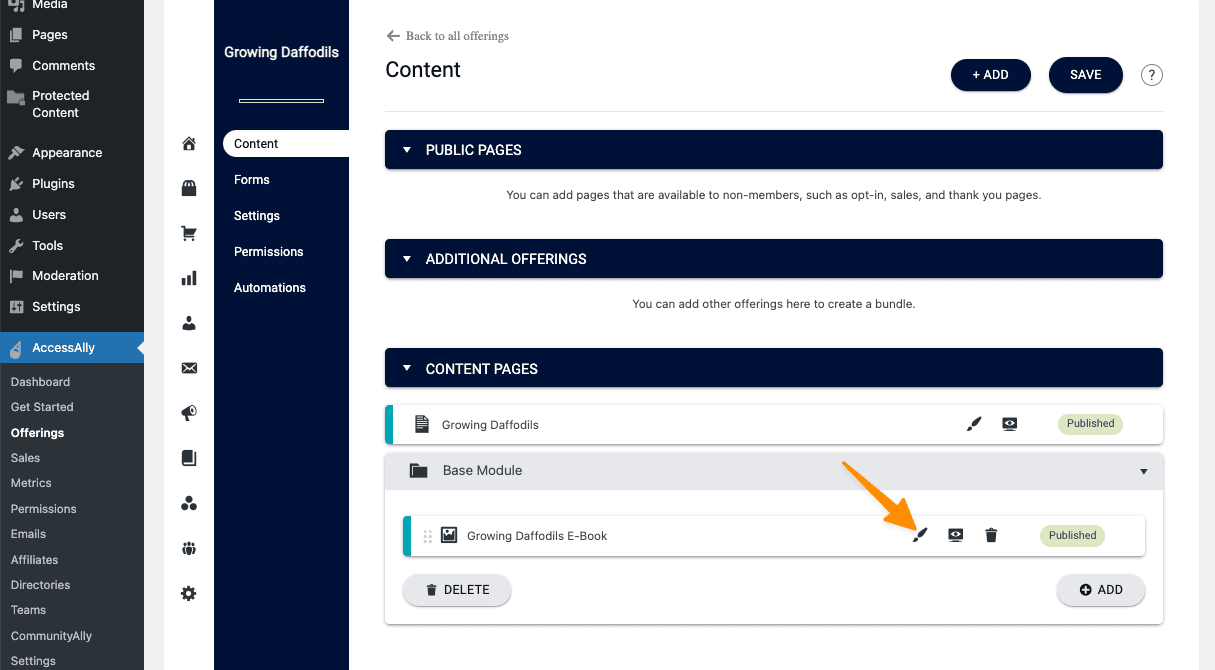
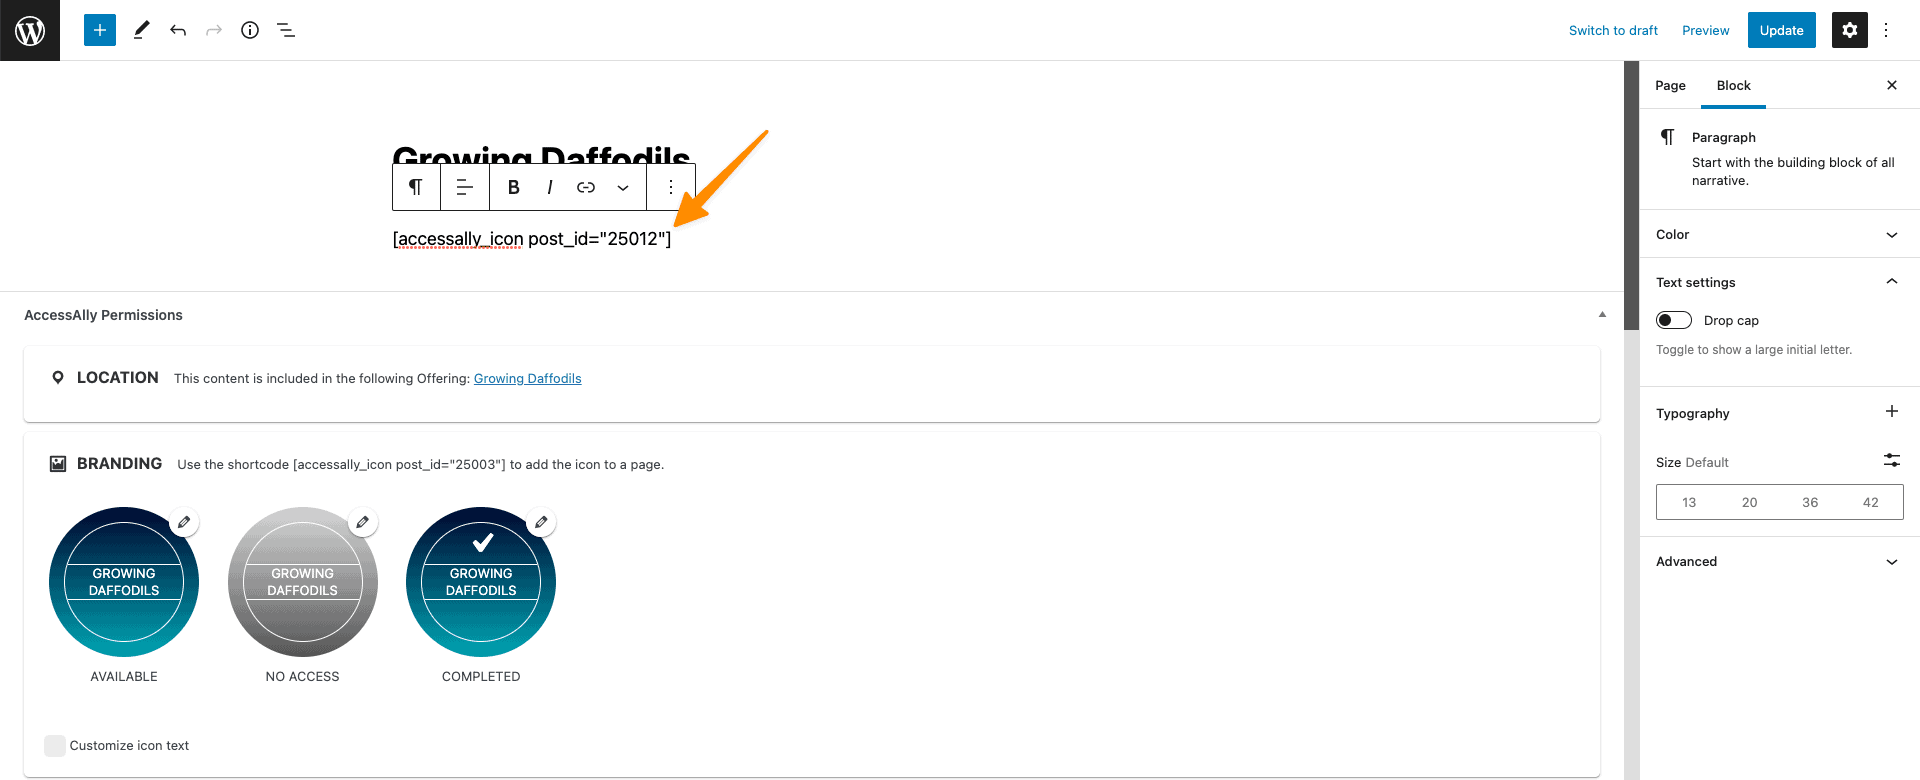
From here, you can also access the shortcode for the file—useful for embedding the download icon on a page or post.
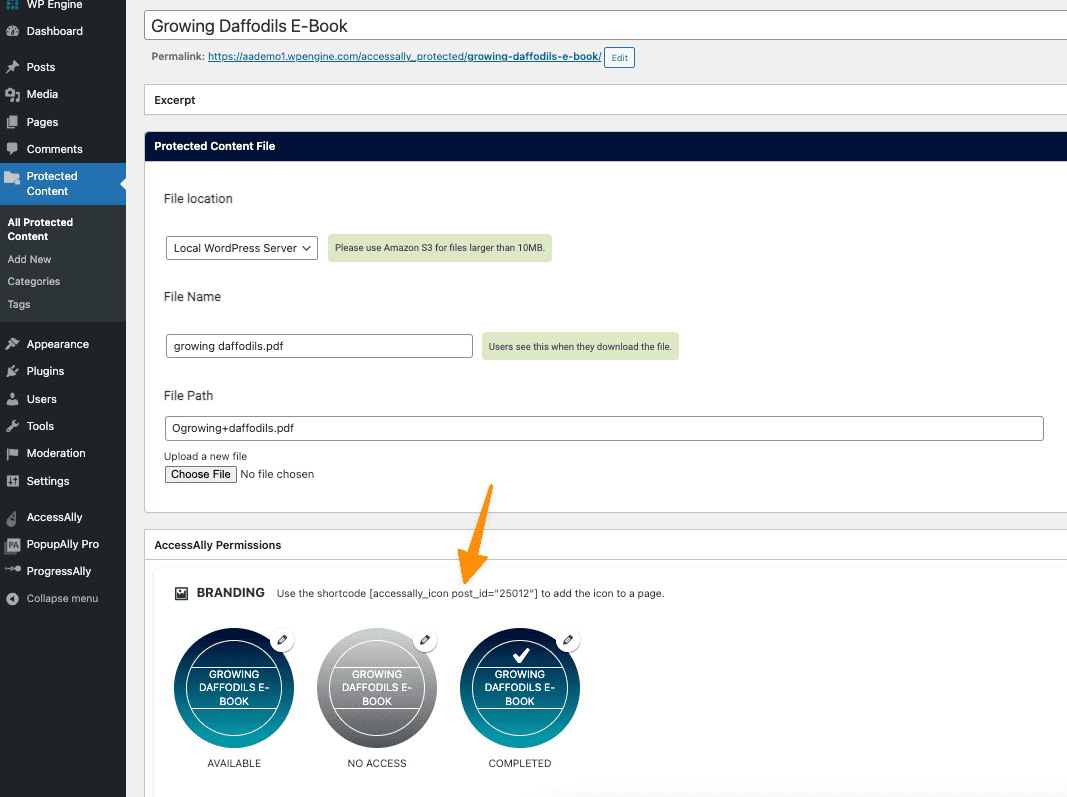
Visit the content tab in your Offering, click the edit pencil by the page you would like to display the e-book Protected Content file on, add the shortcode to the page in your WordPress Theme and/or page builder.
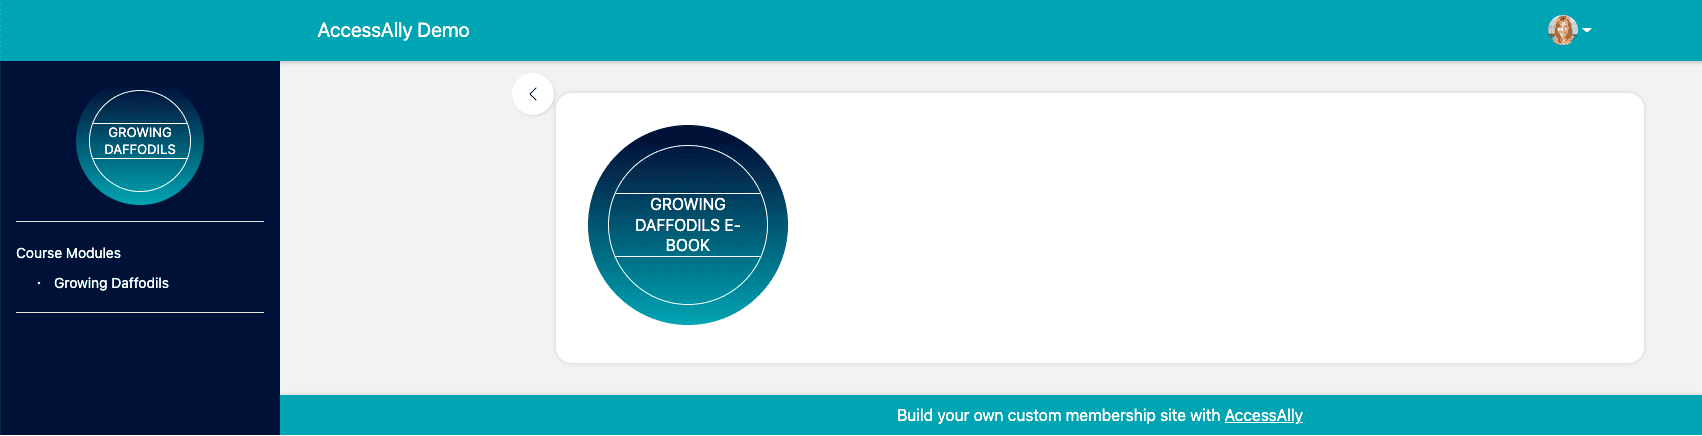
This is what your members see when they visit the offering to collect the e-book. And… you can even create your own image to use for this icon if you want to match your branding.
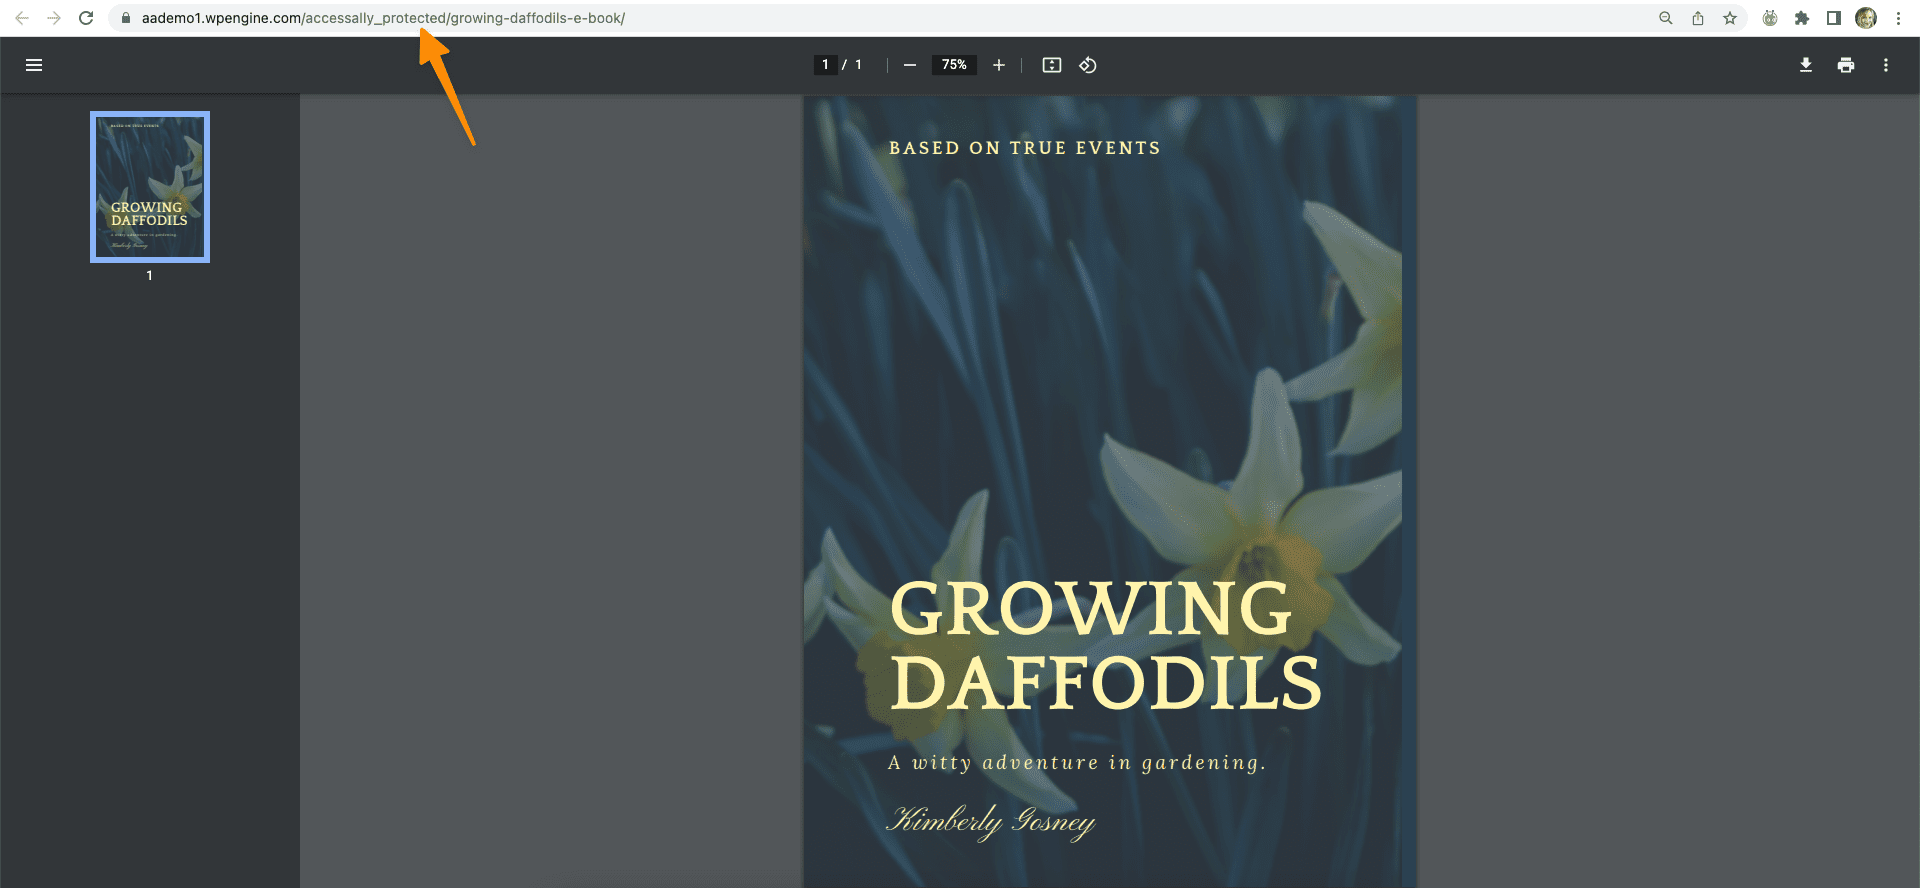
Here is the view of the file once the icon has been clicked with the file showing as protected content. If the direct link to this file is shared with someone that does not have access to this offering they would be rerouted to your sales page, order form, or login page depending on your unique setup.
Frequently Asked Questions
The Protected Content feature works will PDF files, JPG files, PNG files, .json template files, .mp3 audio files, and so much more.
This feature does not work with videos and Windows based .exe files.
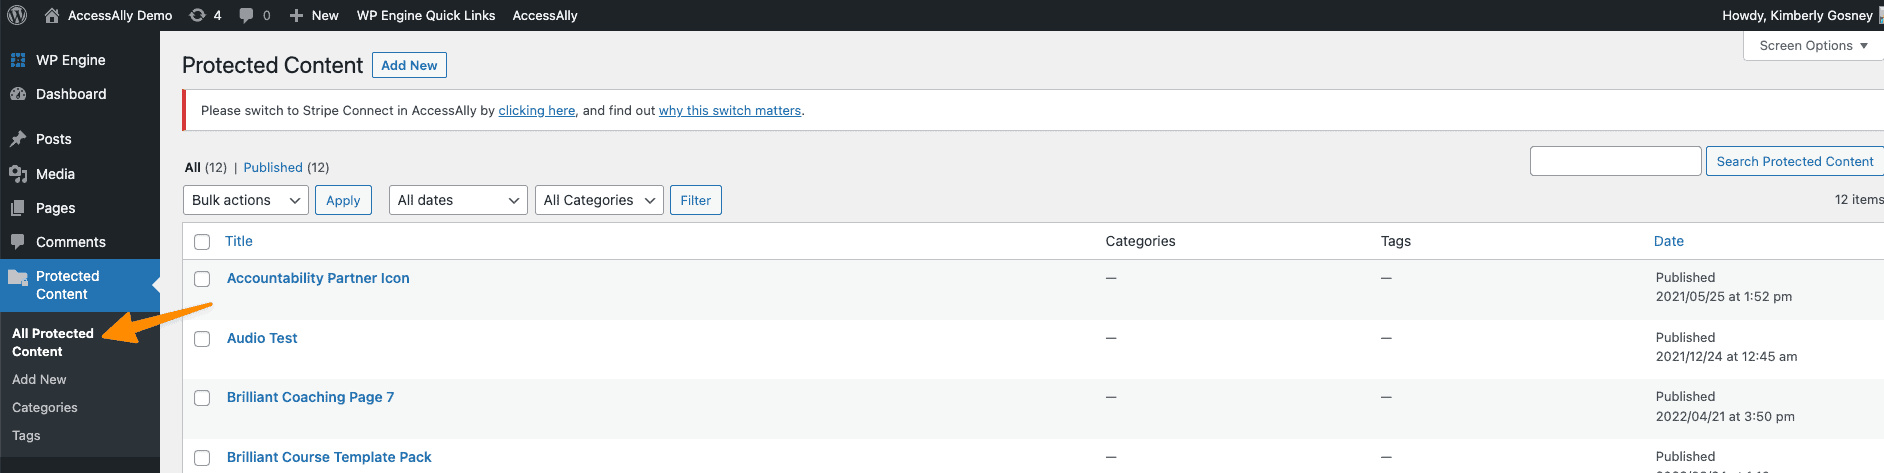
Yes, you can. If you have the Protected Content feature enabled on your site you can go to the Protected Content tab in the sidebar and select All Protected Content. From here you can add new files and set your page permissions manually if you would prefer.
Resources
- Create an e-commerce shop style experience using AccessAlly
- How to add audio and downloadable protected content to your site
- See additional articles on the protected content feature
