You can update AccessAlly user permission tags from directly inside the WordPress website admin interface.
ARTICLE CONTENT:
Option 1: Add tag(s) to a single user
There are some occasions where you may want to add an AccessAlly tag to a contact from inside your WordPress site and have it sync back to your CRM.
For example, you have a single contact that is missing a tag due to an error in a CRM campaign.
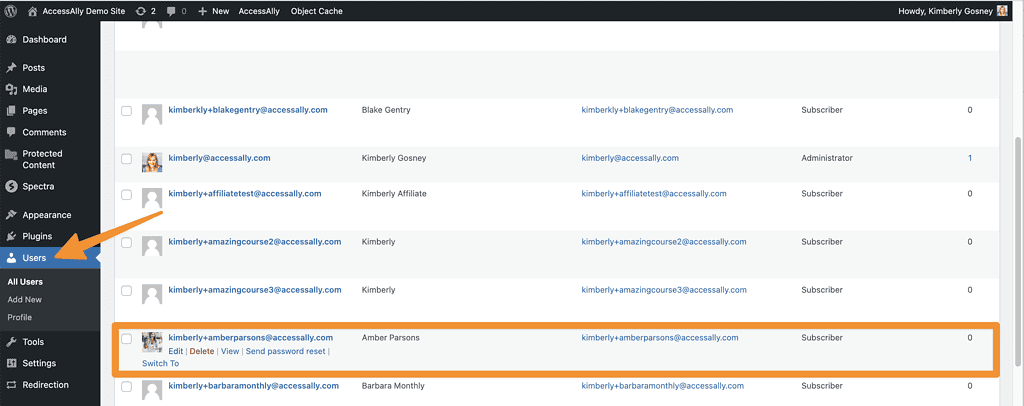
Step 1: From inside your AccessAlly site go to WordPress > Users > All Users and search for the user you would like to edit.
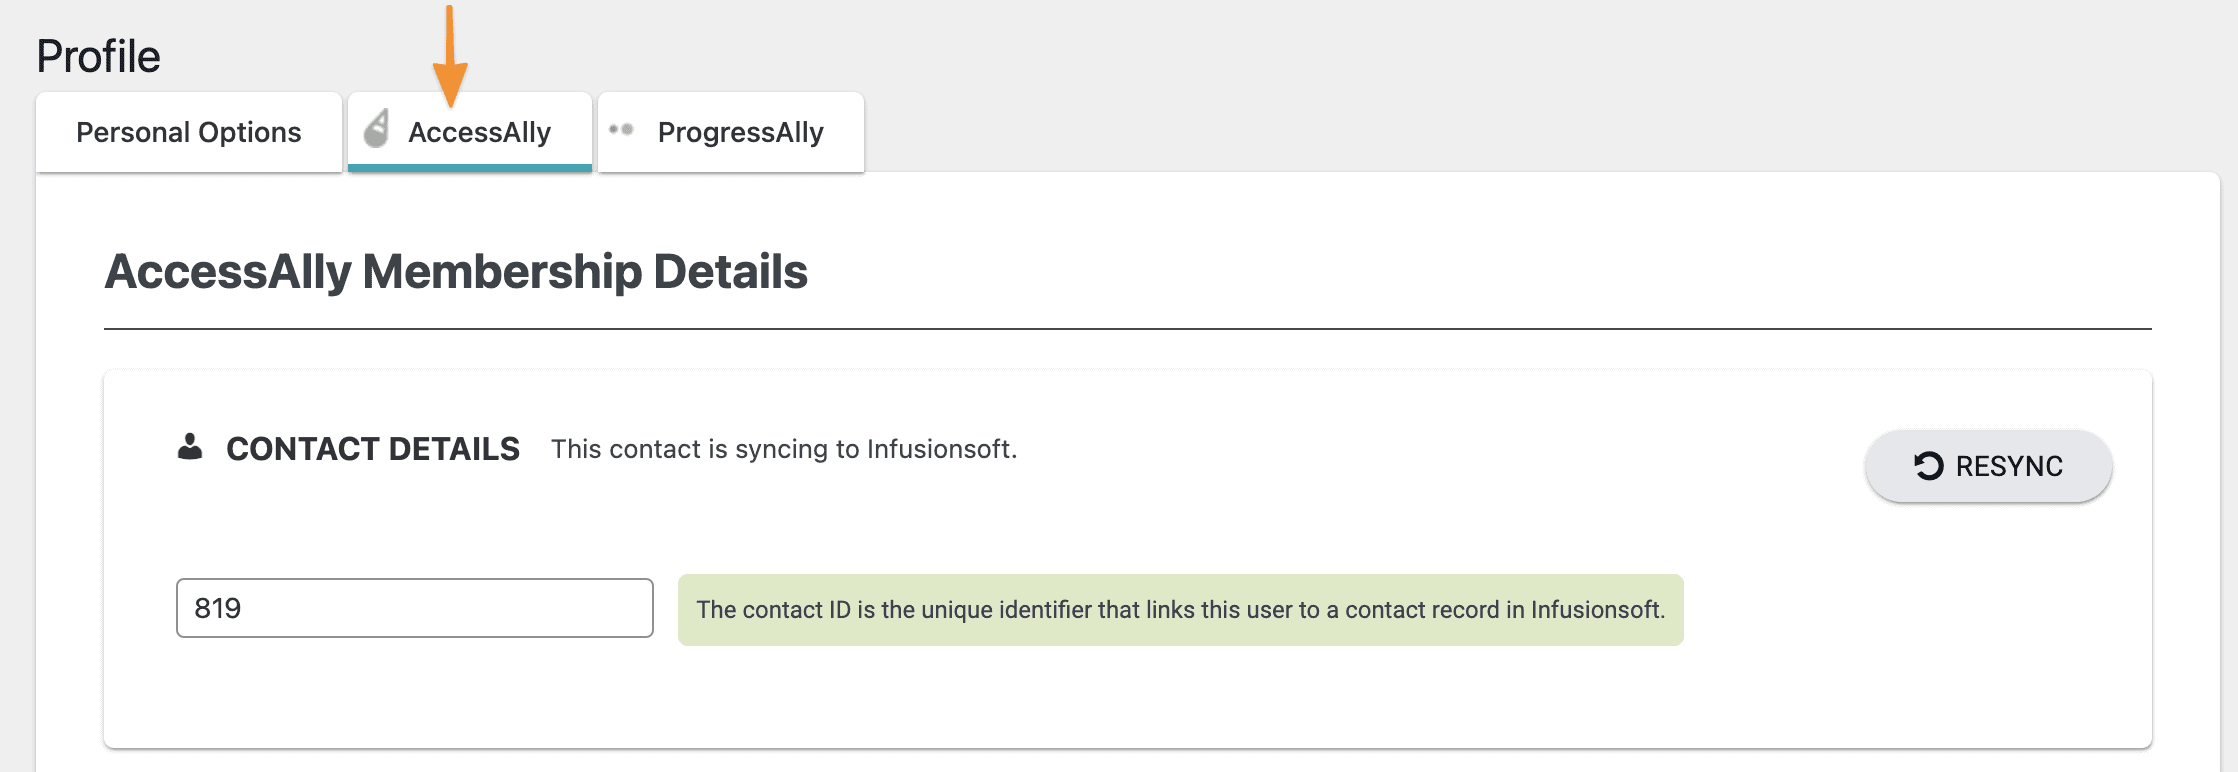
Step 2: Click on the AccessAlly tab.
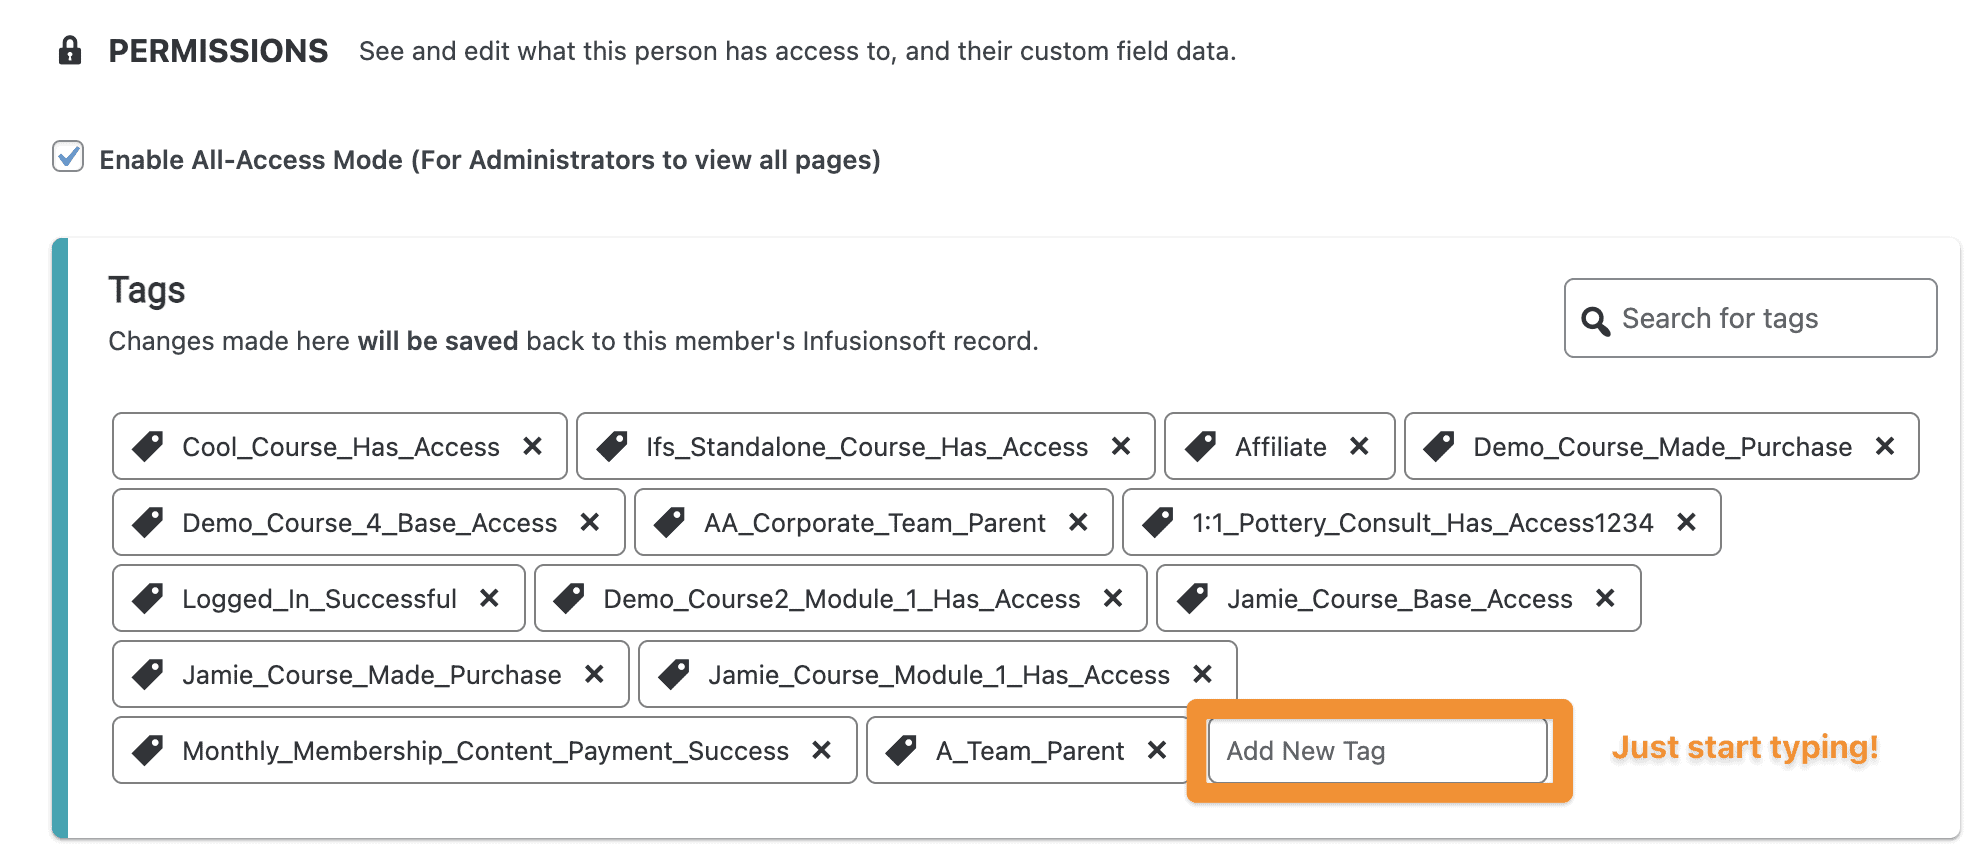
Then under Permissions, look for Tags and add any tags you’d like one at a time in the Add New Tag spot.
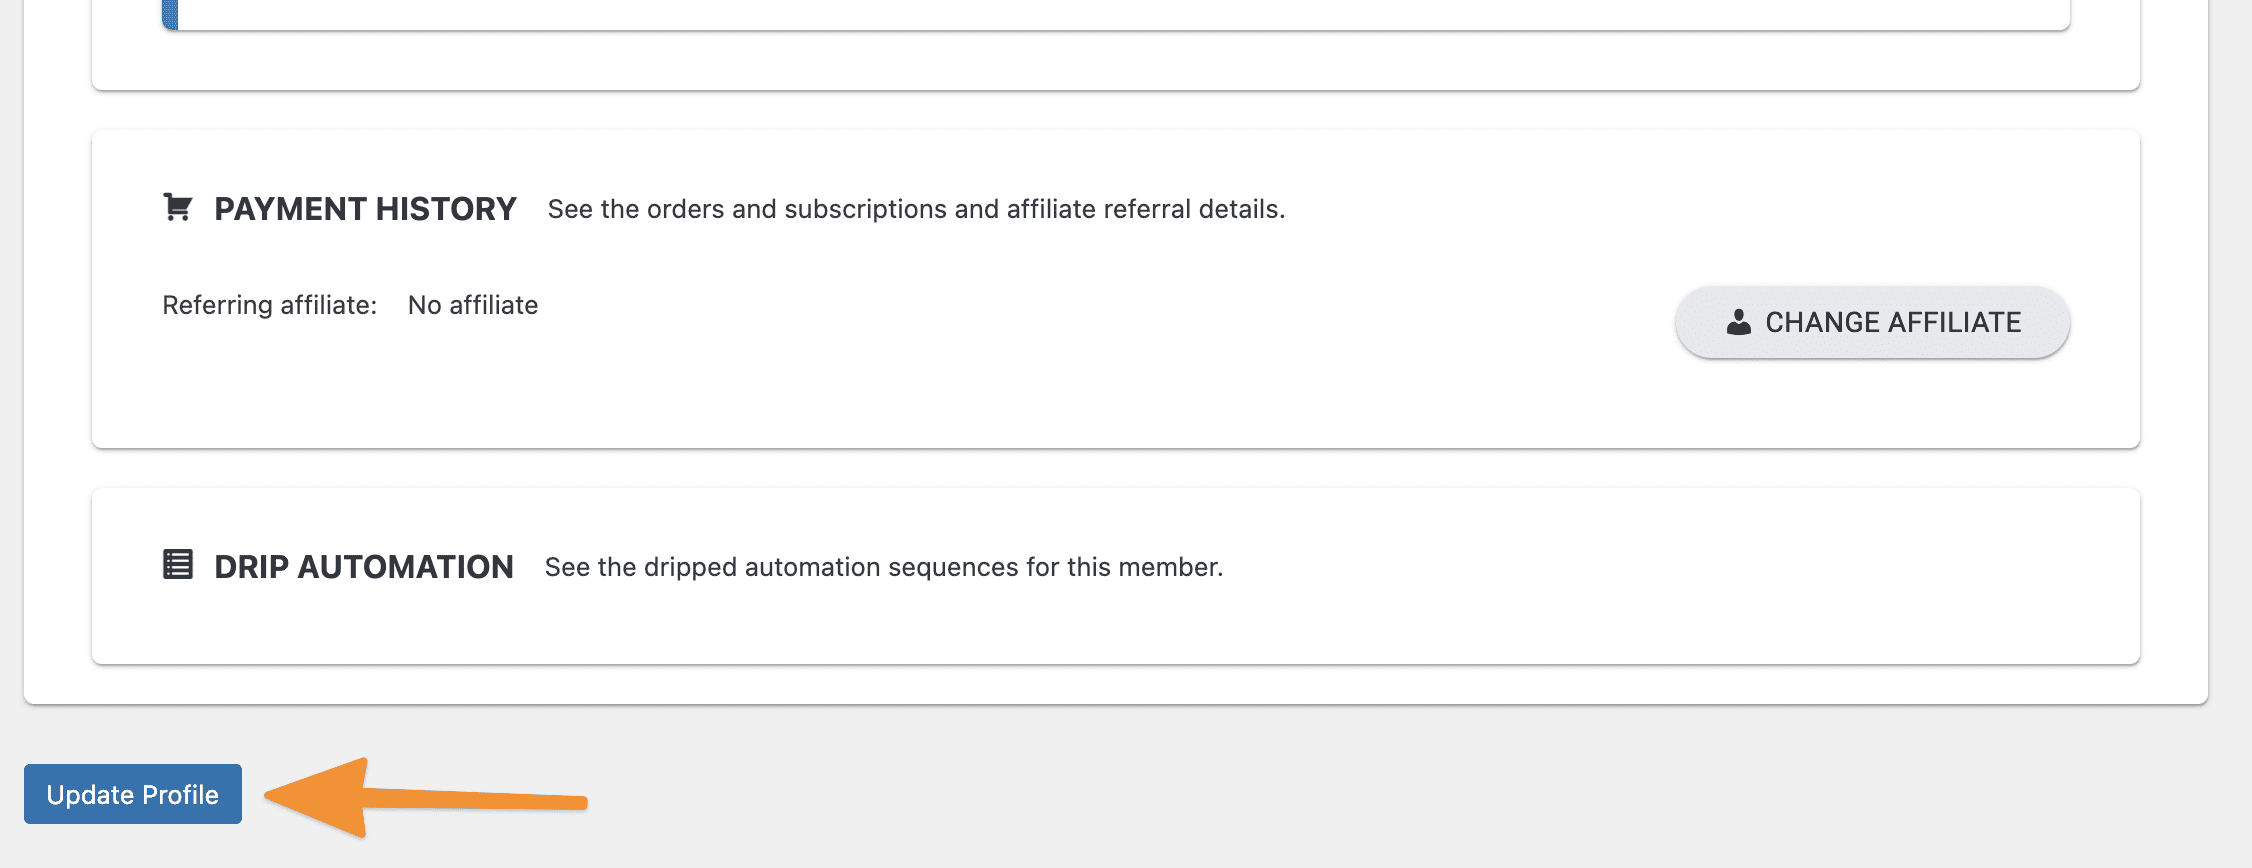
Step 5: Click the Update User button.
Option 2: Add tags to multiple users
This option uses the AccessAlly Members tab and is helpful if you have several WordPress users on your site that are missing tags.
See how to add multiple tags to multiple members at one time!
Review CRM (Optional)
Optional: Visit your CRM platform and confirm the tag has been added to this contact inside your CRM.
Reminder! Any CRM campaigns or automations that start with a tag that you’ve added to a user inside WordPress will be sent to this contact.
