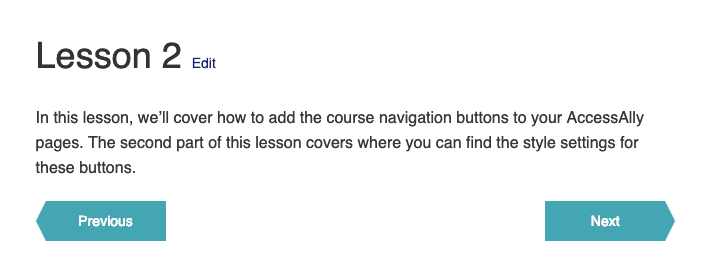
When you build out your course (or other membership) content inside AccessAlly’s Offering Wizard, this feature creates a Previous & Next button to help make it easier for your members to get to the next part of your program.
ARTICLE CONTENT:
Why Use Offering Navigation On Your Course Pages
Offering Navigation buttons are extremely convenient, can help reduce overwhelm, and may encourage users to continue making progress in your programs.
How To Add Offering Navigation To Your Pages
Step 1: Review Offering Format
Before adding buttons to your pages, please make sure that the course page order is correct by going to: AccessAlly > Offerings. Review the items in the Content Tab.
The order the modules & pages appear in the offering is the same that will be reflected in the navigation buttons.
(To reorder, drag-and-drop the pages or modules to their proper locations.)
Step 2: Insert Shortcode
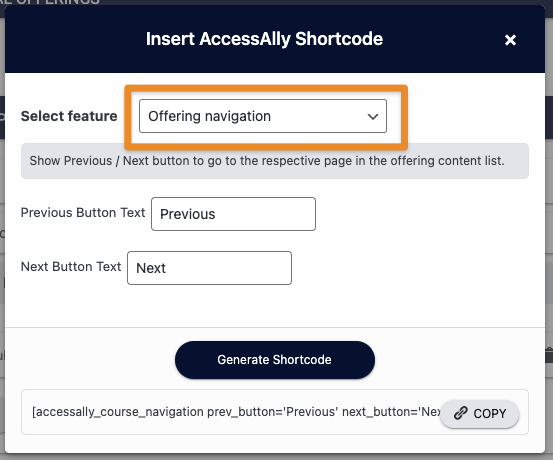
Next, go into your course pages and use the AccessAlly shortcode adder to insert the Offering navigation shortcode. You can change the text on the buttons if you wish, before clicking on the Generate Shortcode button.

Step 3: Test / Review Buttons
Once the buttons have been added to the course pages, please test each of the buttons to make sure they are working properly.

Styling Offering Navigation Buttons
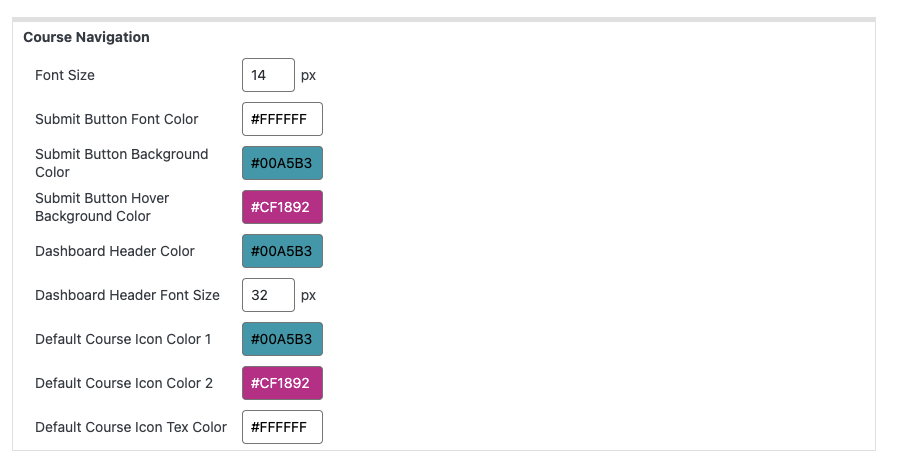
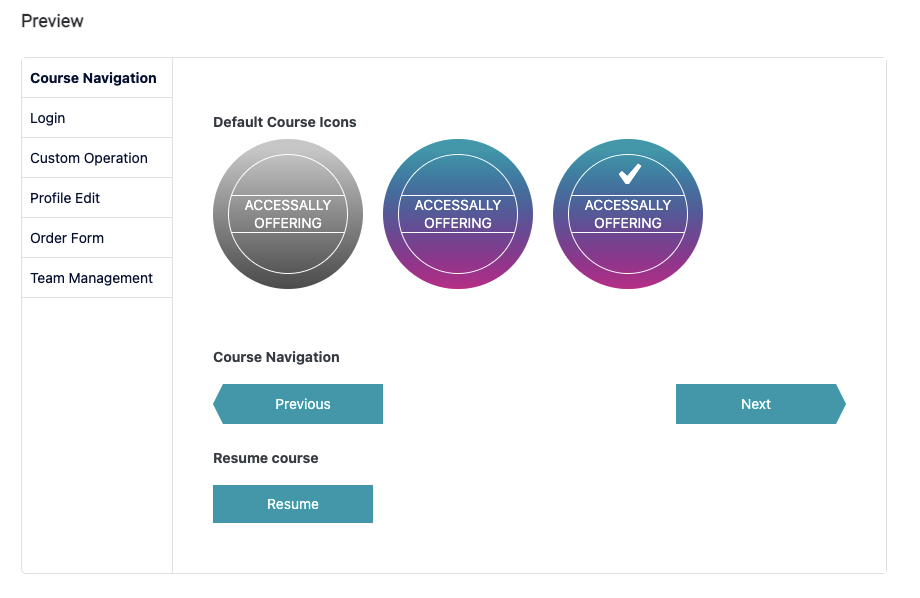
To change the color and appearance, go to: AccessAlly > General Settings > Styling.
Here, you can change the button color, hover color, and font size.


Additional Details
This feature is not compatible with:
- CommunityAlly groups (these are skipped)
- Pages/posts created outside of an offering

