PopupAlly + ConvertKit work great together! This short tutorial will walk you through how to grab the ConvertKit form code for your website opt-in.
Then, add this code, directly into your PopupAlly settings in WordPress.
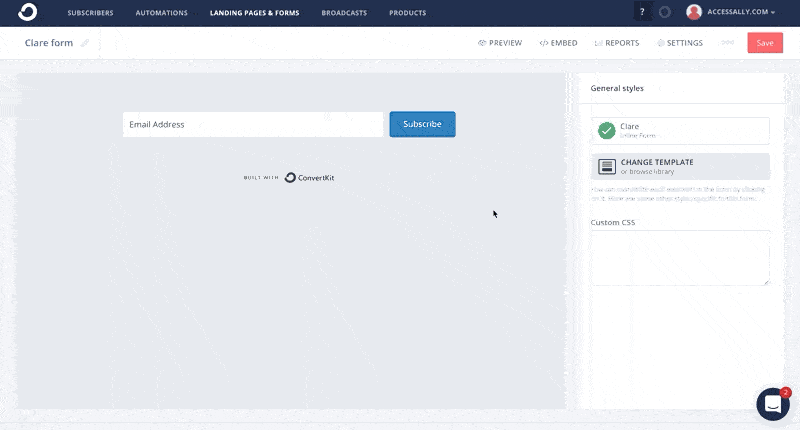
ARTICLE CONTENT:
Step-by-step Tutorial
1. Create a new form.
Inside your ConvertKit account, go to: Landing Pages & Forms > Create New > Form > Inline

2. Choose a Template
The template actually isn’t important, since you’ll do all of the styling and design inside PopupAlly. Simply choose an option that includes the correct number of inputs that you’d like to see on your opt in form. (“Clare” in the example below).

3. Review Settings
Click into the settings tab and make sure that the Invisible reCAPTCHA checkbox is disables.
At this point, you can also setup your Thank You page URL, if you wish.

4. Copy Signup for HTML
Go to: Embed > HTML. Then, click copy.
6. Click on the “Generate Code” button and copy the new code into PopupAlly
Code for PopupAlly
Once you have clicked the Generate Code button, you can copy-and-paste the HTML (make sure to get all of it!) into the “Sign Up HTML” section, and then head over to your PopupAlly settings to configure the rest of the popup or opt-in form!
8. Paste the code into your popup settings
Now that you’ve copied the code, paste it into your PopupAlly Pro settings. Go to: Style Settings > Sign Up HTML.


