 Important Notice: Drip no longer allows you to export HTML code for opt-in forms. As of August 2023, this means you can no longer use PopupAlly with Drip.
The following tutorial will remain, for any Drip users who have legacy functionality.
This short tutorial will walk you through how to grab the Drip form code for your website opt-in.
Then, add this code, directly into your PopupAlly settings in WordPress.
ARTICLE CONTENT:
Let’s get the HTML code for Drip
1. Create a New Form
In your Drip account, go to: Forms > New Opt In Form > Embedded HTML Form
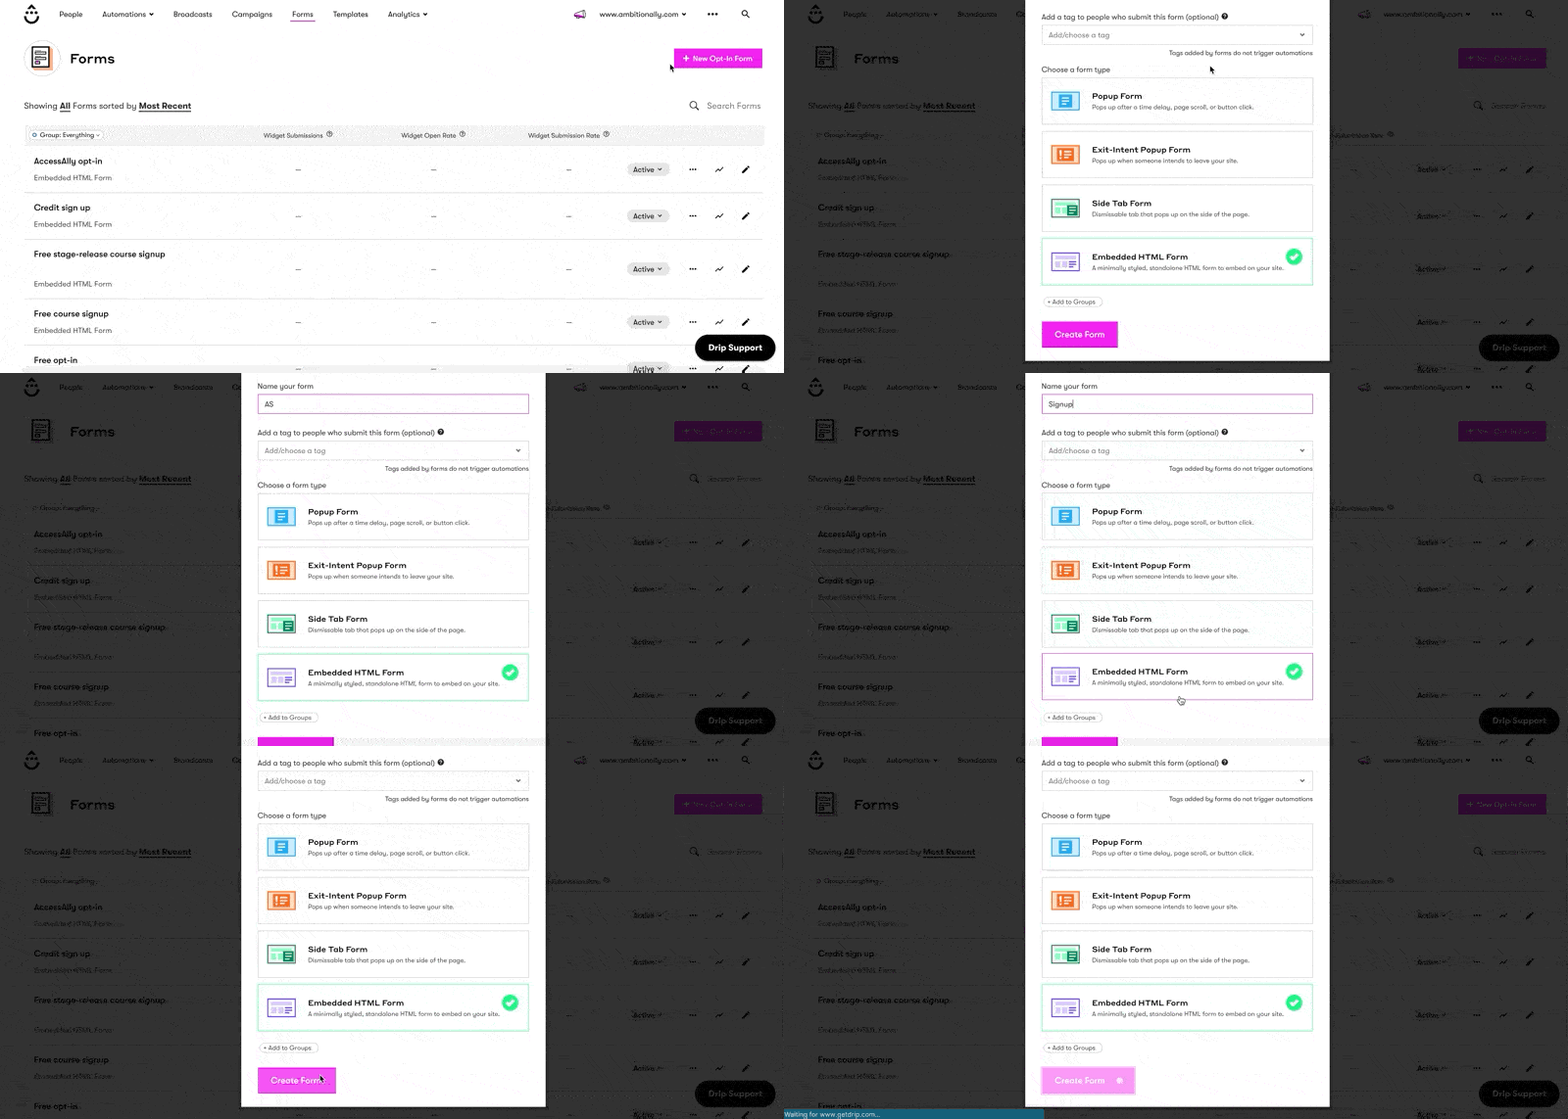
Make sure to name your form.
2. Customize Form Fields
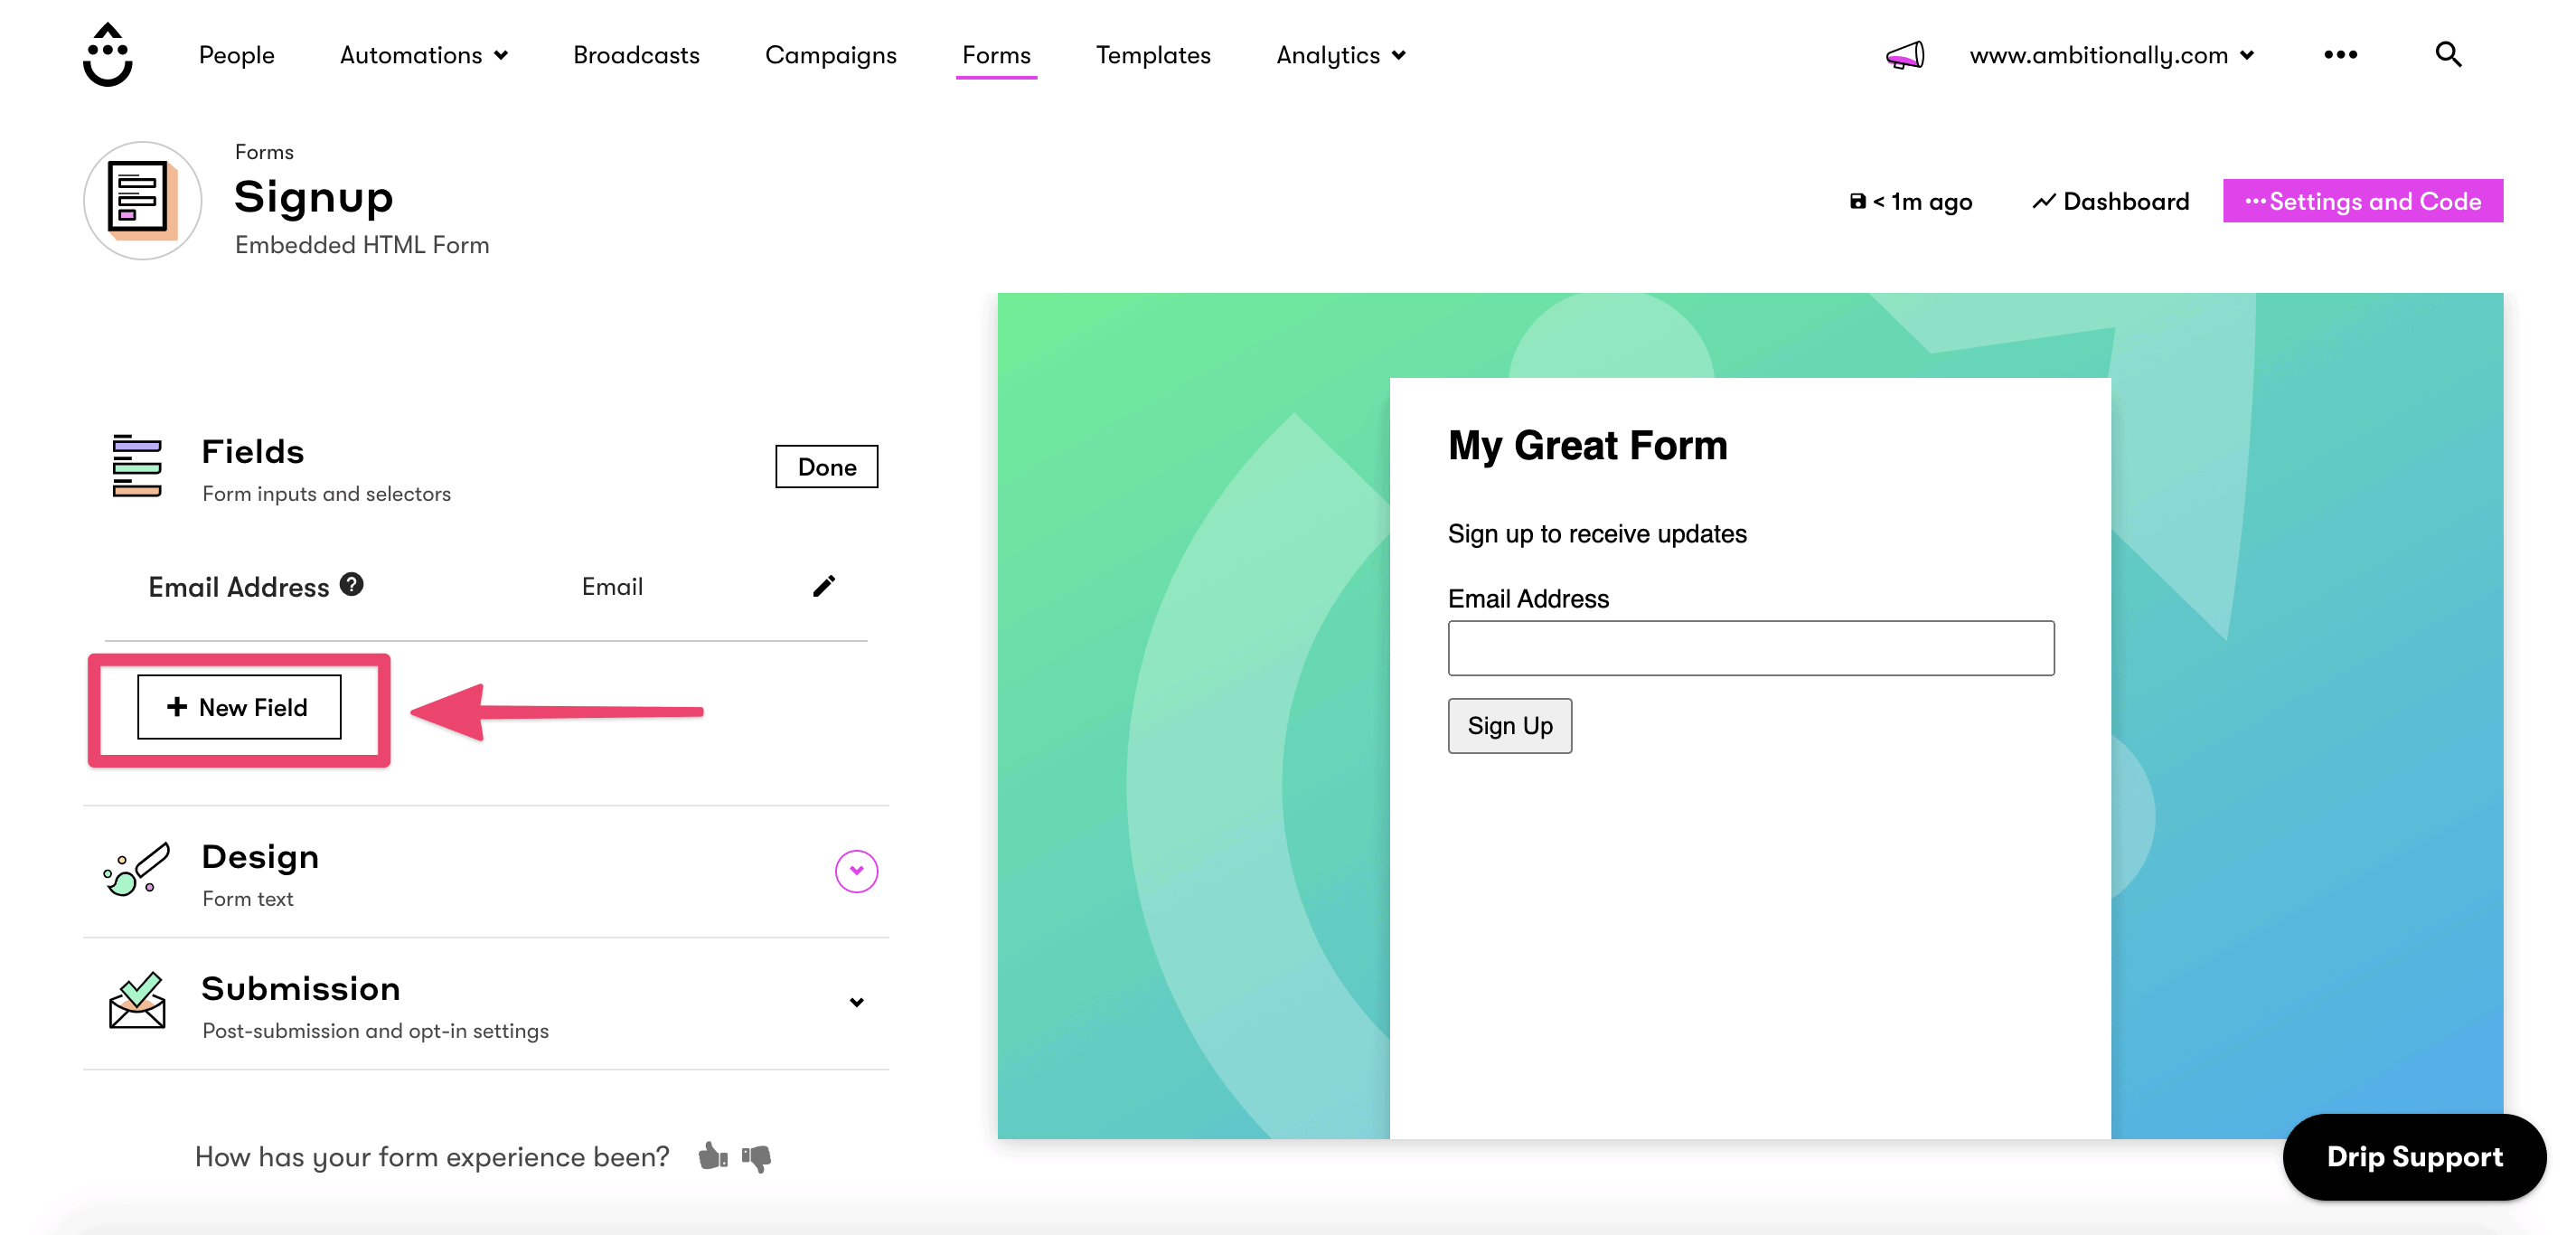
By default, the form only has an email input. If you’d like to collect a user’s name as well, you’ll need to add a new field to the form.
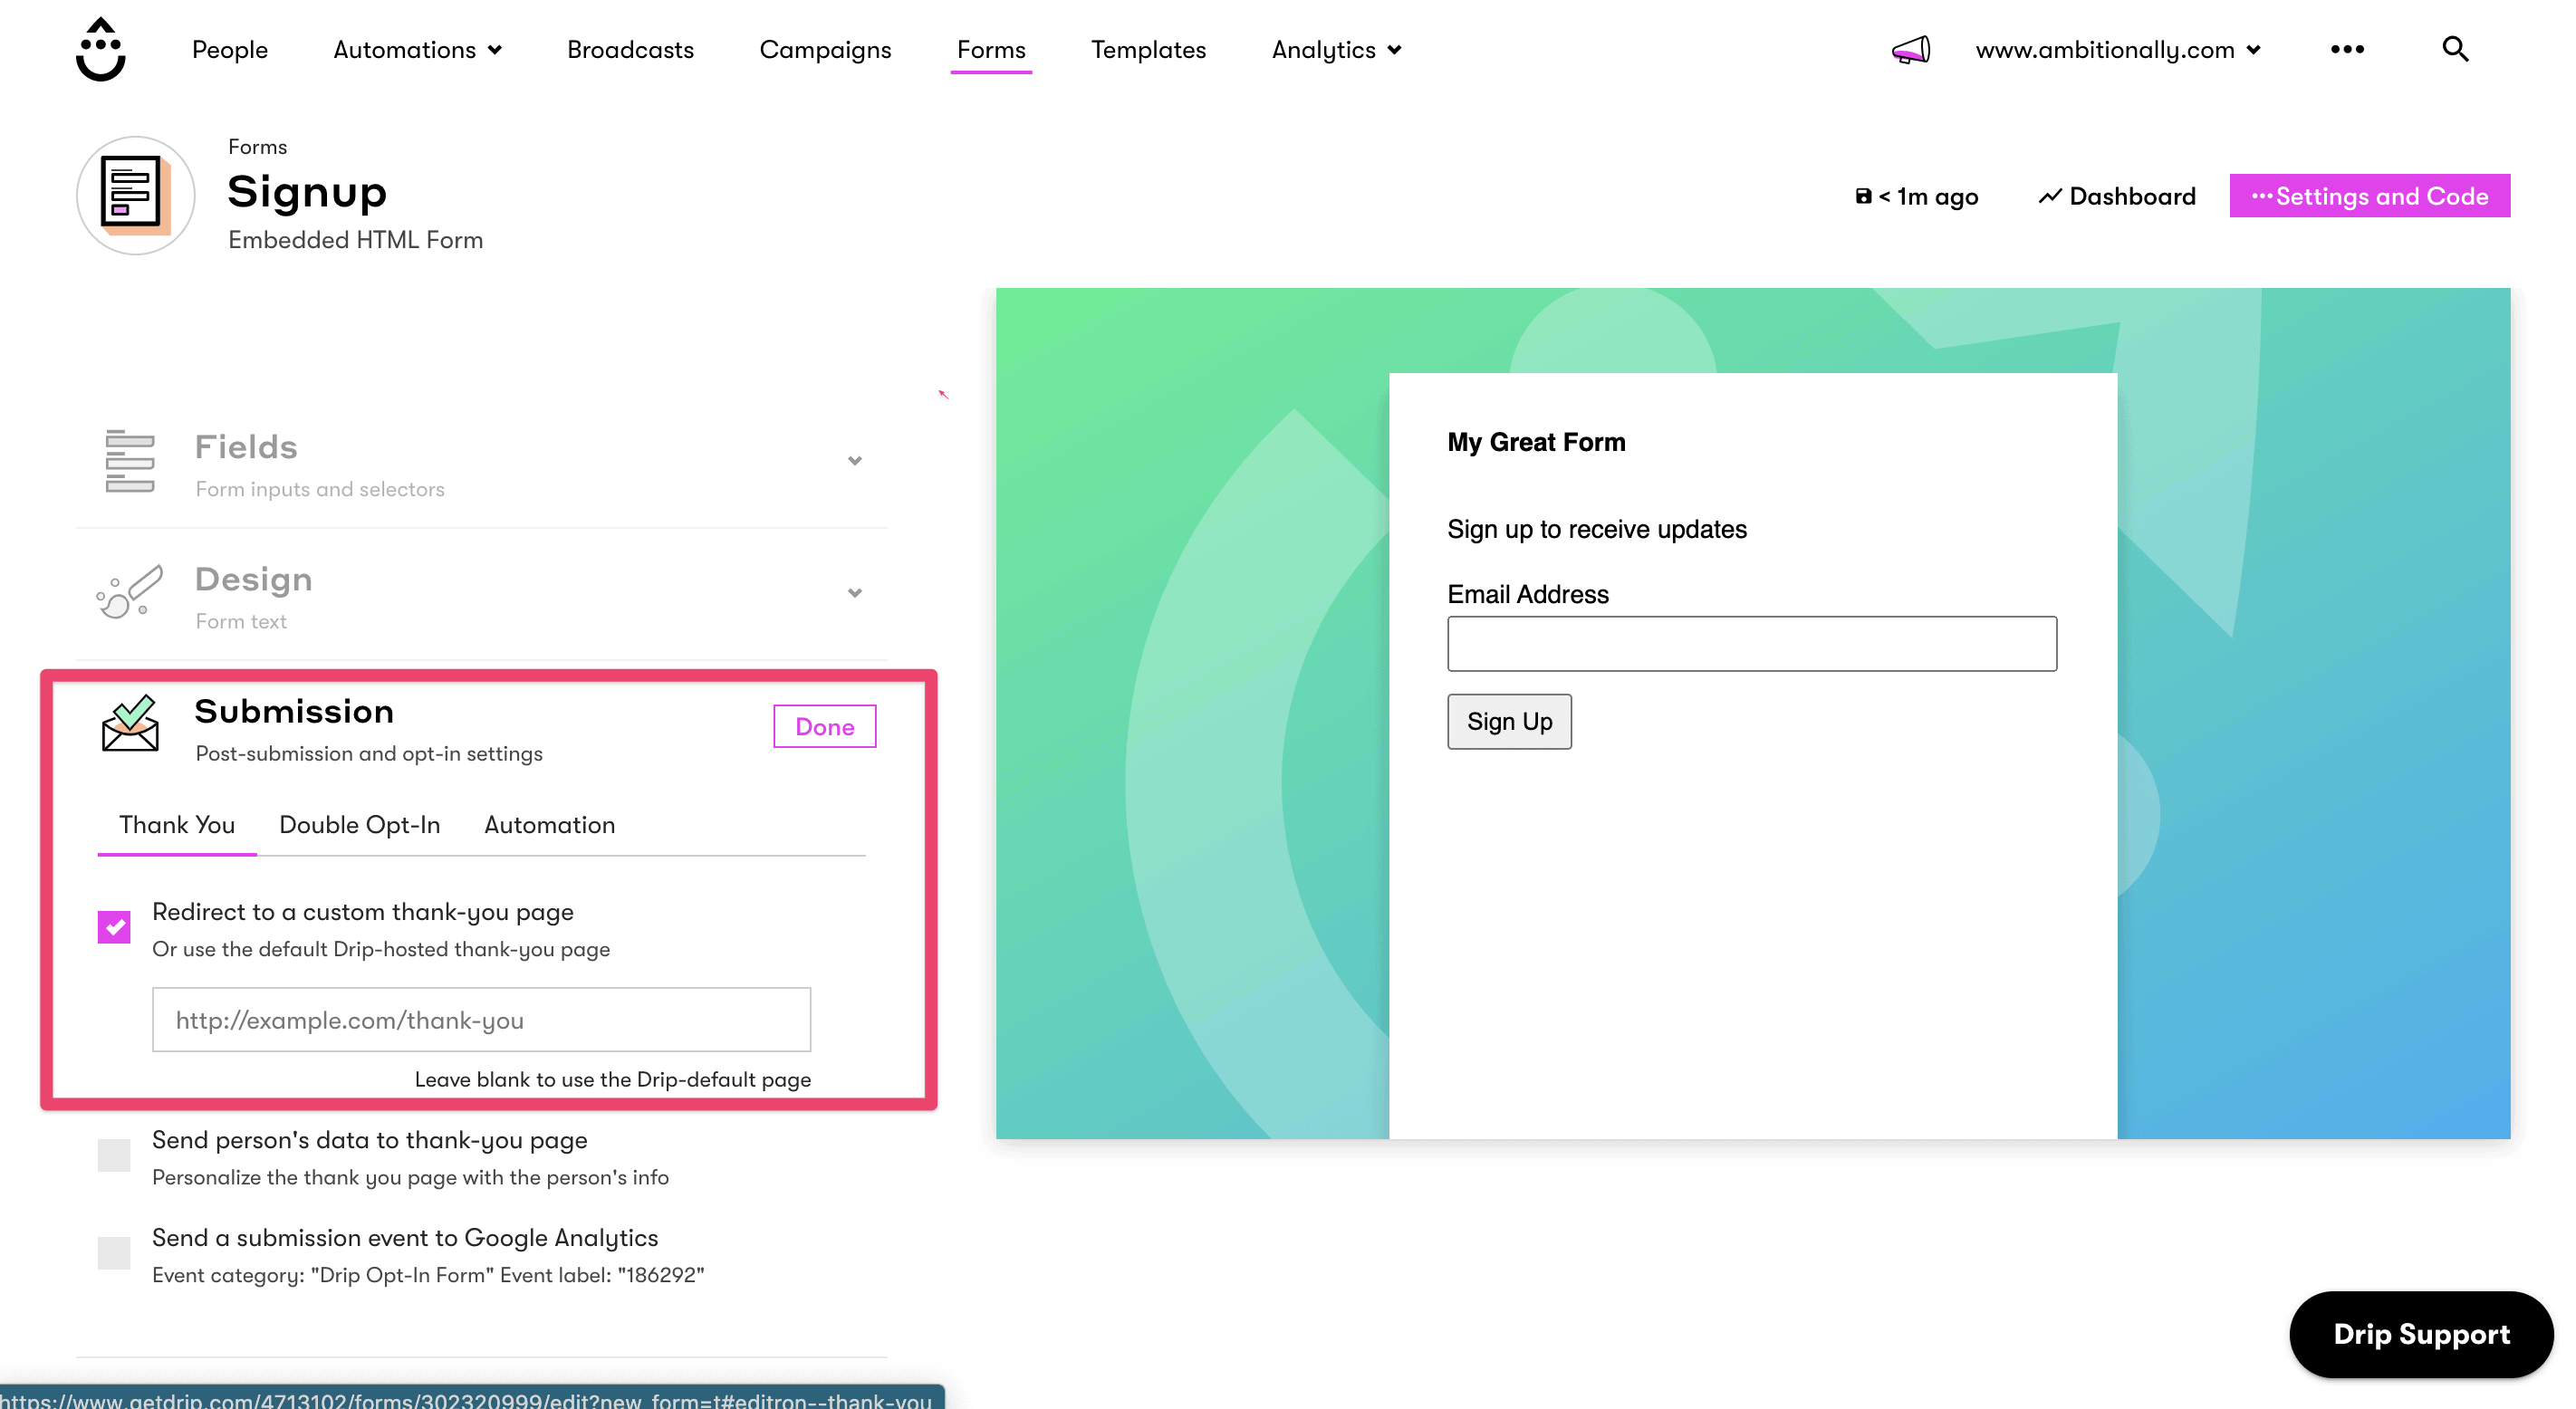
3. Set up Thank You Page URL
In the Submissions area, check the box to redirect to a custom thank you page. This URL should correspond to the one you add into your PopupAlly Pro settings.
4. Obtain HTML code
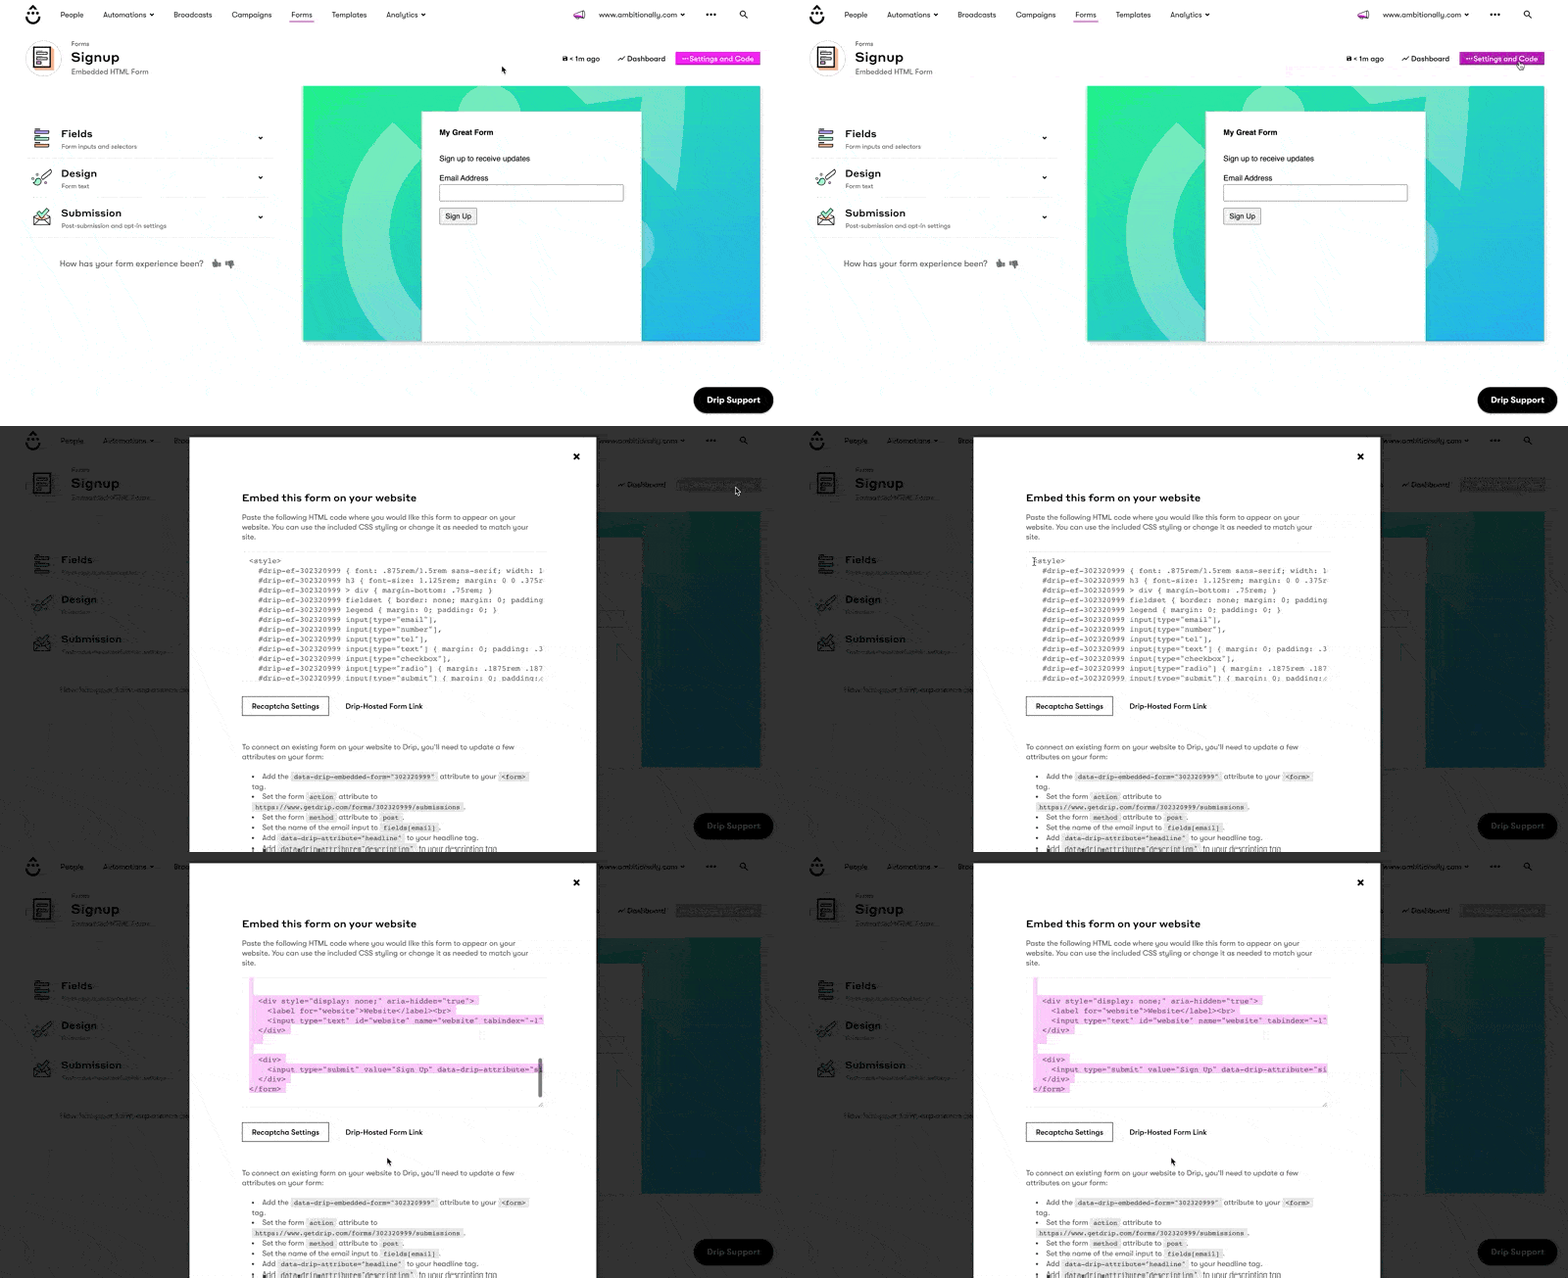
Click on Settings and code. Then, copy the code from the box.
Don’t forget to make the new form live in Drip in order for the HTML code to collect addresses properly!
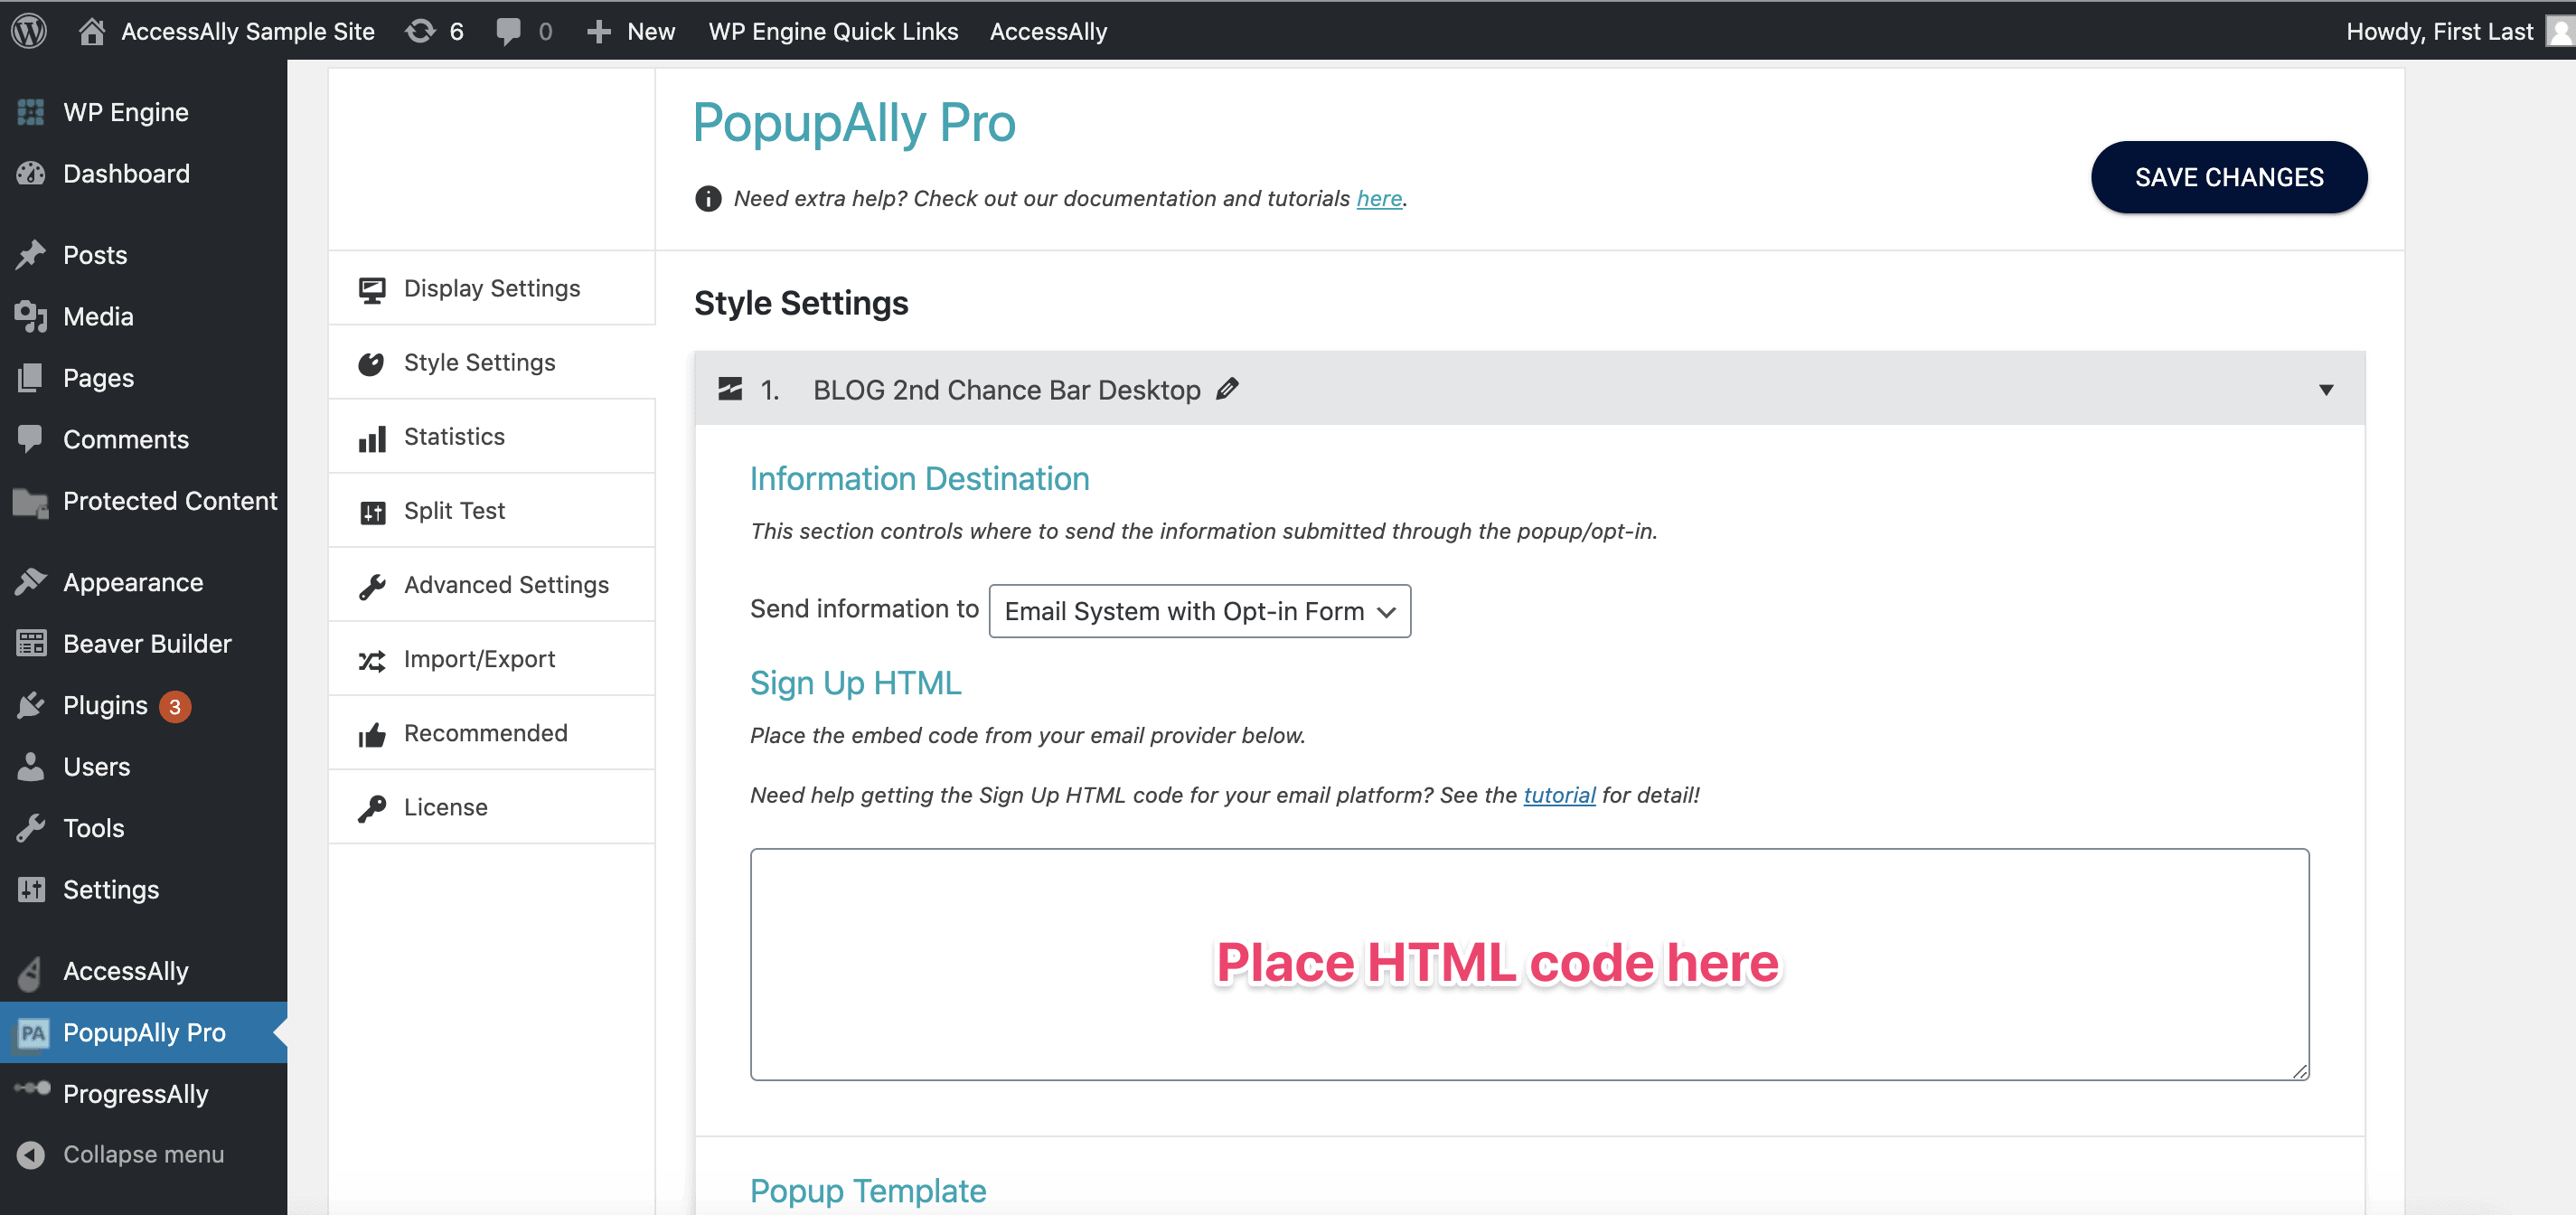
6. Paste the code into your popup settings
Now that you’ve copied the code, paste it into your PopupAlly Pro settings. Go to: Style Settings > Sign Up HTML.
