Offerings are a very powerful feature built-in to AccessAlly. You may be wondering if you can create a membership that allows for a member to have content from the month they join going forward, but past content is available for purchase.
The answer is yes, you can!
Below you’ll see an example workflow that gives content to a member based on the month they join and all future months (for as long as they are a member) and past content (from before they joined) is available to purchase separately.
If you have questions related to this article join us for an upcoming Tune Up Call – there are three free group calls every month for our AccessAlly users.
ARTICLE CONTENT:
About This Workflow
Each monthly content release needs to be delivered in three separate ways:
- A new member that just joined
- An existing member that is getting ongoing releases every month
- An existing member that wants to purchase the content from past months (before they were a member)
Always keep in mind what happens when a member cancels their membership!
With this workflow, it is highly recommended to allow the user to keep all content they paid separately for even if they cancel their membership subscription.
Moving Parts to this Workflow
- Membership Offering – holds everything related to the membership subscription. The member will have this for as long as they are a member, and they lose access to everything here when they cancel. This page might hold unique links to join member-only calls or a member-only community.
- Content Offering – (new every month) monthly content, one-time payments, content tagging, content delivery, they keep this content if they cancel.
- Dashboard – you’ll create a section on your AccessAlly dashboard to display all of the course icons for the content in your membership – this allows a member to cancel, but still see content they paid for outside of the membership.
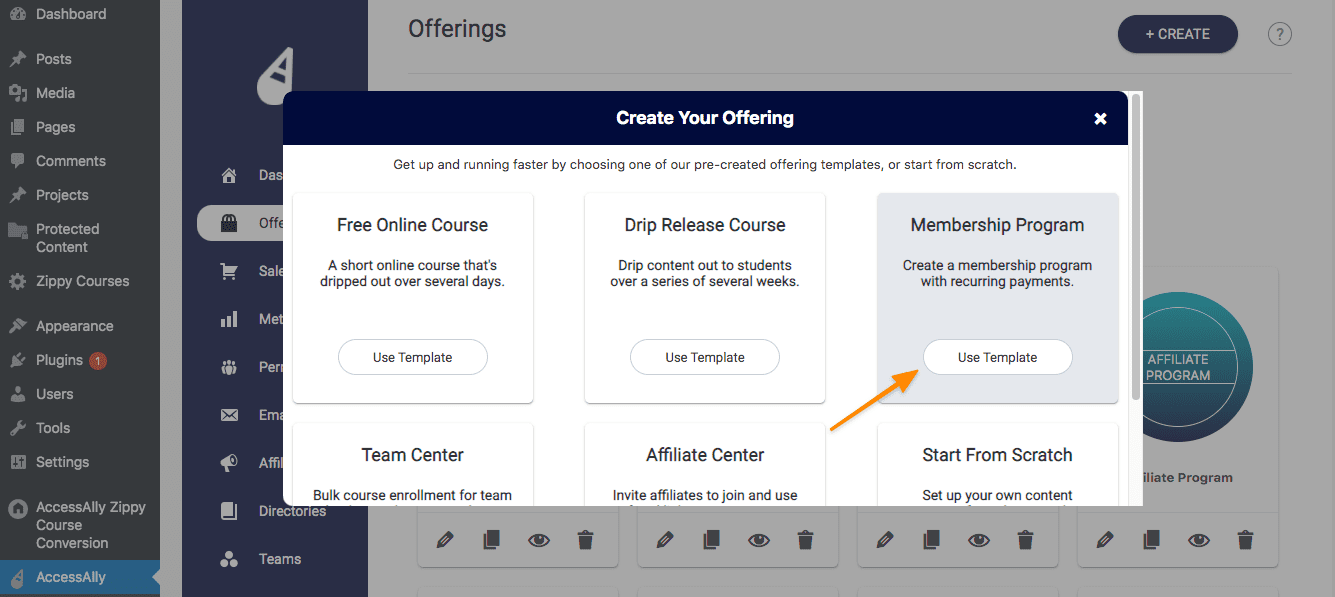
Step 1: Create a Membership Offering
Here you will create the recurring membership offering.
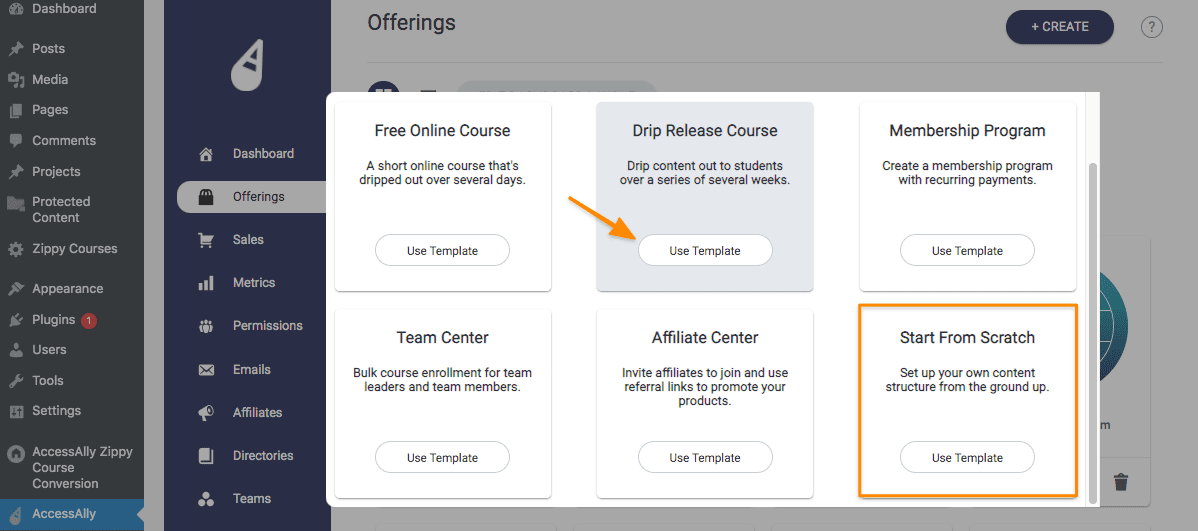
Go to AccessAlly > Settings > Offerings and create a new Membership Program. You can name this program and price it as you’d like.
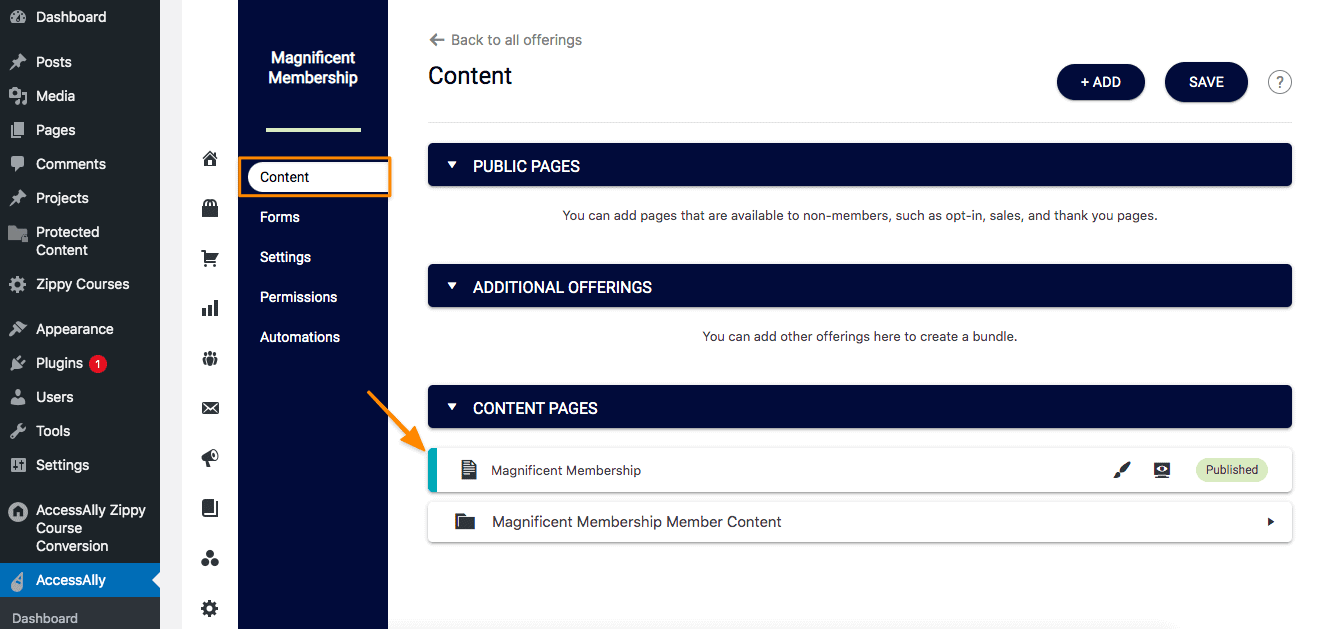
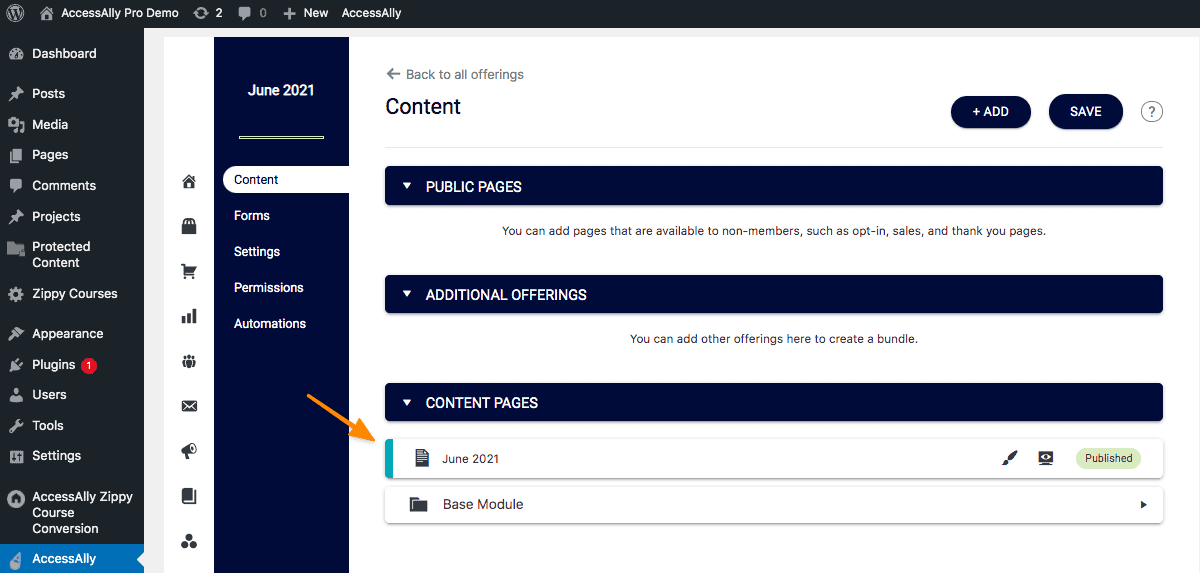
Membership Offering – Content Tab
You need at least one page of content in this offering (used to display membership-specific information) like members-only calls, or links to the members-only community. Remember access to everything in this area is removed when a member is revoked from canceling or no longer paying for your membership!
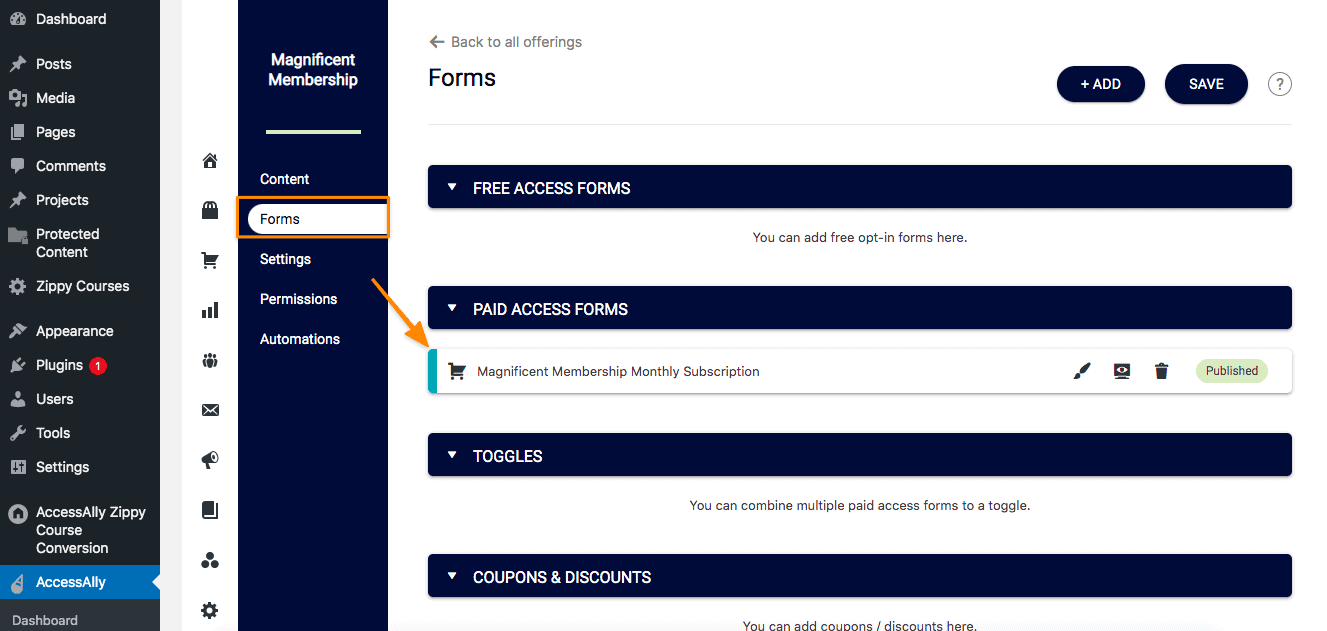
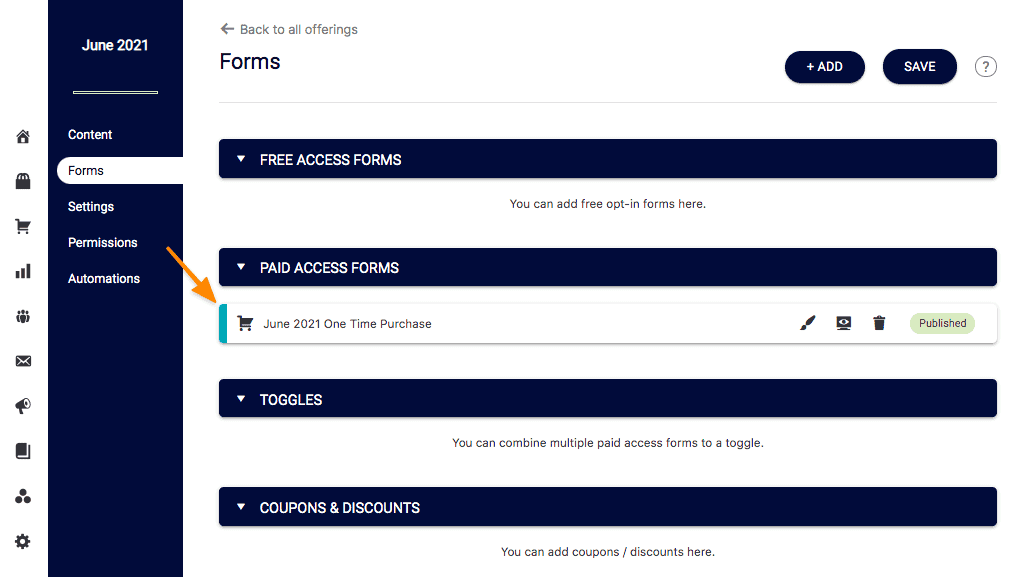
Membership Offering – Forms Tab
This allows for members to receive monthly content when they join, plus tagging for new content going forward, and payment plan management for your membership. This is the order form link customers use to join your membership.
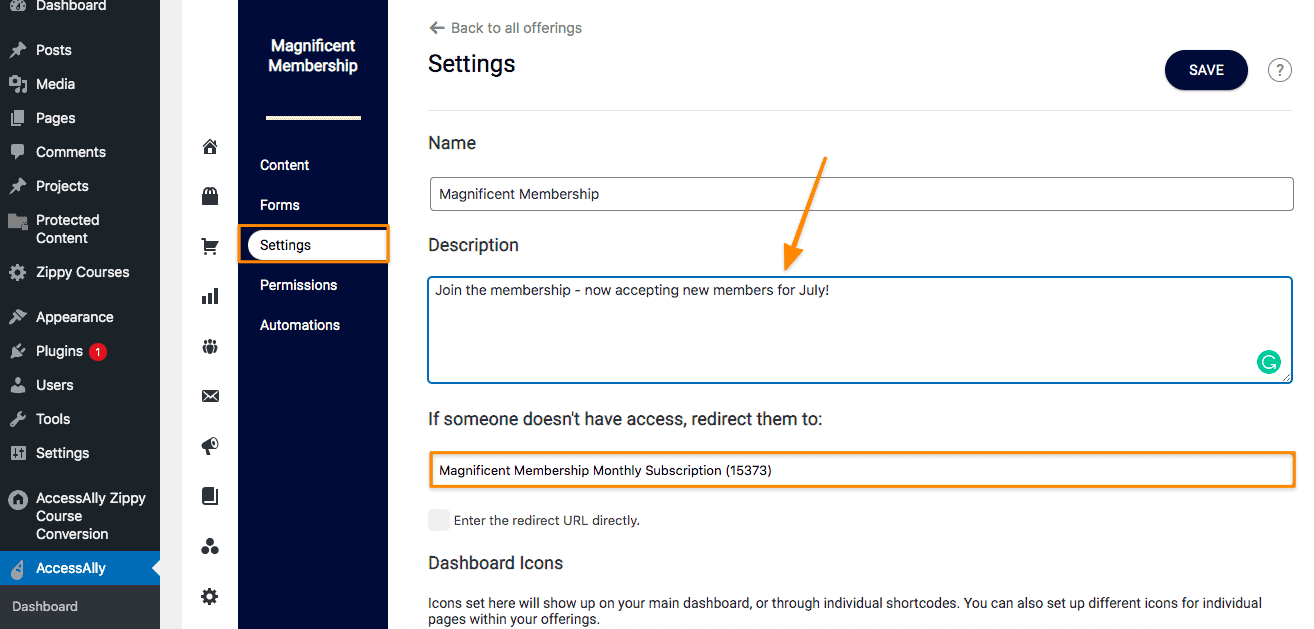
Membership Offering – Settings Tab
This tab displays what the member gets when they join in this month of your membership and where they go to join the membership if you have other offerings on your site, and they are not already a member of your membership.
You can change the description manually at the start of each new month to reflect newly added content.
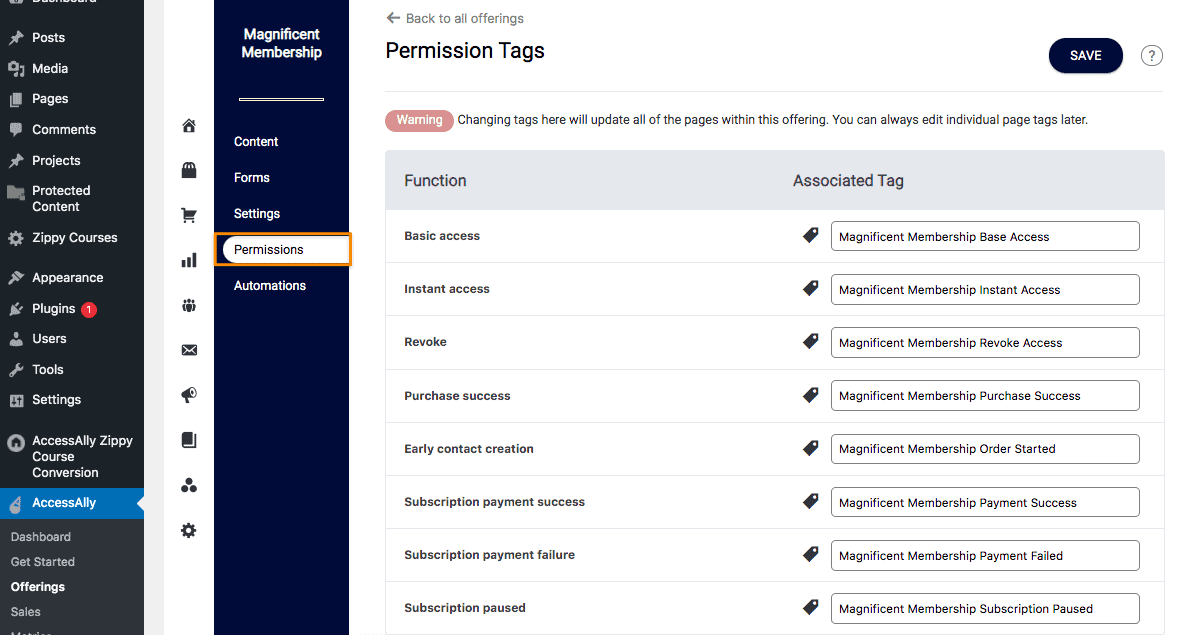
Membership Offering – Permissions Tab
This section displays the tags users have when they are a part of your membership! Note the tags are all named after the membership and not your content releases.
Membership Offering – Automations Tab
See how to deliver the content to your new member and test your setup!

Step 2: Create Your Monthly Offerings
Now it’s time to create unique offerings for each month of your membership. This allows tags to be applied that are unique for each offering and to allow a member to click on an offering they do not have access to and purchase it.
Go to AccessAlly > Settings > Offerings > click + CREATE to create a new Drip Released Course or Start from Scratch Course – this item would have a one-time payment.
Monthly Offering – Content Tab
You need at least one page of content in this offering this page can have anything on it that you would like. Remember access to everything in this area is still visible when the member cancels!
Monthly Offering – Forms Tab
This allows a member to purchase any content from past months before they joined as a member. They can do this easily from inside your site because it will appear as a disable icon – when they click they will go to the order form to purchase this content.
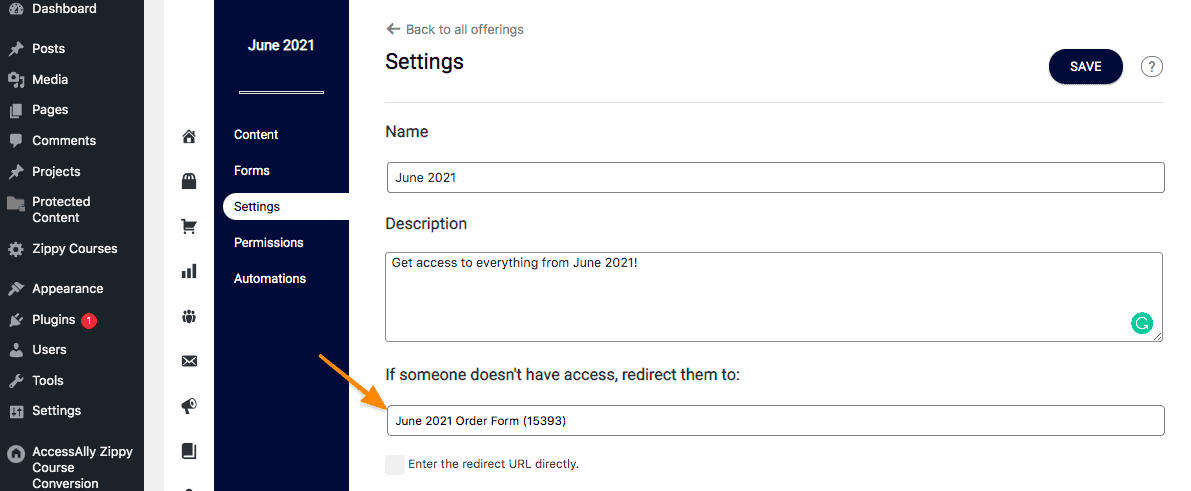
Monthly Offering – Settings Tab
Add the link to your order form so members that do not have access can make a purchase!
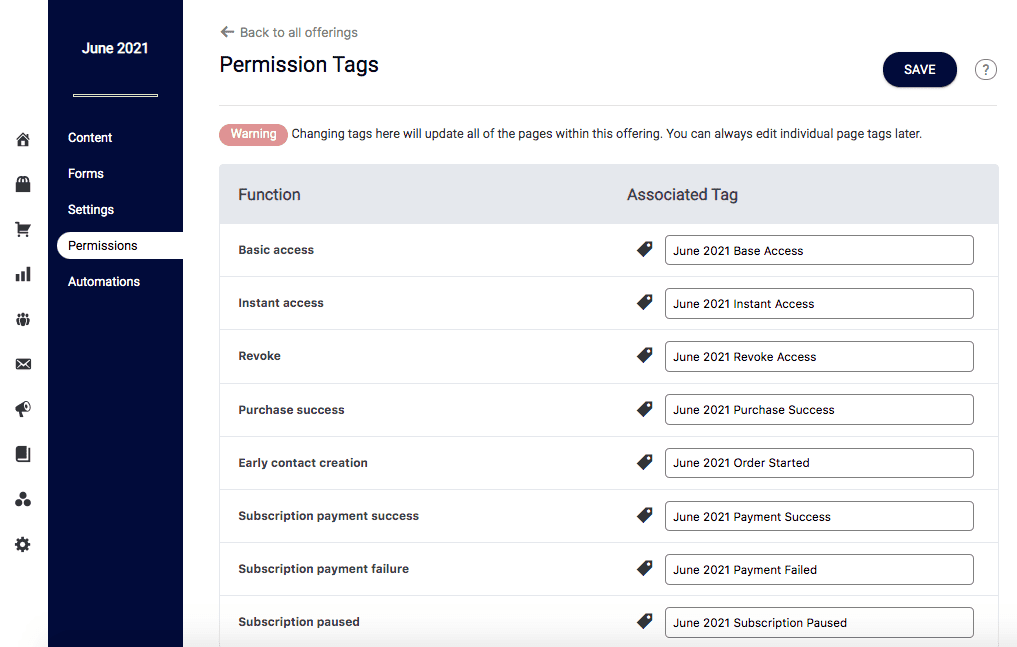
Monthly Offering – Permissions Tab
These are all the page permissions and tags used for this offering.
Monthly Offerings – Automations Tab
This section shows options for delivering the content in this monthly offering and how to test your monthly offering setup!

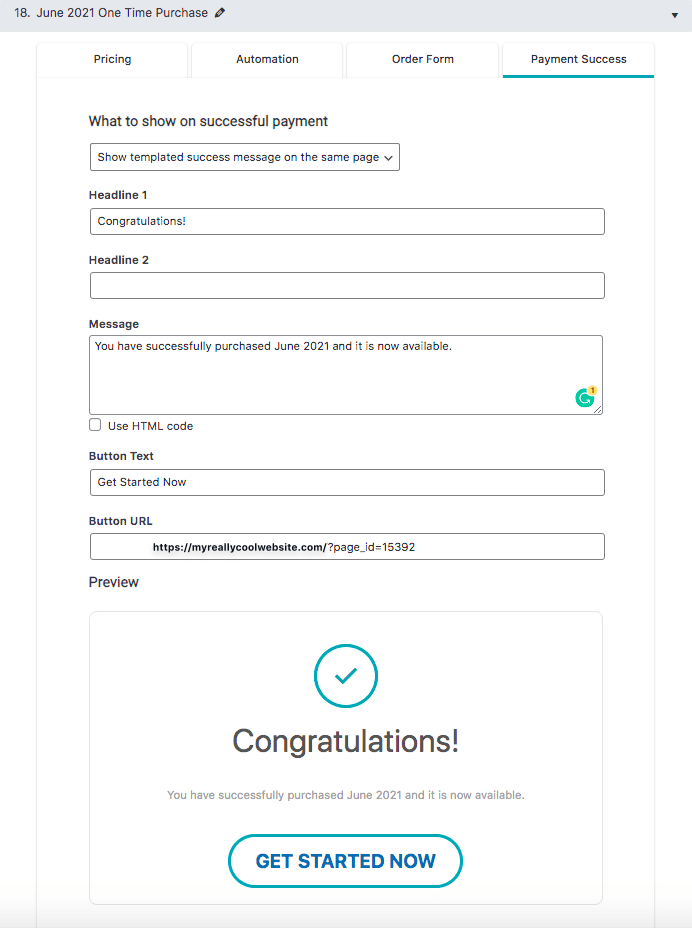
Payment Success Message
Shown in AccessAlly > Sales > Offer Setup > Your Monthly Offering
This monthly offering can be released right from the order with no additional emails needed because this is an existing member on your site. When they place an order they’ll click the button to get started and go to the existing member login page – no additional emails needed.
Step 3: Dashboard Setup
Now it’s time to display organize the dashboard to display your membership while allowing members to cancel and still see content purchased in the past!
Here’s an example using the built-in AccessAlly Dashboard with a section for your new membership content. You can achieve this style by using the Offerings Wizard Dashboard to the Membership page.
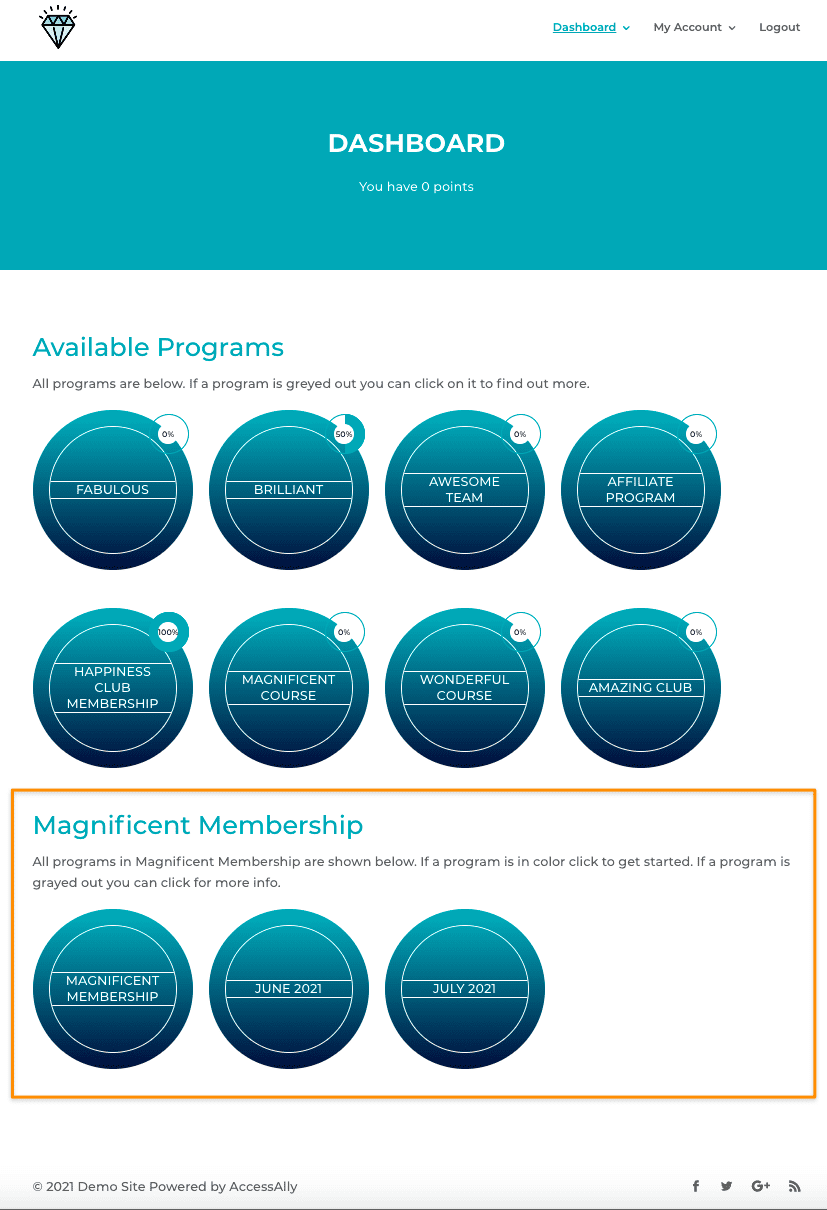
Notice that the monthly offerings are also shown in this dashboard.
This is important for users that cancel the membership but still need to see the separate content they paid for. The dashboard page can hide the monthly content so non-members are unable to purchase while still showing the membership icon so non-members can join the membership!
Here’s an example of the Membership Content page (which displays monthly course icons) by adding the icons to this page – only members can see them as available to purchase. You can achieve this style by adding monthly content icons individually to the Membership page.
Additional Resources
- If you want help deciding what membership model to use, read this blog post with 3 Ways to Sell Online Memberships
- How to Set Up Automations in your CRM
- How to Follow Up on a Failed Payment
- How to Create an Ongoing Monthly Membership
Additional Ways to Use This Setup
The setup shown in this article works for topic based memberships, resource libraries, and courses that have larger amounts of content.
For a topic based membership, you can create each new topic as a separate offering.
As people join your membership, they can have access to all topics when they join. You can also release each topic, on the 1st of every month – for example.
