Create a custom certificate to celebrate online course completion for your course and membership users.
ARTICLE CONTENT:
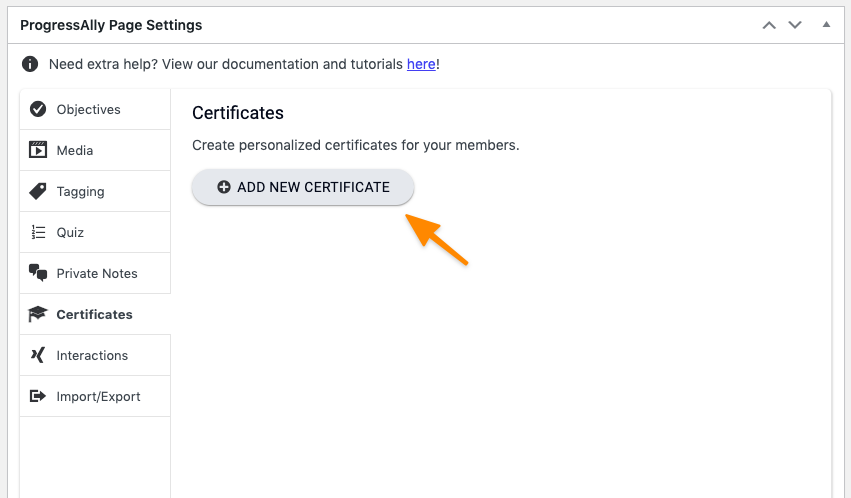
Step 1: Add a New Certificate
Scroll down to the ProgressAlly Page settings, open the Certificates tab and click on “add new certificate.”.
Step 2: Upload a PDF Template
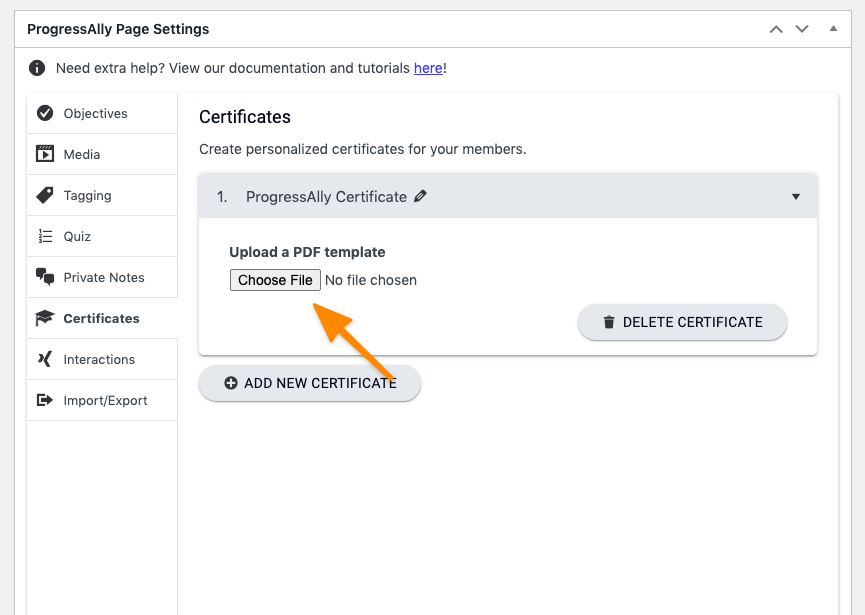
The certificate design will remain static no matter who downloads it.
Step 3: Add Dynamic Customization Elements
Every single member will see their own customized information when elements are added.
Here is a list of customization options:
- Full Name
- First Name
- Last Name
- Date of Download Time
- Date of Objective Completion
- Day of the week
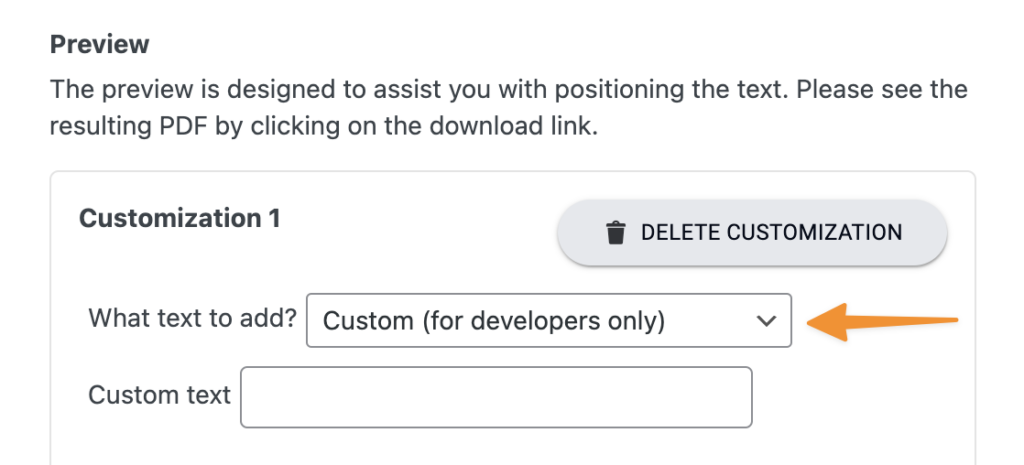
- Custom (for developers only) – used with display the field value custom operations which can be helpful for adding items stored for contacts in custom fields.
Built-in Options
This covers items built into certificates like full name, first name, last name, date of download time, date of objective completion, day of the week.
You can also add a “pretty date” that is formatted by choosing the “Custom” option and then using this:
{[date F j, Y]}
This will then show the date using the fully written day, month, and year.
Custom (developer only) Option
For all items stored in custom fields, these are brought into certificates using the Custom (developer only) option.
Part 1: Create a display field value custom operation – steps available here.
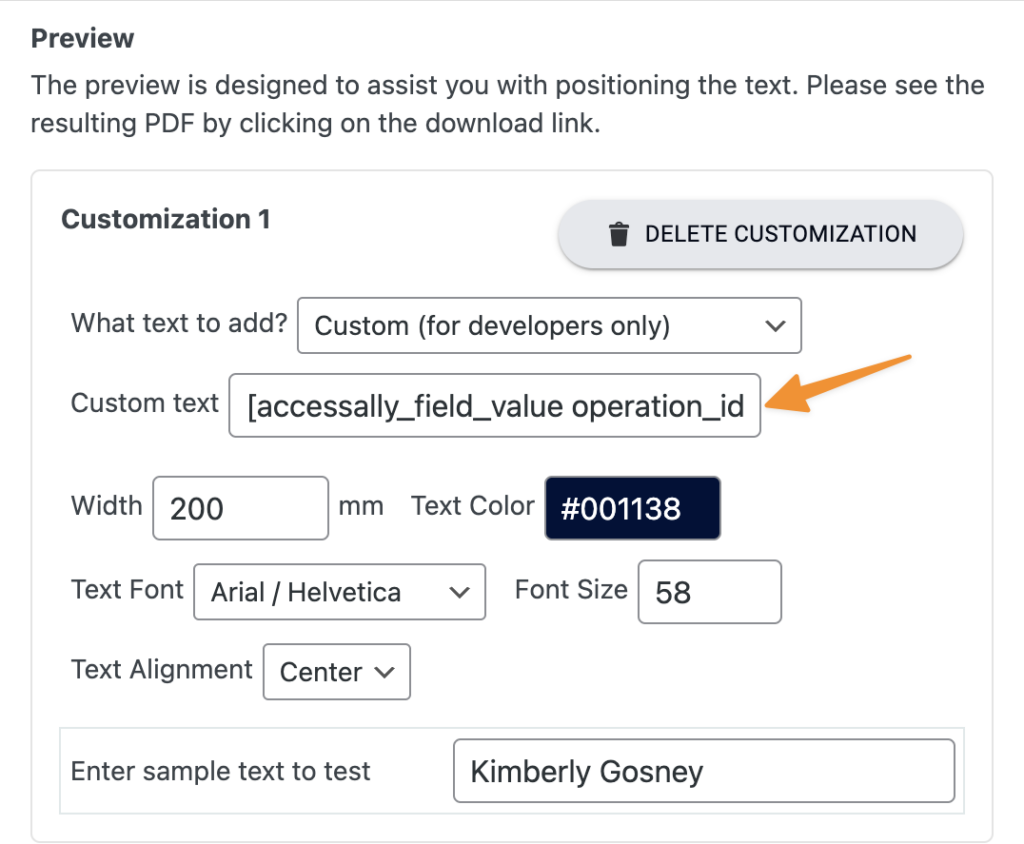
Part 2: Select custom (developer only) option from certificate.
Part 3: Use the AccessAlly Shortcode generator to create a Custom Field Value for Operation Shortcode as shown in the image below.

Part 4: Paste the shortcode into the certificate as shown in the image below.
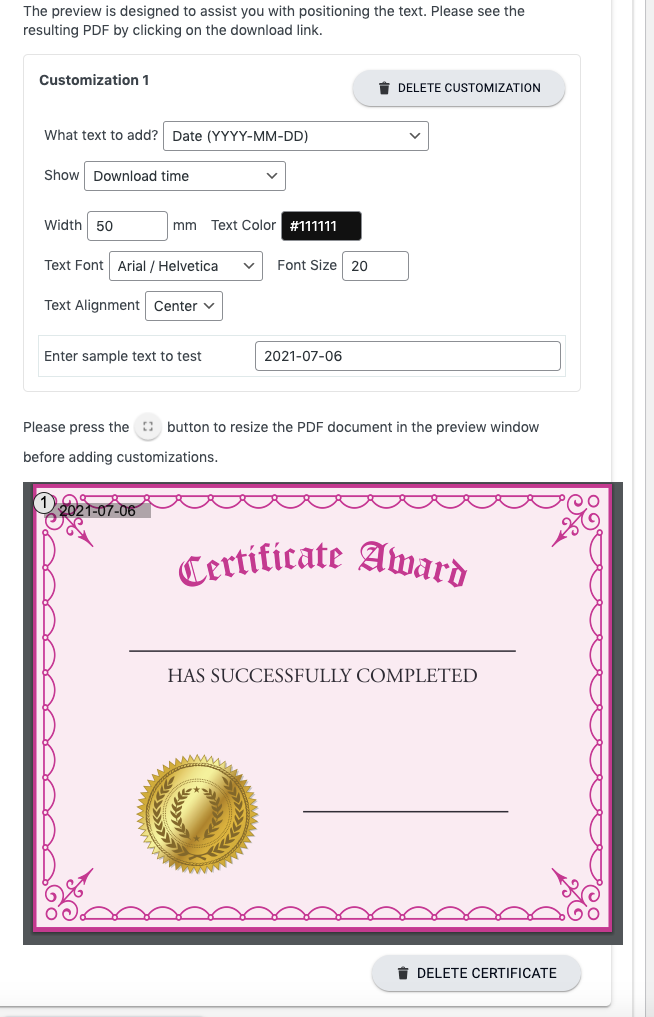
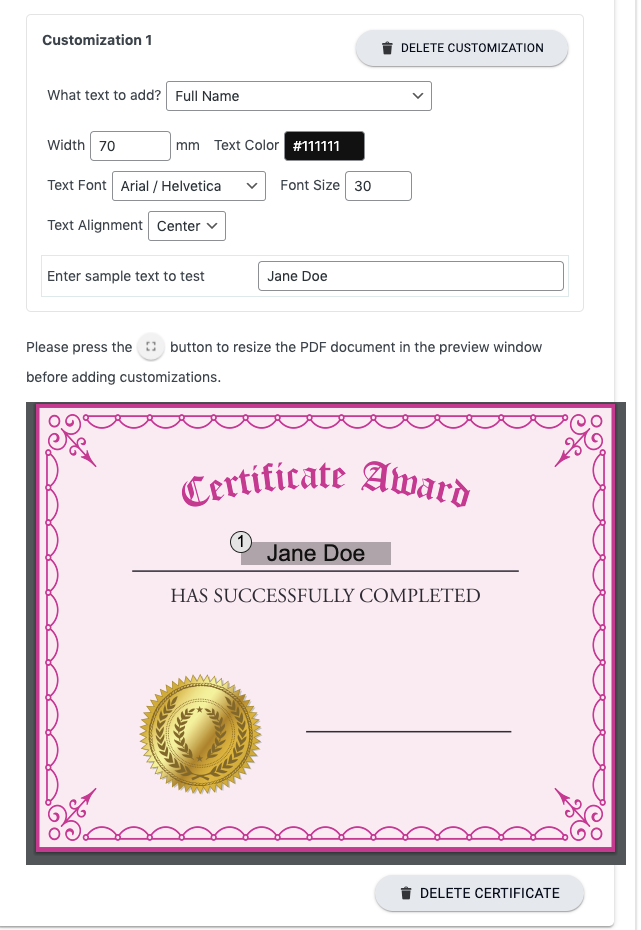
Step 4: Adjust Custom Elements Placement
Click on the number of your element and drag-and-drop to place the element to the correct location. You can also adjust font, dimension, text color, font size, and alignment.
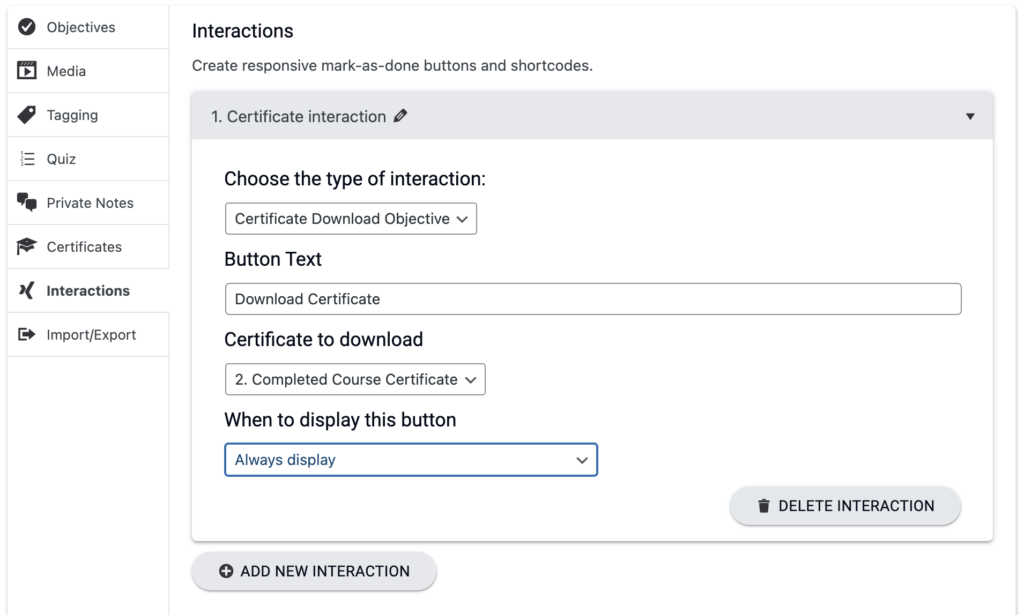
Step 5: Add Interaction Shortcode
Add a download button for your customized certificate using the AccessAlly shortcode generator.
By default, a new ProgressAlly Interaction will be created to display the download button, you just need to insert this Interaction shortcode or block on your page.
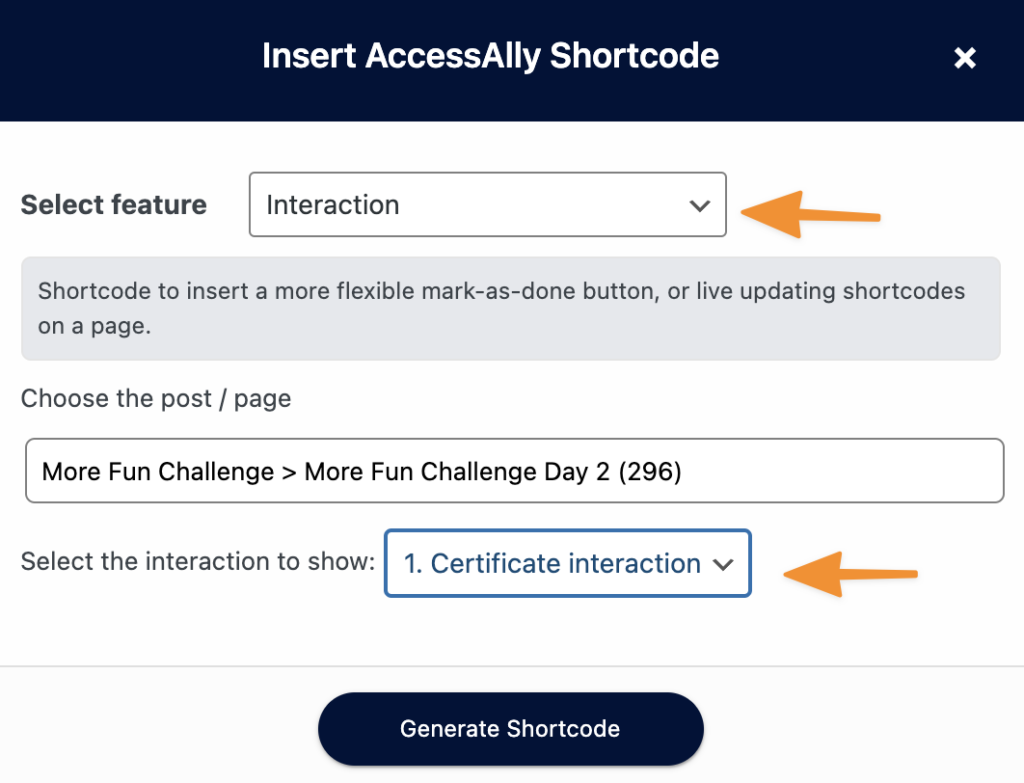
And you can insert the shortcode or block for this interaction like this:
Showing a Certificate On Completion (Quiz or Otherwise)
If you only want people to be able to download their certificate after the pass a quiz or complete a section (that’s natural!), that’s just a setting in your Interaction.
First, create your page’s objectives – whether that’s passing the quiz on this page, or completing objectives on an overall course.
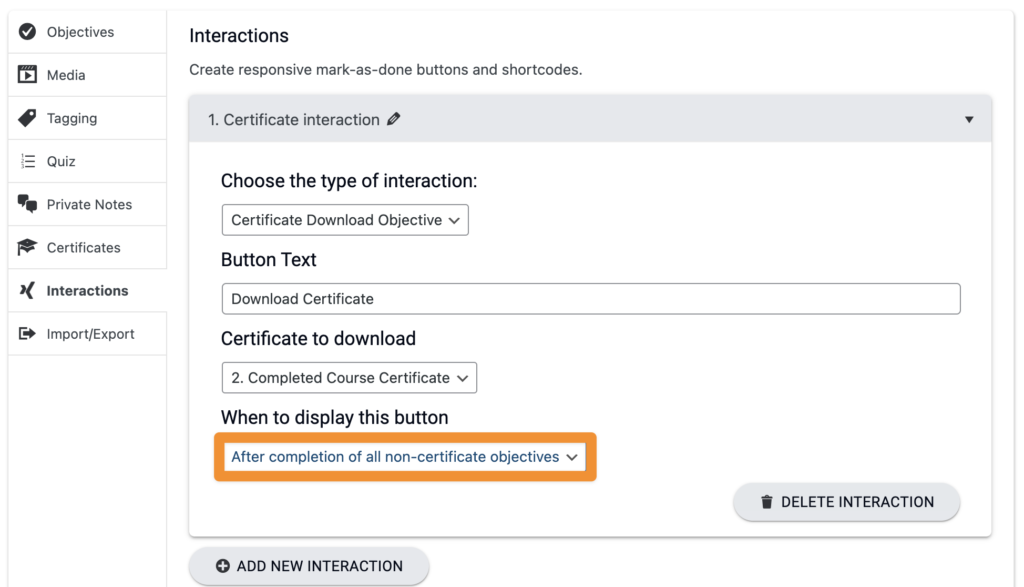
Now this section of the page will only show up after all of the objectives on this page are complete!
How Custom Certificates Work
AccessAlly Pro allows you to issue certificates of completion for your users upon completion of the course objectives. You can add autogenerated certificates through the use of a template and creating the settings in AccessAlly Pro.
With the certificate creation tool, you can customize your template to add the users name, sizing, and alignment amongst other offerings. With a simple drag and drop, you can place the content into your template into your preferred location.
The certificates can be issued on the full completion of the course (all objectives completed). The certificate will be available in a PDF download and can be easily added to your page through the use of shortcodes.
Users will be taken through your objectives you have offered (quiz, video watching, etc) and once they are fully completed, the certificate will be available for them to download and retain.
Important: Please export your certificate templates using “PDF 1.4”. This is the standard PDF format that is the most compatible, and you can create your templates using Word, Pages, Photoshop, or any other program that exports to PDF.
Download the sample Certificates of Completion template PDFs here.
Troubleshooting Certificate Uploads
If you’re trying to upload a PDF certificate and you’re getting an error, or it fails to upload almost immediately then it’s possible that ProgressAlly wasn’t able to create the upload folder due to server settings.
The solution is to create the upload folder that ProgressAlly uses manually, either using FTP or your CPanel from your host.
You’ll want to navigate to your WordPress directory and/or subdomain where you have AccessAlly installed, and create the folder here:
“/wp-content/uploads/progressally-certificate“
Once you’ve created the new folder called “progressally-certificate” under the uploads folder, you will be able to upload certificates successfully.
If you’re still encountering errors after creating this folder (along the lines of an “Incorrect output destination” error), you can go to:
ProgressAlly -> General Settings -> Advanced -> Certificate preview loading
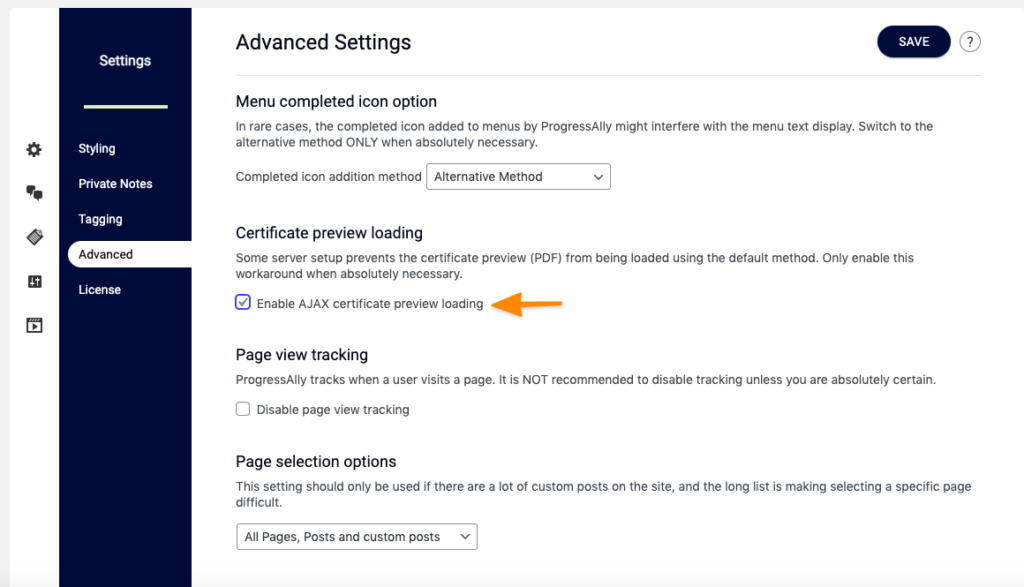
This should only be necessary in a small number of cases.
