In this article we’ll cover adding a domain on WPEngine and pointing it to the subdomain you’ll be using for your AccessAlly site.
ARTICLE CONTENT:
The Reveal
By the time you finish this article you will have added a new install to your WPEngine account and have pointed this site to your desired domain name online.
WPEngine Support
Hosting screenshots change often! If you get stuck here is the most updated WPEngine article on adding a domain.
You can also reach out to WPEngine chat support.
1. Login to your WP Engine admin panel
Then click on “Add Site” in top right hand navigation.

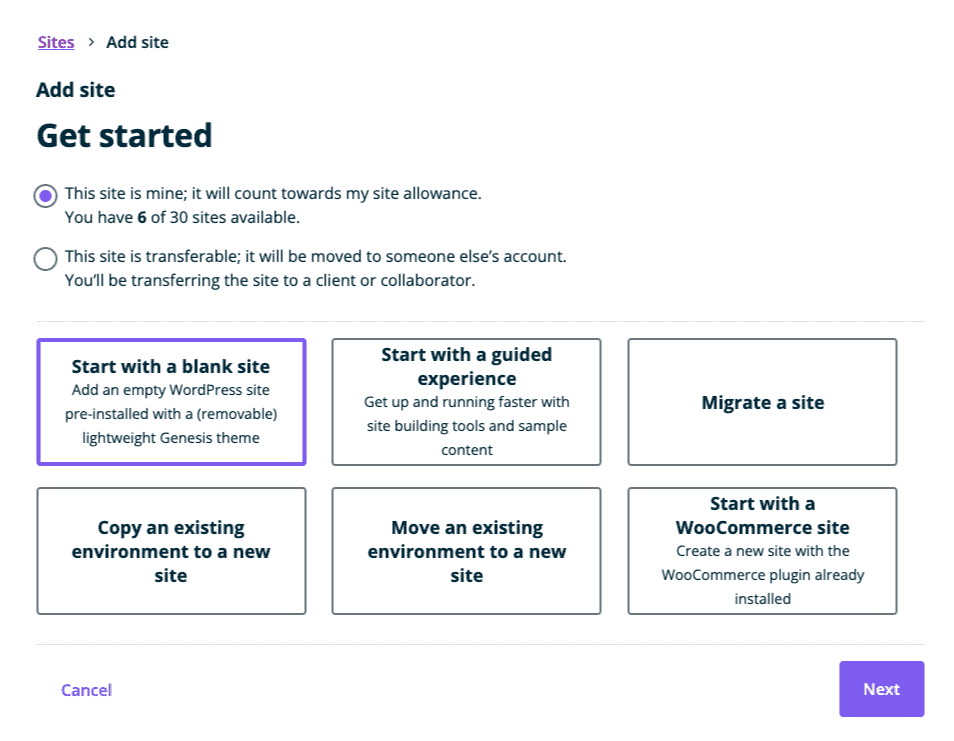
2. Get Started
Choose how you would like to have your site created. In most cases you’ll select start with a blank site unless you are doing a migration.
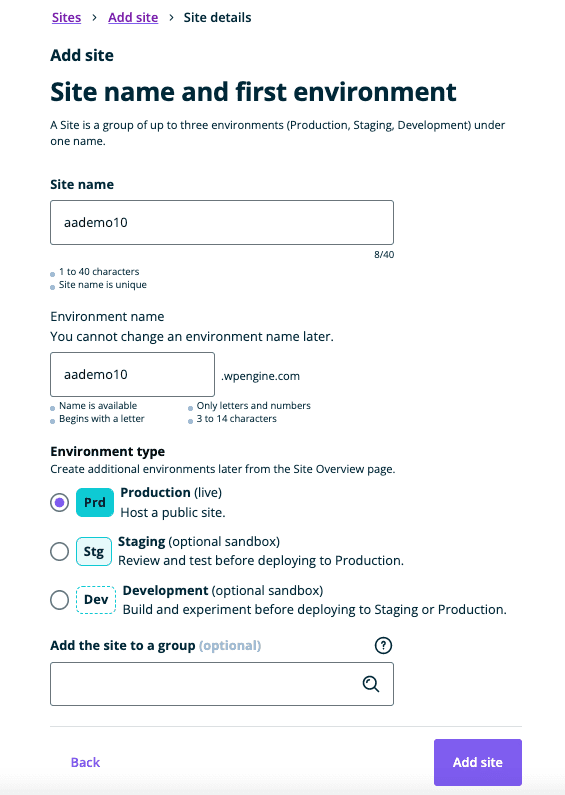
2. Add site name and environment
Follow the steps to name your site. The name you choose will become the environment name which can not be changed later. Set this site to Production (live) unless you are working on a migration.
3. Site being built message
You will receive an email when your new site is ready.

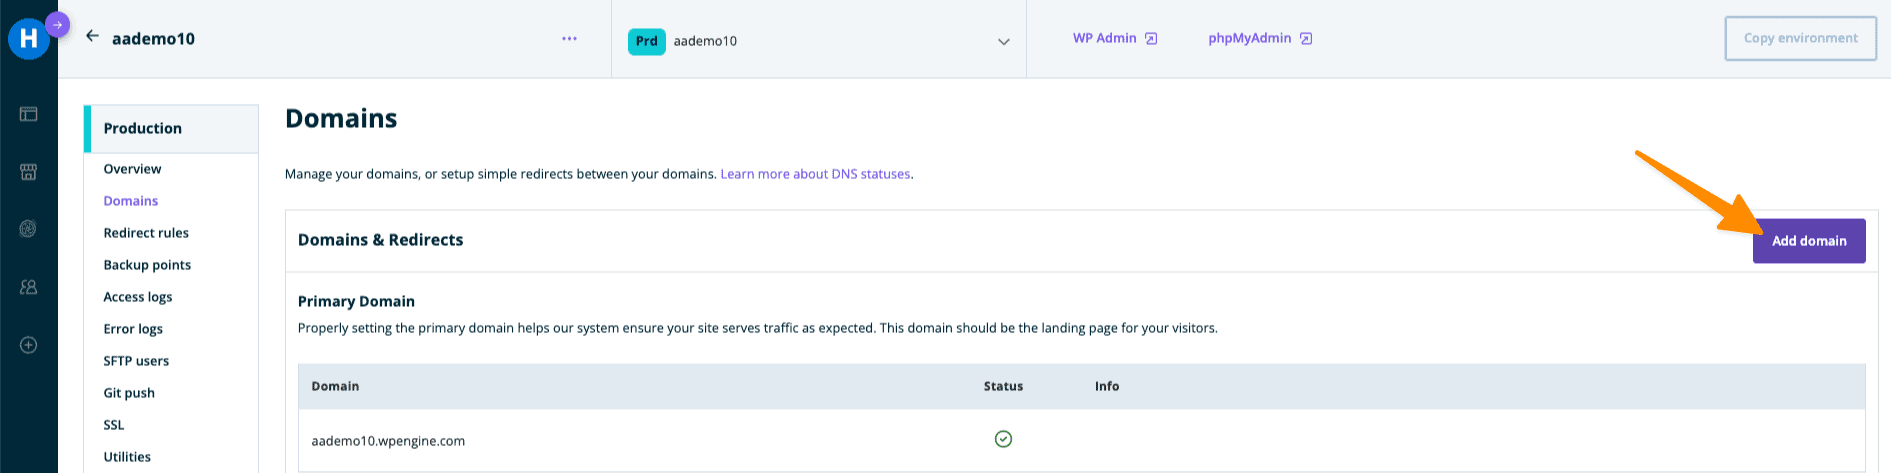
4. Point to your domain
Click on the dots, then click on domains.

5. Click “Add domain”
6. Enter the domain name you would like to use.
We recommend using a subdomain. If your site URL is “membershipsthatscale.com” you might choose something like “members.membershipsthatscale.com” or “programs.membershipsthatscale.com”.
See why we recommend using a subdomain in this article.

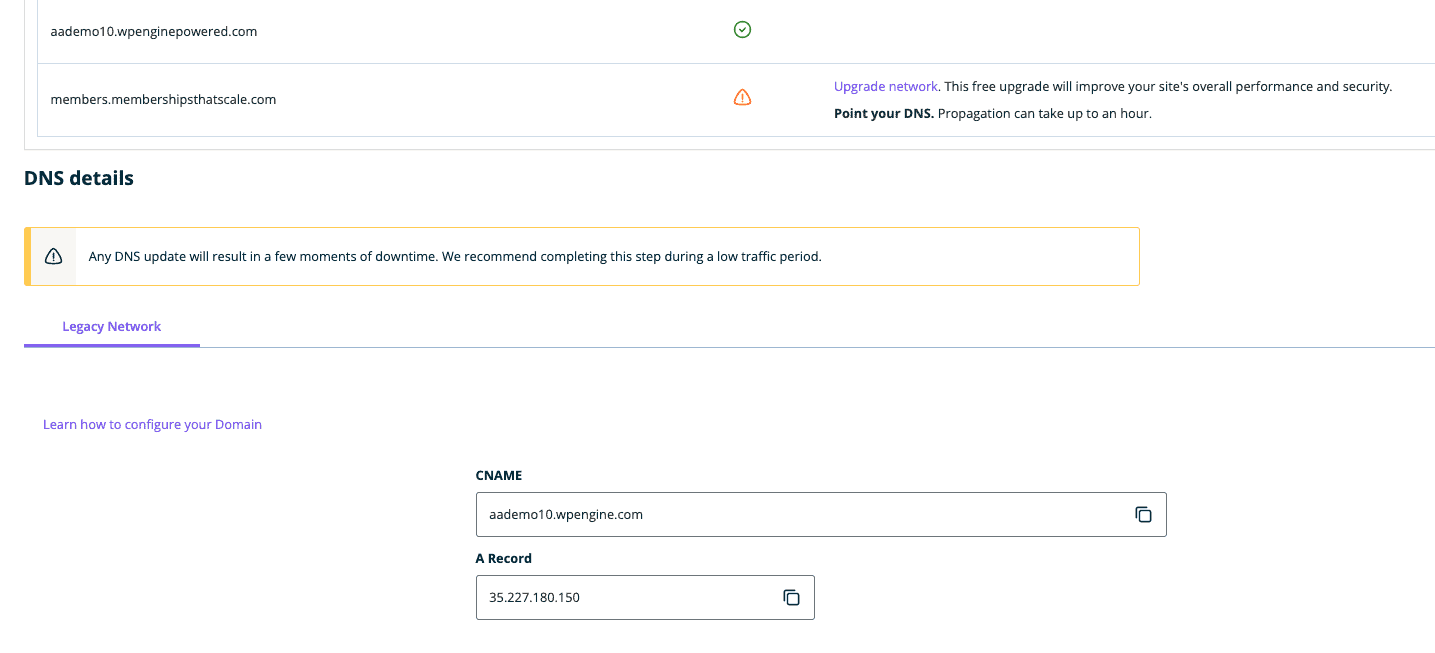
7. Point DNS
Go to where you purchase your domain names to point your new WPEngine site to your subdomain. This step varies depending on where you buy your domain names. You can click the WPEngine help link for more information.
WPEngine chat support can also assist you with this process!
WPEngine DNS details shown below.
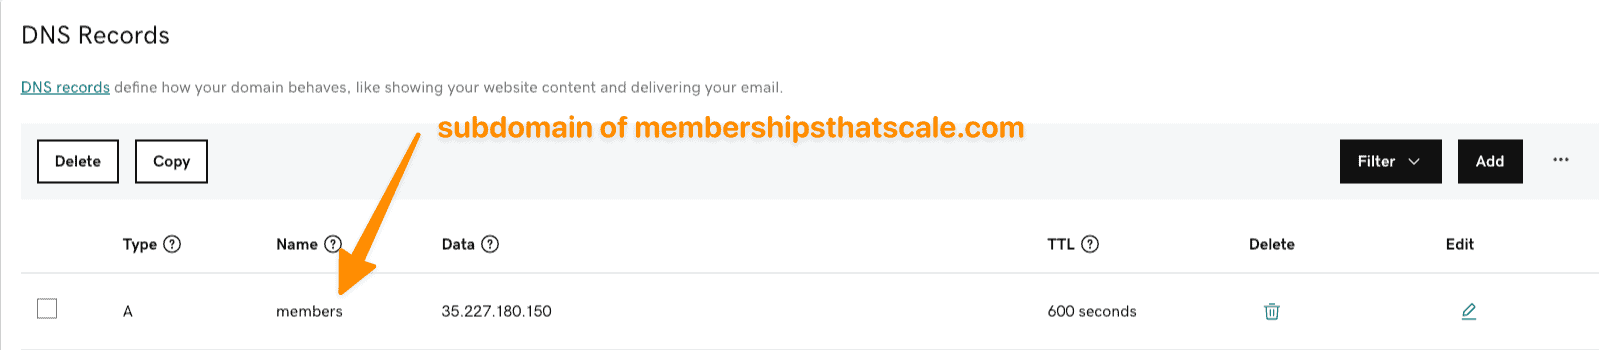
Example of this added to GoDaddy (a popular domain name provider.)
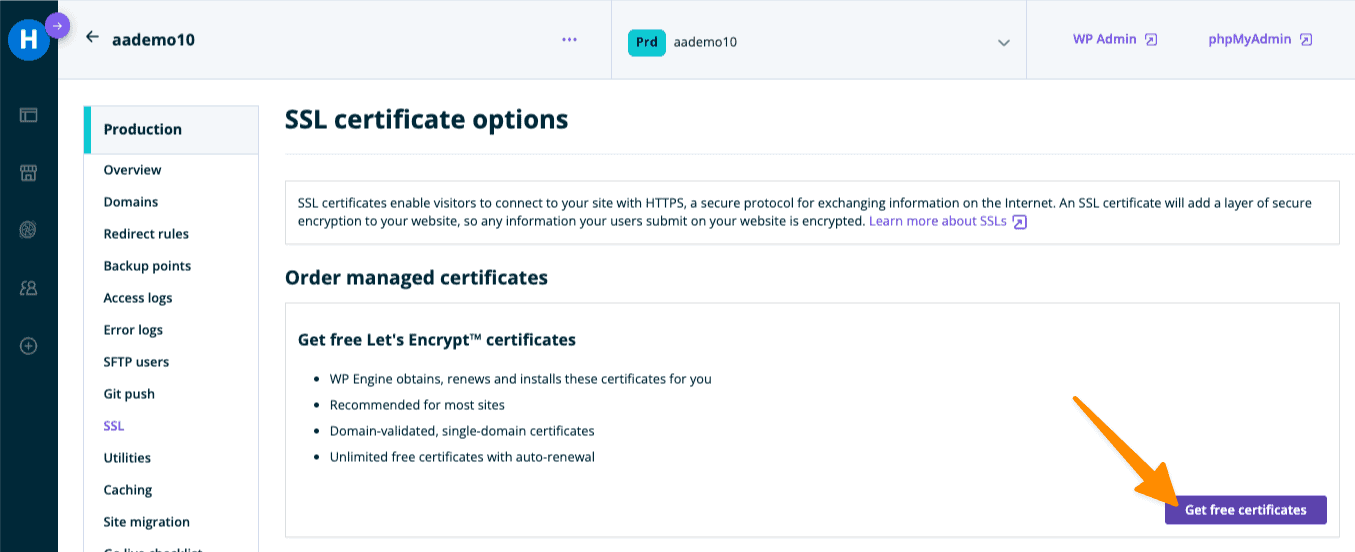
8. Add Let’s Encrypt SSL
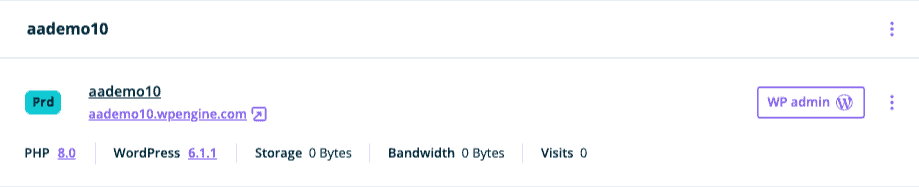
Click on the install name of your new site.
Click SSL in the sidebar
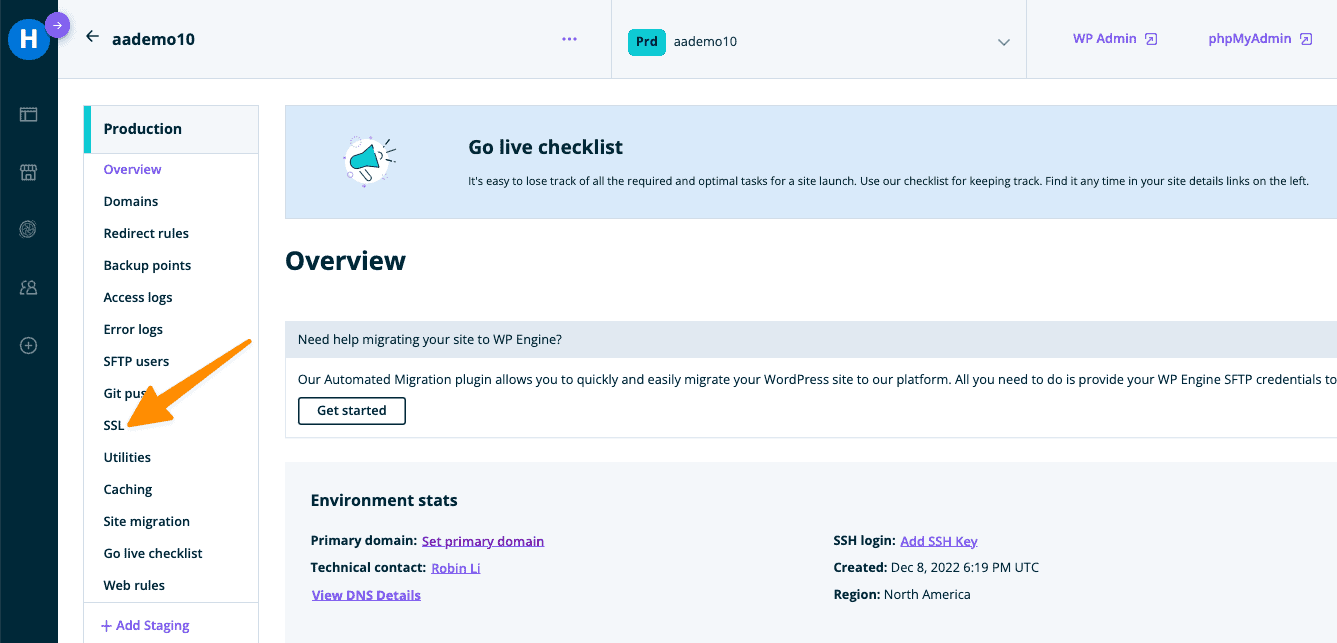
Select “Get free certificates”
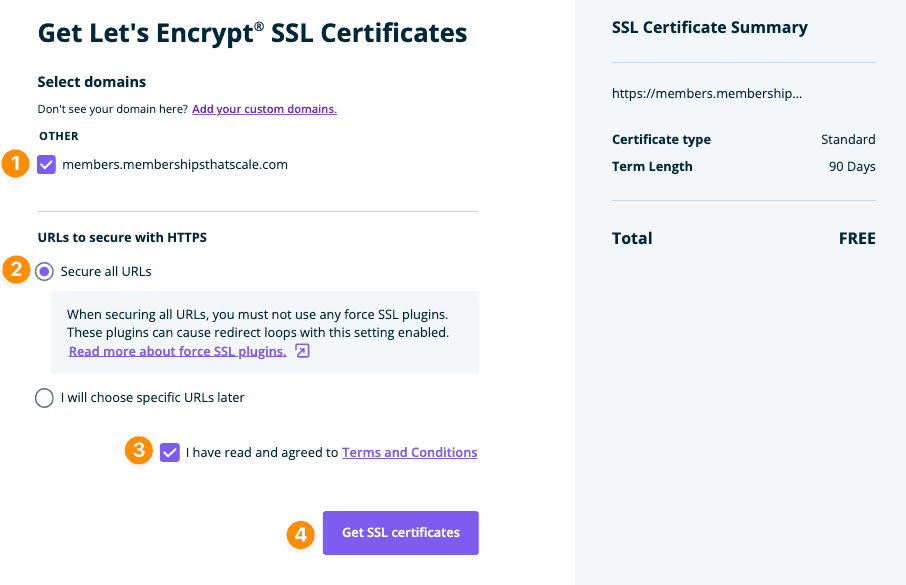
Select your domain and get your free SSL certificate!
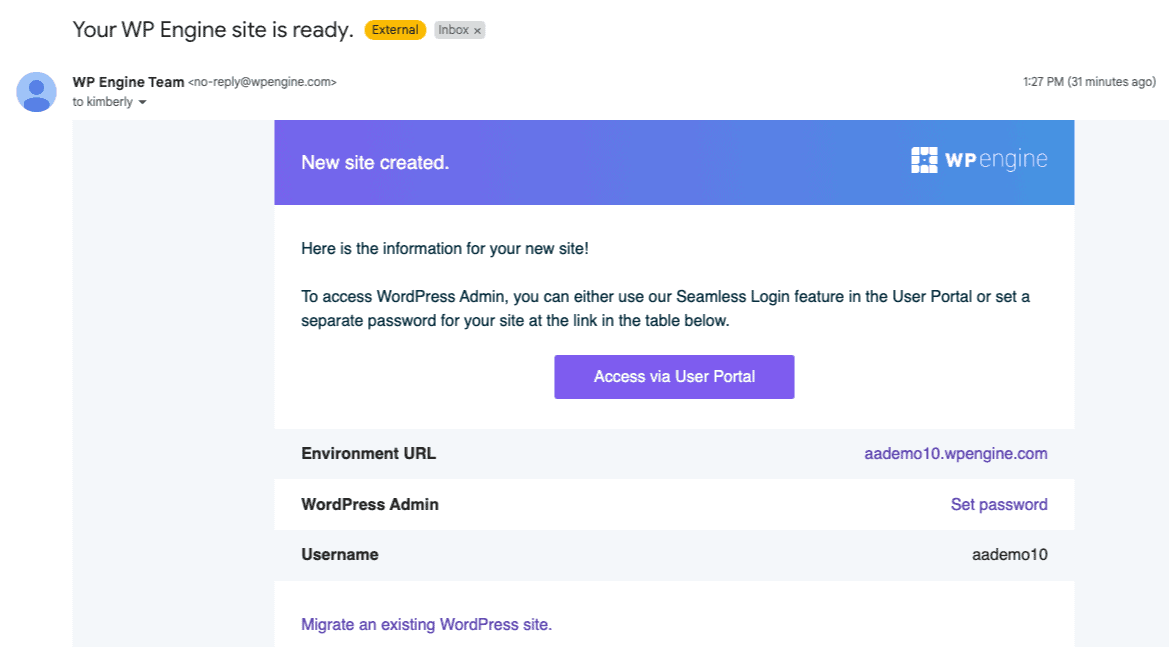
9. Check your inbox
Look for an email in your inbox with the subject line “Your WPEngine site is ready.” this email will have important details on setting your password so you can log in to your new site.
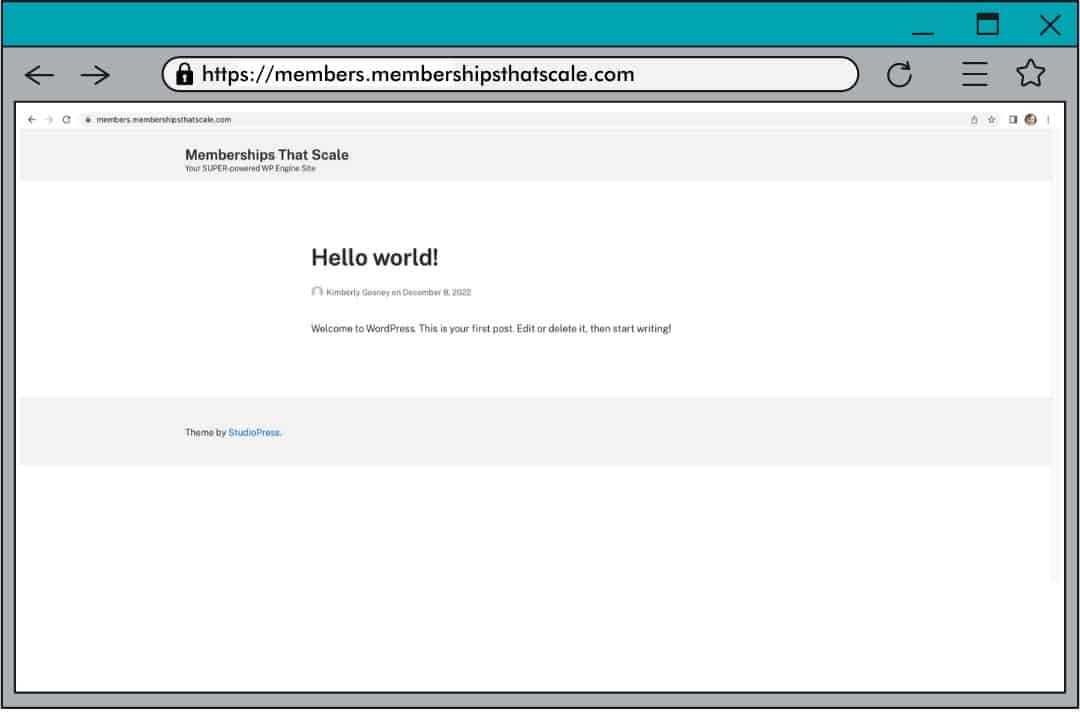
10. Success! Your new site is live.
Your site will show in the browser URL and have the “lock” icon showing that your SSL certificate is working.
