ARTICLE CONTENT:
Why Add Conversion Tracking to Order Forms?
When an order is submitted on your AccessAlly site, your revenue stats can be found inside your payment processors and in the AccessAlly metrics area.
However, you might also want to add Facebook or Adwords tracking code to see more specific statistics on how well your paid advertising is converting.
How To Add Conversion Tracking To Order Forms
The best way to add tracking is through Facebook’s Event Setup Tool. With it, you can navigate to your AccessAlly order form page and select the “next” button or purchase buttons, and set up an event.
Option 1: Adding code to your thank you page
Go to AccessAlly > Sales > Order Form Setup.
Here, select the order form you would like to add the tracking code to. Then, go to the Payment Success Tab.
Next, select the checkbox “Use HTML code”, as illustrated in this screenshot:
![]()
Finally, you can insert your Facebook or AdWords tracking code in the text area. Make sure to Save Changes before exiting this area.
Option 2: Adding tracking scripts along the ordering process
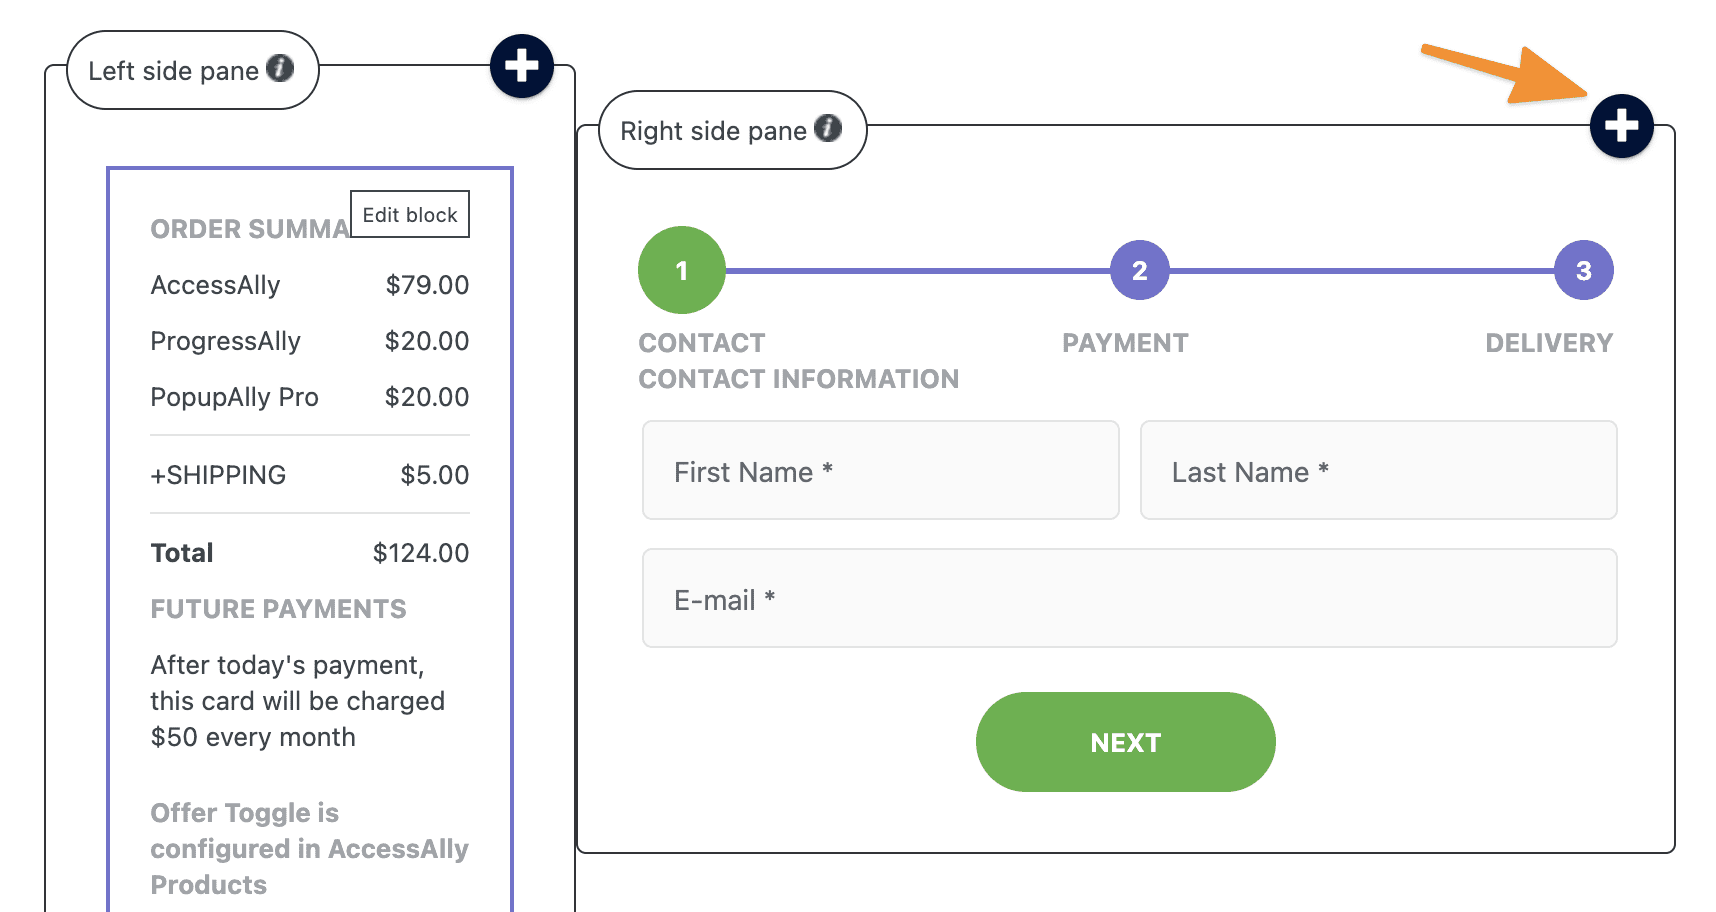
If you need to add a different script somewhere along the ordering process, you can edit the order form by going to: AccessAlly > Sales > Design Setup.
Click the Plus Sign to add a new element.
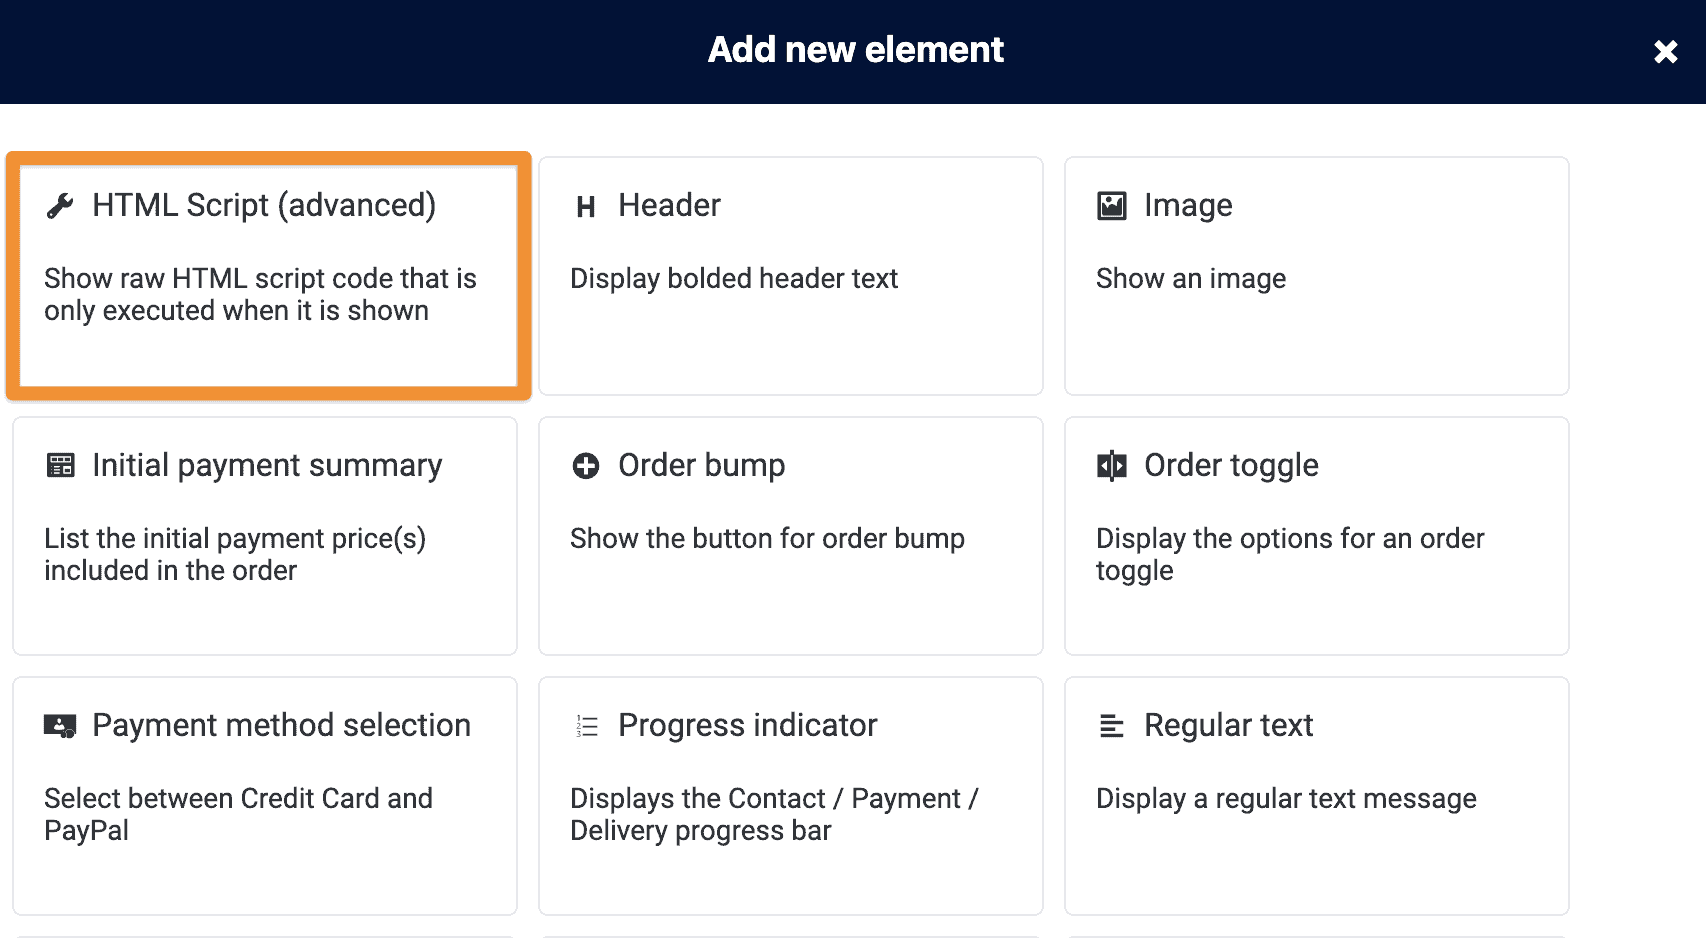
Select the “HTML Script” option.
Insert your tracking code here.
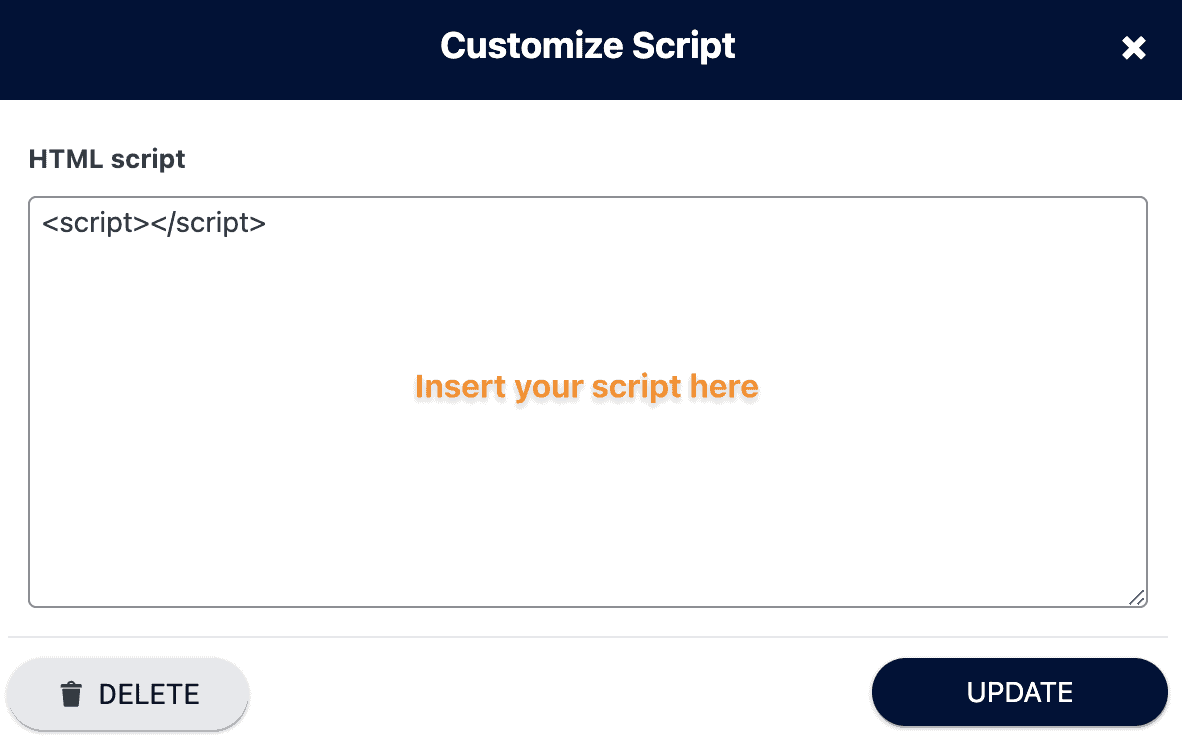
You can add different scripts to the first step, payment step, or even order bumps if you want to create different order form designs for each.
Important: If using Facebook Tracking Pixel or Google Analytics Across Your Whole Site, Exclude the Password Reset and Login Pages
If you have the Facebook tracking pixel/Conversion API or Google Analytics installed on your AccessAlly site, chances are that it is set up to send data back to Facebook/Google on each page of your site.
However, you do not want to send login information back to them because it is a violation of privacy for your members. Sending a member’s email or login information to Facebook or Google from your website is against their terms and policies, and could get your account shut down.
Here’s how to prevent this information from being sent to Facebook or Google.
If you are using a plugin to enable tracking, then you’ll want to use the Freesoul Deactive Plugins plugin to specify which pages you do NOT want the tracking plugin to be enabled on. (If you have code added directly to your site, you’ll want to exclude the login page in the code, and this is beyond the scope of this article.)
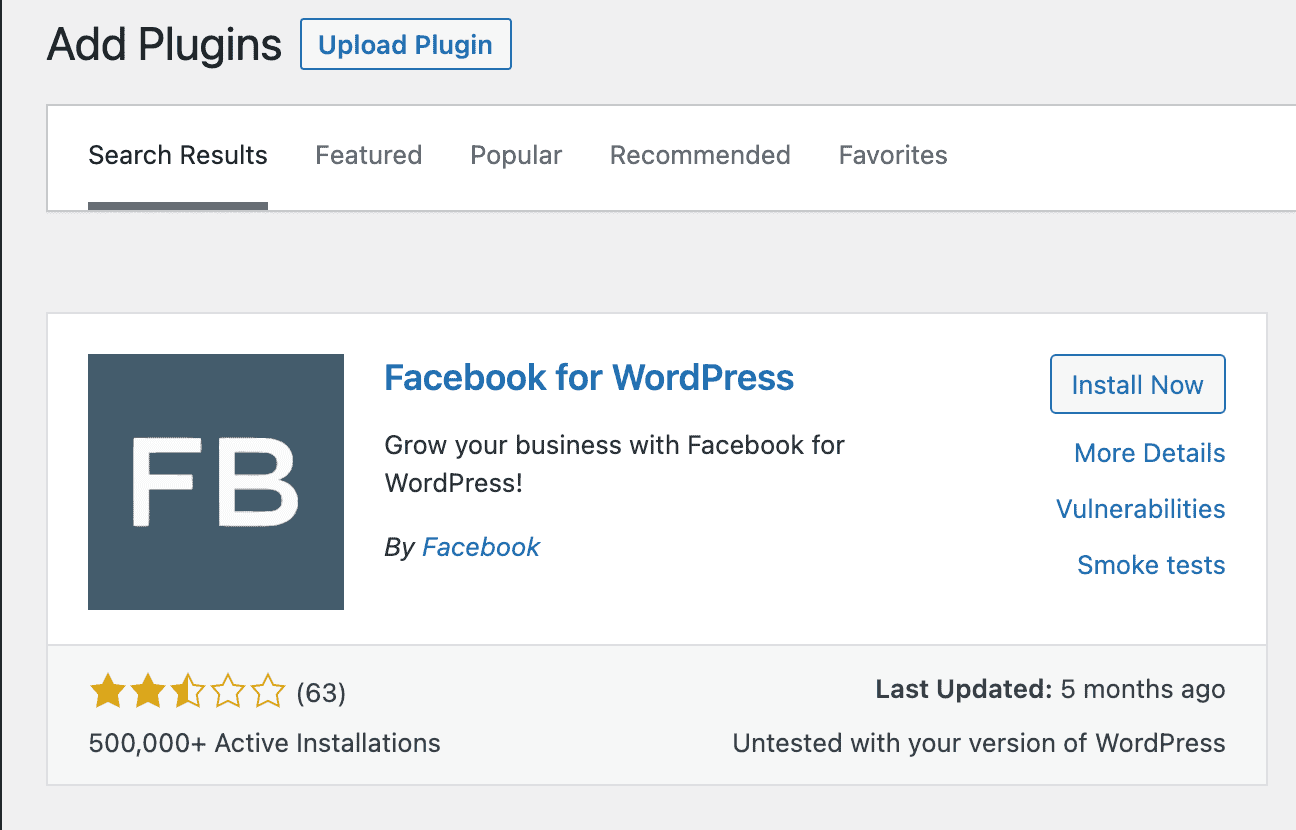
You may be using one of many plugins to add your code, such as the official Facebook for WordPress plugin or the Pixel Your Site plugin.
Next you will want to install the free Freesoul Deactive Plugins plugin.
Once it’s enabled you’ll go to your settings, and choose “Custom URL”. You’ll add both a front-facing and back-end URL, that looks like this:
- https://members.yoursite.com/login/*
- https://members.yoursite.com/wp-admin/*
Then you will un-select the plugin you use to enable your pixel, and hit save.
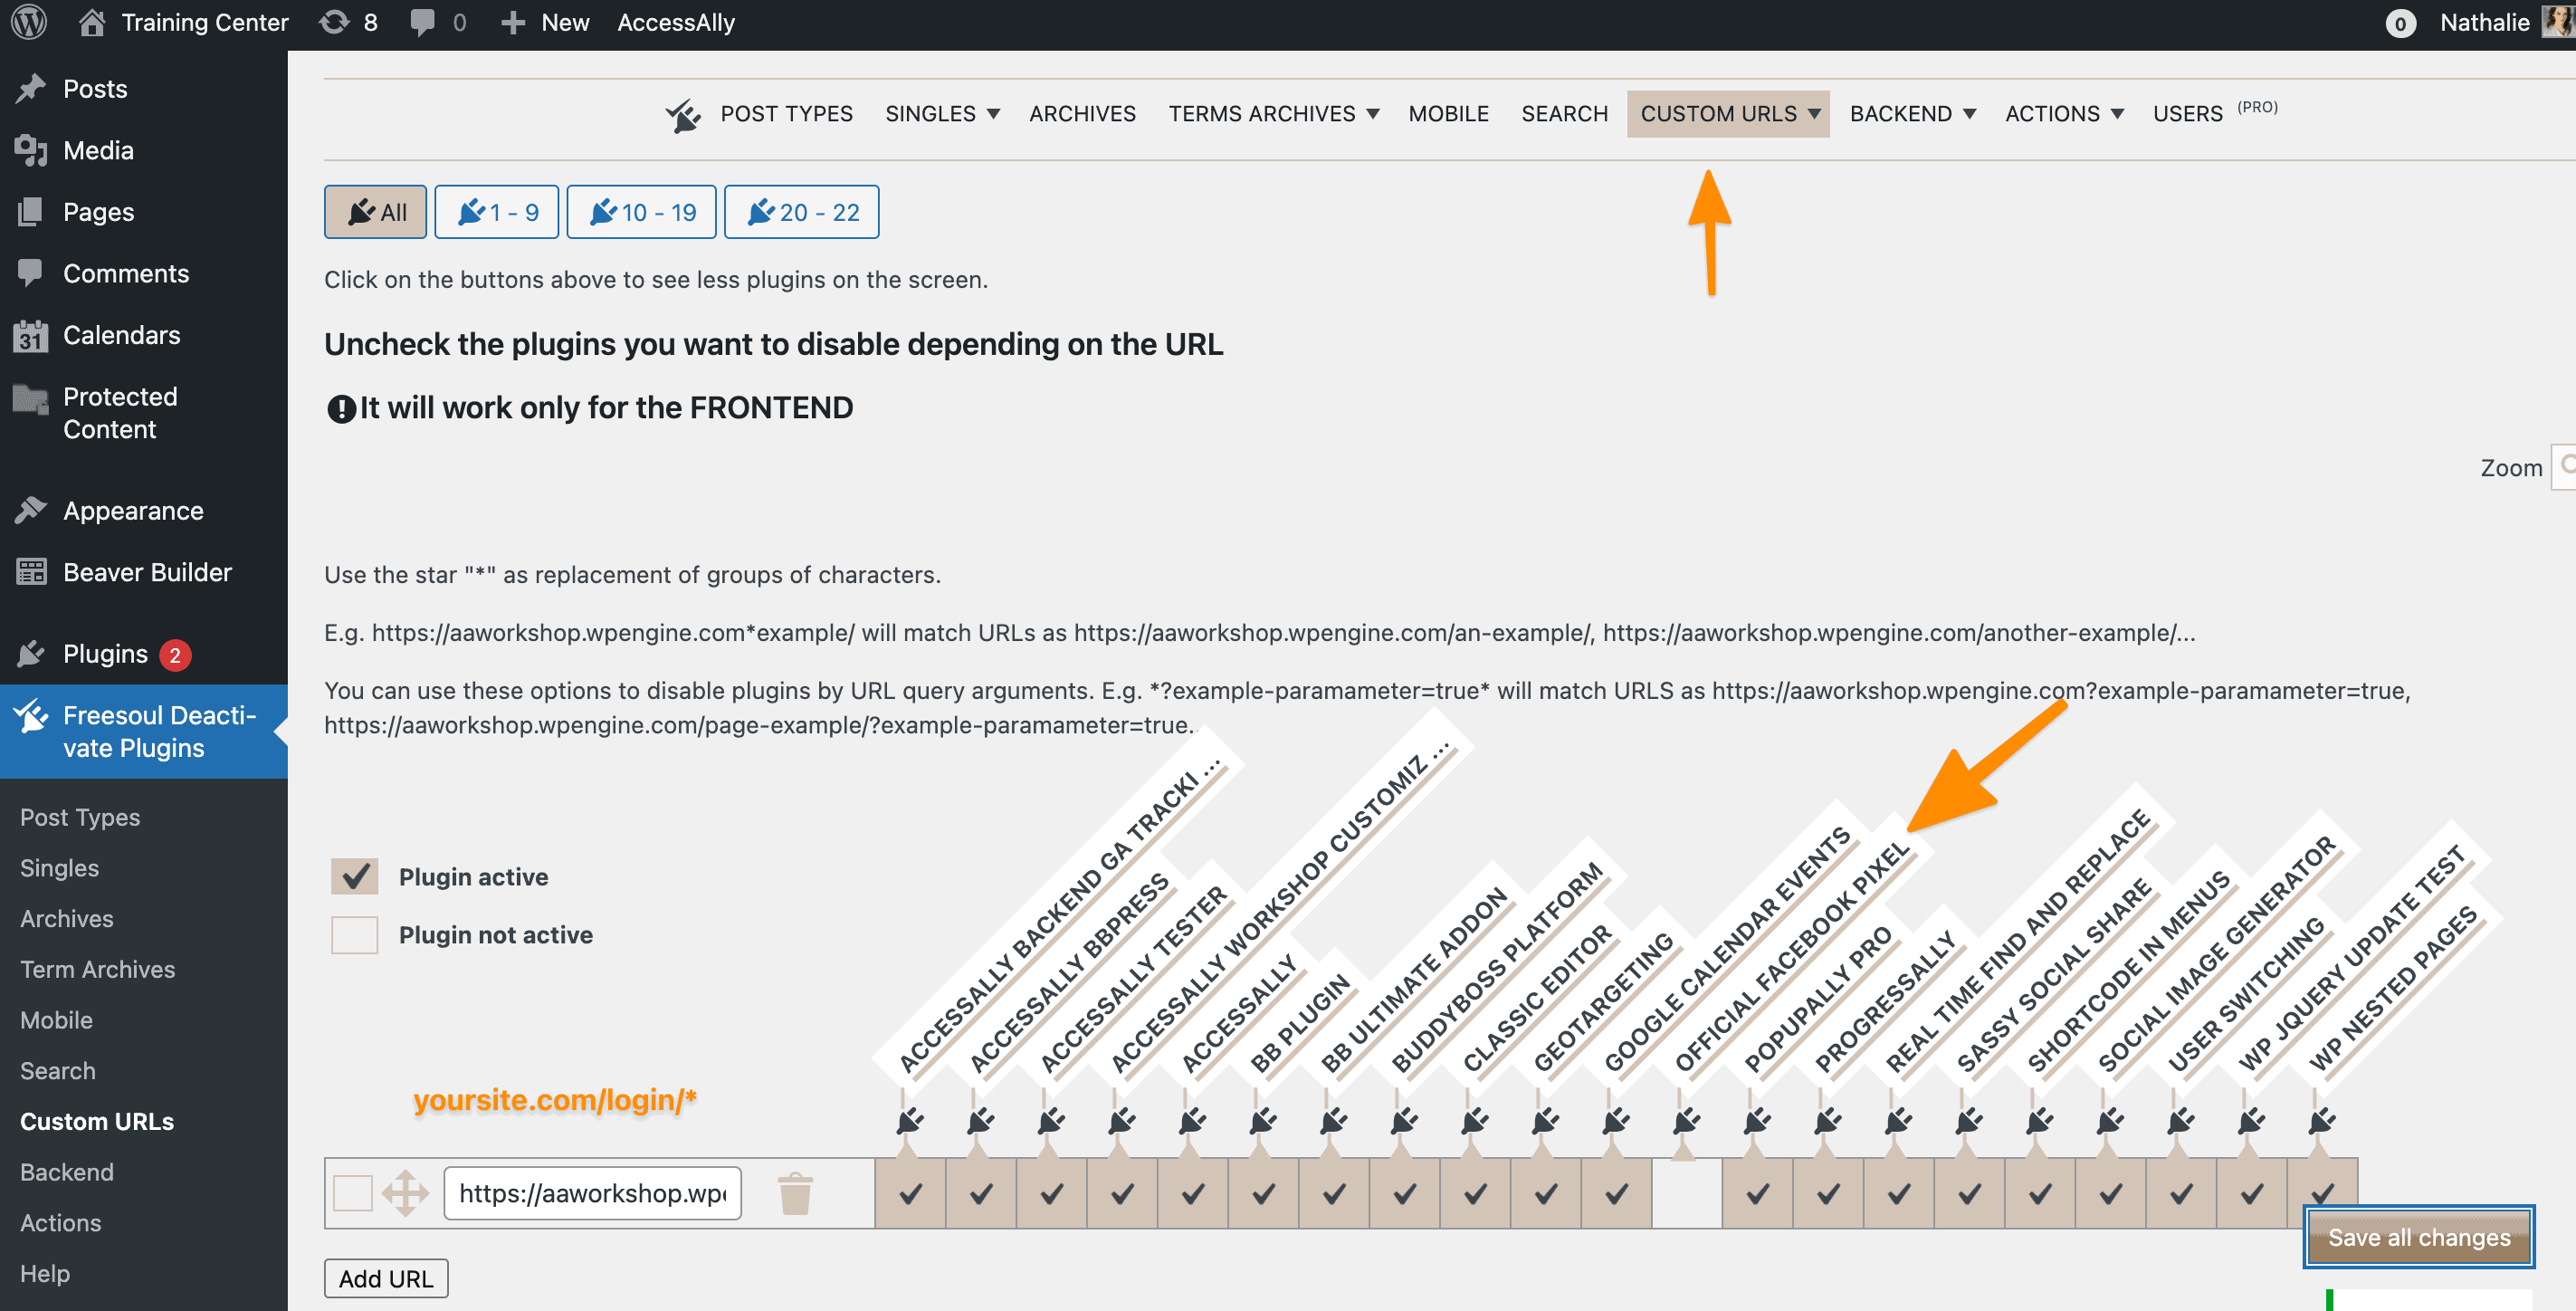
This will turn off your tracking for these particular pages.

