Follow these steps to troubleshoot CRM integration with AccessAlly.
ARTICLE CONTENT:
Locate the issue between your CRM and AccessAlly site
Possibility 1: Verify your HTTP post
Step 1: Test your HTTP post in your browser
Verify that your HTTP post is working properly by running the operation through a regular browser window. When you copy and paste your unique HTTP post, your AcessAlly site will load.
Go to: AccessAlly > Settings > General Settings > Send HTTP Post Settings > Find your unique URL
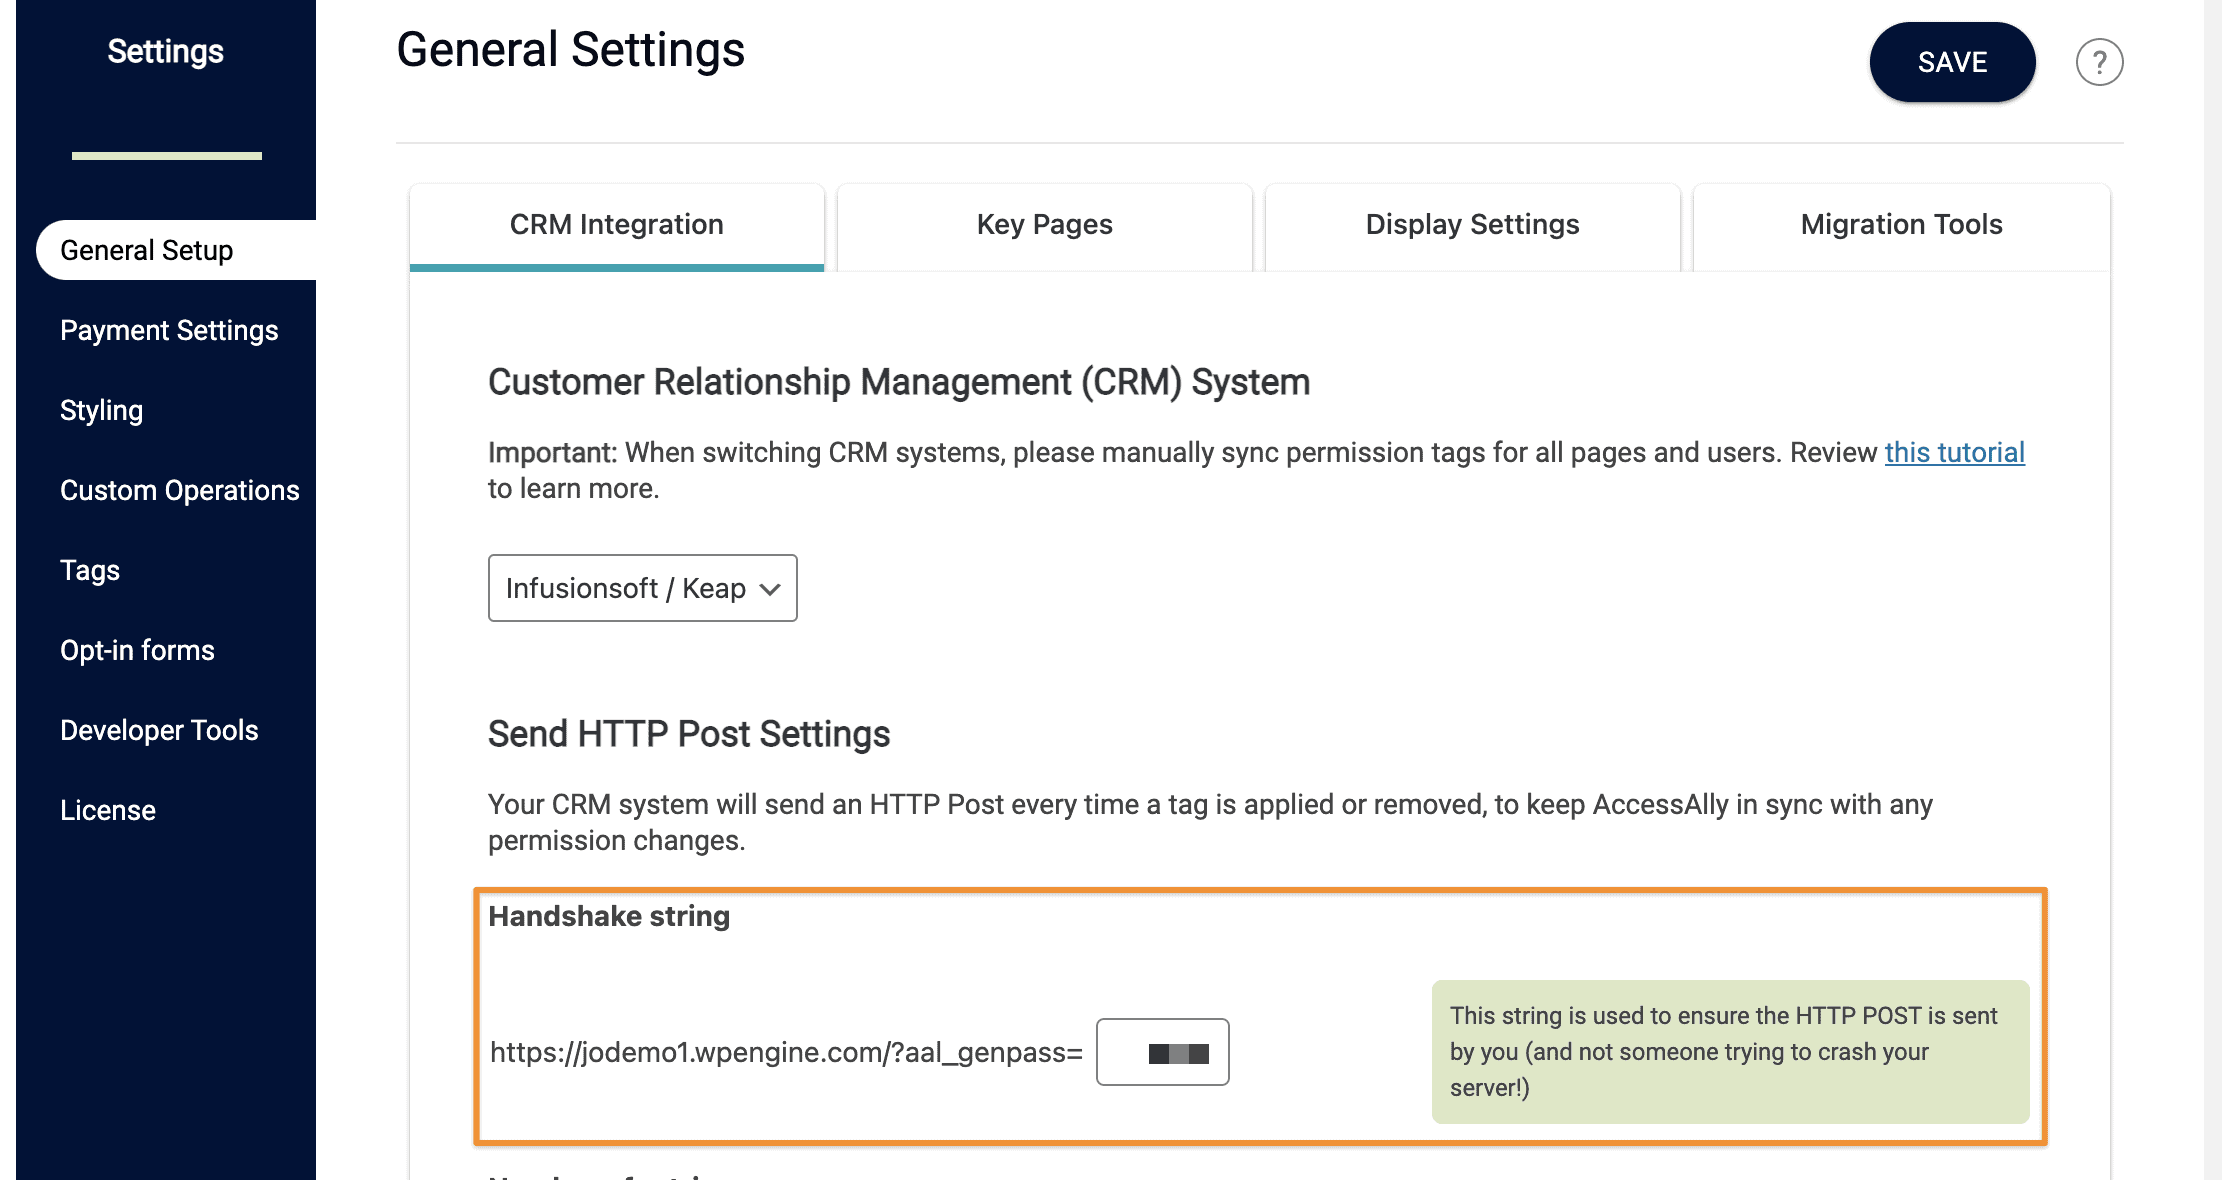
- Copy the unique URL and paste it in a new window in your regular internet browser
- The operation will run and your site will load
Step 2: Verify that the password was generated
After running the HTTP Post URL in your browser, verify that a password was created in the CRM.
When you are generating the HTTP post, you can add an ID string to the URL to have it call a user.
In the following example, you would replace yoursite.com with your own site URL, and [Contact Id] with the corresponding user contact ID from your CRM system.
https://yoursite.com/aal_genpass=HIWcs5&contactId=[Contact Id]
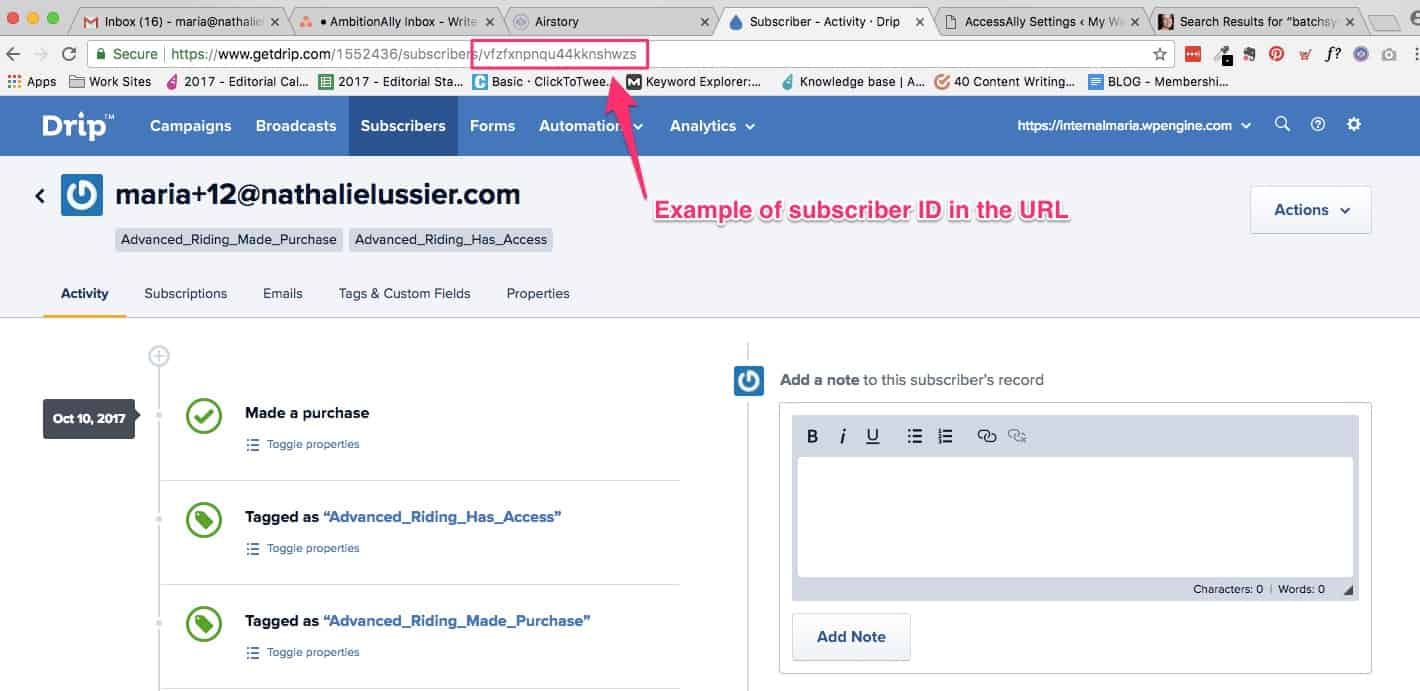
To find the contact ID, look in the browser window when you’re editing the contact in your CRM.
Here’s an example of the ID location when you are editing a contact in Drip:
Step 3: Check the AccessAlly Log Summary
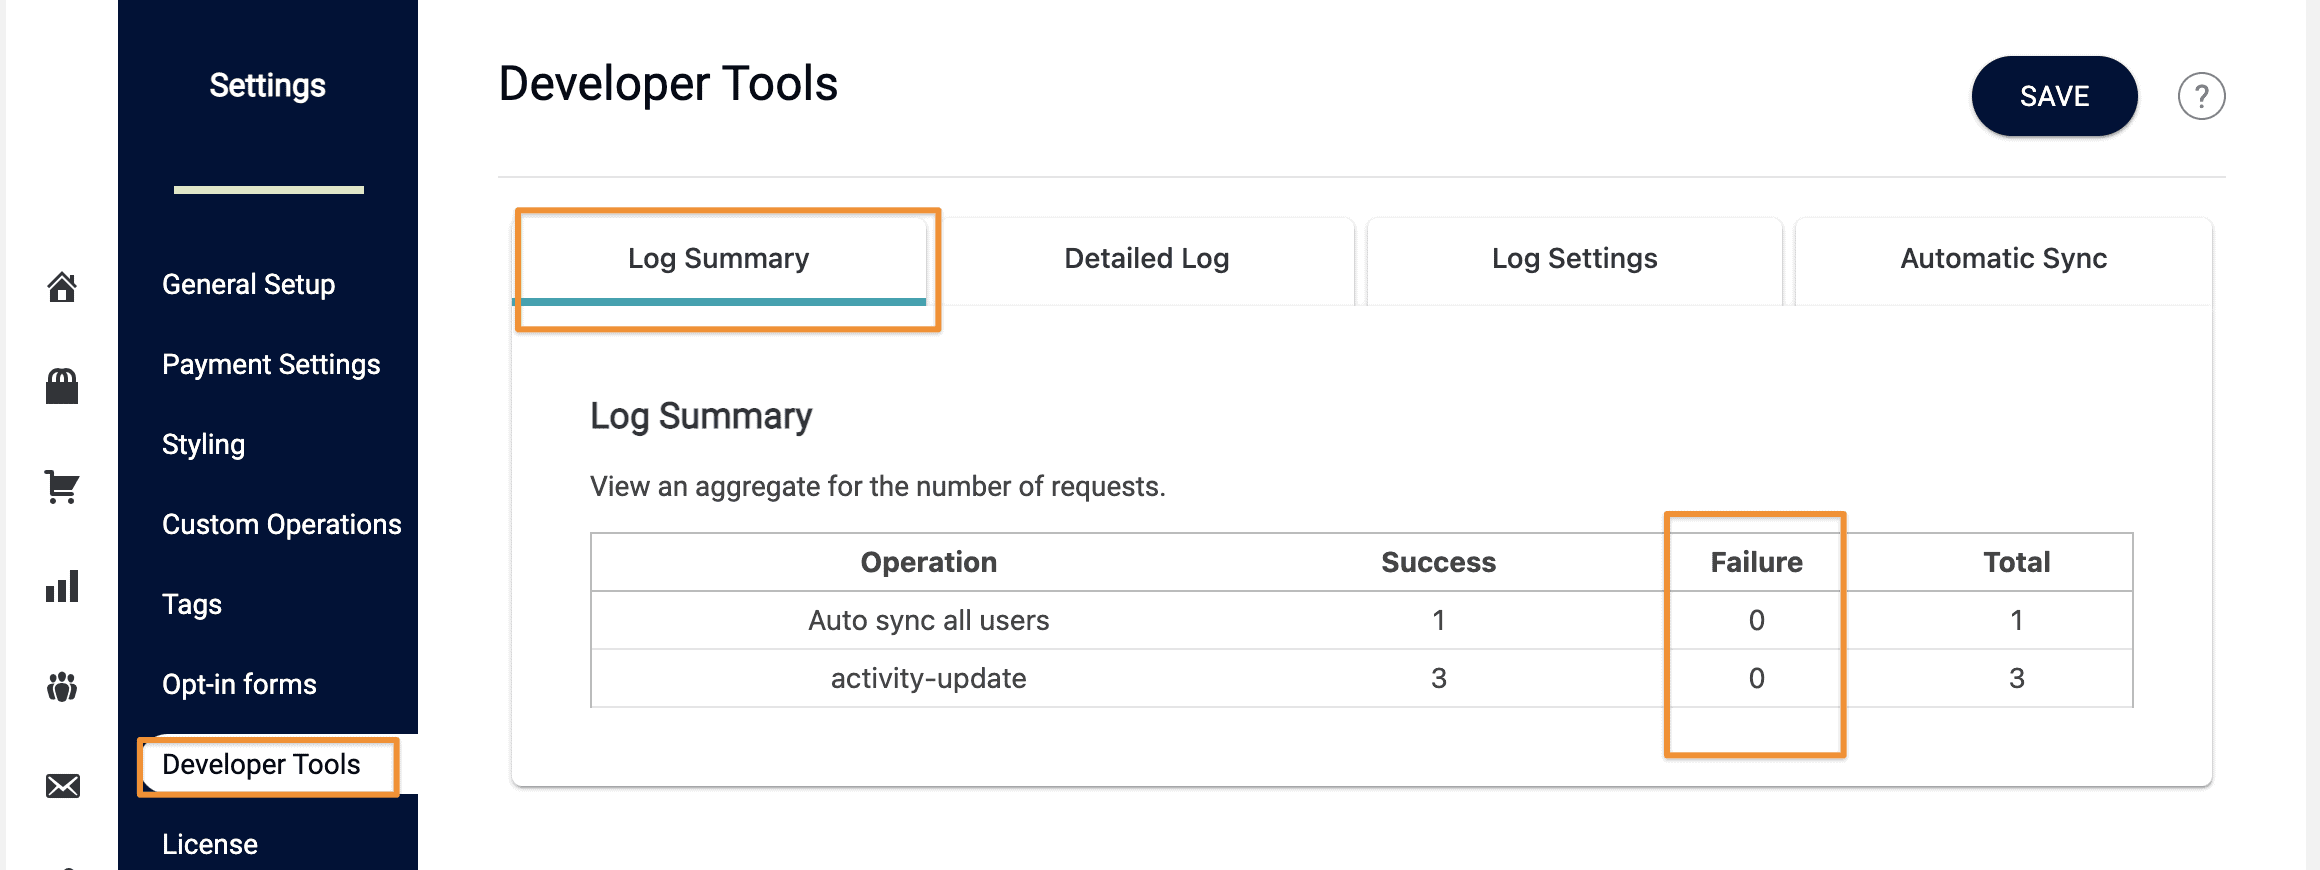
Go to: AccessAlly > Settings > Developer Tools > Log Summary
Check the Log Summary for any failures.
Outcomes
- If no errors appear in the AccessAlly logs, contact support: [email protected]
- If these steps were successful, move to Possibility #2
Possibility 2: Verify the CRM is sending the HTTP Post to AccessAlly correctly
Step 1: Verify the CRM is sending the HTTP Post
Check that the CRM is sending the HTTP Post by looking at a specific contact to find out whether they went through the right sequence.
Go to: AccessAlly > Settings > Developer Tools > Detailed Log
Here, you can see the list of pings that went through successfully. Note the contact ID field. When you scroll right, you’ll see a message of success.
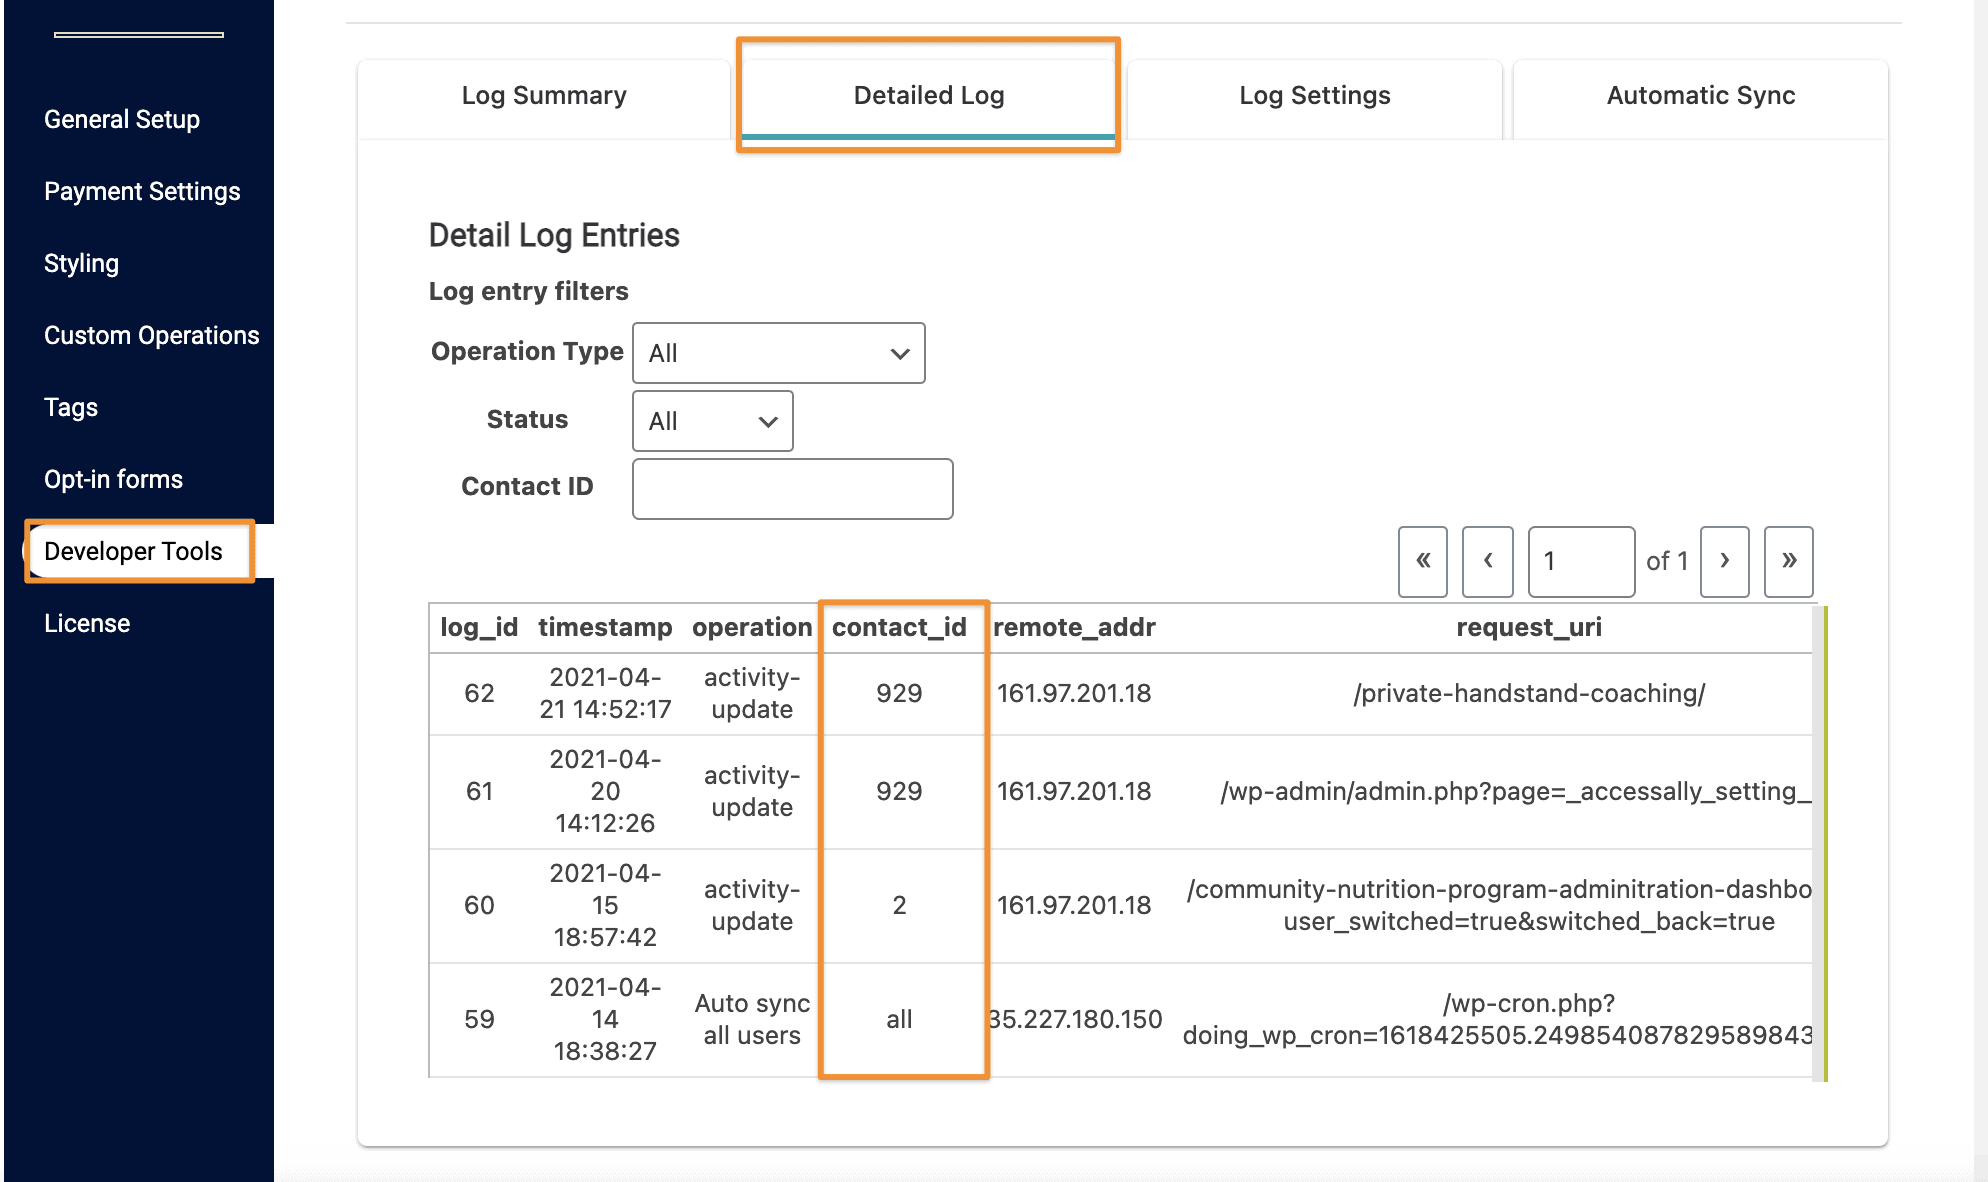
If the contact_id field is blank, the probable issue is that the HTTP Post URL was incorrect.
That means you need to make sure that the “Contact ID” is set up properly inside your webhook settings in your CRM.
Step 2: Test using https://requestb.in
If it says that the webhook/ping/HTTP Post was sent but it didn’t send, replace the URL with one from https://requestb.in.
https://requestb.in is a helpful resource to have when you are testing your links. It is a great reference point to see more data on what is happening.
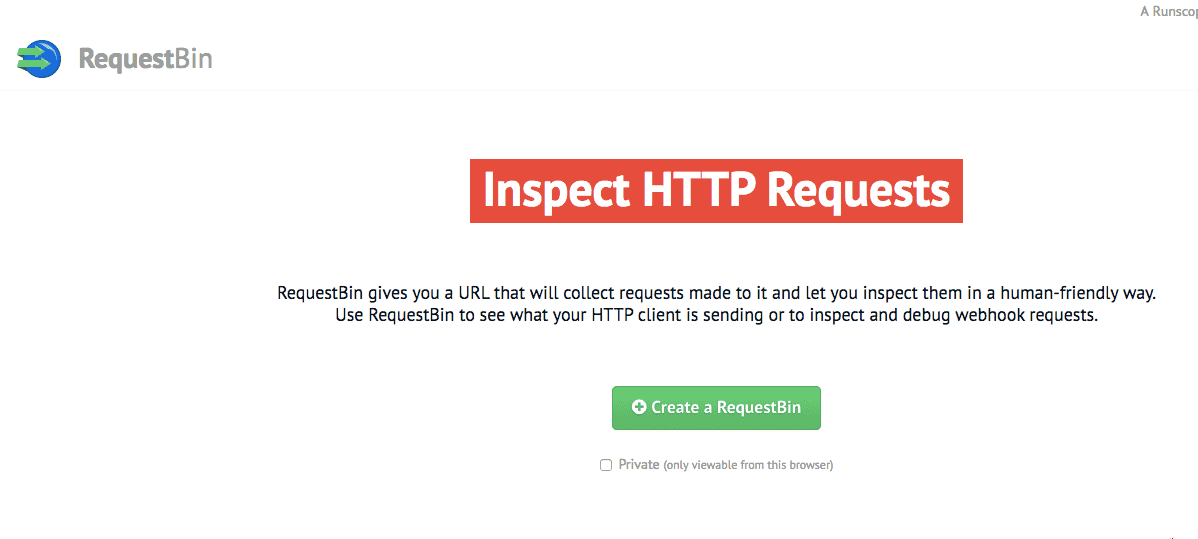
Here’s how it works. Simply go to RequestBin, and click the “Create a RequestBin” button.
On the next page, you’ll be given a bin URL, which you will copy and paste in your CRM’s automation sequence.
The best way to do this would be to clone your existing automation campaign, and replace just the part of your campaign that is supposed to ping and send a webhook/HTTPpost back to your site, with this new URL.
Then run a test user through the campaign, and this URL will get pinged by your CRM.
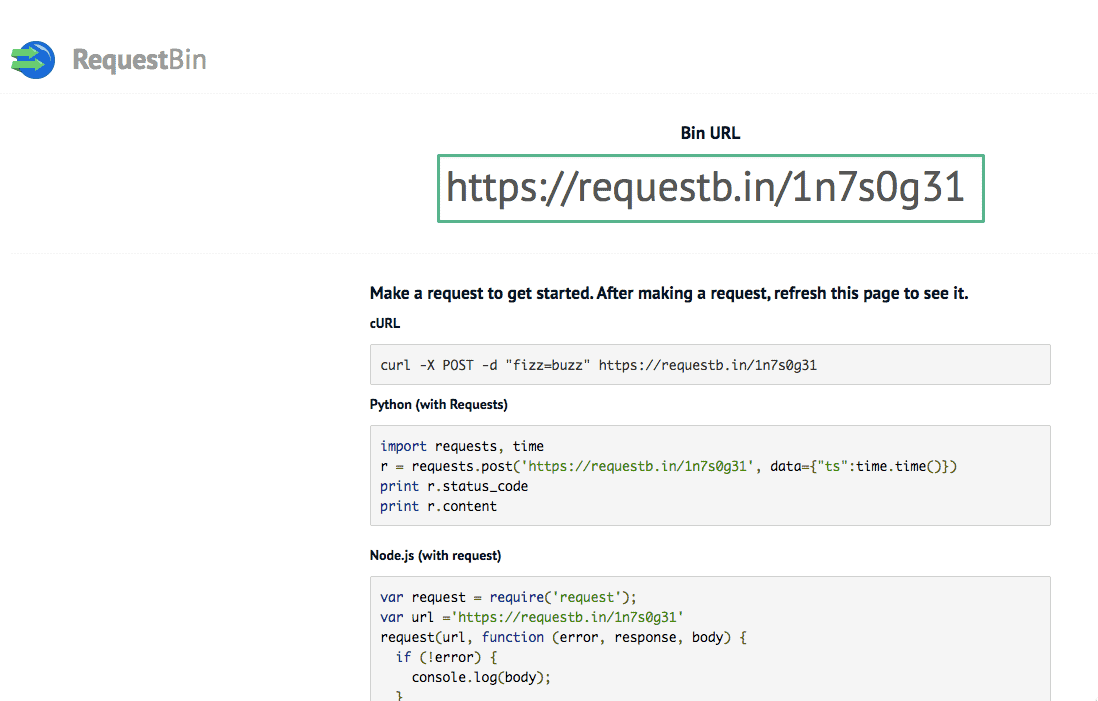
At this point, after you know that your CRM ran the ping/webhook, you’ll refresh the original RequestBin page. You should see something like this, telling you what server pinged the URL.
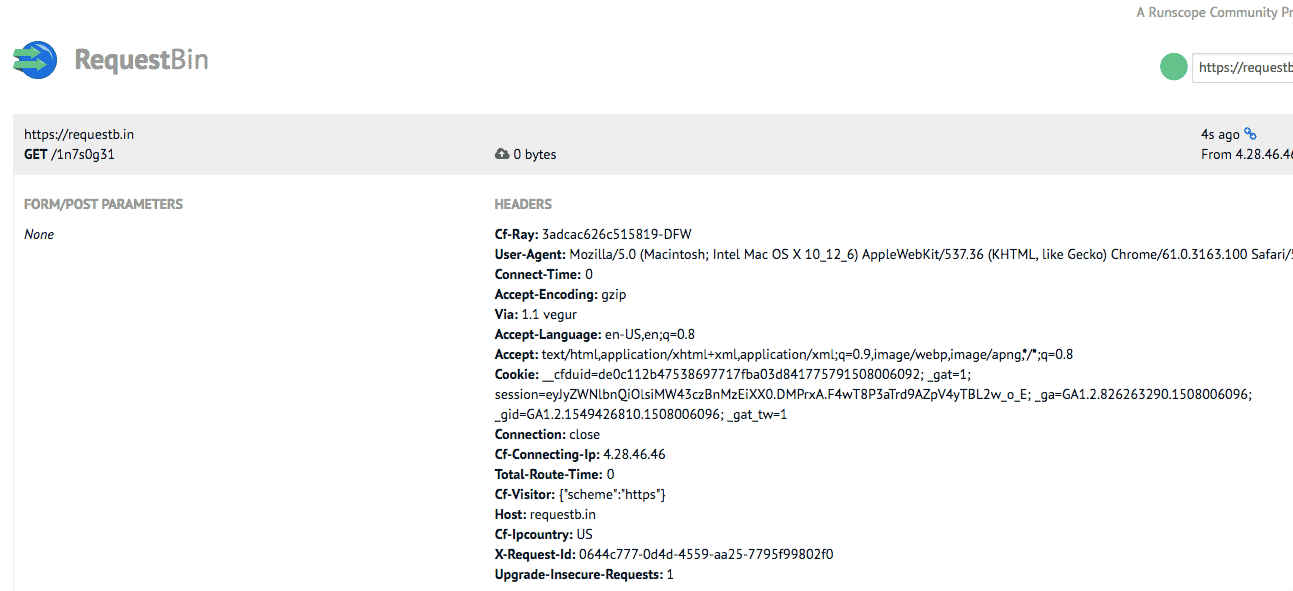
If it doesn’t show any activity, then it means that the CRM did not successfully run the webhook or ping. Knowing this, you should contact your CRM’s support to see if their servers are down or experiencing other issues.
Possibility 3: The Server Is Timing Out and/or The Server Is Failing to Receive Anything
This issue usually happens with a shared hosting account or one that blocks HTTP Posts/Pings.
You can tell whether it is a server timeout if your CRM pings are sending properly (as shown above with the RequestBin example), but not arriving inside your AccessAlly site.
If this is the case, contact your hosting provider for help in resolving this issue.
Step 1: Look at your web server host’s Access Logs
Inside the server Access Logs, search for Genpass (the AccessAlly ping URL) and look at the status. If it’s not in the log, then the server is blocking it. If this is the case, contact your hosting provider for help in resolving this issue.
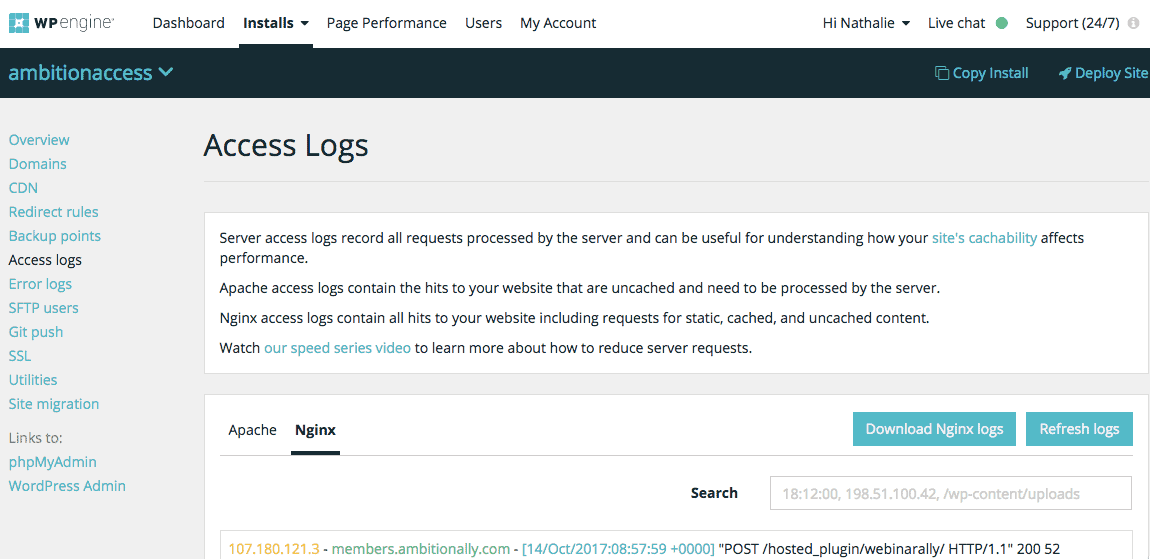
This is an example of a WPEngine access log screen, but each web host will have a slightly different back-end to display these logs.
NOTE: Some hosting providers do not let their clients see this information, so you may need to contact your host at this point.
If the Genpass IS in the log, move to the next step:
Step 2: Examine the error code for the cause of the issue
You will likely need to contact your host at this point and ask them to look at NGIX logs. If those an unavailable, they can check Apache logs. Look for the following:
- A 200 status means it was successful
- 403 permission not granted
- 500 server timed out
Step 3: Reproduce the error with the error code
Once you know the error, you can try to reproduce it and fix it… or contact AccessAlly and/or your server’s support with this information so they can offer further help.
The log errors will be listed in the server logs (NGIX/APACHE). One of them will indicate if the incoming ping was blocked. Once you’ve identified the issue, you can ask your server to whitelist the domain, IP address, and the User Agent to allow the communication for future pings.
Ask your server to: whitelist the domain, IP address and the User Agent to allow it to come through


