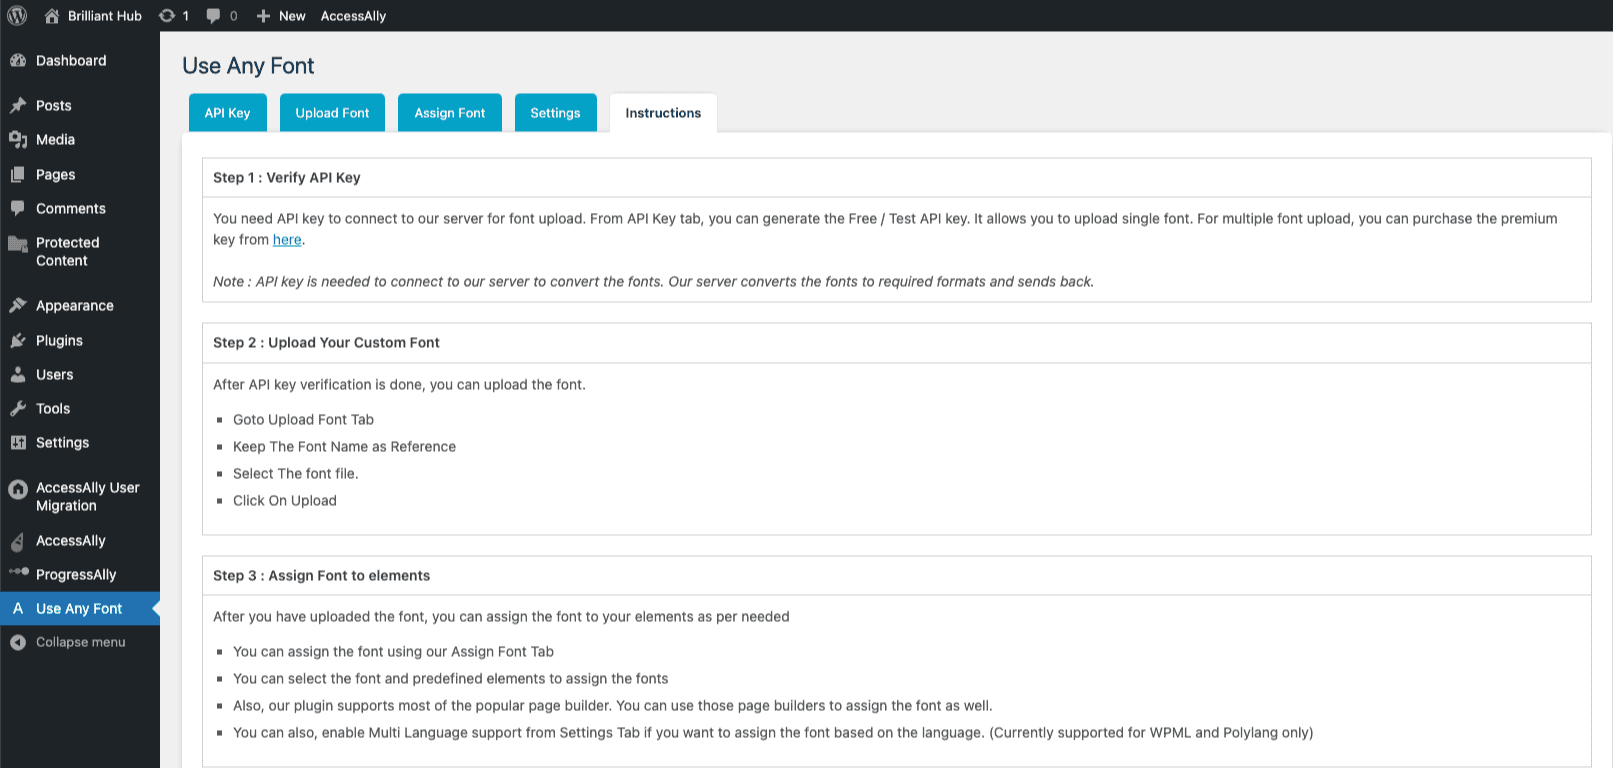
If you would like to add custom fonts to your site this article will cover the use of a WordPress plugin called Use Any Font.
ARTICLE CONTENT:
Download the Use Any Font Plugin
This is a 3rd party tool. The AccessAlly team is not able to provide support for this plugin.
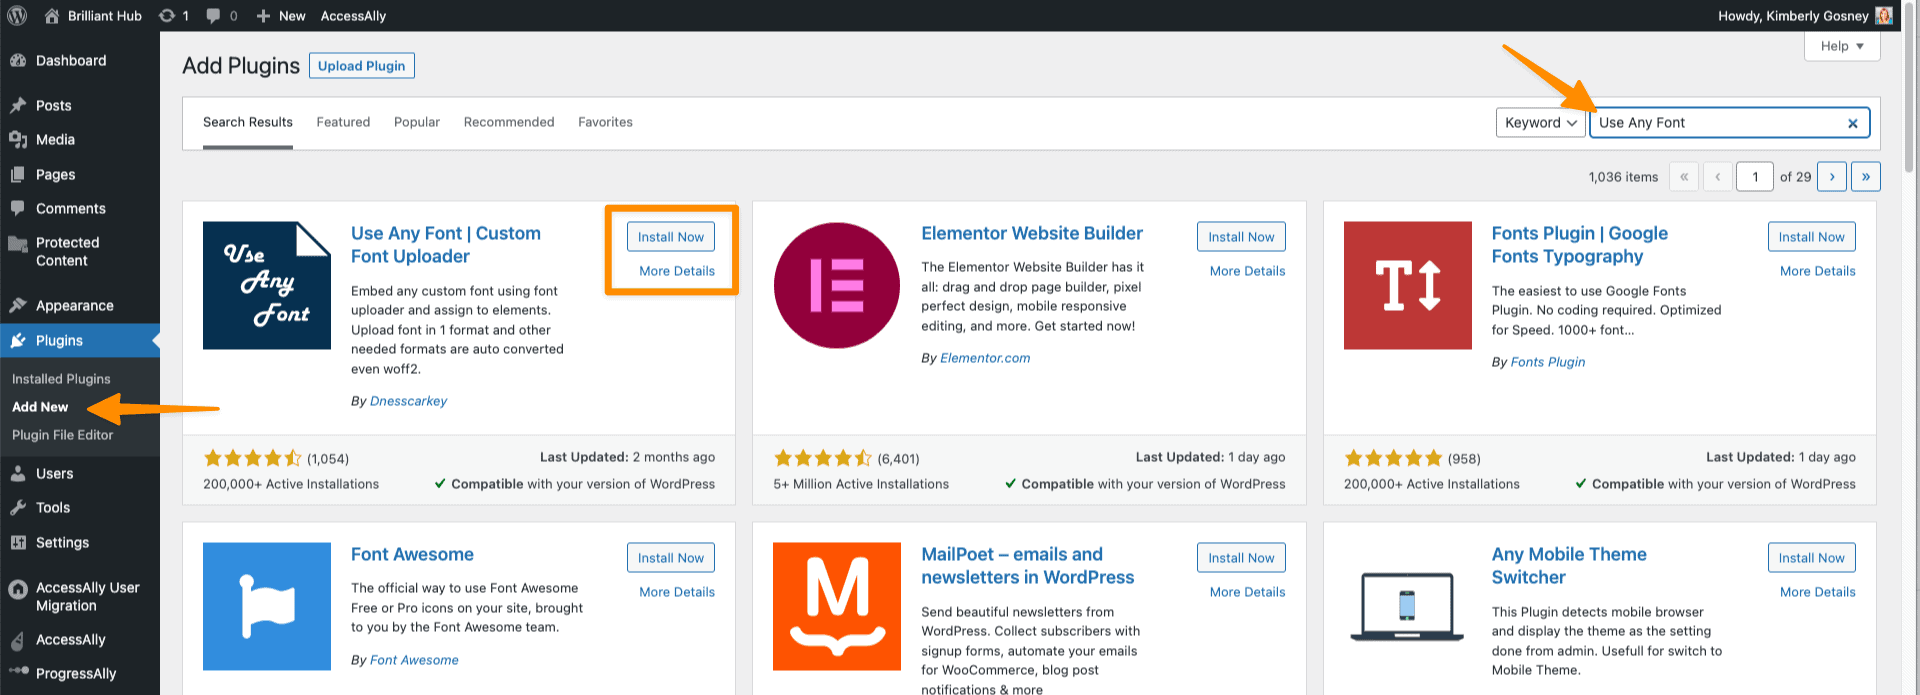
Go to Plugins > Add New > Search “Use Any Font” > Install Now > after installing click Activate.
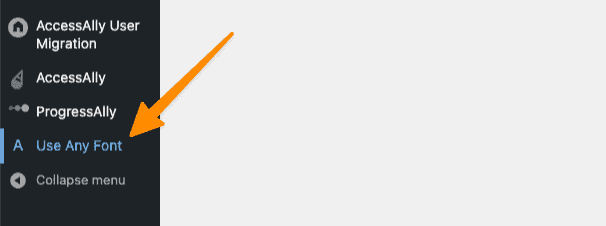
After activating the plugin it will appear in your WordPress sidebar as shown in the image below.
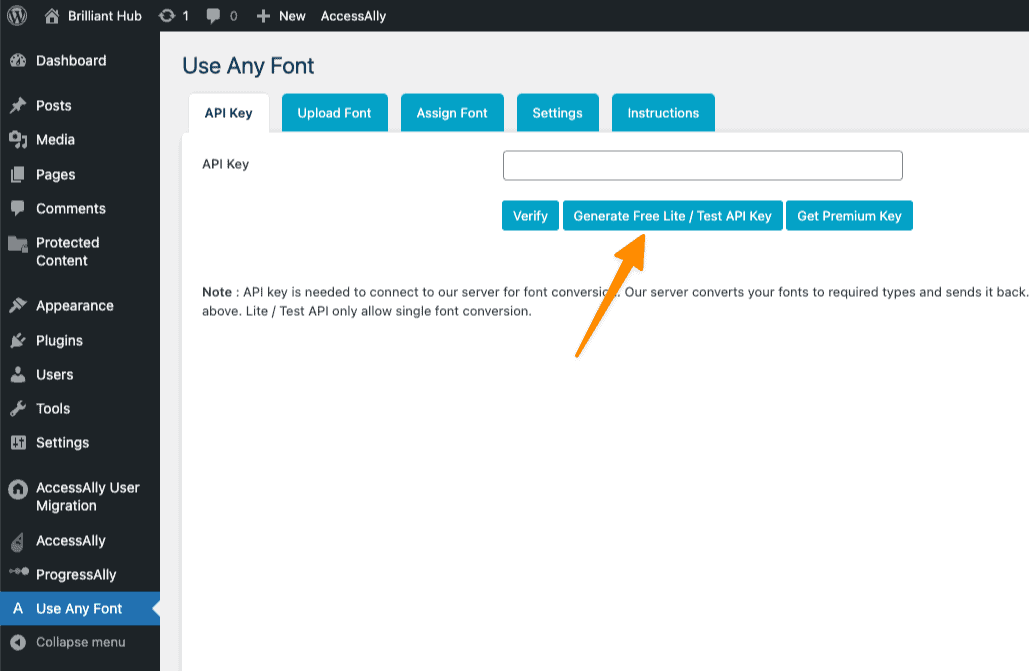
Use Any Font API Key
If you would like to test this plugin you can use the Generate Free Lite / Test API Key option which allows for the use of a single font.
Once the API key appears in the box click Verify.
If you would like to use multiple fonts you’ll need the paid option under Get Premium Key.
Upload Font Tab
Click the upload font tab. From here you can:
- Upload a custom font (make sure you have permission from the font creator before uploading)
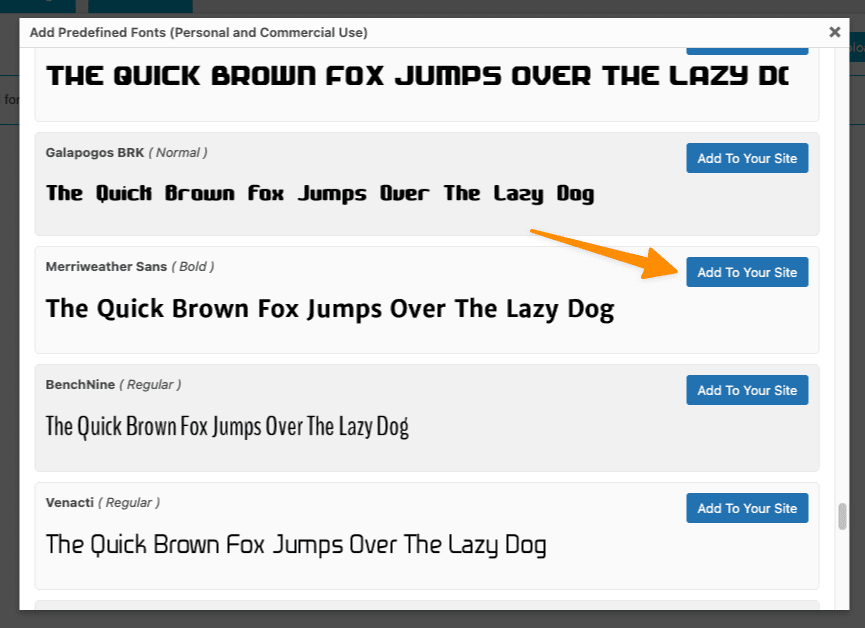
- Add Predefined Fonts which has fonts for personal and commercial use you can choose from.

Once you find a font you like click “Add to Your Site”
Assign Font Tab
Now it’s time to assign the font and where you’d like to use it on your site. You can easily select items like headings and titles to have those display in your new chosen font.
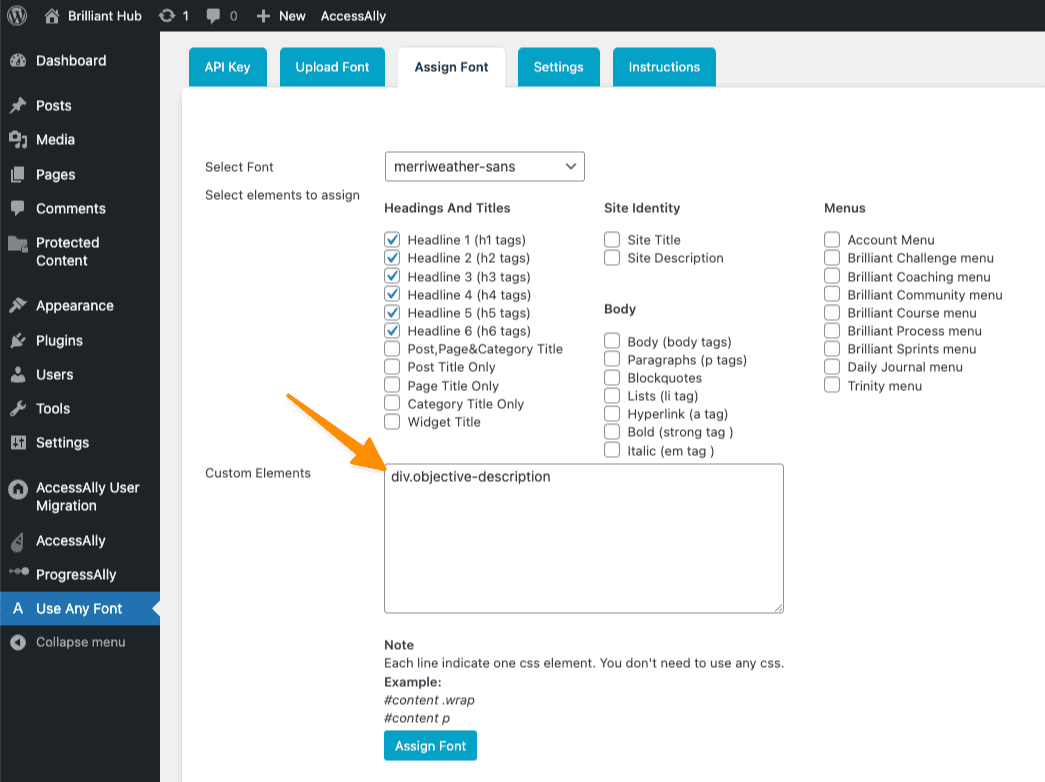
The Custom Elements box is great if you would like to use CSS selectors to change the font of AccessAlly elements like progress checklists.
If you’re not sure how to find CSS selectors watch this video:
https://nathalielussier.com/web-design-2/learn-to-code-teach-yourself-html-css
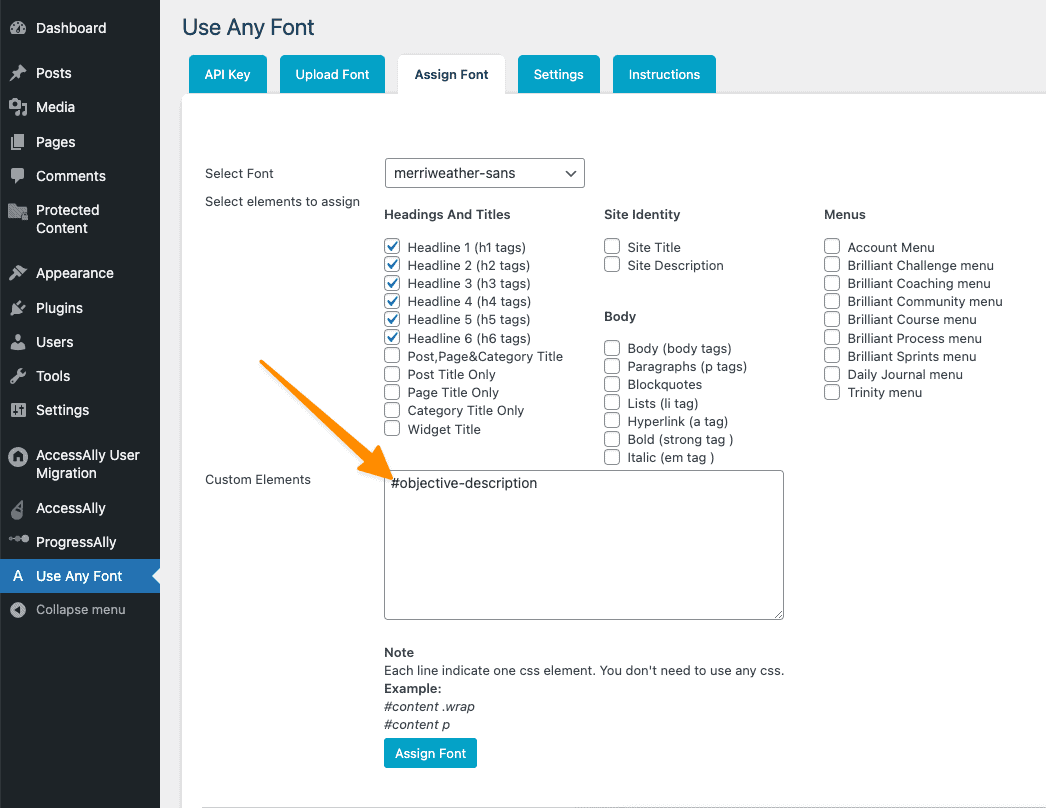
Once you’ve made your selections click the “Assign Font” button to save your changes and you’ll see a recap of your selections.

Settings Tab
The settings tabs shows additional options that are available like enabling multi language support with WPML or Polylang.

Instructions Tab
Covers using the plugin and how to get in touch with the plugin creator if you have questions.
