ARTICLE CONTENT:
Overview of Zapier
Zapier lets you connect AccessAlly to 2,000+ other web services. Automated connections called Zaps, set up in minutes with no coding, can automate your day-to-day tasks, and build workflows between apps that otherwise wouldn’t be possible.
Each Zap has one app as the starting “Trigger”, where your information comes from, which causes one or more “Actions” to happen in other apps, where your data gets sent to automatically.
Watch the Video Walkthrough
Written Walkthrough
Getting Started with Zapier
Sign up for a free Zapier account, from there you can jump right in.
How do I connect AccessAlly to Zapier?
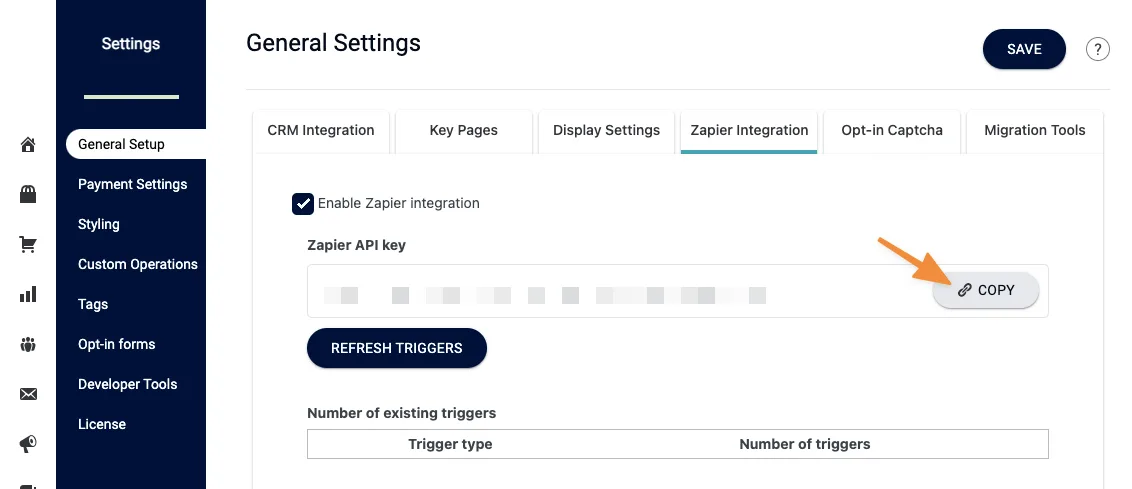
- On your AccessAlly site go to AccessAlly > Settings > General Setup > Zapier Integration check the box by “Enable Zapier Integration” a key will appear in the box. Click the gray copy button to copy this key you will need it in step 5.
- Log in to your Zapier account or create a new account.
- Navigate to “My Apps” from the top menu bar.
- Now click on “Connect a new account…” and search for “AccessAlly”
- Paste the key you copied in step 1 into the box that says “Allow Zapier to access your AccessAlly account” this box may be hidden behind your current browser window.
- Once that’s done you can start creating an automation! Use a pre-made Zap or create your own with the Zap Editor. Creating a Zap requires no coding knowledge and you’ll be walked step-by-step through the setup.
Popular examples shown at AccessAlly > Settings > Zapier

If you have any additional questions, you can reach out to [email protected].
Triggers
1. Client Submits Preliminary Order Information
Triggered when a client adds name and email information on an order form. A great use case for this trigger is to create an abandoned cart sequence or automation in your CRM.
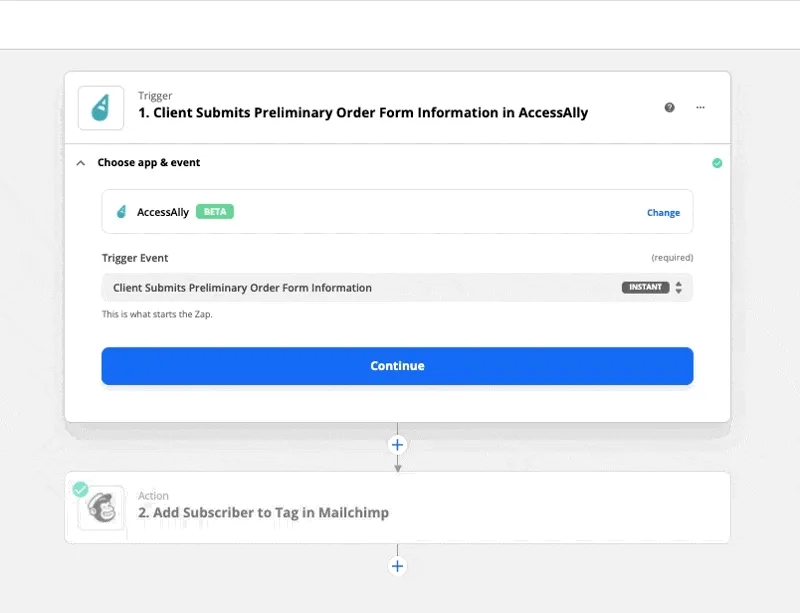
2. Client Opts in via an AccessAlly Form
Triggers when a client submits an AccessAlly form. The exact information is dependent on the AccessAlly form setup, but usually includes name and email. A great use case for this zap is sending the name and email address of a new opt-in from AccessAlly to Mailchimp.
3. Client Successfully Makes a Purchase
Triggers when a client makes a successful purchase from an AccessAlly order form. A great use case for this zap is adding new purchases from AccessAlly to a Google Sheet.
4. AccessAlly Custom Operation Trigger
Use to trigger an event when an AccessAlly Zapier Custom Operation runs. A great use case for this zap is to tag a user in Mailchimp when they complete an objective checklist on a page of a course.
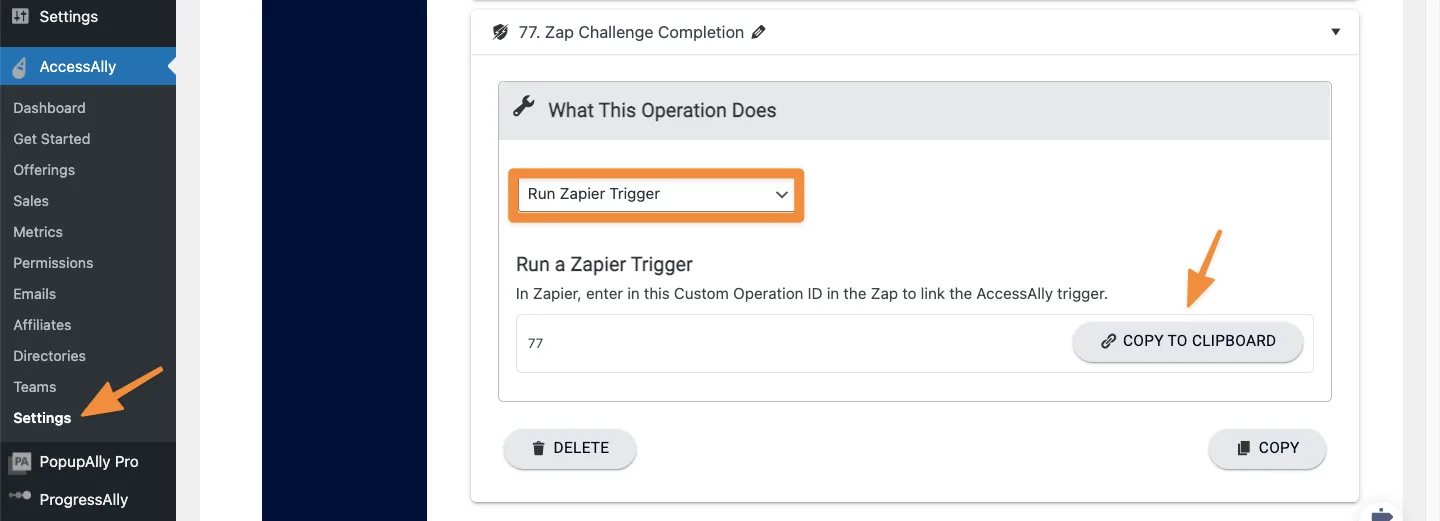
Step 1: Create a Zapier Custom Operation in AccessAlly
Go to AccessAlly > Settings > Custom Operations and add a new custom operation with “Run Zapier Trigger” – copy to the clipboard you’ll need this number in a future step. Save the custom operation.
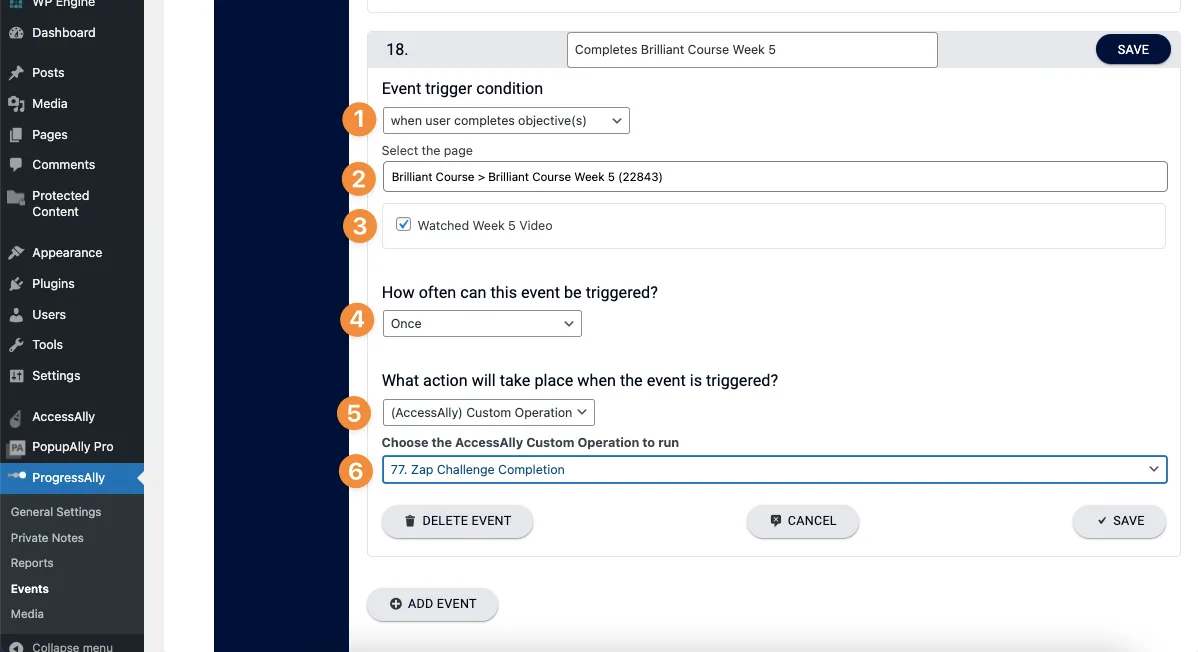
Step 2: Go to ProgressAlly > Events > + Add Event
Follow the example image below as a guideline for what to put in your ProgressAlly Event. In the spot where it mentions “Choose the AccessAlly Custom Operation to run” you’ll select the Zap you created in the step above and save your changes.
Step 3: Complete your Zapier setup
- Go to Zapier and create a new Zap.
- Choose AccessAlly as the trigger app and select AccessAlly Custom Operation from the dropdown. Select your AccessAlly account.
- Under setup trigger, type the AccessAlly Custom Operation ID in the box and click the refresh fields button
- Test the trigger and hit the continue button
- Choose app & event (example: Mailchimp)
- Action event – select what you want to do in Mailchimp (example: Add subscriber to a tag)
- Choose account – select your Mailchimp account
- Set up action – select your audience, select desired tag, select email address from the dropdown (make sure you do not have any text typed in the box other than what is in the dropdowns as any additional text typed in or around the dropdown item may prevent the zap from working)
- Refresh fields and test this action.
- Once successful turn your new zap on
Refreshing Webhooks
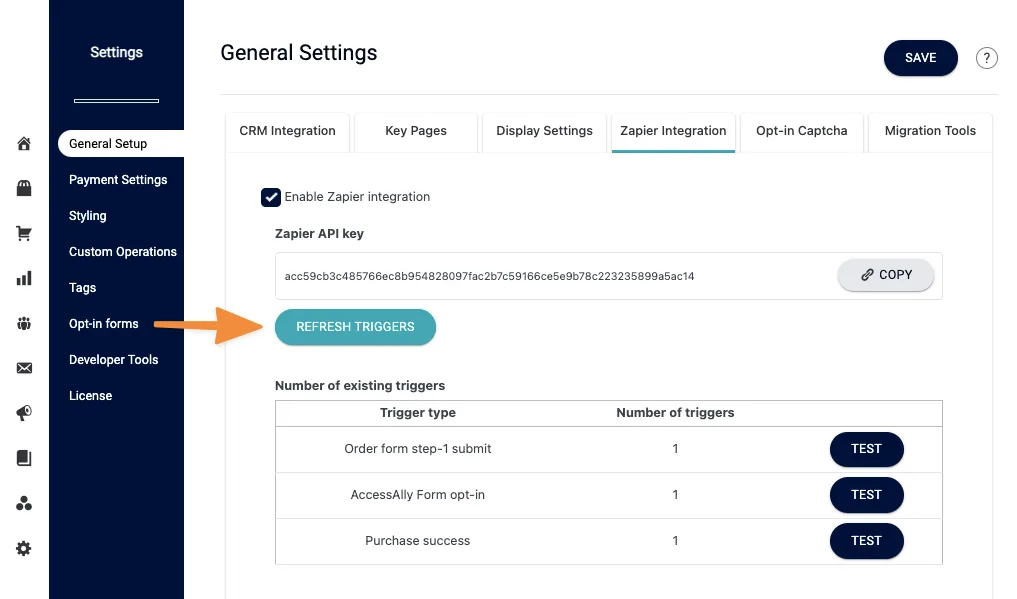
Inside AccessAlly you’ll see a list of your successfully created zaps. Make sure your zaps are turned on in Zapier.
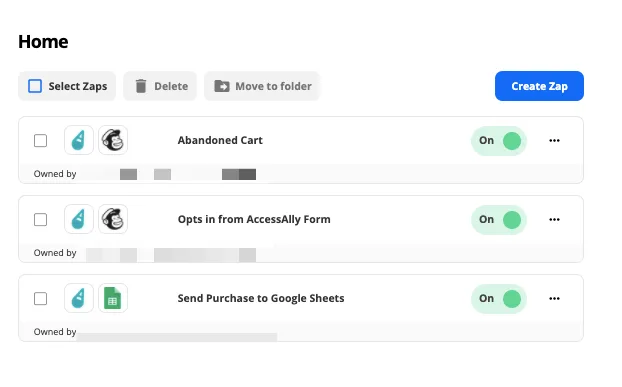
To view your zaps in AccessAlly go to AccessAlly > Settings > General Settings > Zapier Integration and click the refresh webhooks button.