The Offering Icon shortcode allows you to customize and place an Offering Icon anywhere you’d like on your site.
ARTICLE CONTENT:
Example Locations for Offering Icons
- Creating a Custom Icon Dashboard
- Adding Offering Icons to pages inside other Offerings
- Creating pages that show programs clients have or do not have access to
Creating Offering Icons
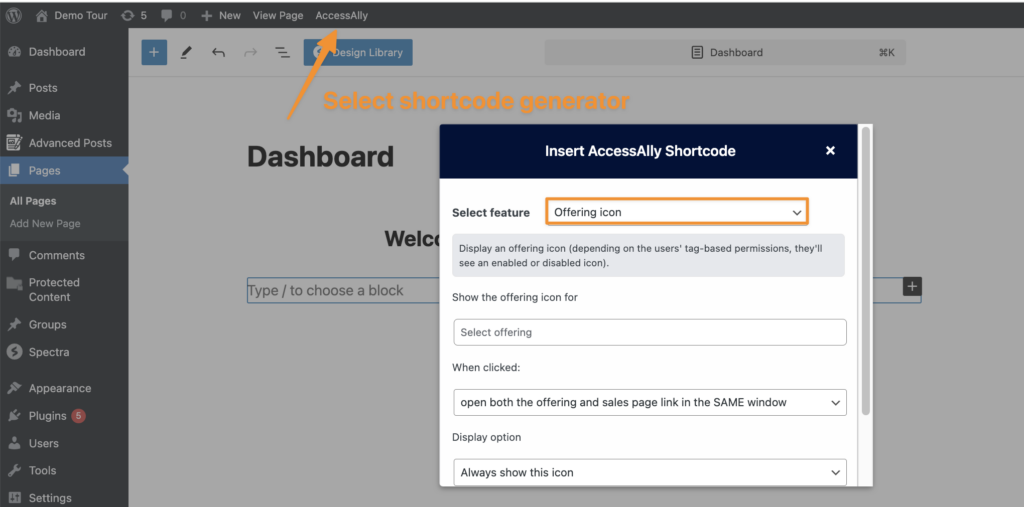
If you’d like to create these quickly, with no coding required, use the AccessAlly Shortcode Generator.
Select Offering Icon from the Dropdown
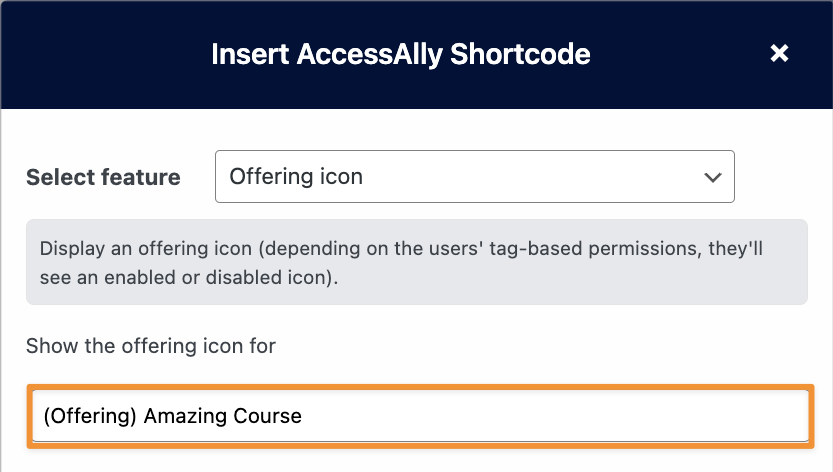
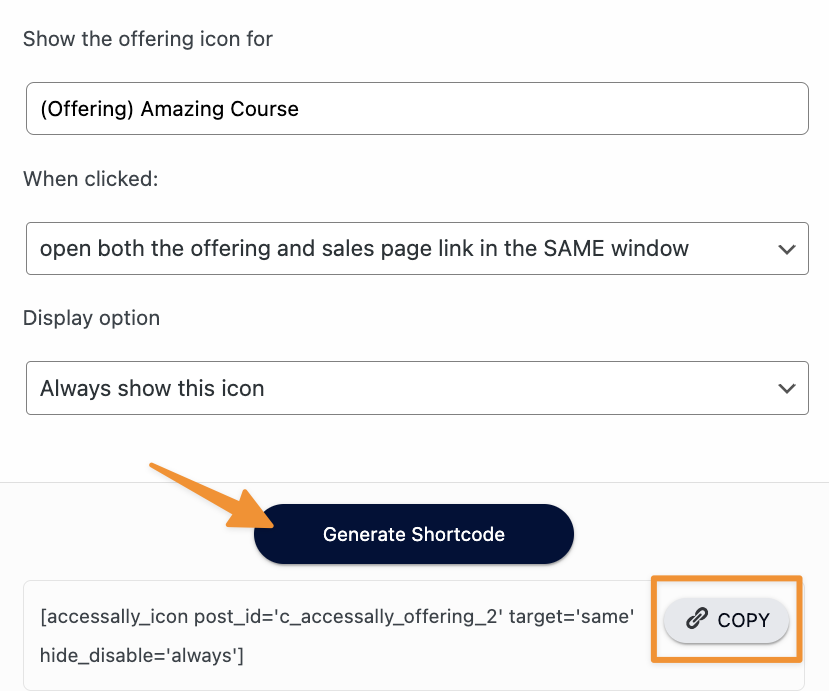
Show the Offering Icon for
In this section select any page on your site, this can be an Offering or a single page on your site whatever you’d like to create an icon for.
When Clicked
In this section, you’ll determine what happens when someone clicks on the icon.
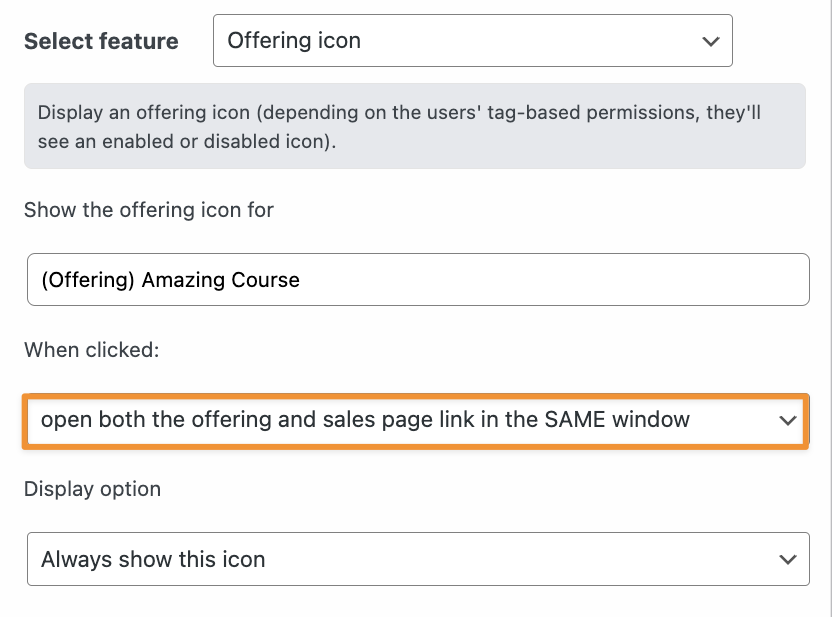
Your available options in the “when clicked” dropdown are:
- open both the offering & sales page link in SAME window
- client has access (opens the page)
- client does not have access (opens the page you have set for users that do not have access in AccessAlly Permissions for that page) this is most often a sales page, order form, or landing page.
- open both the offering & sales page link in a NEW window
- client with access will have a new window open to that page
- client without access will have a new window open to the page you have set for users that do not have access – this is most often a sales page, order form, or landing page.
- Only open the sales page link in a new window
- Clients with access will see page in current window
- Clients without access will see new window to your sales page, order form, or landing page.
Display Option
In this section you’ll select what icons will be visible based on access.
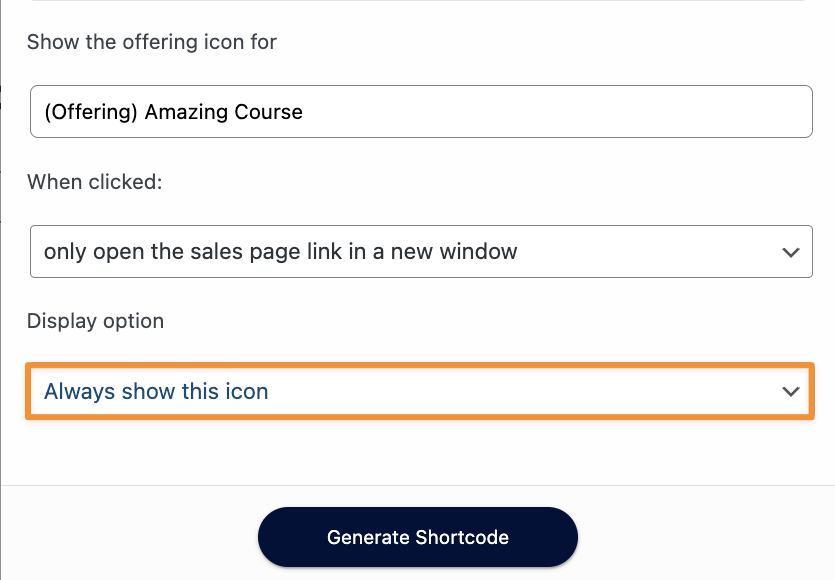
Here are your options:
- Always show this icon – the icon will always appear if they have access, do not have access, or have completed this Offering. This is the default AccessAlly icon state most often used.
- Show this icon if a user has access, hide it otherwise – this icon will appear only for users that have access to this Offering. Users without access will not see it.
- Only show this icon if a user does NOT have access – this icon will only appear for users that do not have this Offering.
Generate Your Shortcode
After making your selections, click Generate Shortcode. Copy the shortcode and paste on any page on your site.
Testing Your Offering Icon
We recommend the User Switching plugin. You can test the view that different users have to ensure your shortcode is displaying in the way you’d like based on users that have or do not have access to the page.
