Skill Level: All
In this article we’ll explore the Offering Content Tab in detail. This is a resource article to show you every part of the offering content tab and to show you how everything in this tab works.
There are many ways to use the content tab when creating offerings in AccessAlly. This is an overview article designed to show you everything in this tab so you’ll be familiar with these options when creating your offerings.
If you have questions about this article join a Tune Up call or contact support.
ARTICLE CONTENT:
The Content Tab
The Content tab is where you will create the pages that go with your offering.
Where is the Content Tab located?
AccessAlly > Offerings > Click on an Offering Icon > select the Content Tab (in blue sidebar.)
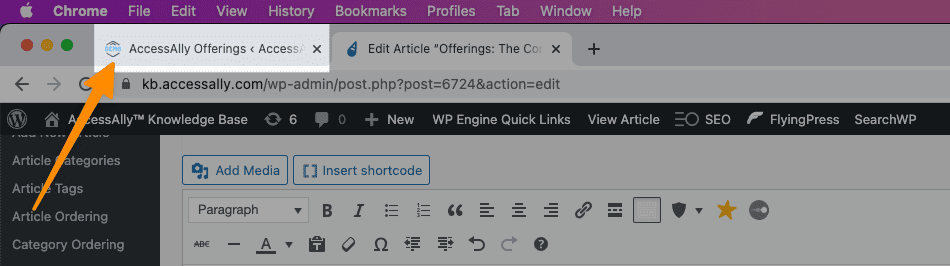
Quick Tip! Editing pages and forms in this article will open these in a new tab in your browser. Look for the AccessAlly Offerings tab to move back to the offering if you get stuck.
Public Pages Section
Pages created in this section are open to the public anyone with the link to the page can view it. Creating public pages is optional. These pages are not controlled by AccessAlly, but can be useful if you want everything for this offering in one place.
Ideas for Using Public Pages
- Create a sales page to use for marketing your offering to your list.
- Create an application page for a high ticket offer.
- Create a public facing directory to showcase businesses.
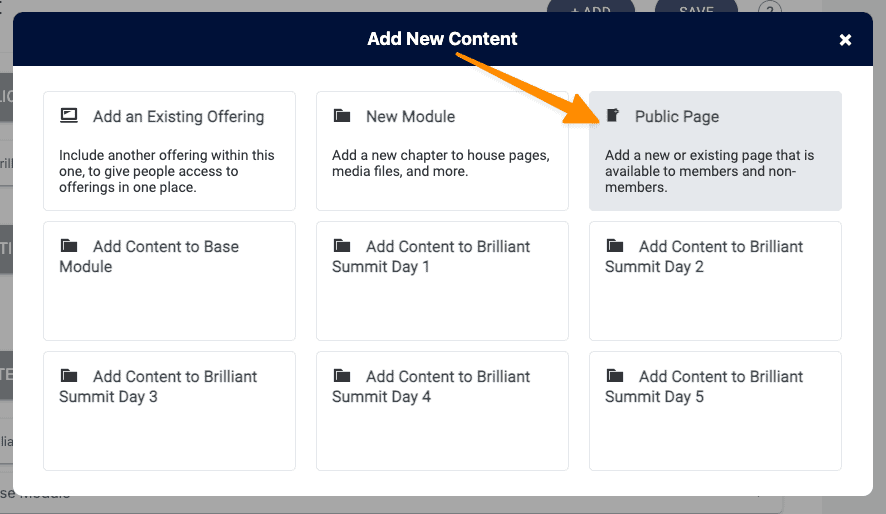
How to Add a Public Page
Click “+ ADD” in the top corner to add a public page.
Name the public page. The name you choose will be part of the page URL link in the browser.
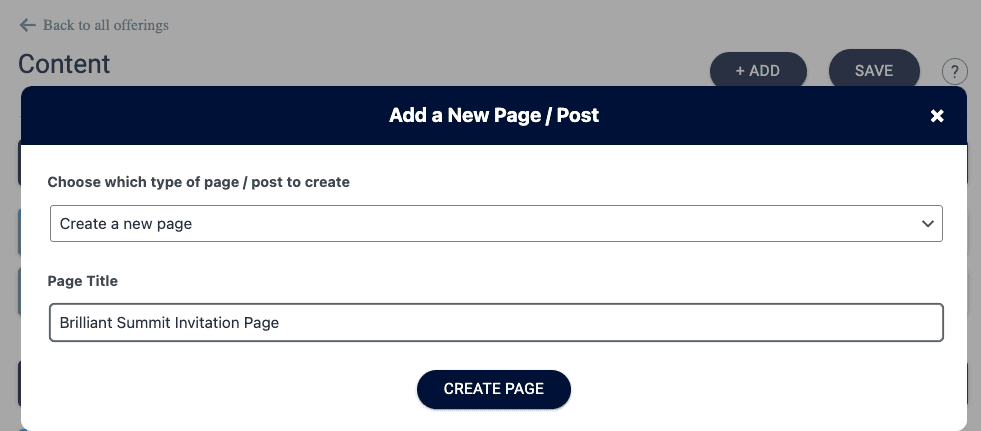
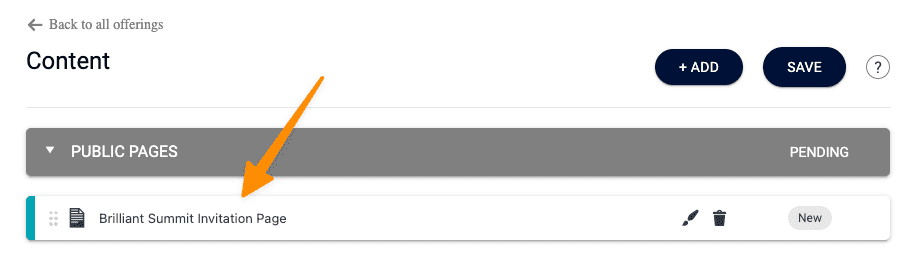
The public page is in pending (New) mode. Click the “SAVE” button to add this page to your offering.
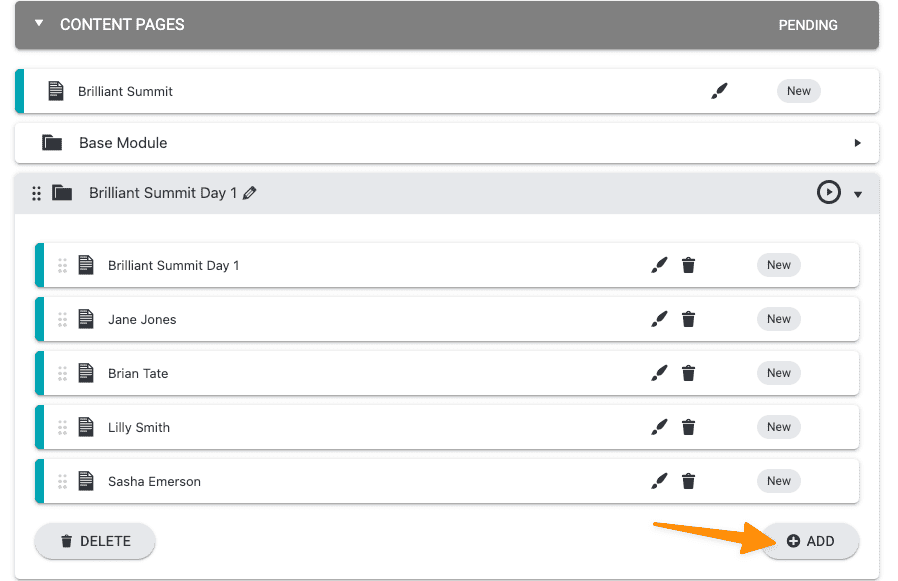
How to Edit a Public Page
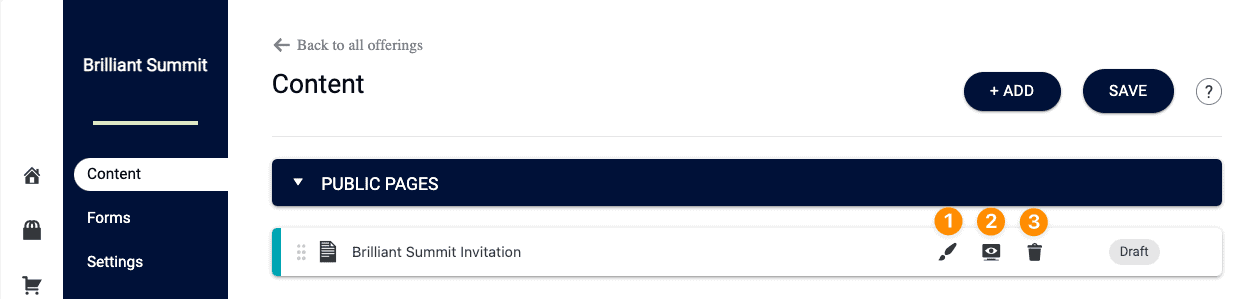
After you have saved a public page to your offering the status changes to Draft and three icons will appear.
- Brush icon to edit the page, add content to the page, and publish the page
- View icon to see what this page looks like and to grab the link to this page if you need to use the URL for buttons or in your marketing emails.
- Delete icon if you want to remove the page from this offering.
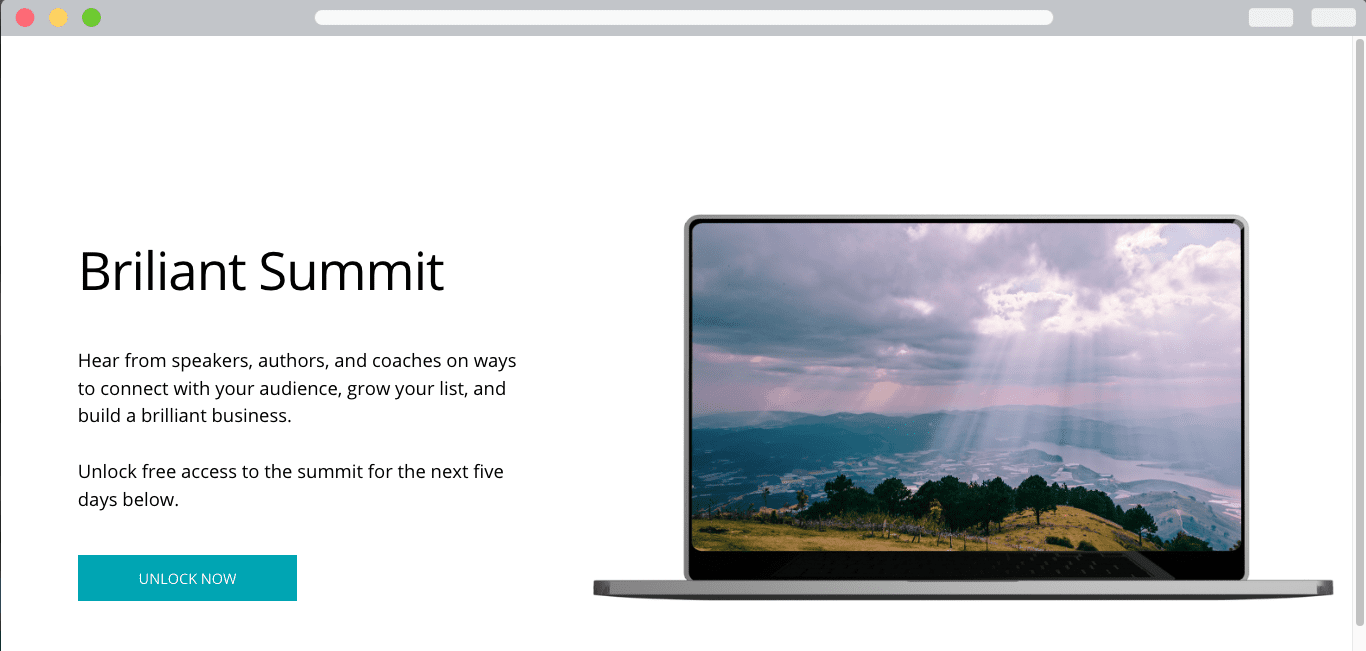
How to Design a Public Page
Clicking the brush icon opens the page in WordPress. This page opens in a new tab in your internet browser. You can get back to the Content Tab by clicking the tab in your browser that says AccessAlly Offerings.
You build the design look and feel of this public page using your WordPress theme and/or page builder. If you are using the AccessAlly Theme choose the “page without sidebar” template.
Always reach out to your theme or page builder company if you would like advice on designing page layouts.
Additional Offerings Section
This step is optional. Additional offerings allow you to add other offerings you’ve already created in AccessAlly to this offering. This works great for adding a bonus offering to a course!
How to Add an Additional Offering
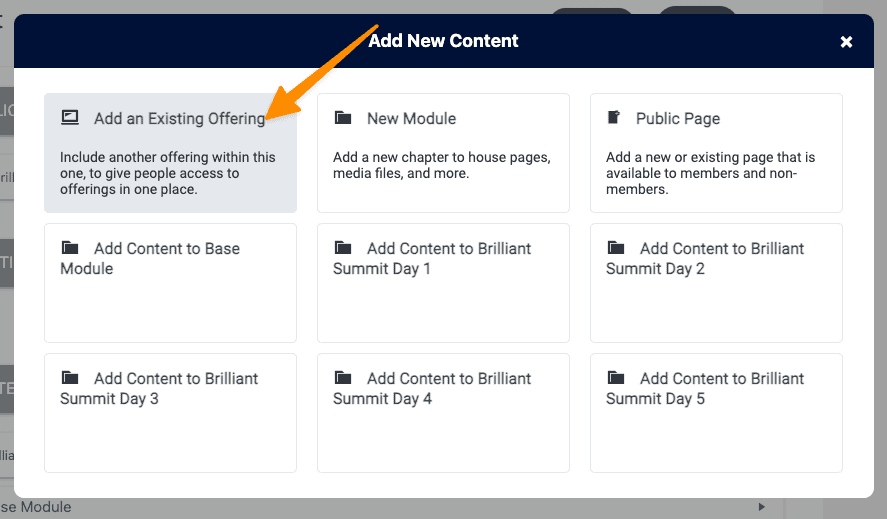
Click “+ADD” at the top of the Content Tab. Select the Add an Existing Offering option.
Select the offering you would like to add in the dropdown.
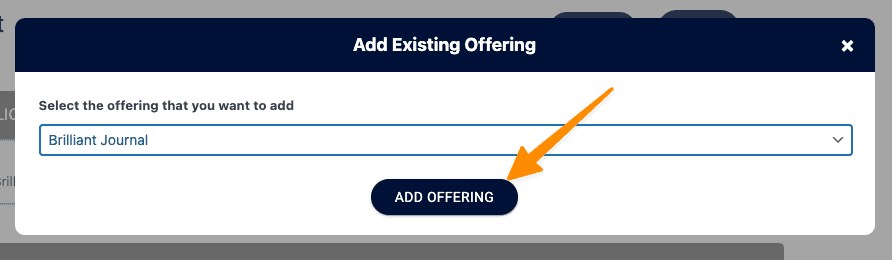
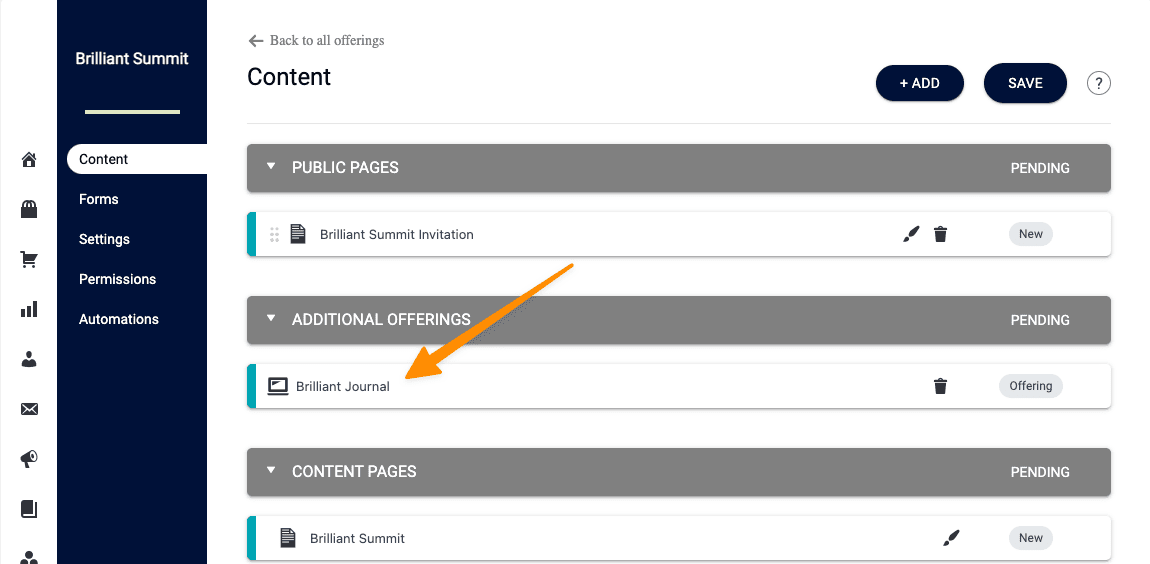
The offering appears in the Additional Offerings section. Click the “SAVE” button to save this new addition.
How a User Experiences an Additional Offering
As participants join the offering they see both the offering and the additional offering as unlocked on the dashboard page of your site. If this is a dripped content offering it will also be dripped when added as an additional offering.
- The Initial Offering purchased is displayed
- The Additional Offering is also displayed

Content Pages Section
This is where you create pages for your offering to add your content to. The pages in this section are locked down by tags in AccessAlly.
All pages in a new offering will show as pending New and can not be edited until you save the offering. It’s a good idea to review the pages before hitting save so you have everything named and created as you would like.
Here are the items within this section.
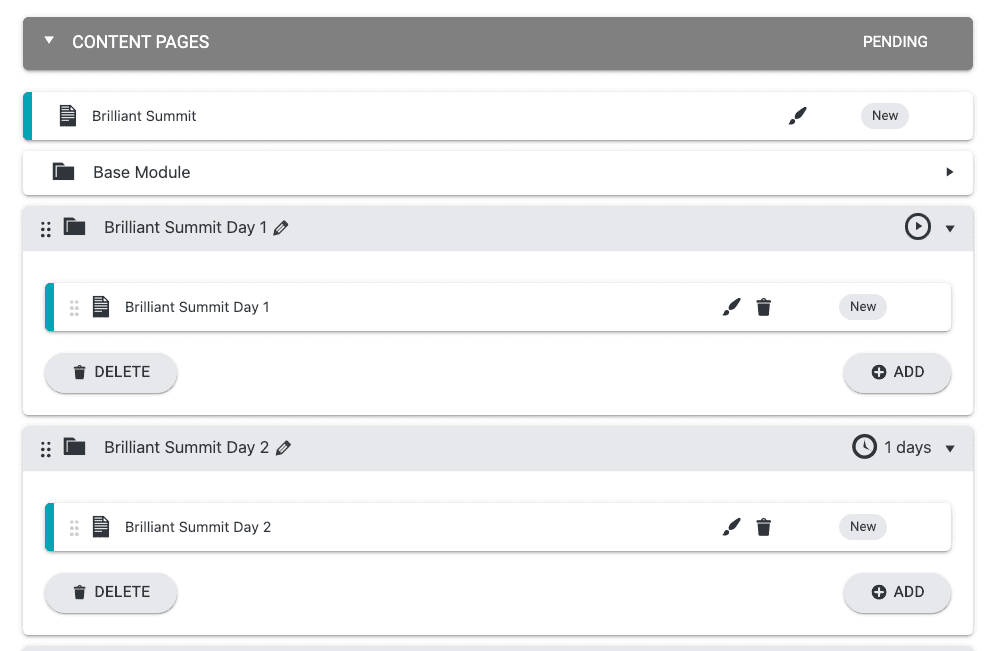
The first page in the content pages section is the offering welcome page. This page is used to share what the experience will be like for your participants. You will find this page at the top of the content pages section right above the Base Module. This page is released using the Base Access tag.

Important technical detail: This page must be used and published (not deleted or left in draft mode.) If you do not publish this page the your participants can not see the offering.
You can add content to this page by clicking the brush icon. Content is added to this page using your WordPress theme and/or page builder.
For more details and real examples of offering welcome pages visit this article.
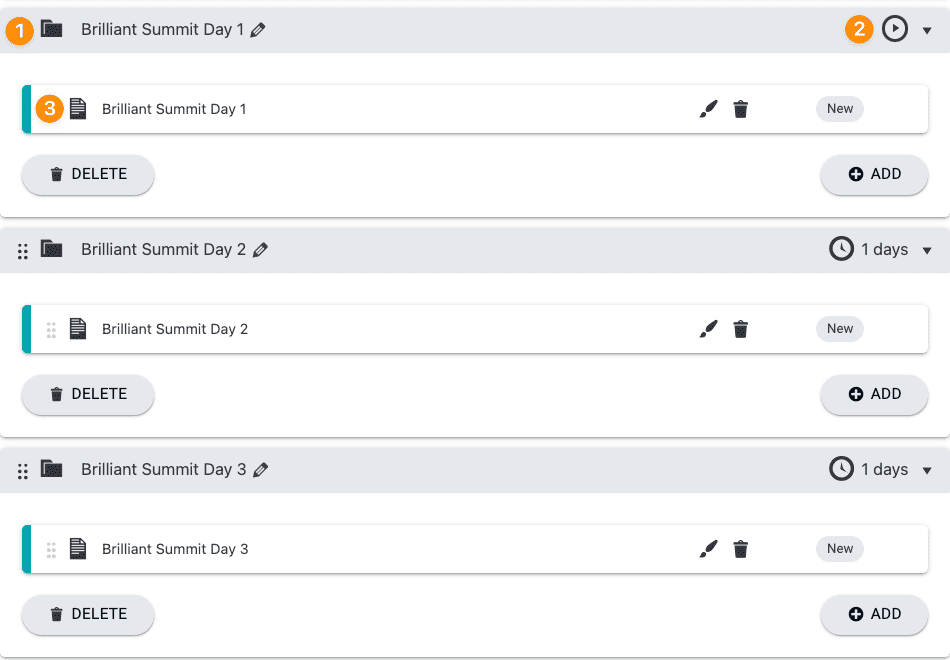
If the offering has dripped content you will see module pages. You can rename and edit these here BEFORE saving the offering. You can also add or remove modules pages to get the right set up for your program.
- Module: Click pencil icon to edit. Your module tag names are created in this section. Keep the module names short as long tag names are hard on the eyes for you and your team!
- Release: Click the timer to edit when this content is released.
- Page: Click brush icon to edit. Your page name (URL) is created in this section. keep these names short as this will appear in your course menu as the page name for each item.
If you would like to have module and lesson pages here’s how you can create this workflow.
Option 2: Create a new page for each lesson.
- Go to the Module and open the dropdown.
- Click “+ADD” and add a new page for each lesson in the module.
- Rinse and repeat steps 1 and 2 for the remaining modules of your offering.