Setting up a paid course requires prep work to create a campaign flow that processes purchases and automatically applies tags for course access.
The standard online sale flow:
Sales Page > Order Form > Thank You Page > Confirmation Email/Course Access
ARTICLE CONTENT:
Step 1: Set Up Your Course Content
Create your complete course before setting up CRM automation in Keap.
Use the AccessAlly Offering Wizard to automatically create the necessary permission tags for automation setup.
Step 2: Create Your Product / Order Form
Now, create your product/offer duo inside AccessAlly. Please follow the directions carefully in our Guide To Ecommerce Setup here.
Keap users may choose to integrate AccessAlly with Keap products and order forms. If this is the case, click on the toggle for a refresher on how to create products in Infusionsoft:
This is the page the user will be redirected to after purchasing your course. Add a welcoming message and any necessary directions, such as “check your inbox for your login information” or any other relevant information. Once this page is finished, hit “publish.”
Part 1: Create a Product in Infusionsoft
To do this, log into your Infusionsoft account set up the product that you’ll be selling:
Select Add Product, then fill out any pertinent information.
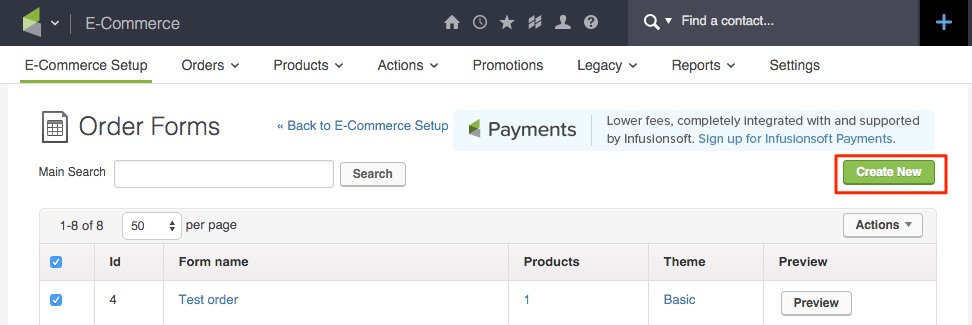
Next, create an order form in Infusionsoft (E-Commerce Setup > Order Form > Add New). This will be used as an entry goal in your campaign process.
Your order form should include:
- Price
- Name of product
- Header image
- Product image (optional)
- Product description in order form (optional)
- Link to terms & conditions (optional)
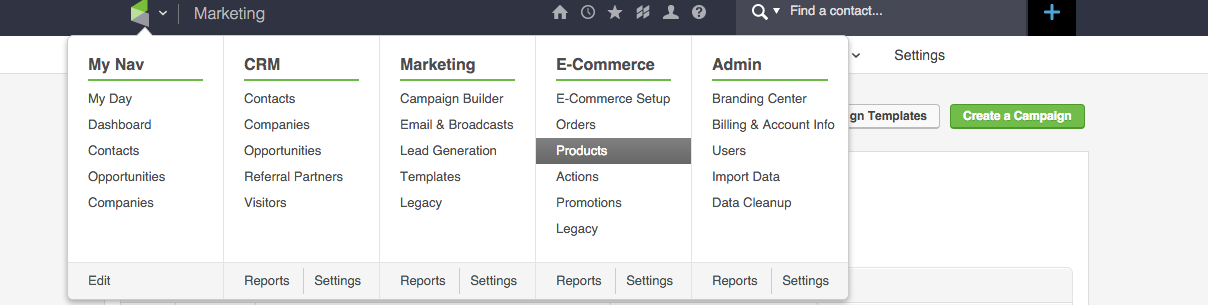
Part 2: Create an Infusionsoft Order Form
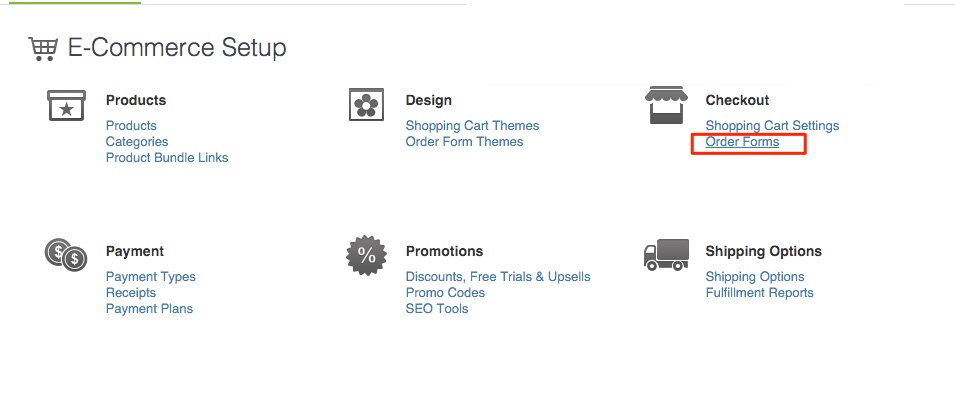
Go to E-Commerce in the main dropdown menu to locate the E-Commerce setup > Checkout > Order Forms.
Then, hit “create new.”
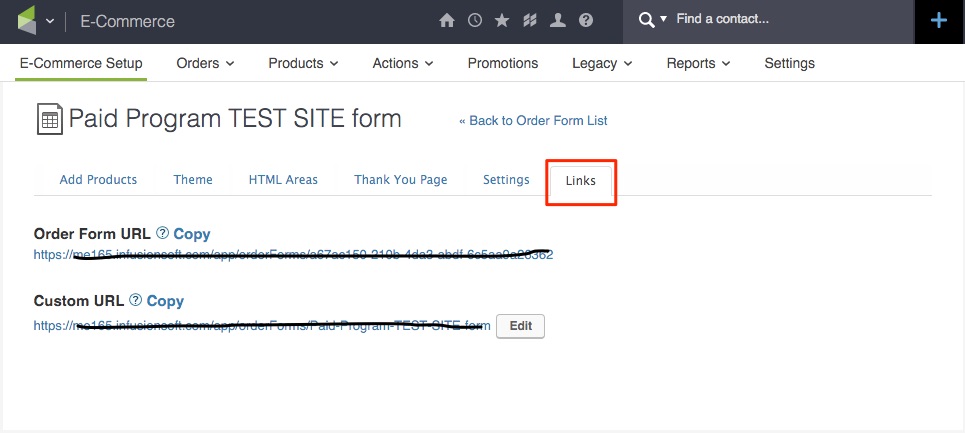
Add the product that you created in Step 3, then go to the “Thank You Page” tab to designate the URL of the WordPress thank you page you created in Step 2.

Lastly, go to the LINKS tab to retrieve the unique URL associated with this purchase form.
On your product sales page (created in Step 1), you can link to this URL in any way you wish – whether through an simple text link, a button, or a linked product image.
Step 3: Create your Course Campaign
You’re now ready to create the course campaign for this product.
Go to the automation guide to learn how to integrate your paid course into the sales sequence.
