You can manually add tags or remove tags from users in your AccessAlly site from the WordPress User Profile area. Adding or removing tags from inside your AccessAlly site automatically syncs the changes to your CRM system no webhooks needed!
Need to add or remove tags in your CRM instead? See this article!
ARTICLE CONTENT:
How Tags Work
When a tag is added or removed in the AccessAlly Membership Information area, clicking Update will save this new information to AccessAlly and your CRM.
Please note that this is different than adding a tag to your user in your CRM, since that process requires you to manually sync/update the information with AccessAlly
Walkthrough
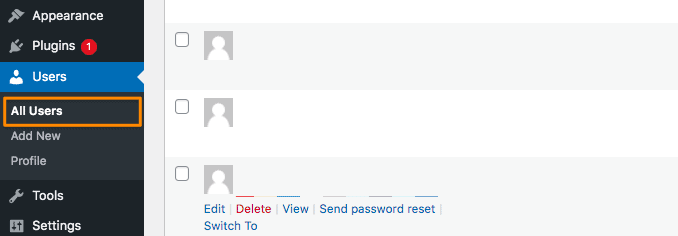
Go to Users > All Users from inside your AccessAlly site

Use the Search box to find the user by name or email address

Click Edit to edit the user

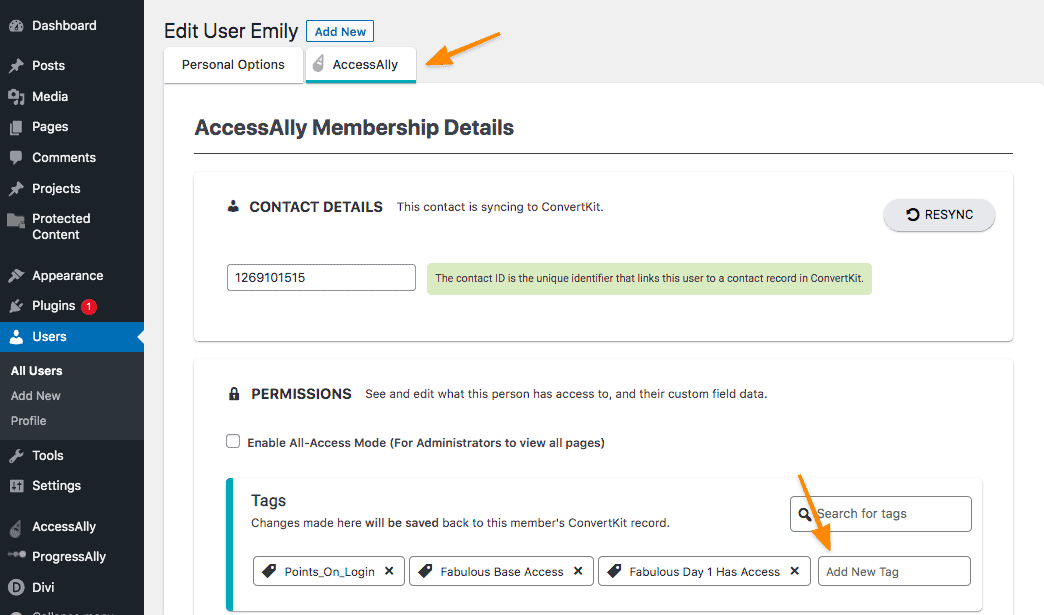
Click the AccessAlly tab, then locate the Add New Tags section under Permissions – it’s important to note that the user needs to be connected to the CRM in order for the tags to be stored in the CRM contact record for this user.

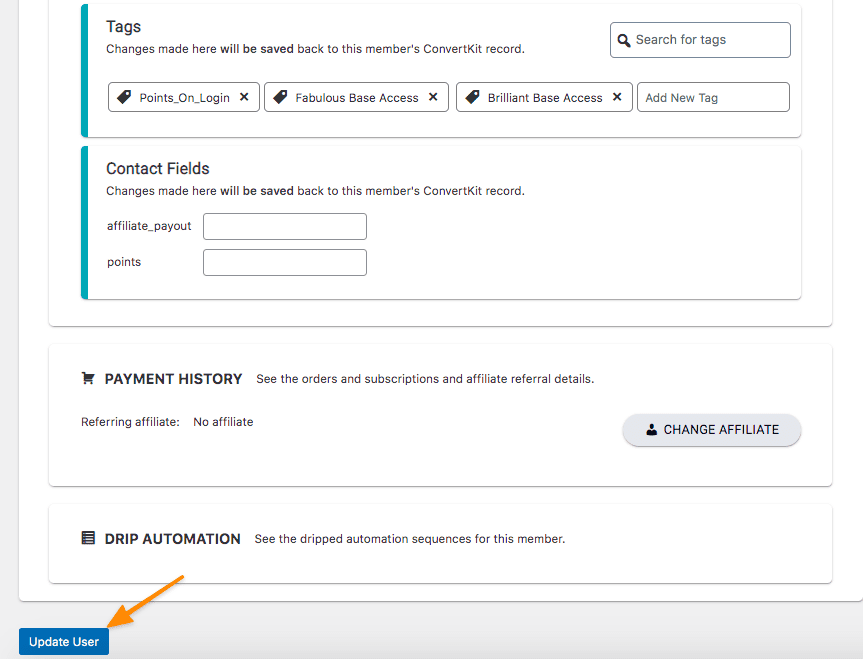
After adding and/or removing the desired tag(s) for this user, click the Update User button. Once the update has been saved tag(s) added here will also be synced and appear in the CRM for this contact.

Learn More
Find out more about LMS integrations.

