ARTICLE CONTENT:
What you’ll need
- A Member Directory created inside your AccessAlly site – Tutorial
- Guide to Using AccessAlly Shortcodes
- Images for badges or course icons
Inside this article, we’ll cover the basics of adding badges or course icons to your Member Directory. The guide linked above will give you more in-depth information on how AccessAlly shortcodes work if you’d like to do something more robust after learning the basics in this article.
Step 1: Adding Course Icons or Badges
You’ll need to add the images you’d like to use to your site to represent the courses or badges. For course icons, these are uploaded when creating any new course inside the AccessAlly Offering Wizard. For badges, it is recommended to use the AccessAlly Protected Content Feature.
Adding Course Icons – this is perfect for showing members that are a part of a course or courses on your directory.
![]()
Course icons are automatically added when you create a course in the AccessAlly Offerings Wizard so you’re all set for this step.
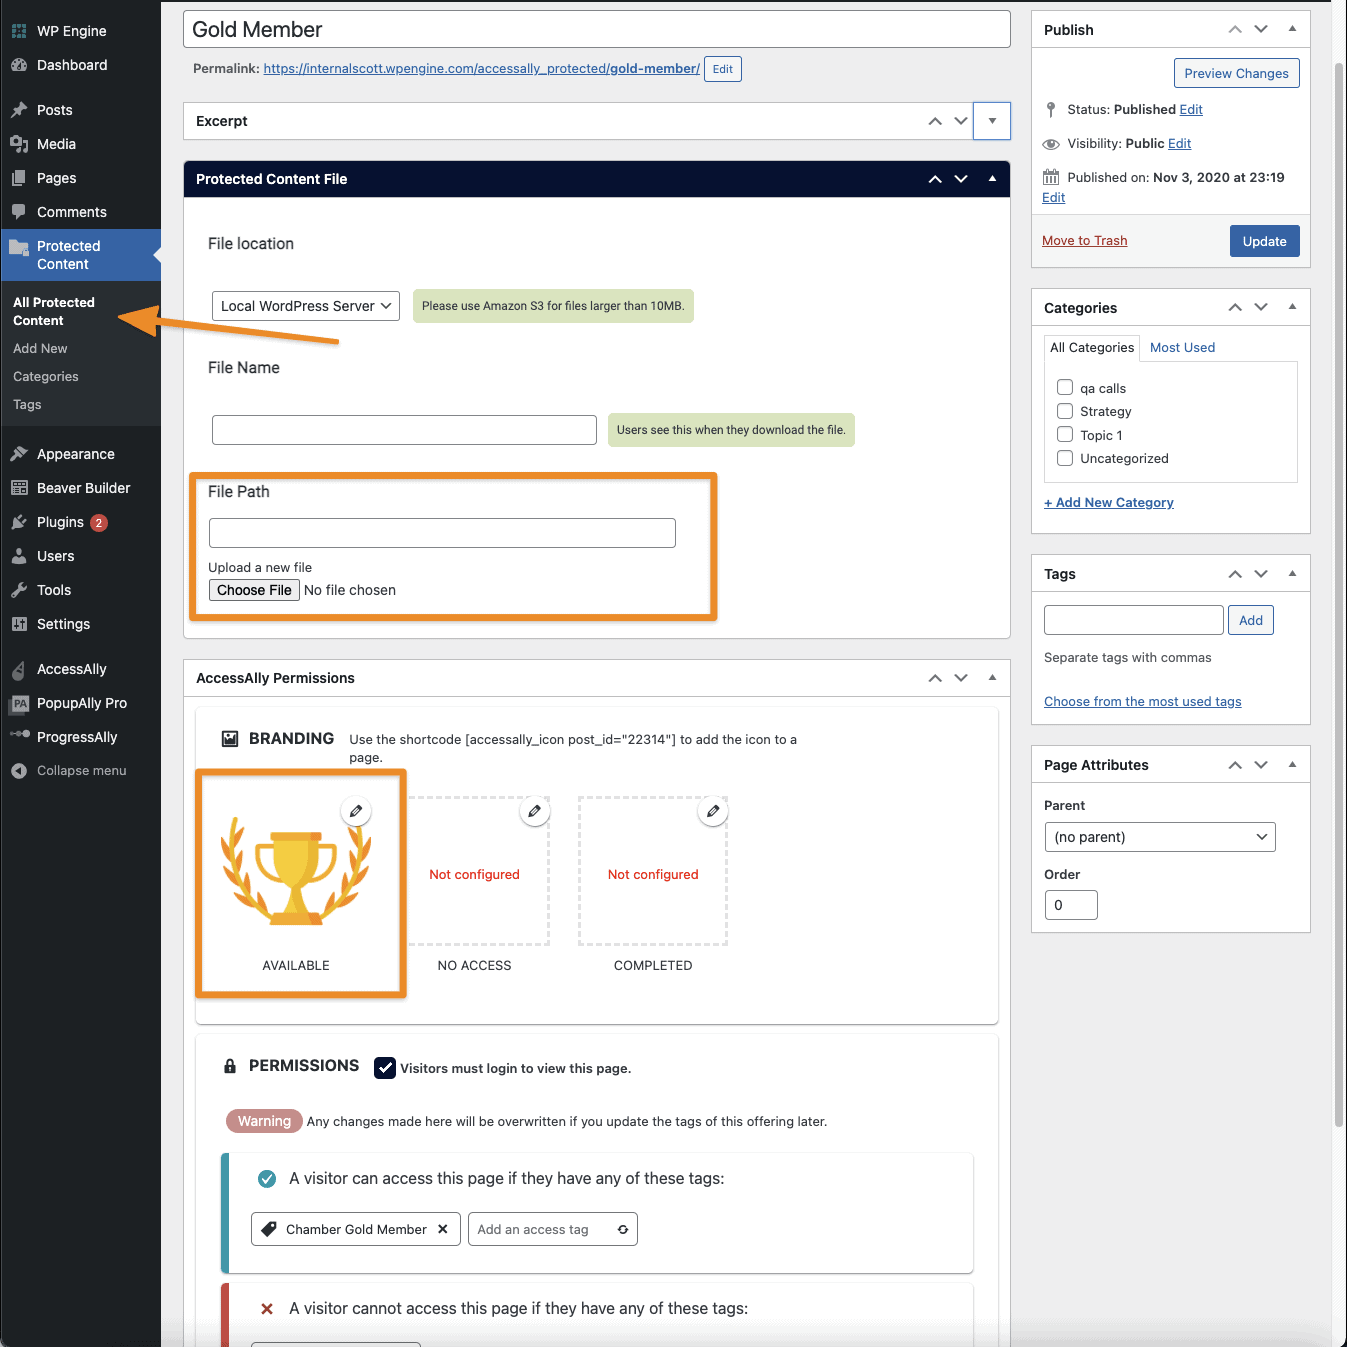
![]()
Example of a badge that’s displayed when a member reaches the gold level!
This allows you the option to add multiple images or badges that are displayed on your directory.
![]()
Here’s how to add your badges via Protected Content – it’s one piece of protected content per badge!
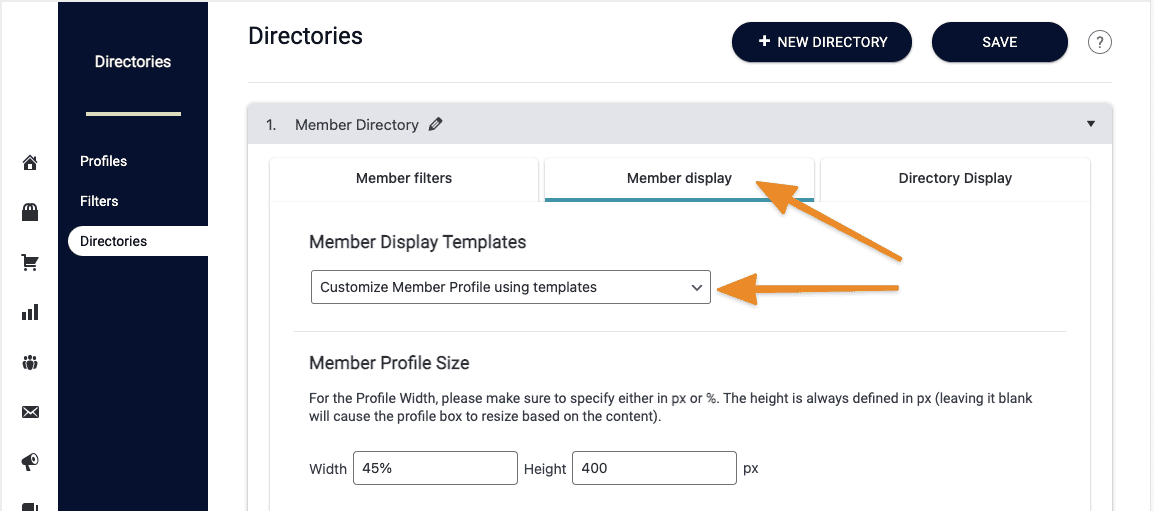
Part 2: Check your directory settings
Your directory needs to be set up using the Customize Member Profile using templates inside the Member Display Templates section under AccessAlly > Directories > Select the directory you are working with -> Member Display as shown in the screenshot below.
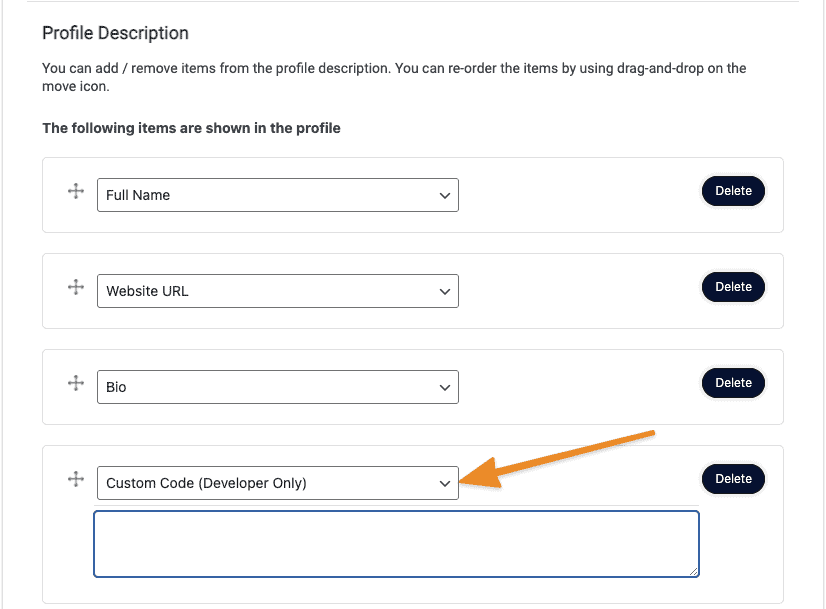
Part 3: Add a Custom Code (Developer Only) Block
Next, scroll to the Profile Description section and add a Custom Code (Developer Only) block to your Directory.
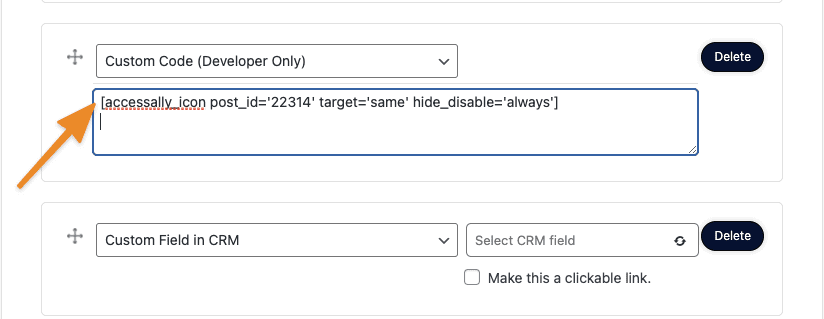
Now it’s time to enter the shortcode for the course icon(s) you’d like to display.
Quick Tip! Use the AccessAlly Shortcode Generator to grab the shortcodes for your Course Icons or Badges. This will work for Course Icons and the same option will pull your badges too!
![]()
Paste the shortcodes into the custom code block in the directory. Here’s what your custom code block will look like after pasting in the shortcodes.
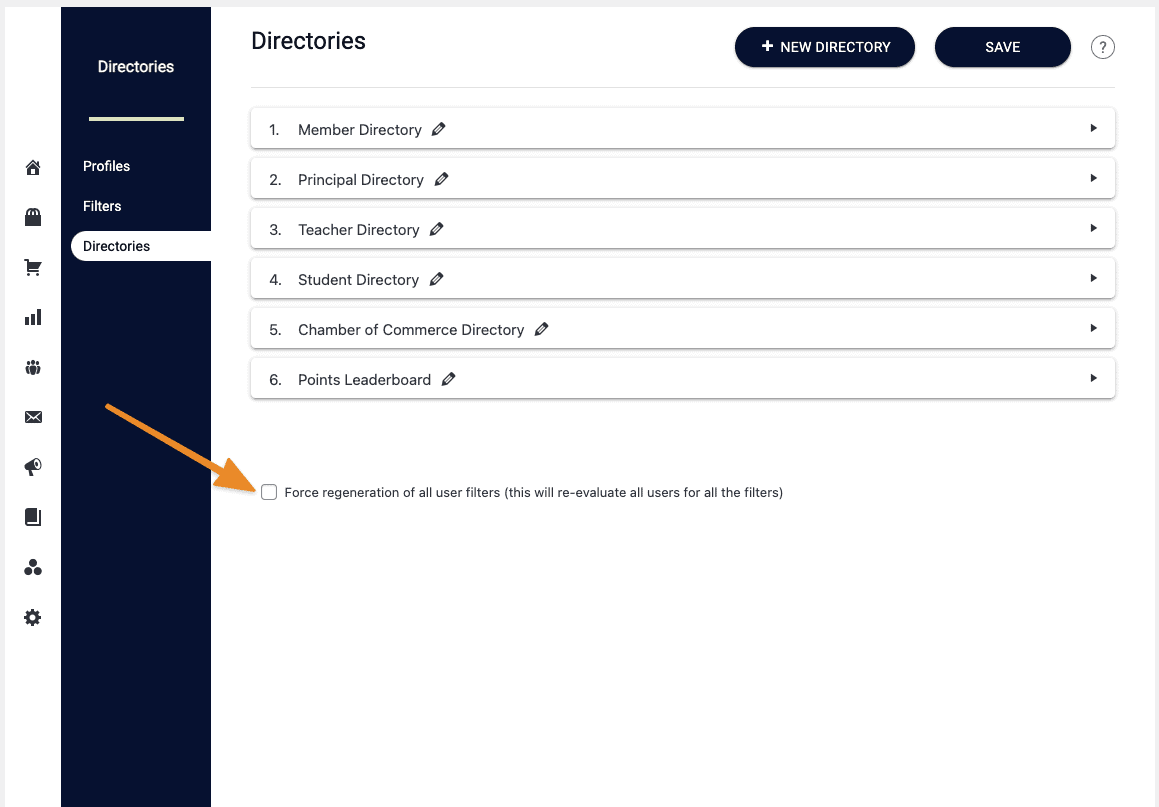
Part 4: Force Refresh your Member Directory
In order to see the icons appear inside your Member Directory, you’ll want to check the box “Force regeneration of all user filters (this will re-evaluate all users for all the filters)” at the bottom of the Directories page as shown in the screenshot below and then Save.
Part 5: Visit the Member Directory
Visit your member directory to see your course icons or badges!
