You can monitor course students with a directory by creating a user directory that gives you an at-a-glance view of each student and their current progress through course materials.
ARTICLE CONTENT:
Why Create a Directory
If you’re taking an active role in your students’ course experience, you might want to create a directory that includes the full course list of students, their names, and the progress that they’re making in the course content. This can open up new opportunities to connect with students who are struggling, and offer them the encouragement they need to keep moving forward.
Setup Tutorial
1. Create a Filter
First, we’ll create a filter so that only students in Course X will appear in the directory.
Go to AccessAlly > Directories > Filters.
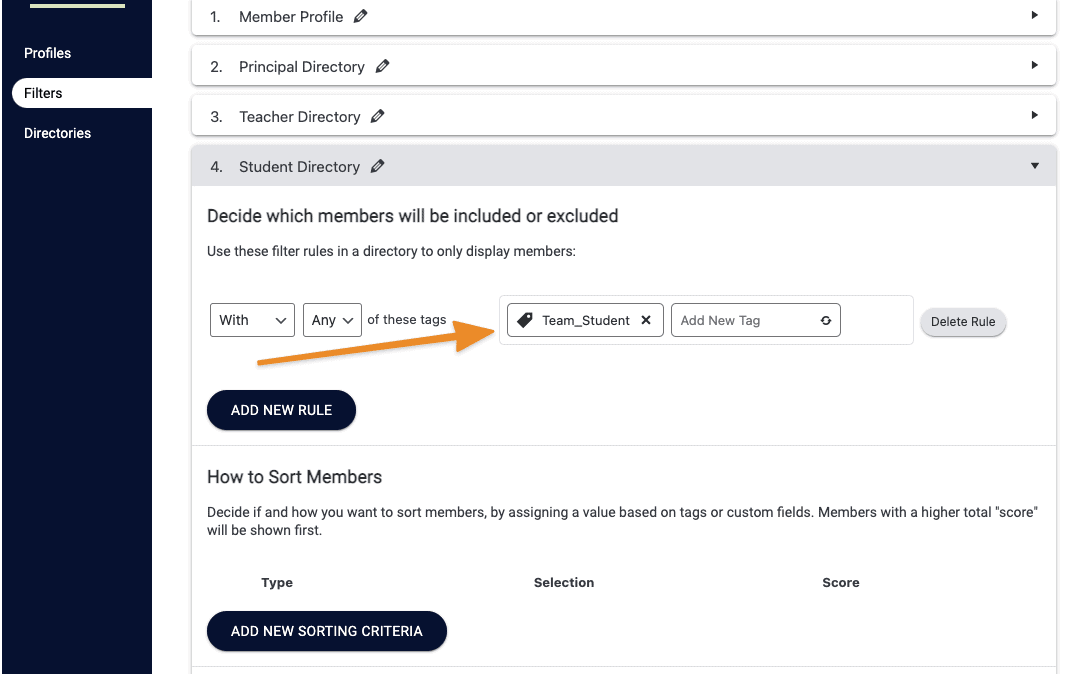
Create a new filter. Under the Filter Criteria section, choose the tag that’s applied to all course students.
2. Create a Directory
Next, go to the Directories tab. Here, click Add a New Directory.
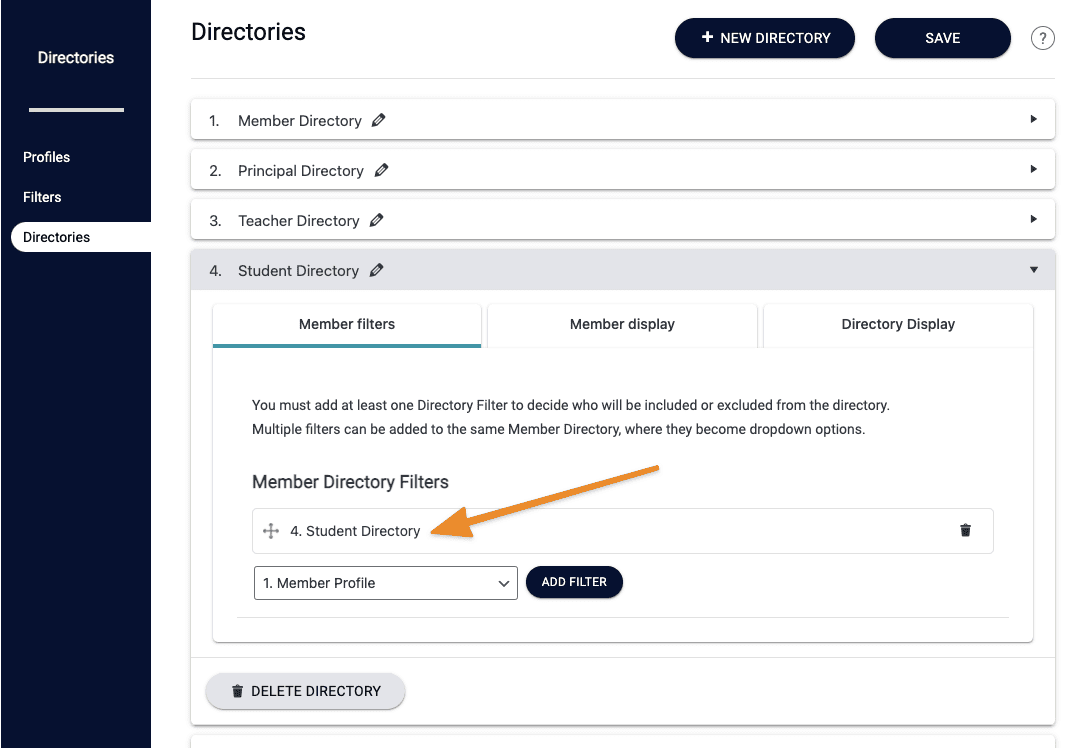
Under the Filters tab of the new directory, add the filter you created in Step 1.
Under the Member display tab, you’ll select the Customize Member Profile using templates option.
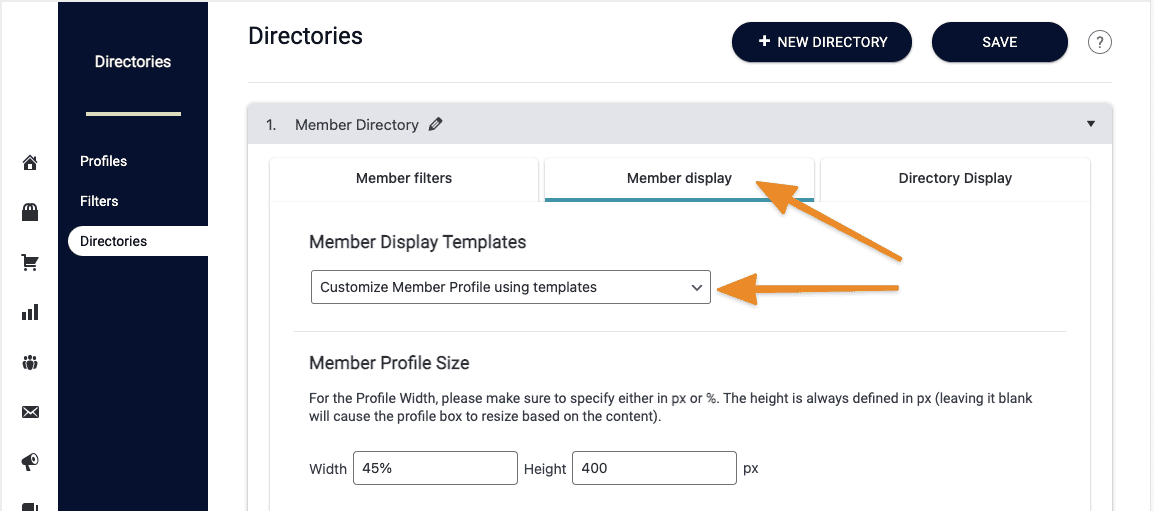
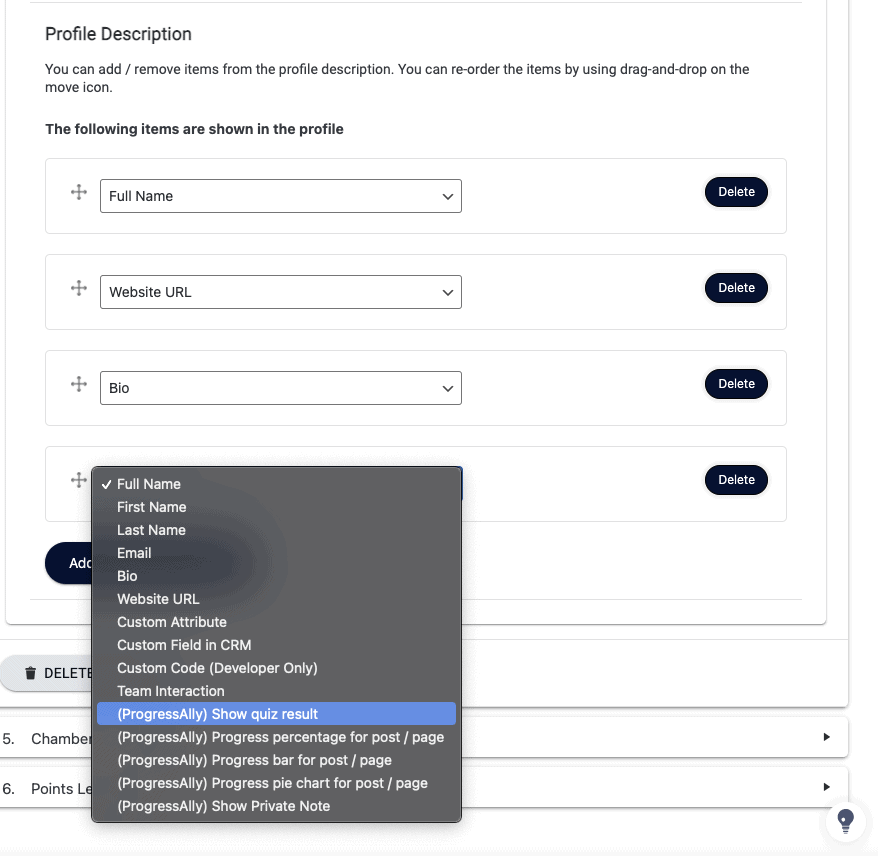
Once selected, scroll down to add whatever progress tracking elements you’d like to see for your course students.
Please note that your progress tracking elements must already be created and implemented on your site, since this part requires you to know what page you’d like to pull tracking information from.
3. Add User Directory to a Page
Now, create a page on your site. Make sure only you, as an admin, will have permission to view it (it may be helpful to create a “Site Admin” tag in your CRM and apply the tag to your admin login/user).
Use the shortcode adder to place the User Directory on this page, and click PUBLISH.
