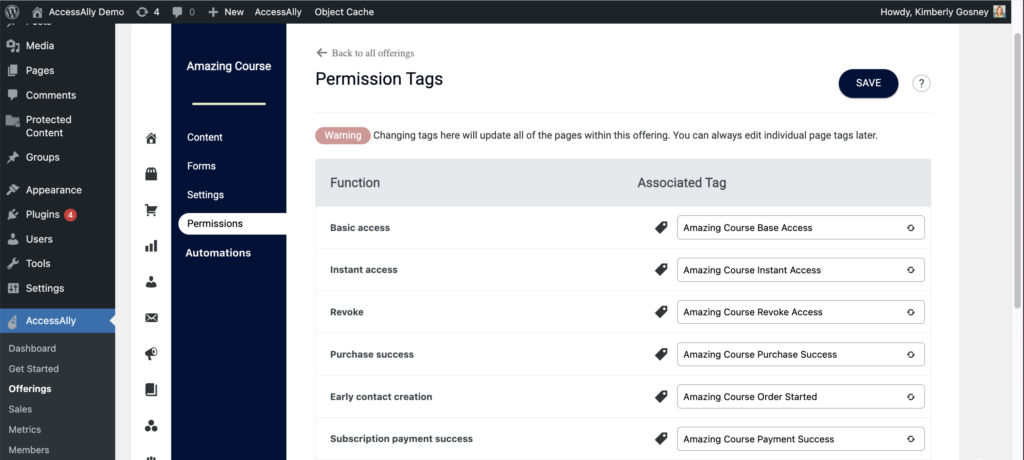
Once you’ve set your content in the AccessAlly Offering wizard, it’s time to head into ActiveCampaign to create an automation to go with it.
This automation is optional if you’re using AccessAlly’s order forms and drip automation, but it is a great way to control exactly when new content is released and to send emails at the same time. It’s also necessary if you are using a 3rd party shopping cart, like ThriveCart, SamCart, WooCommerce, etc.
Not using ActiveCampaign? Check out the other CRM automations here.
ARTICLE CONTENT:
ActiveCampaign Release Automation Steps
This workflow is used to automatically create users on the WordPress membership site and give access to the appropriate content when a customer signs up for your course.
1. Create a Welcome Sequence
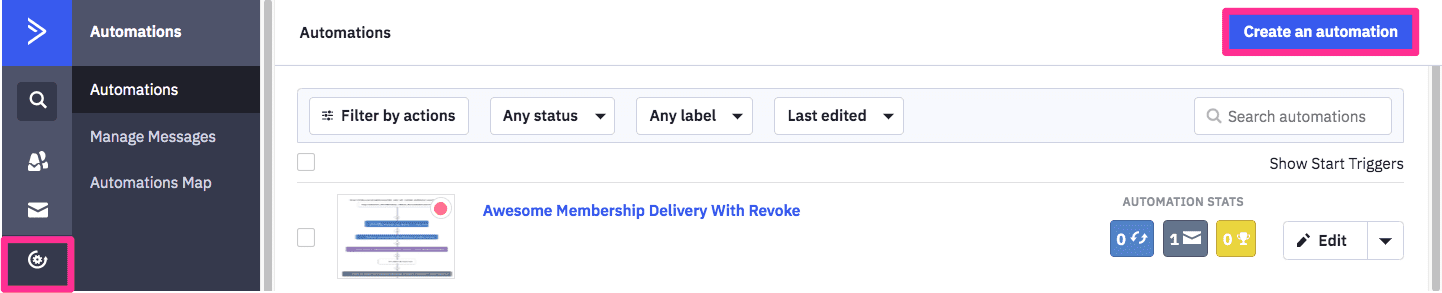
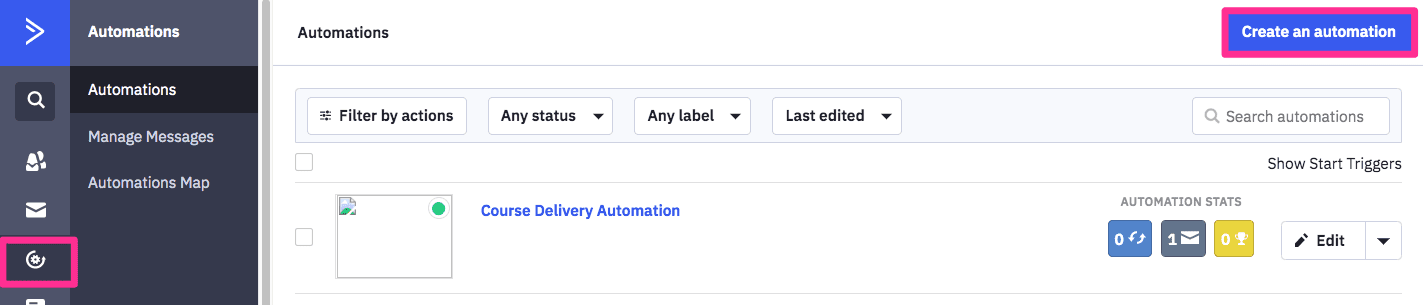
Go to Automations in the main navigation menu. Click on “Create an automation”.
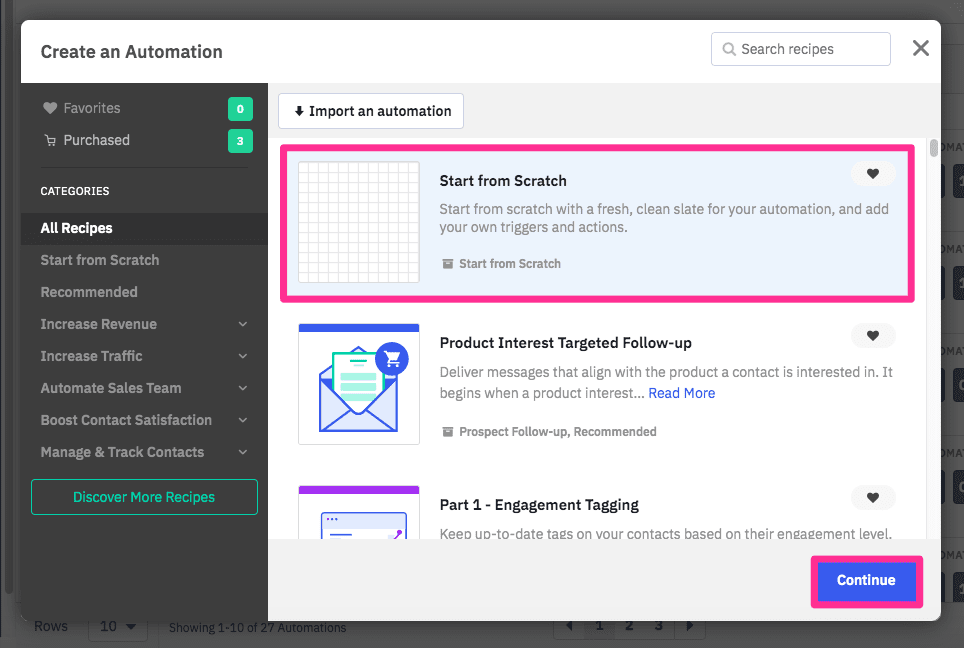
Choose “Start from Scratch”, and then click “Create”.
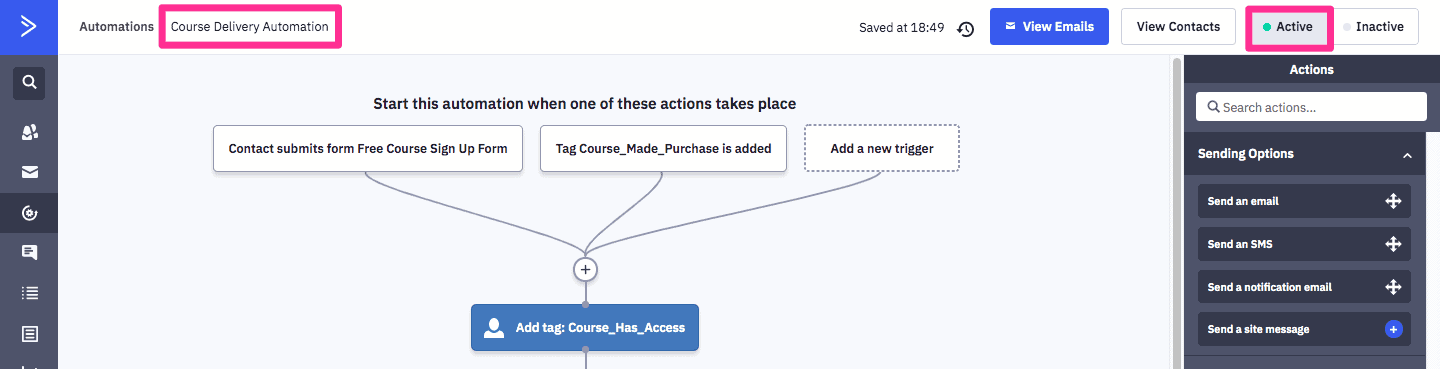
2. Select the Trigger for this automation
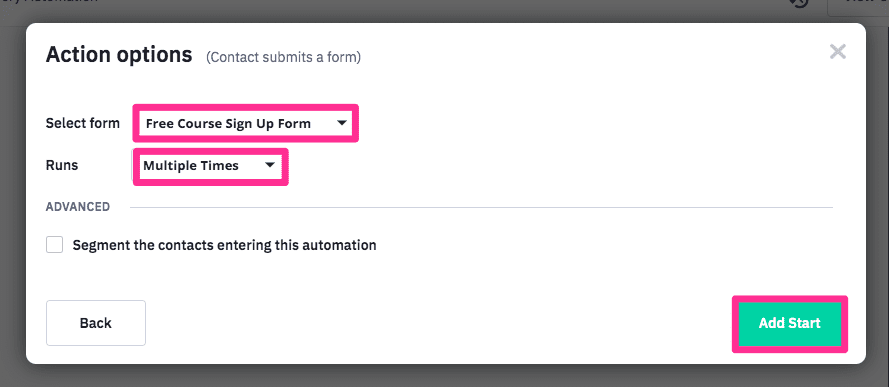
A free offering does not require payment and starts when a client signs up through a form.
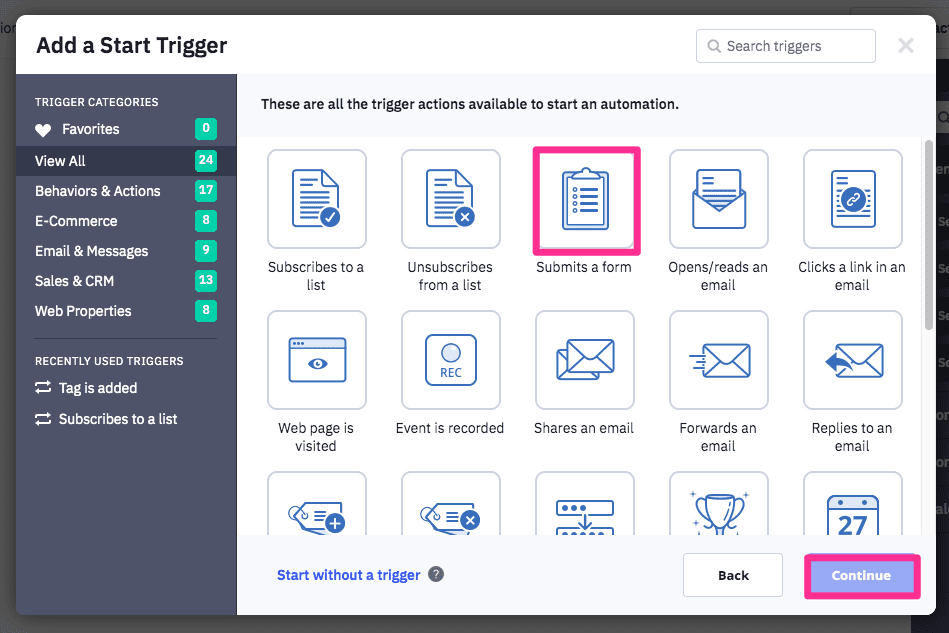
Select the form that will be used to collect the client information (name, email, etc). You can create a new form by going to “Forms” -> “New Form”.
A paid offering is only released on successful payment. Because the payment processing is handled external to ActiveCampaign, the payment processing platform needs to add a tag when the payment is successful.
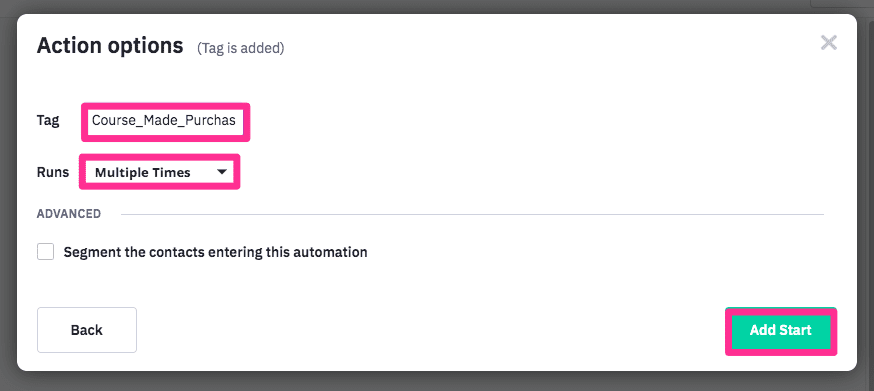
The trigger for the release sequence is when the tag is added.
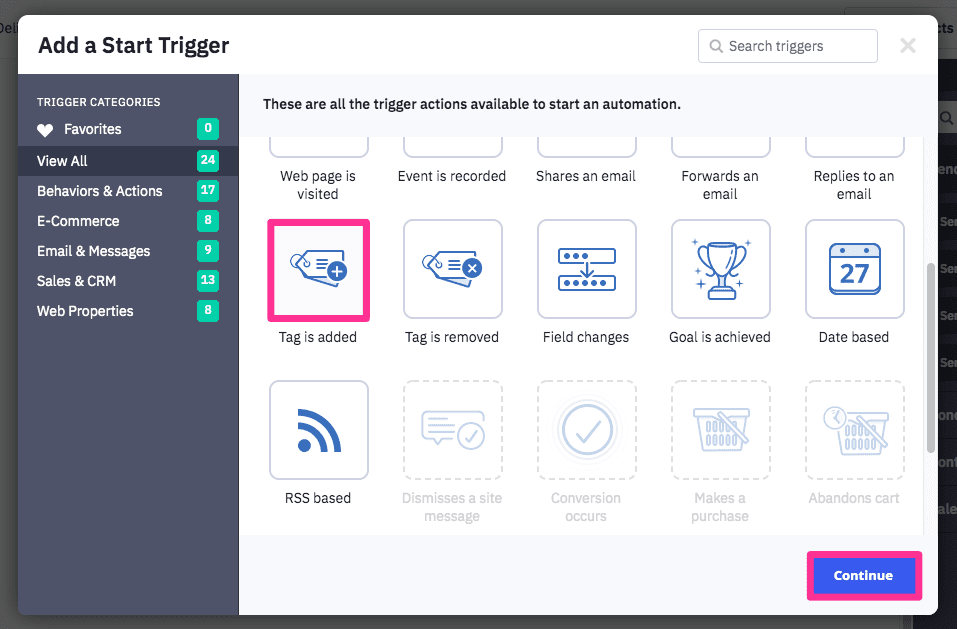
Select the tag Made Purchase tag that is added on successful payment.
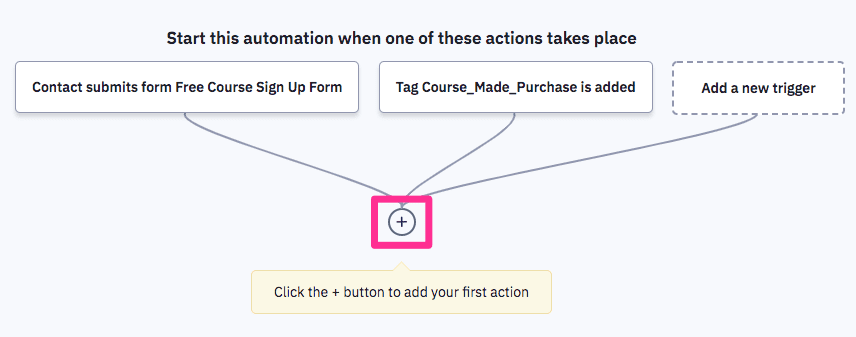
3. Run a Webhook to “Release Access”
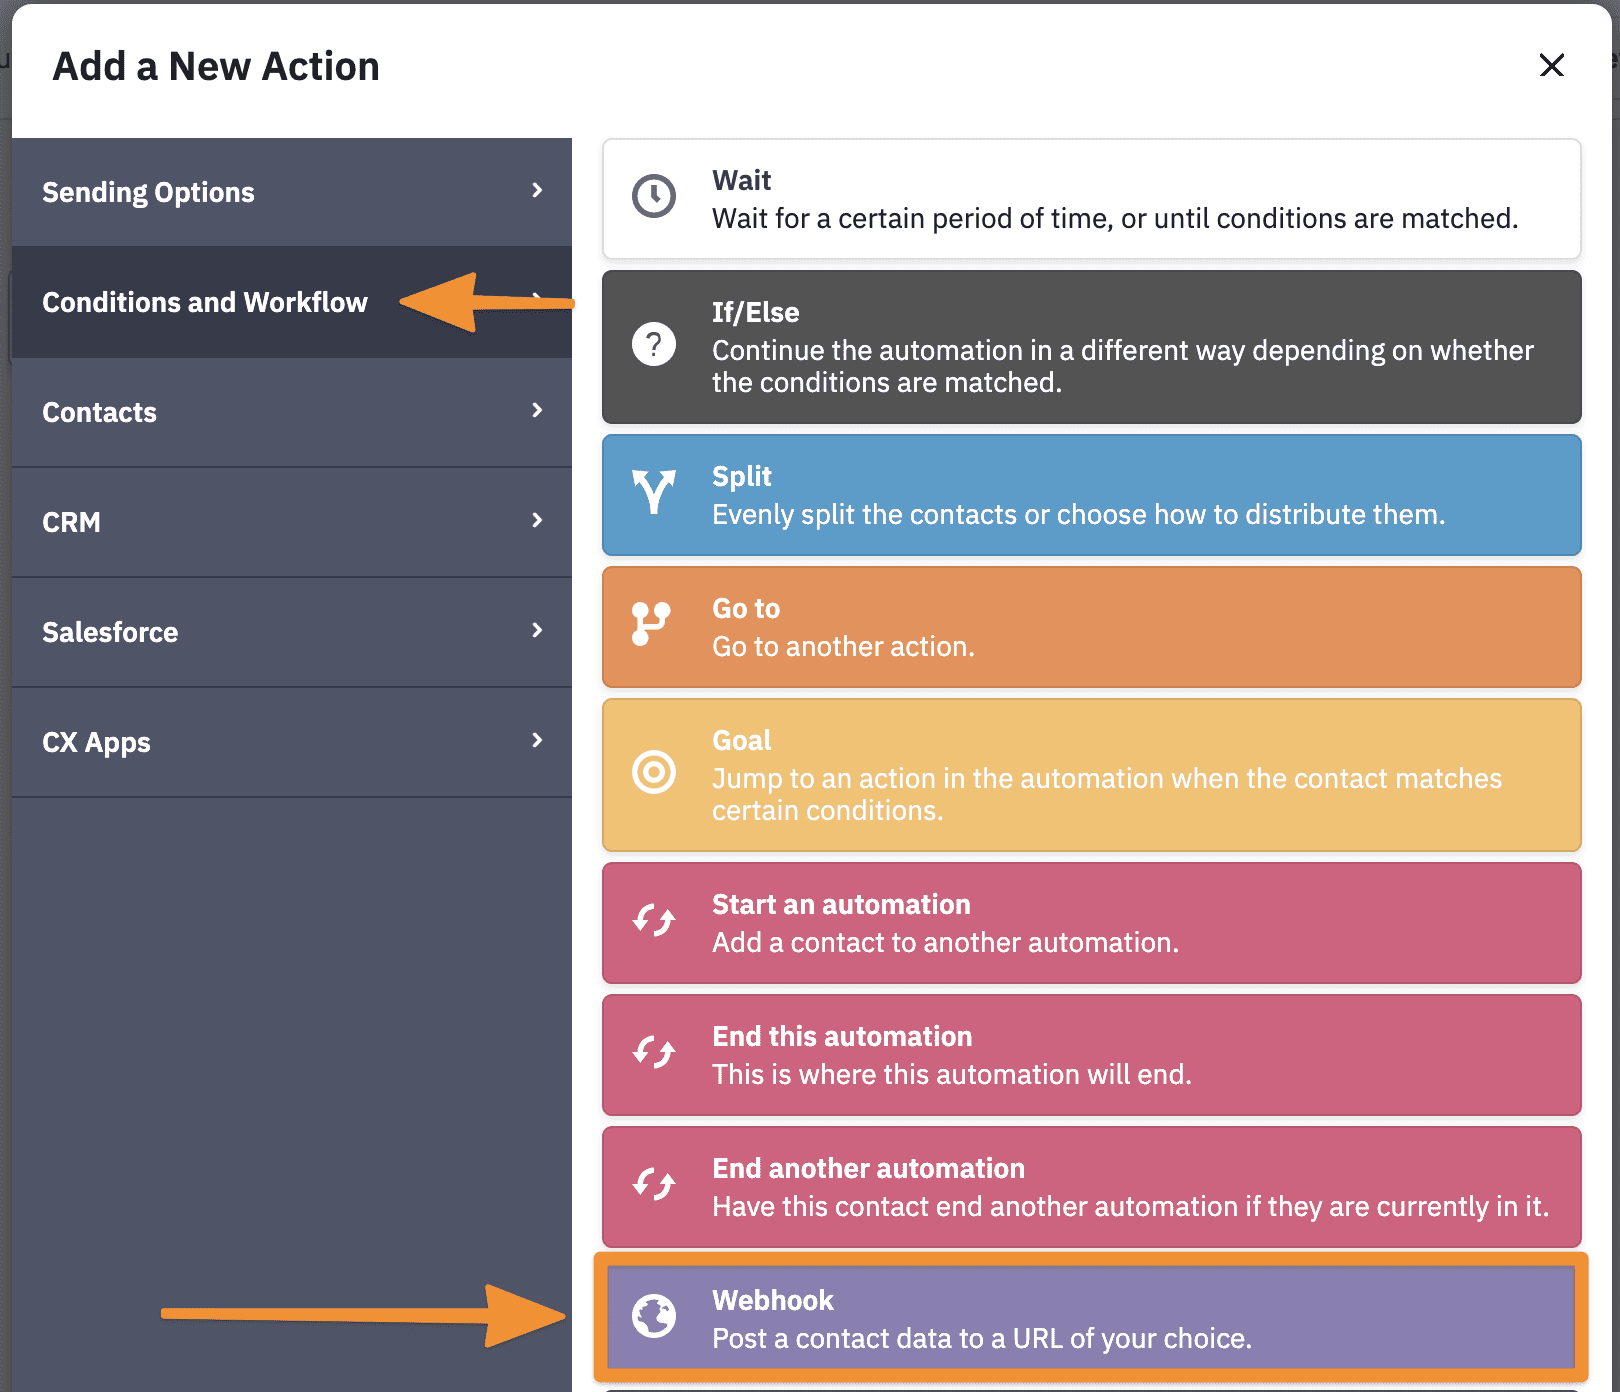
Add an action after the starting condition.
Select “Webhook” in the “Conditions and Workflow” section.
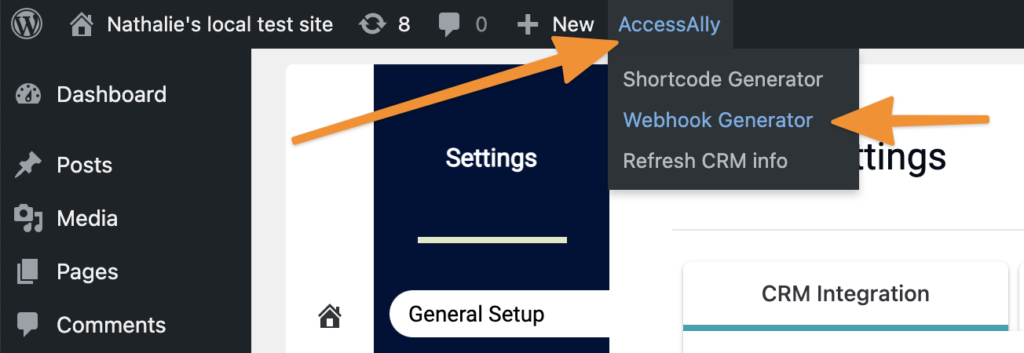
To get the correct URL you will need, go into your AccessAlly site and click in the top WordPress admin bar under Accessally -> Webhook Generator.
Select “Run Custom Operation” from the dropdown, and then start typing the name of your offering and choose the “Release Offering” option.
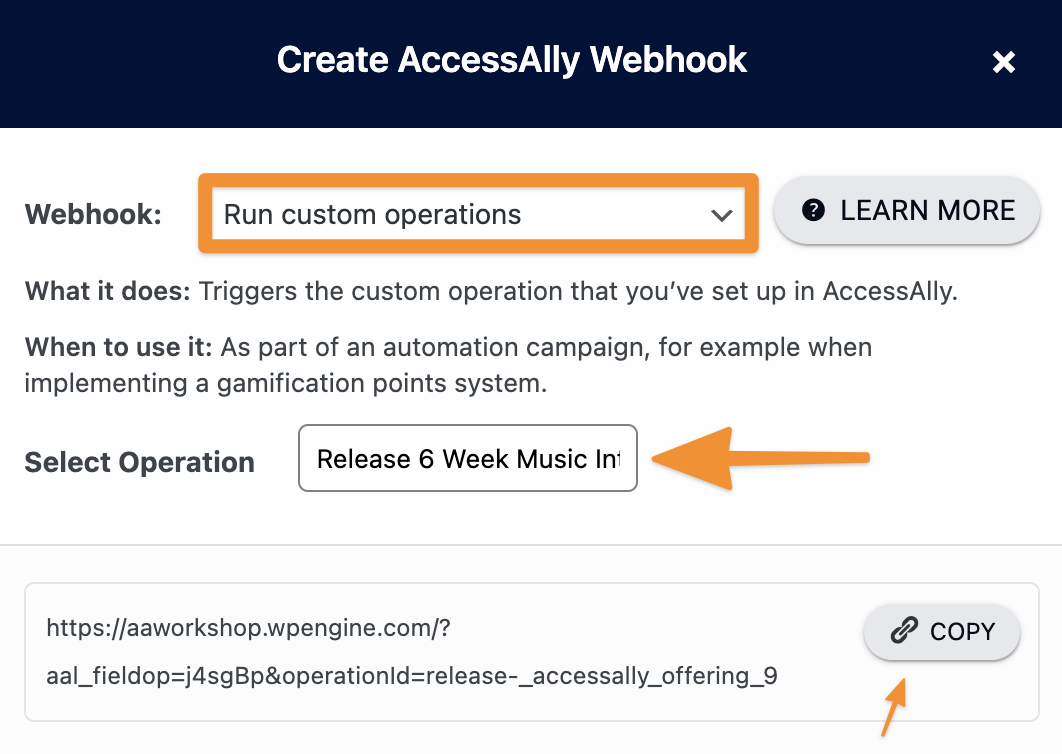
Paste the Webhook URL and hit save.

This will create a new member account and generate a password for the member, if they don’t already have one. It will also grant them access to the offering, and begin the drip automation process as set up in the AccessAlly offering.
4. Send Login Information (Optional)
You can send welcome emails directly in AccessAlly, but you could also send them here through ActiveCampaign.
To give enough time for the login information to be generated, it is recommended to add a short wait before sending the login information.
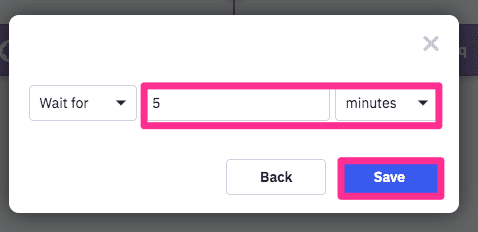
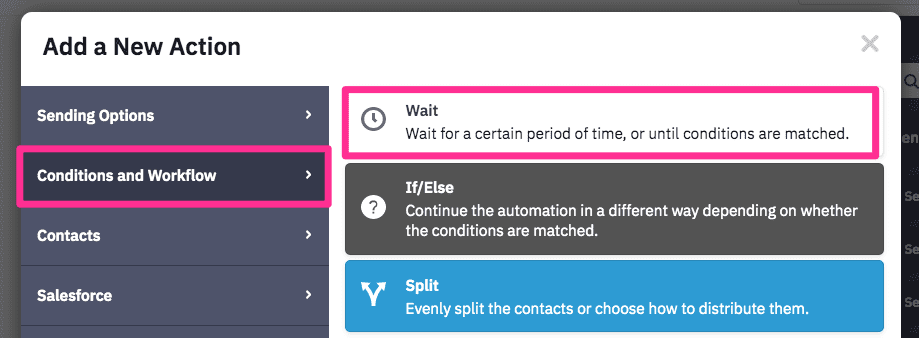
Add a new action and select “Wait” in the “Conditions and Workflow” section.
Configure a 5-minute wait.

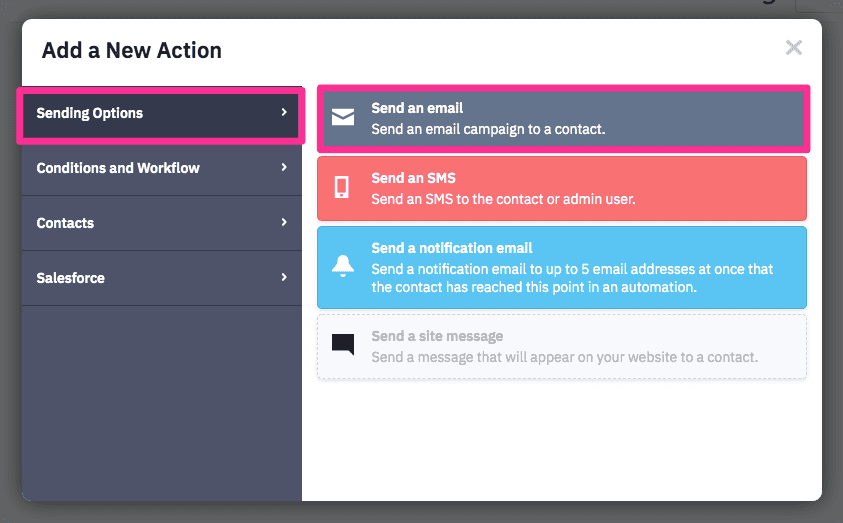
Add a new action and select “Send an email” in the “Sending Options” section.
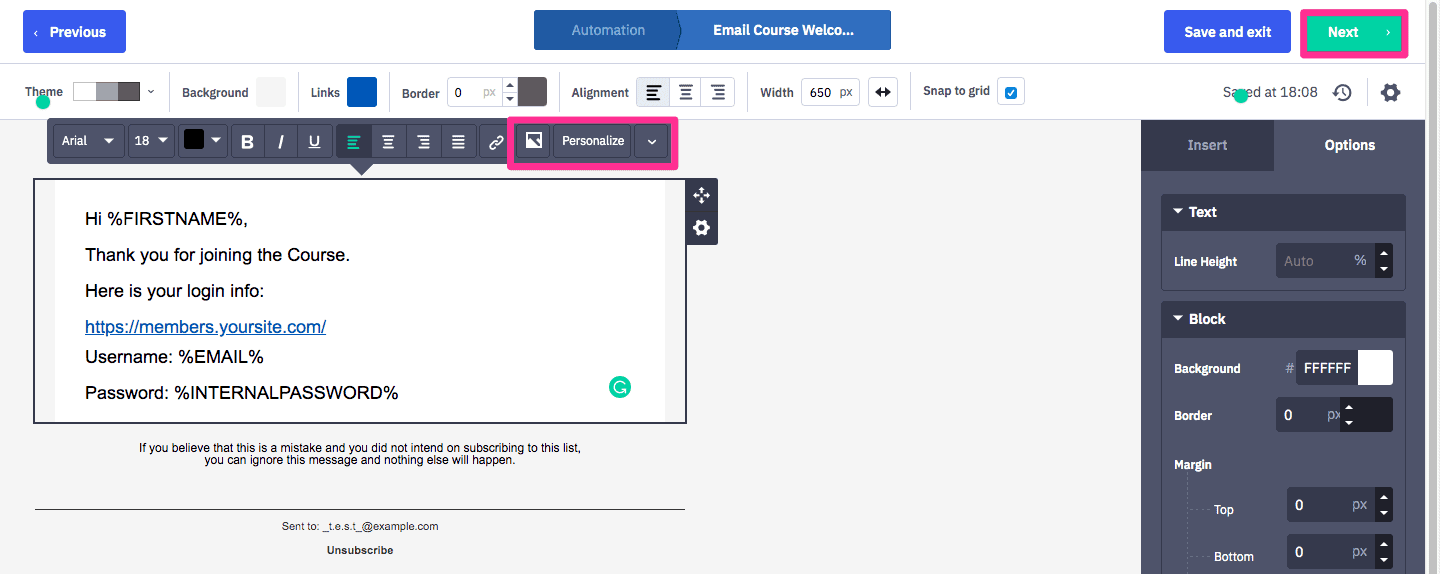
You can customize the welcome email just as for any other ActiveCampaign emails.
To add the login information to the email, click on “Personalize”.
-
- Username: by default, the username is the email address. If AccessAlly been configured to save the username to a custom field, then select the custom field configured AccessAlly in AccessAlly -> General Settings -> Initial Setup -> System Integration -> Username Field.
- Password: Select the custom field configured AccessAlly in AccessAlly -> General Settings -> Initial Setup -> System Integration -> Password Field.
Finish editing the email and return to the Automation section.
5. Create release sequence for modules (optional)
(Optional) If the modules are released on a schedule, you can add a waiting period between the module release. You can find the “Wait” action in the “Conditions and Workflow” section.
Releasing each module involves two actions:
-
-
- Add Access Tag: this adds the permission tag to the client.
- Notify AccessAlly: once the access tag has been added, notify AccessAlly of the change.
-
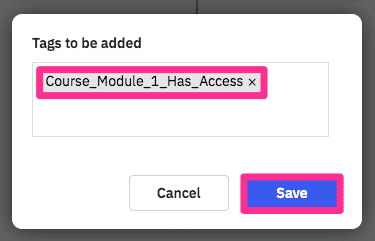
Add Access Tag
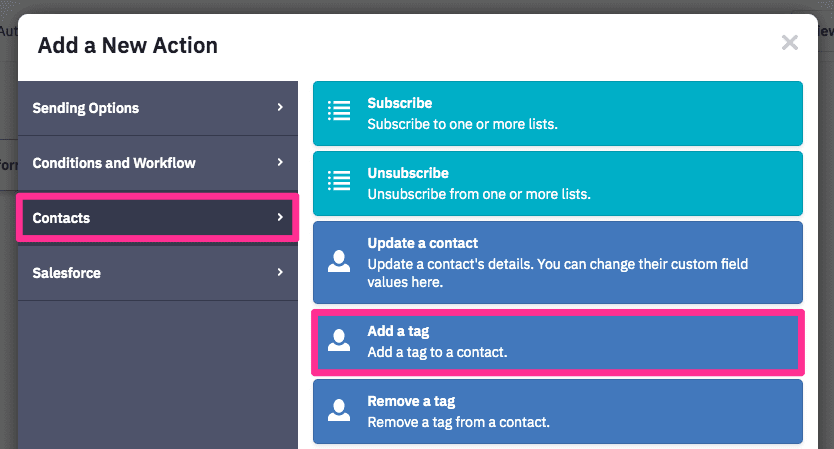
Add an “Add a tag” action in the “Contacts” section
Select the Access tag for the specific module.
Notify AccessAlly
Add a new action and select “Webhook” in the “Conditions and Workflow” section. (The webhook can be found inside the Integrations guide in your Course Wizard).

6. Add the Revoke Automation (optional)
Why would you need to revoke access?
Revoking access to site content is a natural part of doing business, and might include any of the following scenarios:
-
-
- A client cancels their membership subscription
- A client’s payment card expires and cannot be charged for the next month’s subscription
- A course student cancels and requests a refund
- A client “downgrades,” and loses
partial access to the content
-
While you could manually apply the Revoke Access tag to a user inside AccessAlly, we recommend automating the process as a part of building out your CRM automation.
When the Revoke Access tag is applied to any of your clients, the corresponding access is negated. So even if a user has a “Affiliate Revoke Access” AND an “Affiliate Access” tag, they will not have access to the content.
Go to Automations in the main navigation menu. Click on “Create an automation”.
Choose “Start from Scratch”, and then click “Create”.
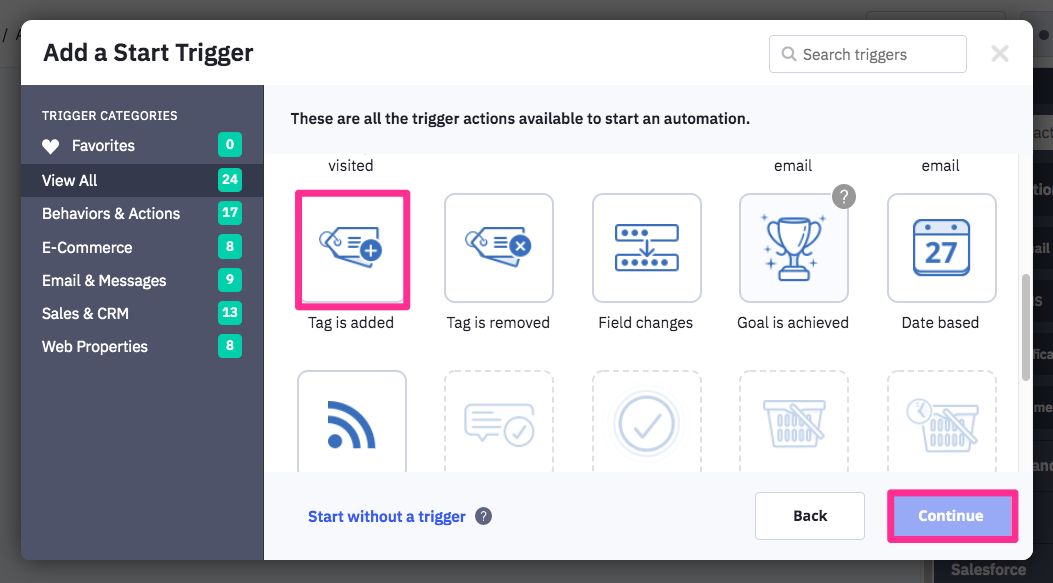
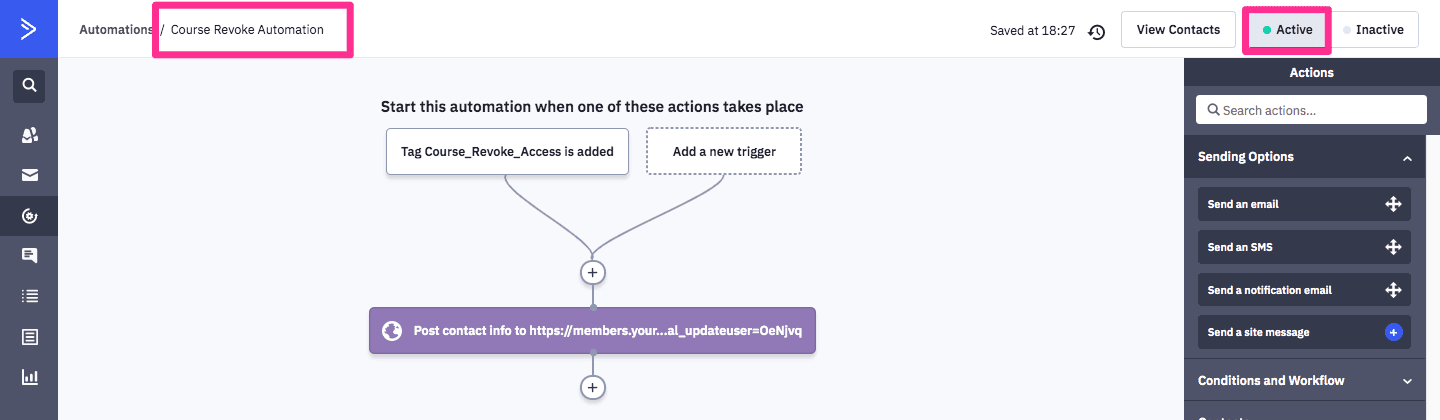
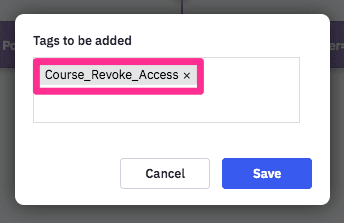
The trigger for the revoke sequence is when “Tag is Added”.
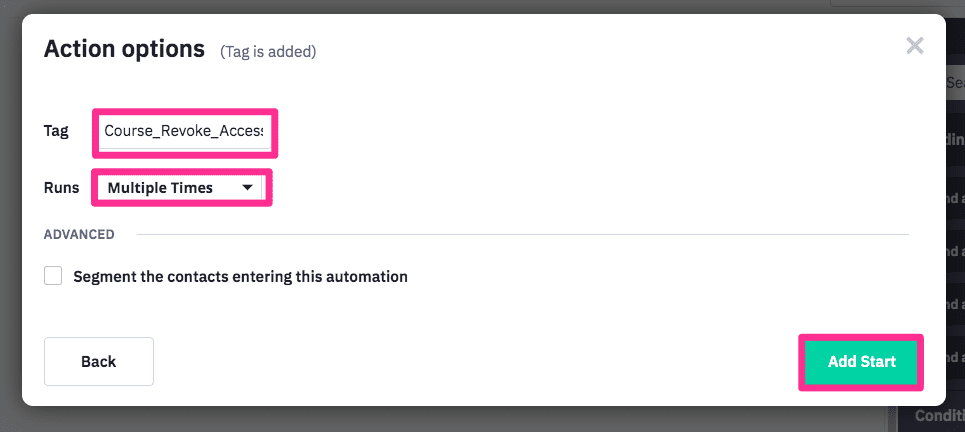
Select the Revoke Access tag.

Add a new action and select “Webhook” in the “Conditions and Workflow” section. Please use the updateuser webhook.
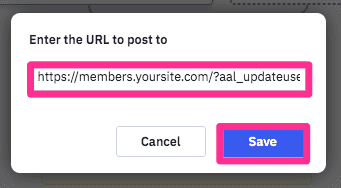
Give the Automation a name and switch it from “Inactive” to “Active”.
To revoke a client’s access to the course, please add the Revoke Access tag to the contact.
IMPORTANT: Remove User From Release Automation
The last step in your automation should be to REMOVE the user from the release automation for the course you are revoking access to. This is important in scenarios where the release automation would otherwise continue to send them emails (which would confuse someone who requested a cancellation and can no longer access course content).
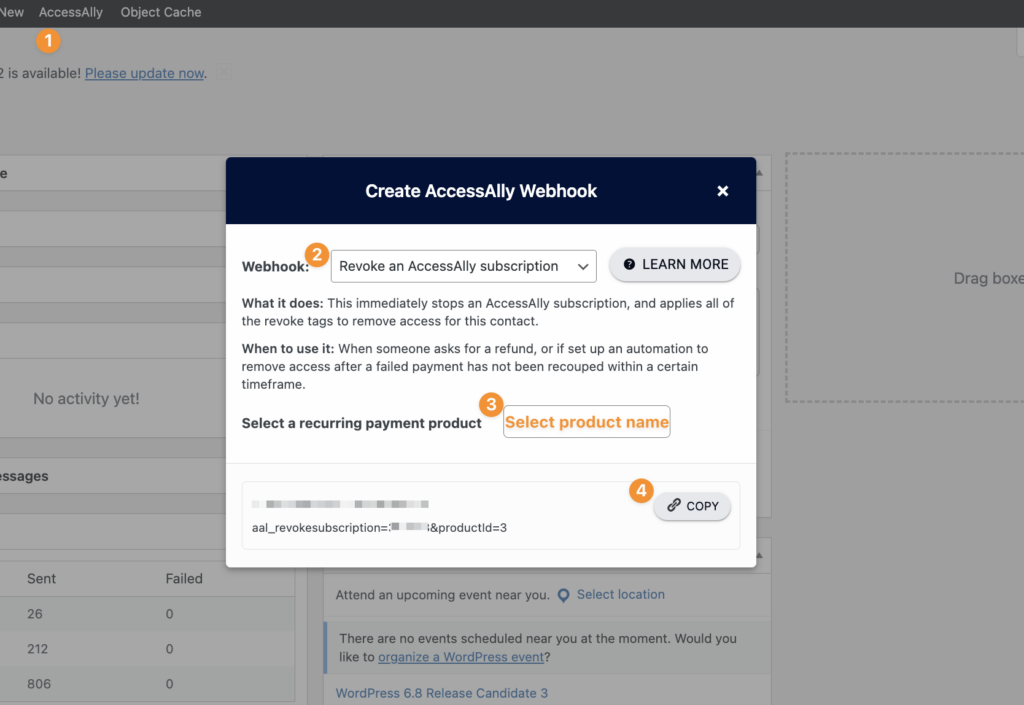
7. Add a Revoke Subscription Webhook (if client has recurring payments)
At this point in your automation, if a client that has been revoked was on a recurring payment plan, you’ll add a revoke subscription webhook.
This ensures that payments are turned off.
You’ll find this in the AccessAlly Shortcode Generator, and you’ll add this as a webhook to your automation.
8. Activate the Automation
Give the Automation a name and switch it from “Inactive” to “Active”.
Now it’s a great time to follow our testing guide, to make sure everything is set up properly.
