Selling a course? Great! After you use the Course Wizard to set up your course pages and set up the Offer to sell it, it’s time to head into your CRM to create the corresponding automation that will release the course to your clients. You can fully automate a dripped release for a paid course in Kit.
This format will automatically release each module of your course on a weekly basis.
Not using Kit? Check out the other CRM automations here.
ARTICLE CONTENT:
Preferred: Use the Integrations Guide Inside the Course Wizard
The steps on this page all correspond to the Integrations guide that’s located inside the Course Wizard. We do recommend that you use the Integrations guide, since it will tell you exactly which tags and webhooks you need (they change depending on what course you are trying to automate).
Dripped Course Release Automation Steps
This workflow is used to automatically create users on the WordPress membership site and give access to the appropriate content when a customer signs up for your course.
1. Create a sequence to send out the welcome email
Go to Sequences in the main navigation menu. Click on “Create Sequence”.

2. Customize Welcome email (with login info)
We only need the welcome email in the sequence. Once you are finished with customizing the email, you can click on “Save All” to publish the sequence.
Switch the email status to Published.
The email should be sent immediate so set “Delay Sending by” to ” days.
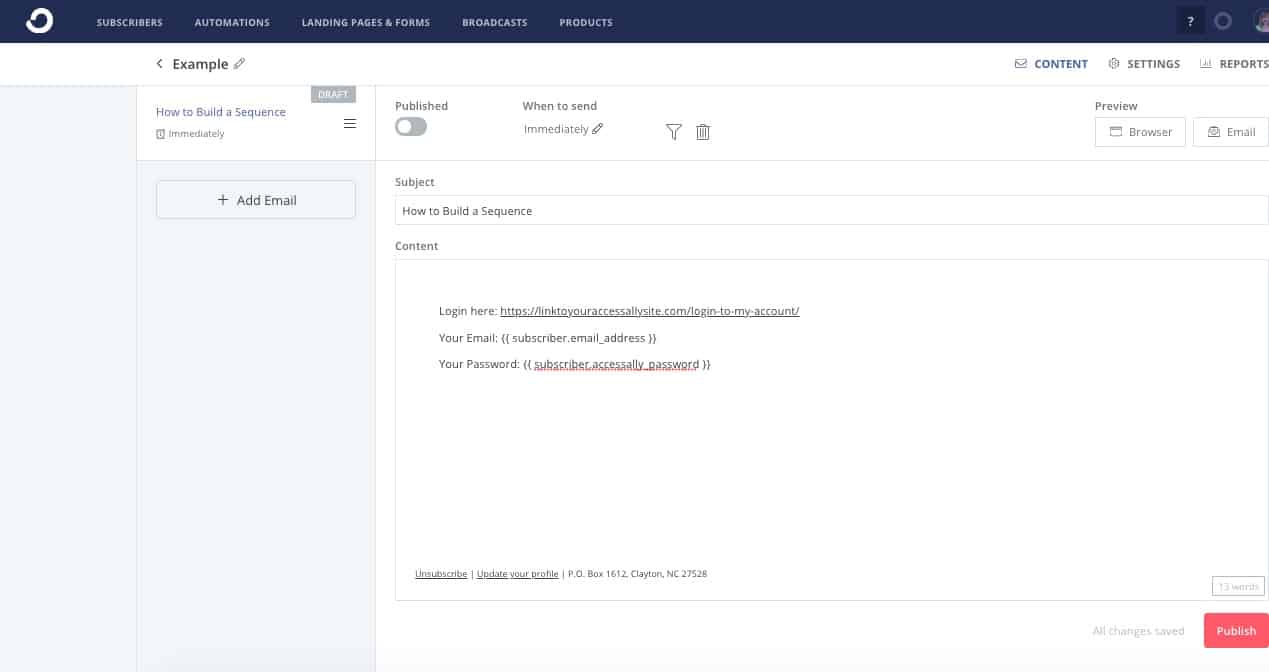
You can add anything to the welcome email that you’d like. You will include the link to your AccessAlly login page, the email address they used, and their password (optional.)
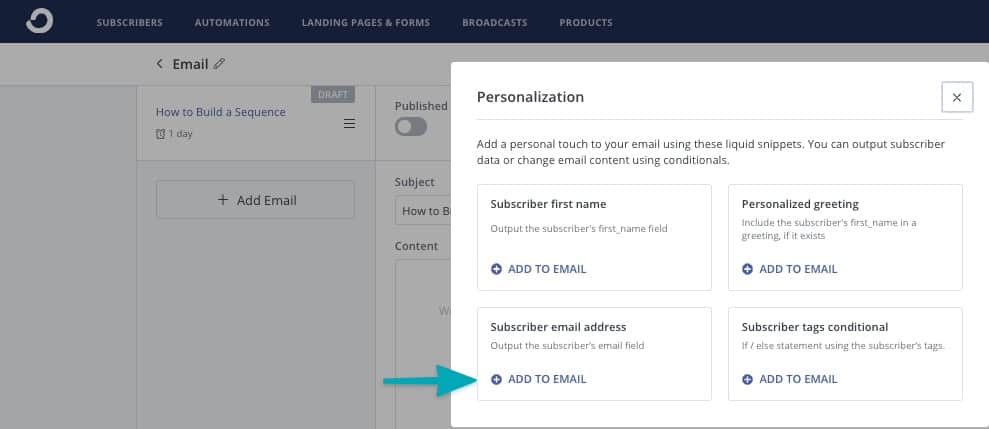
Email Address: Click the “+” sign in the email copy, then click Personalization. Next click “+” by subscriber email to add the email personalization code. As shown in the image below.
Password (Optional): Adding the password field to an email is only available if you are storing passwords in a custom field inside Kit. You will need to revise the example below by replacing accessally_password with the exact name you used for your password field stored in Kit.
Example: {{ subscriber.accessally_password }}
3. Create the welcome automation
We can now create an automation to start the sequence when a client signs up for a free offer or a paid course.
Go to Automations in the main navigation menu. Click on “AUTOMATIONS” and then the “New Automation” button.

4. Configure the event that triggers the automation
Click on CREATE AUTOMATION to configure the event that will start the automation.
Since this is a paid course, select Tag is added to subscriber and choose the tag that is added on successful purchase of this course.
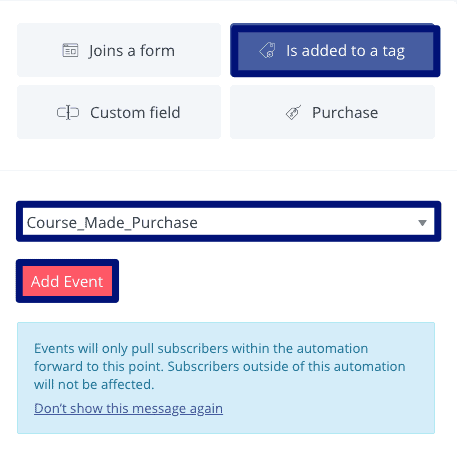
Click on Add Event when finished configuring.
5. Apply course tags
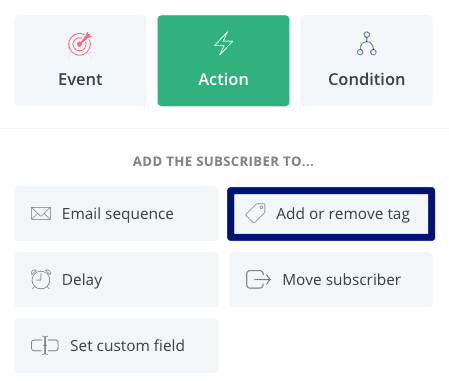
Add a new item by clicking on the “+” and choose Add or remove tag.
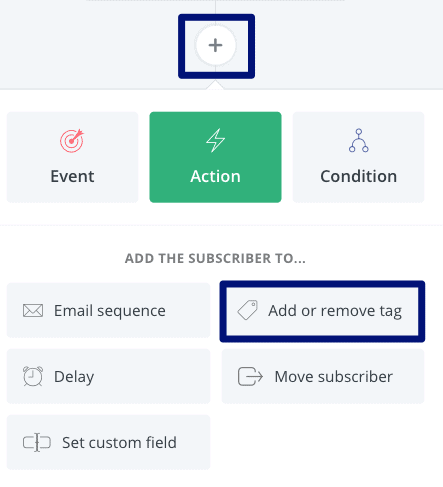
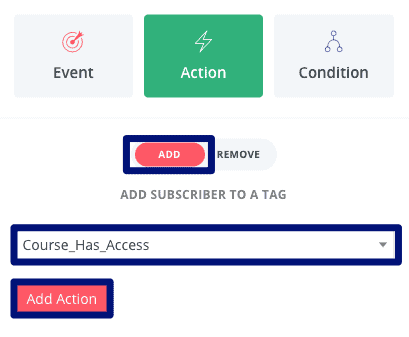
Select the Access tag as the tag to add. Click on Add Action once configured.
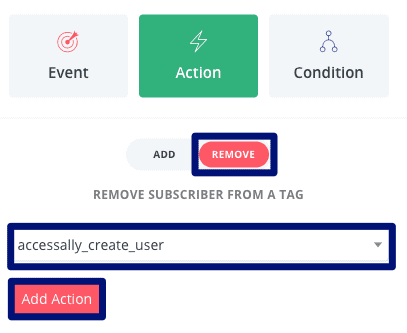
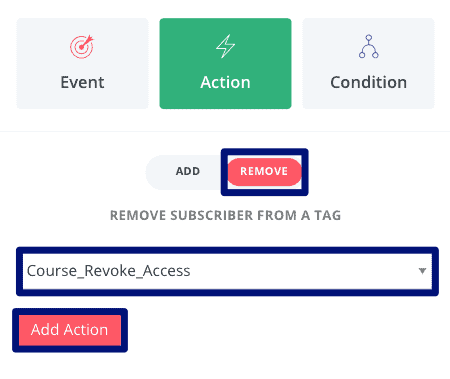
Add a second Add or remove tag action and REMOVE the Revoke Access tag.
6. Add tag to trigger the AccessAlly webhook
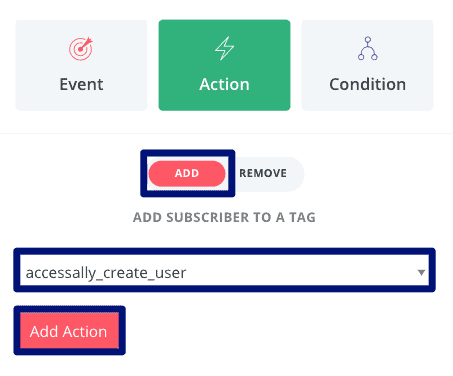
Add a new item by clicking on the “+” and choose Add or remove tag.
Select the tag that will trigger the Create Login webhook. Click on Add Action once configured.
7. Add to welcome sequence to send the login info
It might take a few seconds for AccessAlly to create the login info. To avoid the “Blank Password” issue, add a short delay before sending the welcome email. Clicking on the “+” and choose Delay.
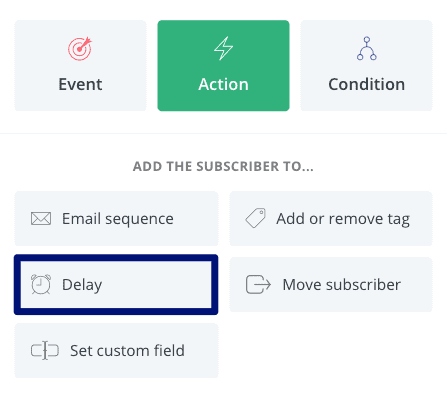
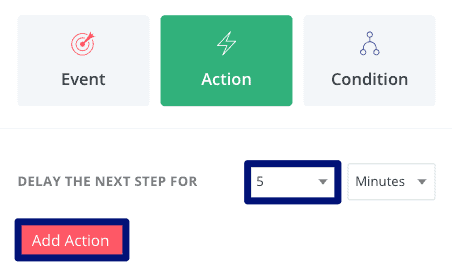
Select the shortest delay possible, 5 minutes. Click on Add Action once configured.
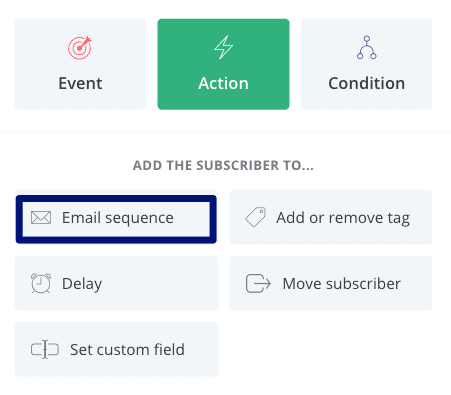
Now we can add the subscriber to the welcome sequence. Add a new item by clicking on the “+” and choose Email Sequence.
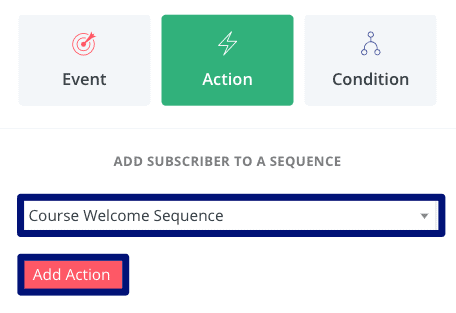
Select the welcome email sequence. Click on Add Action once configured.
AccessAlly will remove the webhook tag after running the webhook. However, as an extra precaution, we should remove the tag explicitly, so it can be added again in the future.
Add a new Add or remove tag action. Remove the tag that will trigger the Create Login webhook. Click on Add Action once configured.
8. Release course modules
Releasing stage-release modules involve the same 4 steps:
a. Configure a delay before the new module is released.
b. Add Module Access Tag.
c. Notify AccessAlly by adding the Create Login Tag.
d. (Optional) Create and add to a notification email sequence.
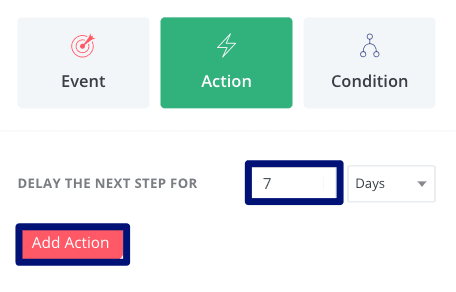
Click on the “+” and choose Delay. Configure the delay based on long before the next module is available.
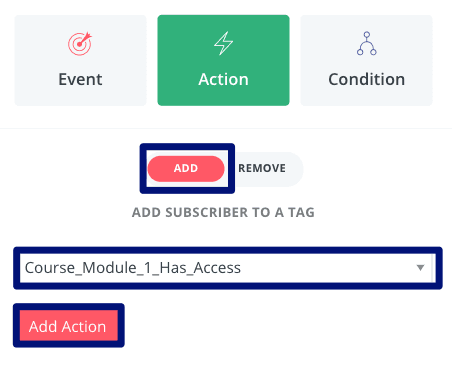
Add a new item by clicking on the “+” and choose Add or remove tag. Select the Access tag for this specific module. Click on Add Action once configured.
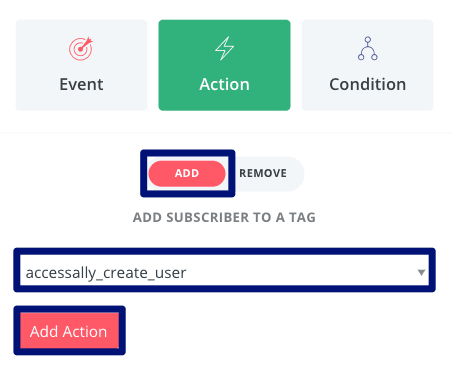
Add a new item by clicking on the “+” and choose Add or remove tag.
Select the tag that will trigger the Create Login webhook. Click on Add Action once configured.
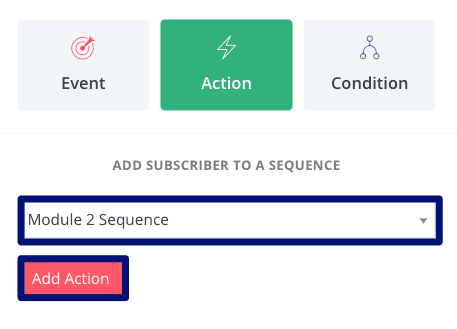
(Optional) You can create an email sequence notifying clients that the new module is available and add it to the automation.
9. Make the automation Live
Give the automation a descriptive name and switch it from PAUSE to LIVE.
10. Create the Refund/Revoke Access Sequence (optional)
Important: The revoke sequence is only used for clients who can requested a refund / cancellation for the standalone course. It will negate the course access permission, so please use it with caution.
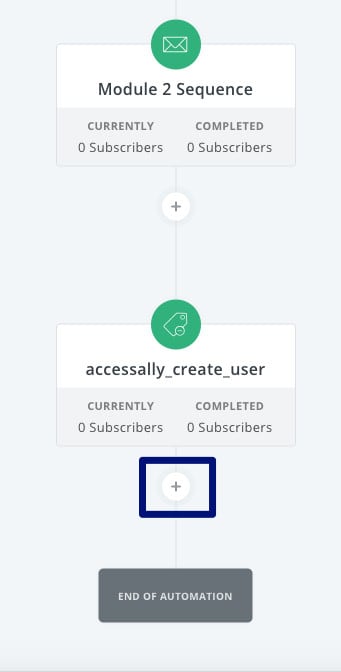
At the end of the automation (right before END OF AUTOMATION), add a new item by clicking on the “+”.
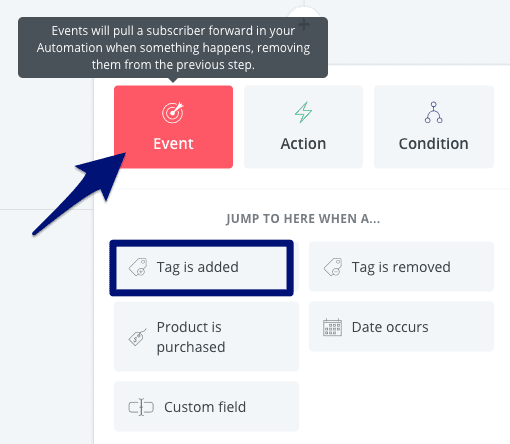
Go to the Event section and choose Tag is added.
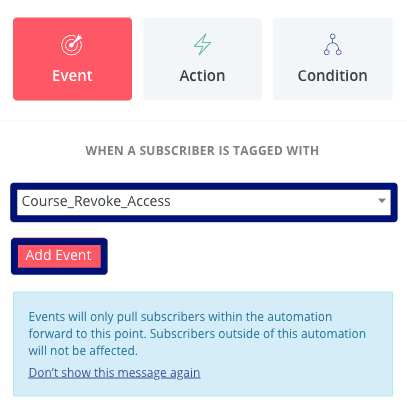
Choose the Revoke Access tag. Click on Add Event once configured.
Add a new item by clicking on the “+” and choose Add or remove tag.
Select the tag that will trigger the Create Login webhook. Click on Add Action once configured.
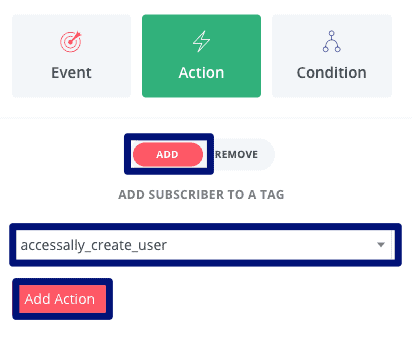
The revoke access portion of the automation will be triggered with the Revoke Access tag is added, and it will remove access to the course and notify AccessAlly of the change.
Add a new item by clicking on the “+” and choose a 5 minute delay.
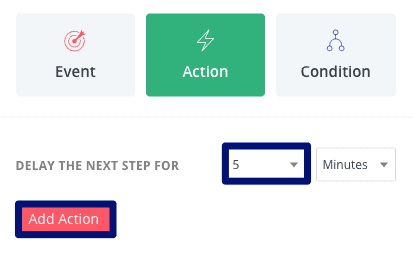
Add a new item by clicking on the “+” and choose Add or remove tag. Please remove the tag that will trigger the Create Login webhook. (This way you can re-sync the user at another time, as needed)
Click on Add Action once configured.
