In this article you’ll see how Team Leaders and Team Members are added to the Team.
Article 1: Team Center Offering
Article 2: Leader Content
Article 3: Member Content
Article 4: Customize Team Setup
Article 5: You are here!
ARTICLE CONTENT:
How Team Leaders Are Added
Team Leaders are added to a Team by:
- Purchasing Team Member seats from Forms in your Team Center Offering Forms tab
- Being added by a Site Admin from the Teams tab
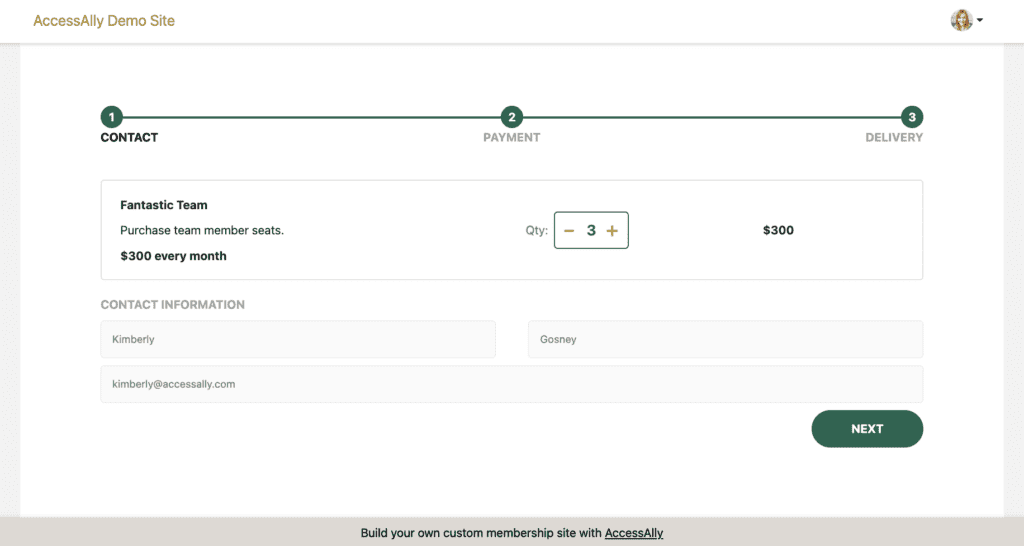
Purchasing Team Member seats
When a future Team Leader purchases Team Member seats they will automatically be added to the Team Center Offering.
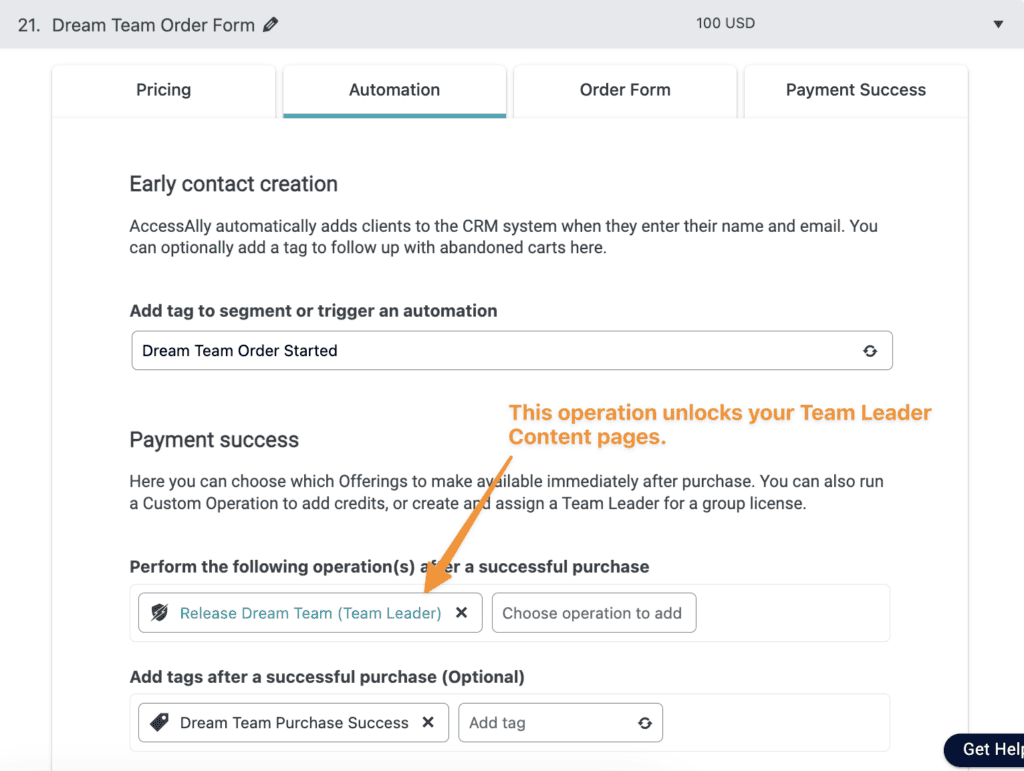
The order form for your Team Leader purchase holds the Release Team Leader operation which gives the leader access to the team. You can see your form settings in AccessAlly → Sales → Order Form Setup → Your Team Order Form → Automation tab.
Site Admin Adds a Team Leader
If you’re a Site Admin you can go to AccessAlly → Teams → Teams tab → Create Team button.

Search for the desired Team Leader.
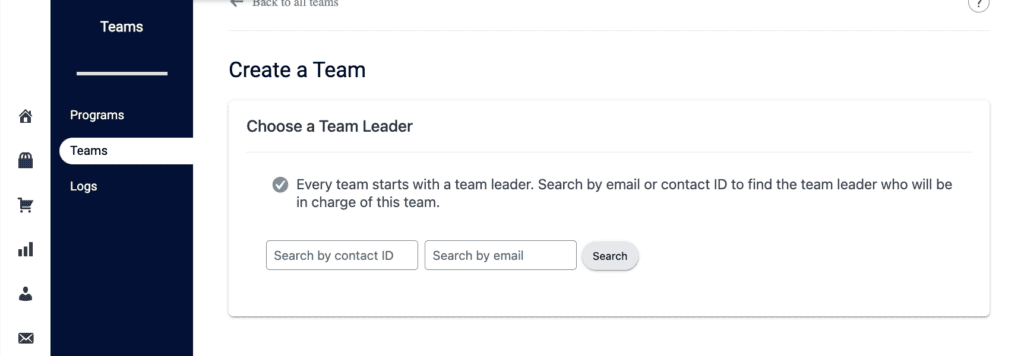
Select, then Start a new team.
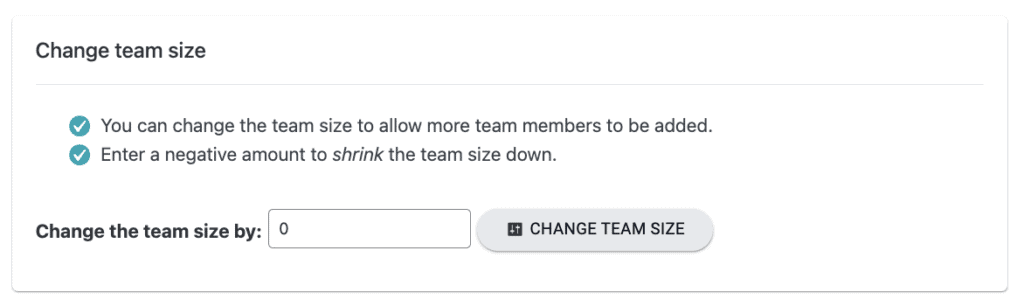
Add the desired number of Team Member seats.
How a Team Members Are Added
Team Leader Adds Team Members
A Team Leader visits the team administration dashboard page to add, remove, and see Team Member progress. This is the first page created in the Team Leader section of your Team Center Offering.
With this option the team leader adds each team member one at a time by going to Add Members → Add individual member.
Team leader view.

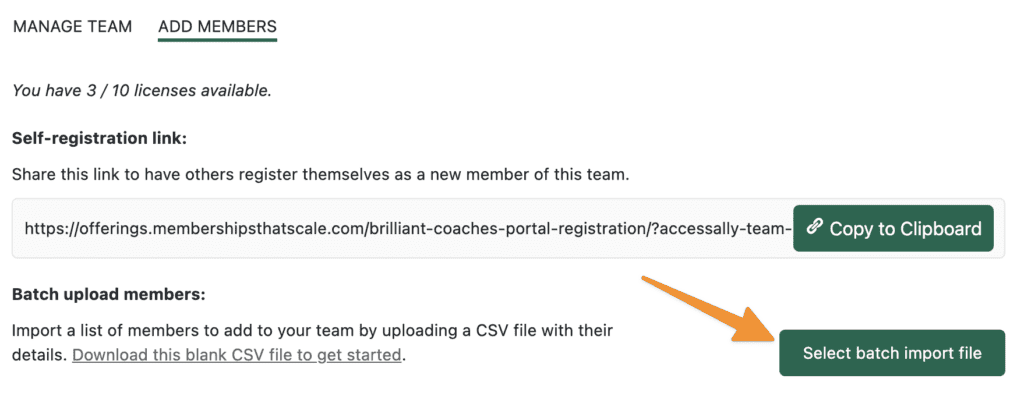
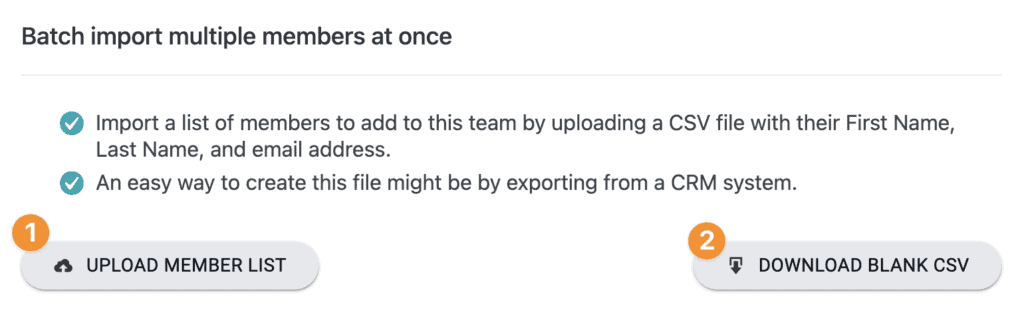
Team leaders can upload a CSV file with team member information. The download file .CSV example is available to the team leader to make this process easy!
Example before upload.
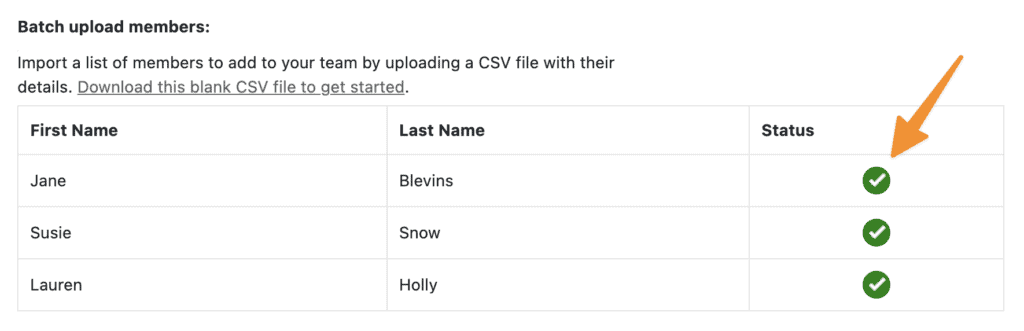
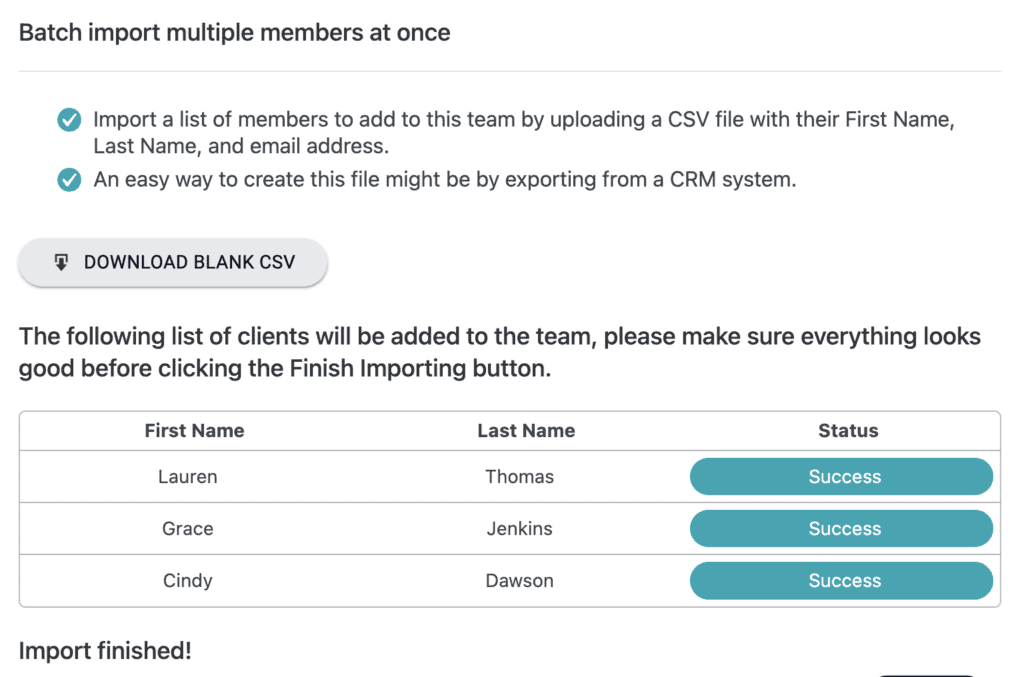
Example after batch upload.
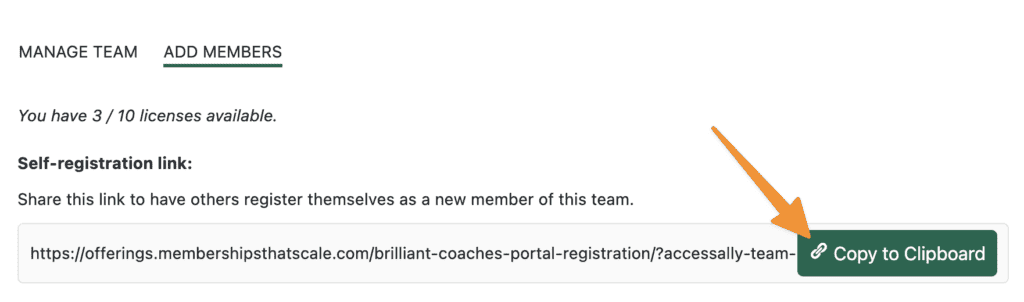
A team leader can copy the self-registration link and share it with anyone they would like to join the team. The member can now “self-register” for the team.
Team leader view.
Team member view upon clicking the link.
Site Admin Adds Team Members
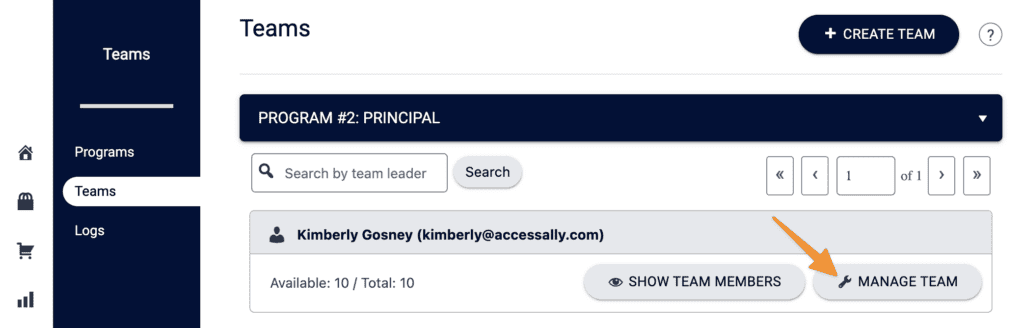
As the site admin you can add team members by going to AccessAlly > Teams > Teams and clicking “Manage Team”
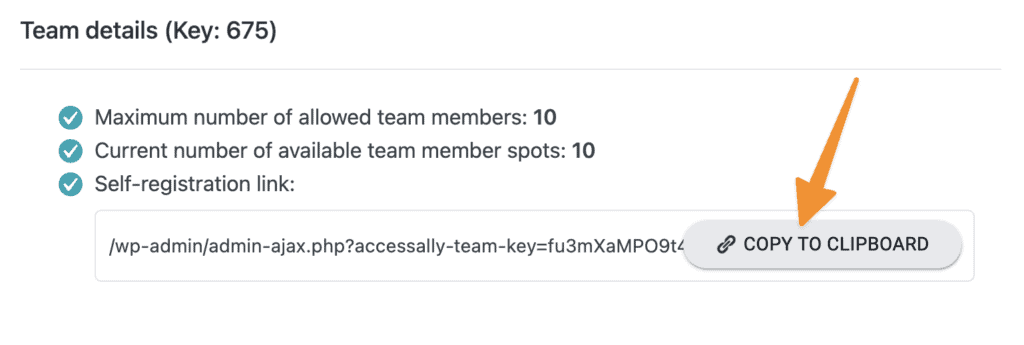
A site admin can copy the self-registration link and share it with anyone they would like to join the team. The team member can now “self-register” for access.
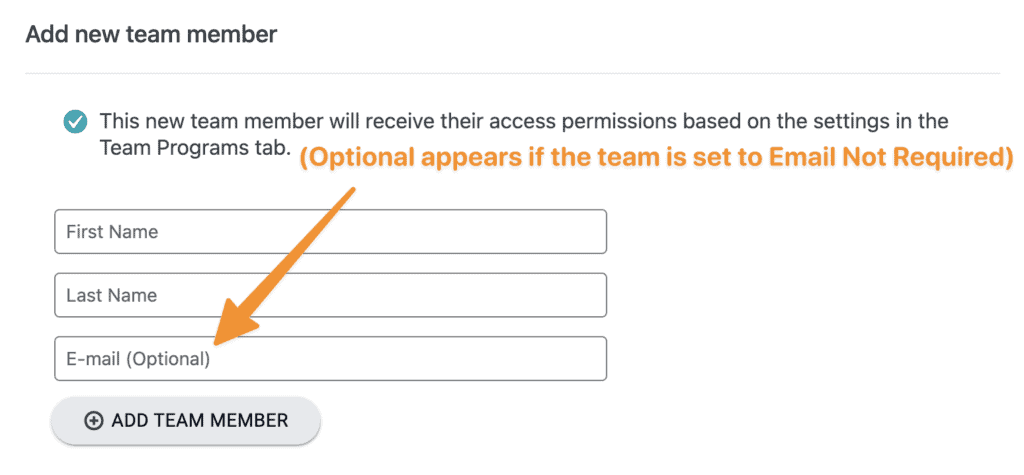
The site admin can add team members one at a time with this option.
The site admin can download a CSV template and import large numbers of members quickly and easily.
View after successful member import.
Registration without Email
If you enabled this option in Team Settings, a team leader or site admin can register team members without an email address if desired.
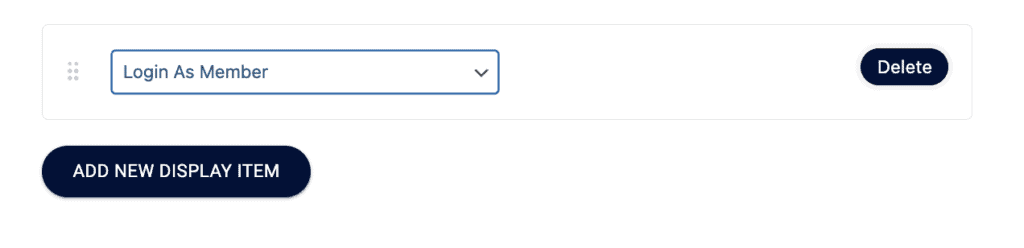
Login As Member
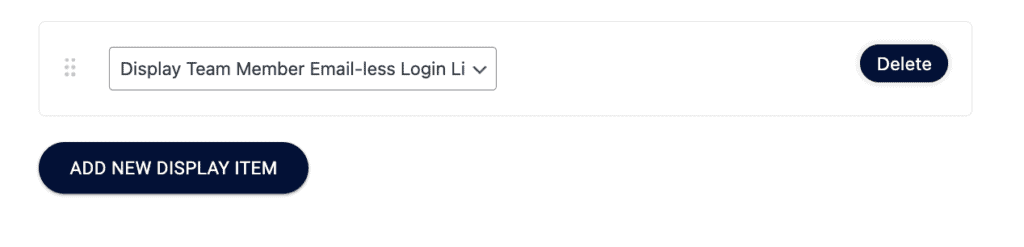
Add this option to the team display.
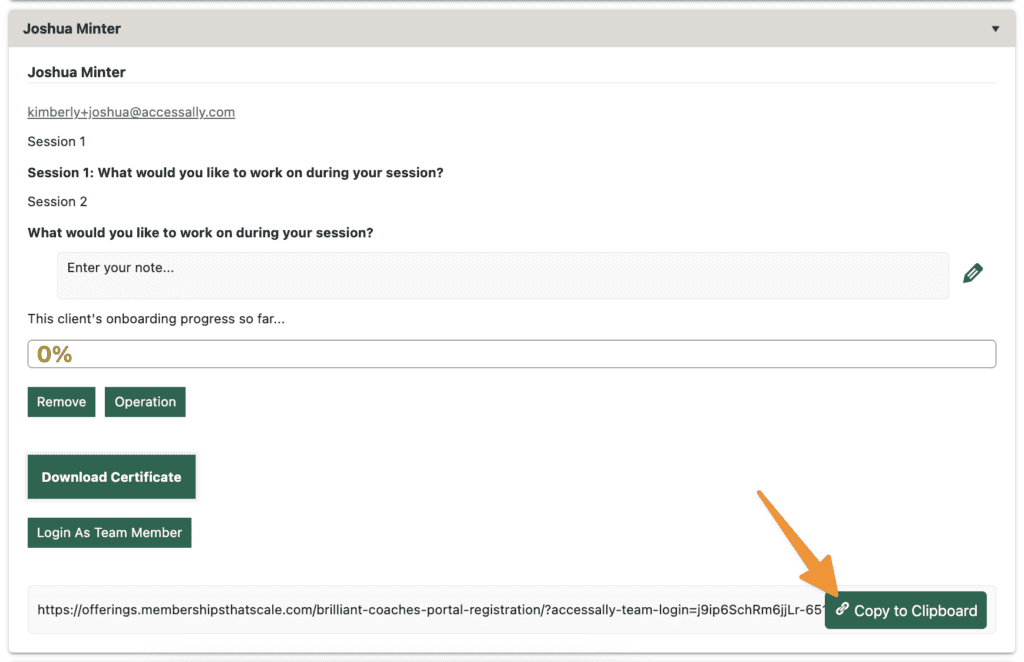
The team leader sees the “Login as Team Member” button.
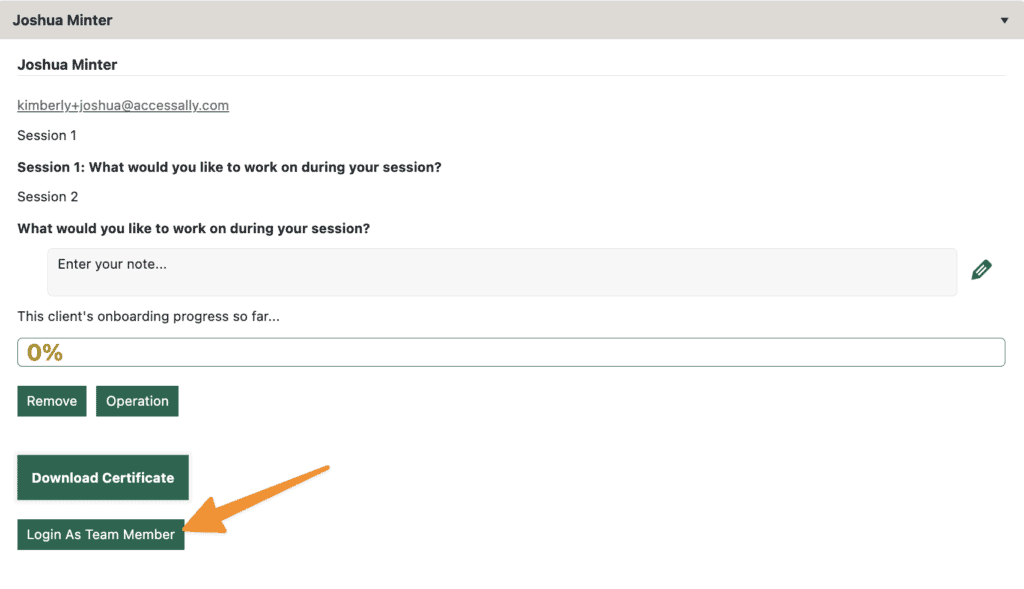
Clicking the button logs the leader in as that team member.
Email-less login link
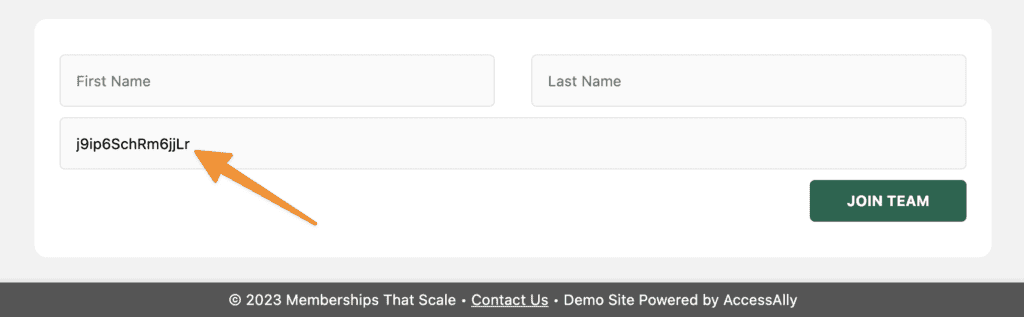
The option allows a team member to login with first and last name only.
Add this option to the team display.
Team leader copies the unique link for each team member and sends it to that team member. Each link has a unique code that will only allow that team member to login using their first and last name when prompted from their unique link.
*This link should only be shared and used by that specific team member.
Team member clicks the link and enters name and email address to login.

Testing Your Teams Setup
Before selling access to your new Team Center Offering you’ll want to test:
- Making a purchase on the Team Leader order form
- Copying the Self-Registration link for the new Team Leader
- Opening Self-Registration link in an incognito browser
- Signing up as a Team Member from the Self-Registration link
If your test is a success for both the Team Leader and Team Member test you can start selling your new Team Center Offering.
Adding Team Member FAQs
ActiveCampaign requires contacts to be subscribed to a list. We recommend creating a list called “AccessAlly.”
In your new team member automation (before sending any emails) add a step to subscribe the contact to a list. Select your AccessAlly list. Next add a 5 minute wait timer. After this step you can add additional tags (if needed) and send a welcome email.
