Filters allow you to customize the directory. With filters you can:
- Apply tags to control what members appear in the directory
- Create a directory that moves featured members to the top
- Create a dropdown filter to show members based on speciality or location
- And, much more!
ARTICLE CONTENT:
How to Set Up Filters
In your WordPress website, go to: AccessAlly > Directories > Filters
Then, click on the “+ New Filter” button.
Set Up Filter Criteria (Tag-based Rules)
Here you’ll add tags to select who appears on the directory. Participants added here will be displayed based on your selected options.
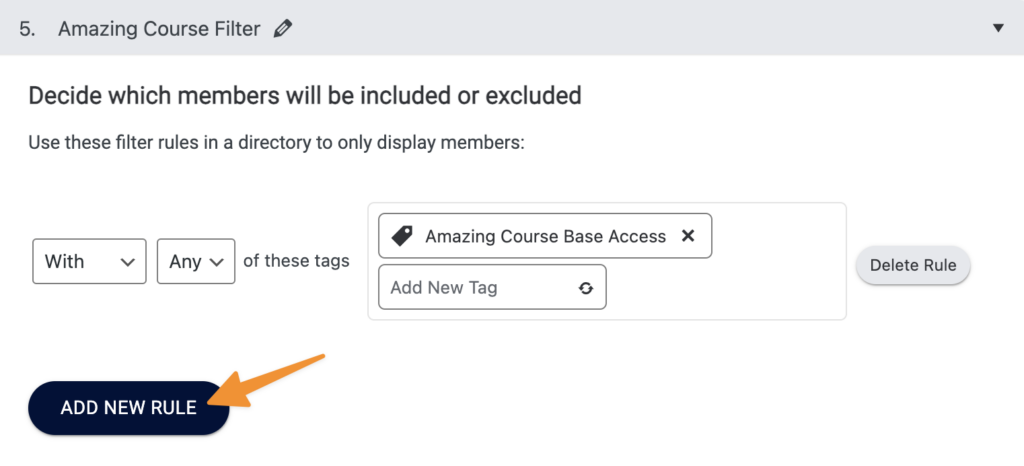
With
All members “with” any or all tags listed here will be featured in the directory.
Without
All members “without” any or all tags listed here will be excluded from the directory.
Custom
In advanced use cases, you can create a rule based on a filter.
Configure Sorting Criteria
Optionally, you can set a sorting criteria to ensure that some profiles in your directory always appear first (think of it as a “Featured Listing” opportunity).
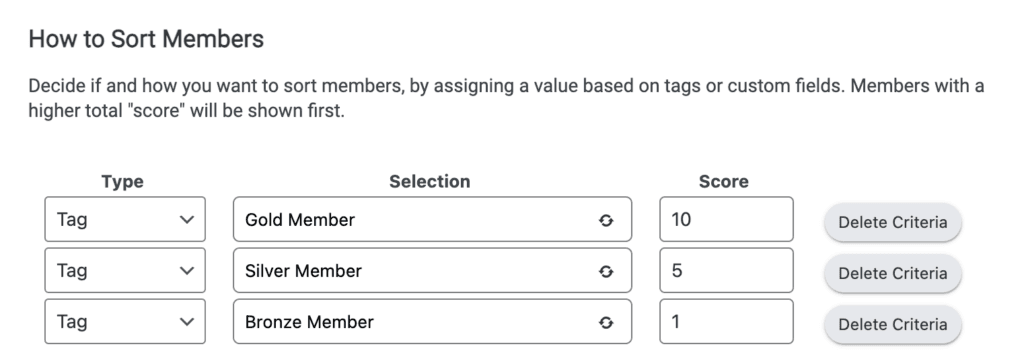
Add as many sorting criteria as you like by clicking the “Add New Sorting Criteria” button, designating whether you’d like it to consider a tag or custom field, then assign a number. Your members will now be sorted and displayed based on tag (or custom field) and score.
In the example below gold members, then silver, then bronze members are displayed on the directory.

Segmentation Based on Custom Field (Advanced)
With this option you can create a dropdown on the right side to filter based on items in a custom field.

Example of segmentation based on custom field which appears on the right side in your directory.

Save Changes
Once you have created your filter options, click on “Save Changes”, and then move on to the third (and final!) step in setting up your member directory with this tutorial:
