This tutorial walks you through the basic steps when you’re migrating away from Infusionsoft (now Keap Max Classic) to ActiveCampaign.
Pro-tip: If you have a big import list, contact ActiveCampaign directly. They have a migration service and they will import your existing contacts and even re-build your workflows & automations in their platform.
ARTICLE CONTENT:
Step 1: Import Contacts to ActiveCampaign
Move your contact list from Infusionsoft to ActiveCampaign. Make sure your tags from Infusionsoft are added to the users when you import to ActiveCampaign.

For more detailed directions on this step, please see this tutorial: Migrating contacts from Infusionsoft.
Step 2: Emails & Automations
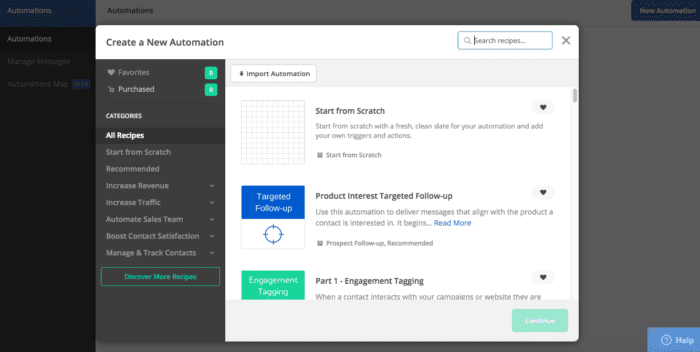
Turn your Infusionsoft campaigns into the ActiveCampaign equivalent, called automation.

If you’re using the free migration service offered by ActiveCampaign, they’ll take care of this for you.
Visit ActiveCampaign’s guide to for Turning an Infusionsoft Campaign into an ActiveCampaign Automation here.
The Webhook URLs that you use for AccessAlly will stay the exact same no matter which CRM you use. When you’re creating your automation in ActiveCampaign, copy your Webhook URLs directly as they are from Infusionsoft.
NOTE: Pay special attention when creating your automations. Contacts who are mid-way through the campaigns in Infusionsoft will not be pleased if they start receiving duplicate emails as soon as you set up your ActiveCampaign account!
Step 3: E-Commerce & Order Form Setup
There are two options here. Either you’ve already been using AccessAlly order forms to process payments, or you’ve been using Infusionsoft to process orders.
Option 1: Start Using AccessAlly E-commerce Features
Step 1: Read the AccessAlly Payments Guide
Step 2: Use the Offerings wizard to add order form(s) to your existing offerings in AccessAlly.
Go to: AccessAlly > Offerings > Choose the offering you want to edit > go to Forms > Click +Add.
Follow the steps in this tutorial if you’re unfamiliar with adding paid access forms to your offerings.
Decide how to handle existing subscriptions in Infusionsoft
If you have been selling subscriptions (products with recurring payments) with Infusionsoft, you must decide how you are going to move forward, since there is no way to migrate subscriptions.
Scenario 1: Use AccessAlly Subscriptions
If a client has a current Infusionsoft subscription, they will need to re-purchase using AccessAlly order forms/subscriptions. Otherwise, you will lose that subscriber’s payment details when you migrate off Infusionsoft.
Pros: You will have everyone moved to AccessAlly. All your payments will be processed there.
Cons: Existing subscribers may choose not to re-purchase. You would lose them as subscribers and no longer collect their payments each month or year.
Scenario 2: Downgrade Infusionsoft
If you do not wish to require your subscribers to re-purchase, you can downgrade Infusionsoft, but keep your account active. In this case, remove all of the unnecessary contacts in your Infusionsoft account. Keep contacts who have active subscriptions in Infusionsoft. Downgrade your Infsionsoft account to the lowest level possible, while keeping the ability to run payments and store contacts who have active subscriptions.
For example, if you have 500 active subscriptions, you’d remove all contacts from your Infusionsoft except those 500 active subscriptions. Then, you’d contact Infusionsoft to downgrade. Be sure that when you downgrade, your account still supports processing those payments.
All new contacts that purchase will purchase through AccessAlly’s order forms. You will keep the Infusionsoft account live until the current subscribers eventually cancel or finish their subscription plan.
Pros: Subscribers do not have to re-purchase.
Cons: This would require a longer transition period. You’d still be paying for Infusionsoft. You’d have to manage payments and contacts in two systems.
Learn how to set up subscriptions with AccessAlly here: Payments Guide
Option 2: You’ve already been using AccessAlly E-commerce Features
If you were already using AccessAlly order forms while you were on Infusionsoft, then there’s no need to set up any new order forms. You can continue using the order forms and AccessAlly to process payments.
Step 4: Switch AccessAlly Integration Settings
Scenario 1: You already have AccessAlly connected to your Infusionsoft account
You will need to switch your CRM setup and update your API keys inside AccessAlly. For a seamless transition, you will want to test the new setup before making it completely live. The best way to do this is using a staging version of your site, where you can make sure that AccessAlly is properly integrated with your new CRM. Once you’re satisfied, you can make the staging site “live”.
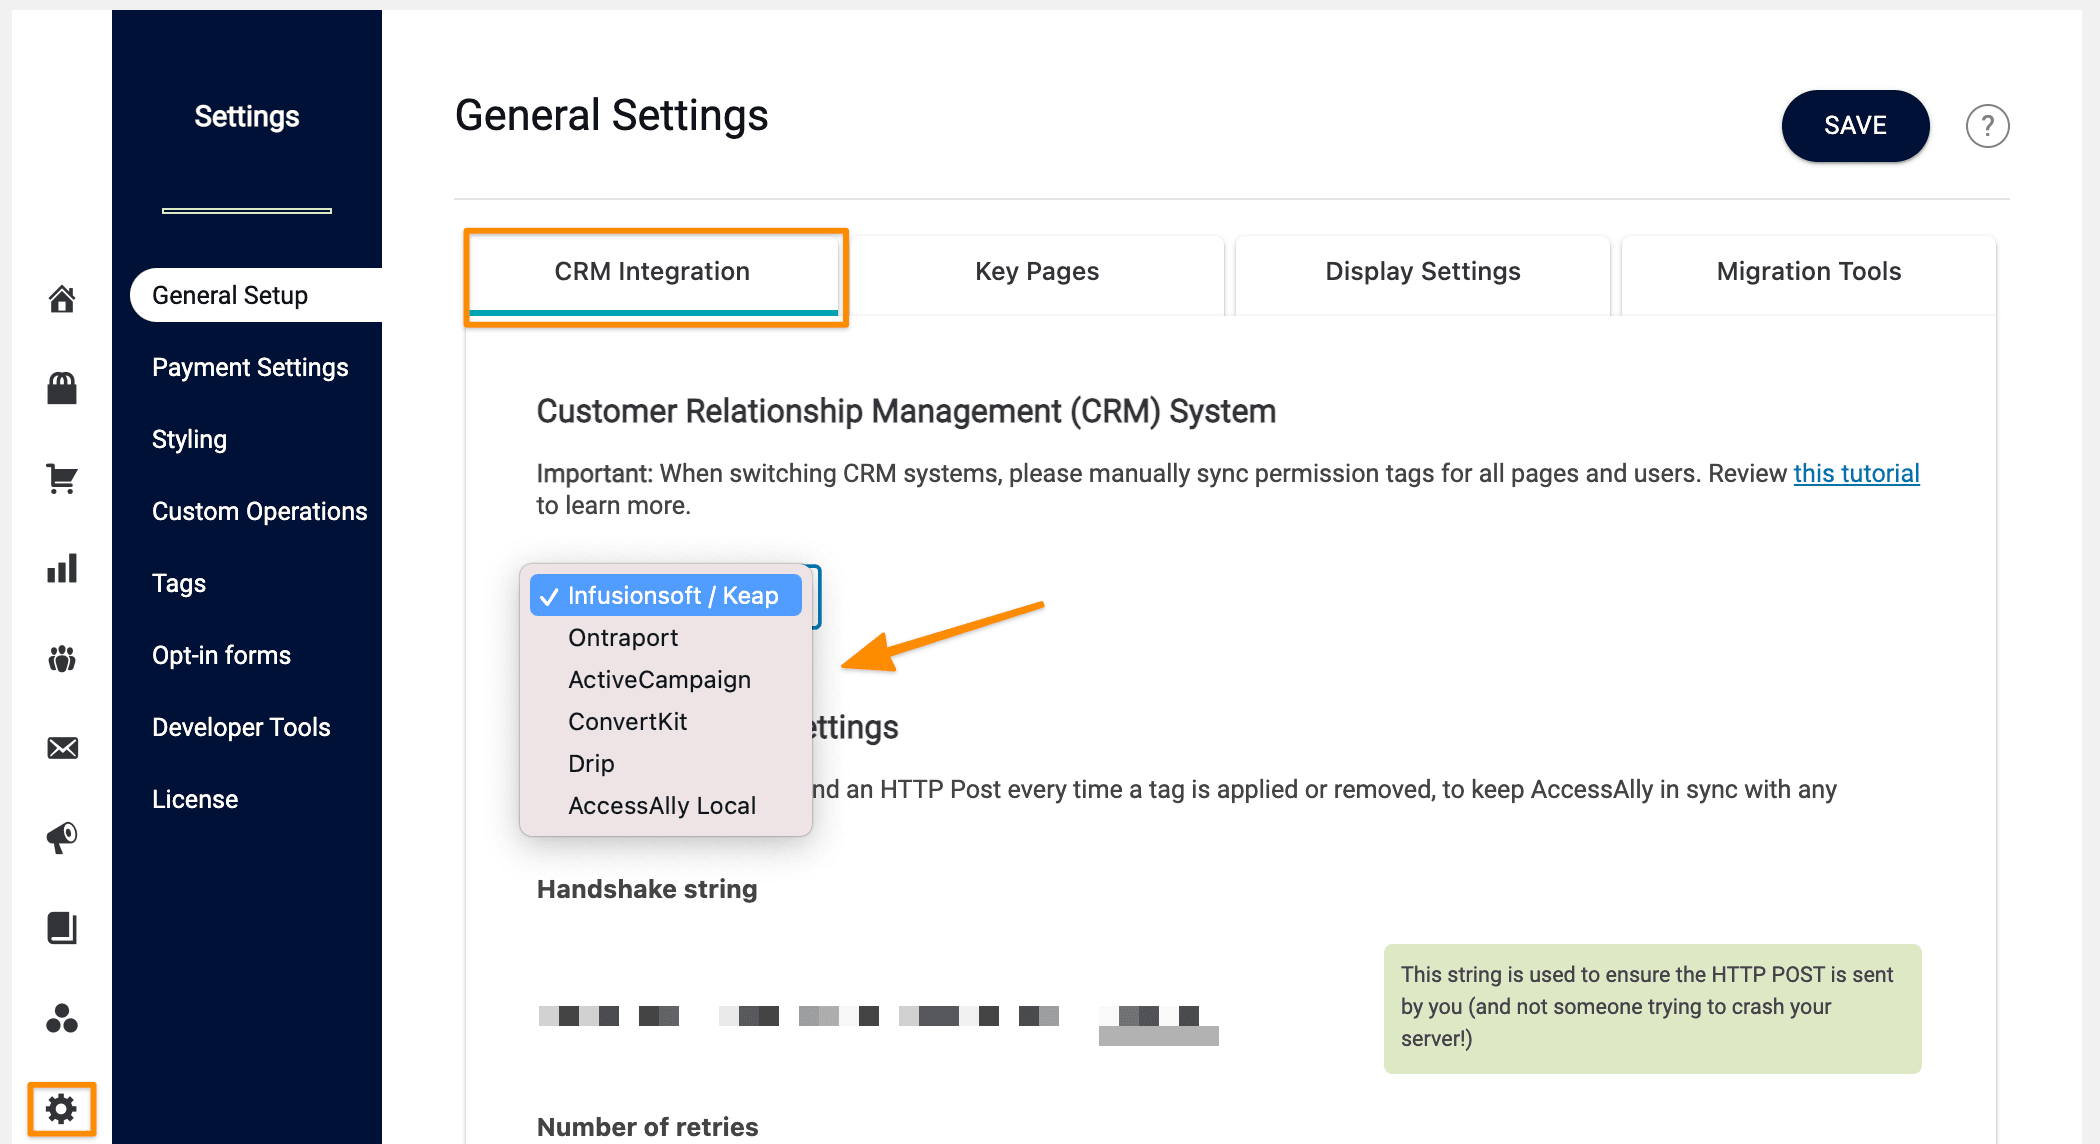
To change your CRM setup, go to: AccessAlly > Settings > General Setup > CRM Integration > Select ActiveCampaign from the dropdown list.

Add your API keys from ActiveCampaign to AccessAlly.
![]()
Read the full tutorial on how to integrate ActiveCampaign with AccessAlly.
Scenario 2: You don’t have AccessAlly set up yet
If you don’t have AccessAlly yet, but plan to use it when you move to ActiveCampaign, wait until everything has been transferred to the new CRM.
Then, simply follow the Membership Site Setup Checklist to get started with AccessAlly.
Step 5: Run AccessAlly Migration Wizard
![]()
Use AccessAlly’s Migration Wizard to sync your membership site contacts with your new CRM.
Go to: AccessAlly > Settings > Migration Tools
This will refresh Member IDs and make sure all your contacts have logins and the proper permissions in AccessAlly – and are totally synced with your new CRM.
Once you’ve run the Migration Wizard, make sure to send them a welcome email with new login details, if necessary.

