Offering progress is tracked with this method using a base page with an offering objective. Module pages are tracked with objective lists on each page and the lesson content is placed into WordPress tabs.
ARTICLE CONTENT:
Goal
Lesson content displayed in tabs with progress tracking over all modules in your course.
Tip: Tabs are created in your page builder. If you are using the AccessAlly Theme try the free Spectra plugin which gives you the option to add tabs quickly and easily.
Offering Setup
Use the drip release course offering template in AccessAlly. New to offerings? See the drip release course offering in AccessAlly 101.
Base Module Setup
On the base welcome page (first page) of your course you’ll use the Offerings Objective to track progress on all pages in your course. This page must be used, checklist added, and published to work.
This page is located in AccessAlly > Offerings > Content Tab > Content Pages Section > Base Module > Edit Brush
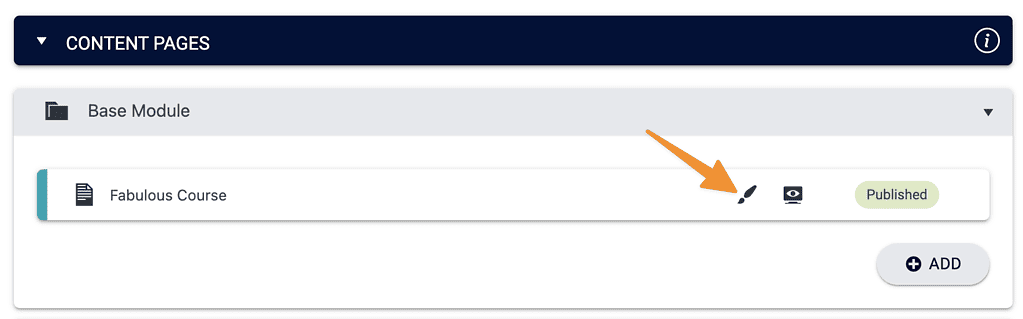
Scroll to ProgressAlly Page Settings > Objectives > add Offering objective.

Don’t forget to add the shortcode to your WordPress page using the AccessAlly shortcode generator.
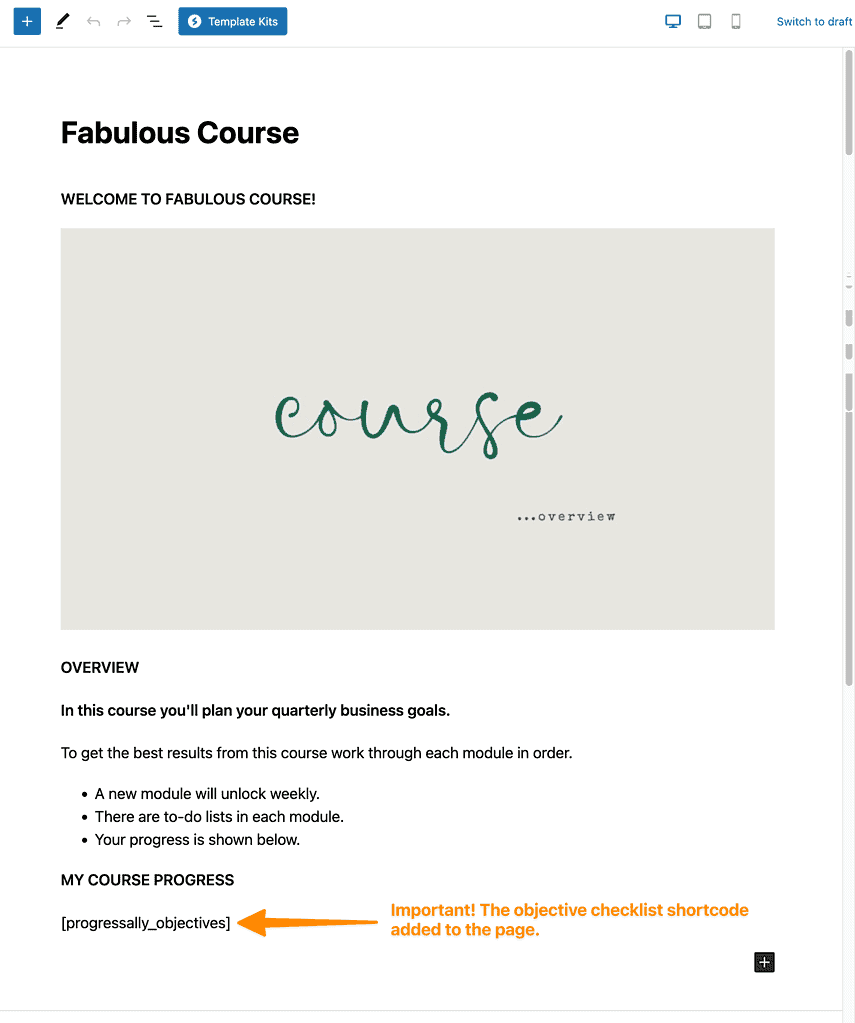
The offering objectives checklist only shows if the modules in your course also have progress tracking objectives AND the checklists have been added to each module page. This is covered in the next section.
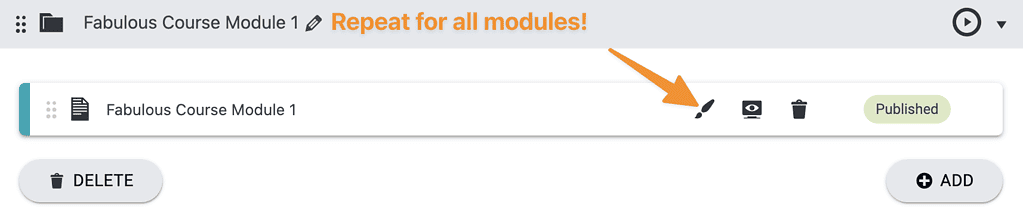
Module Setup
Now it’s time to add tabs for your lessons and progress tracking to each module page of your course. You’ll repeat these steps for each module.
Add lesson tabs
Shown in Gutenberg with Spectra.
Add progress objectives
This will cover anything you’d like to track for all lesson tabs! This list may be long and that’s ok.
![]()
Display progress tracking
Add the progress tracking to your WordPress page using the AccessAlly shortcode generator. There are two ways to add this:
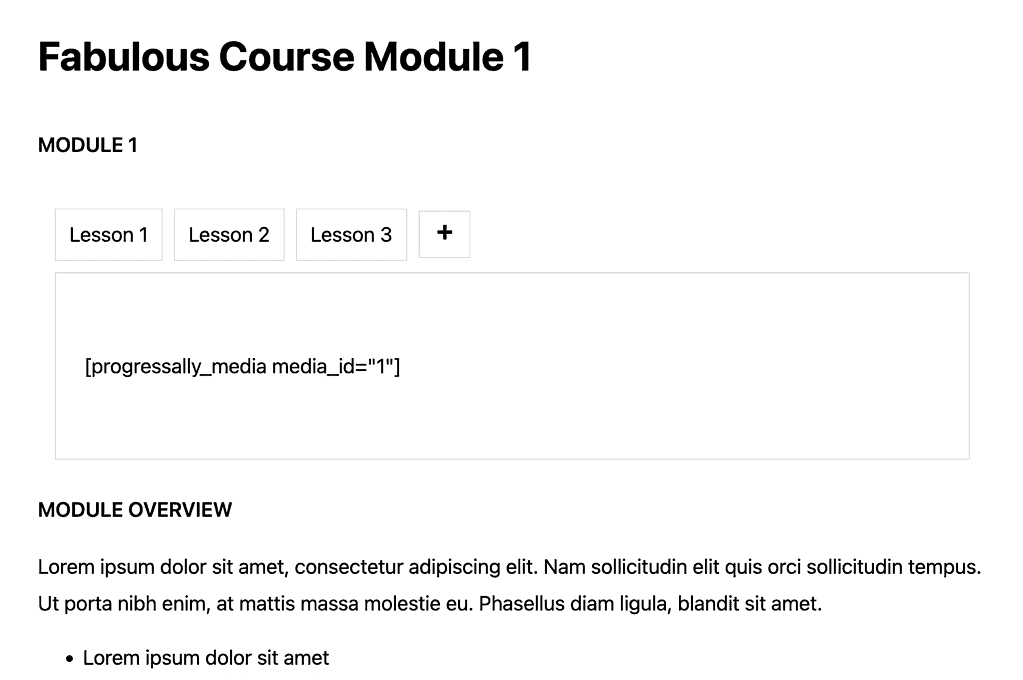
Simple module goals section
Add the entire progress checklist to the page to create a module goals section. This works great for modules with a few objectives.
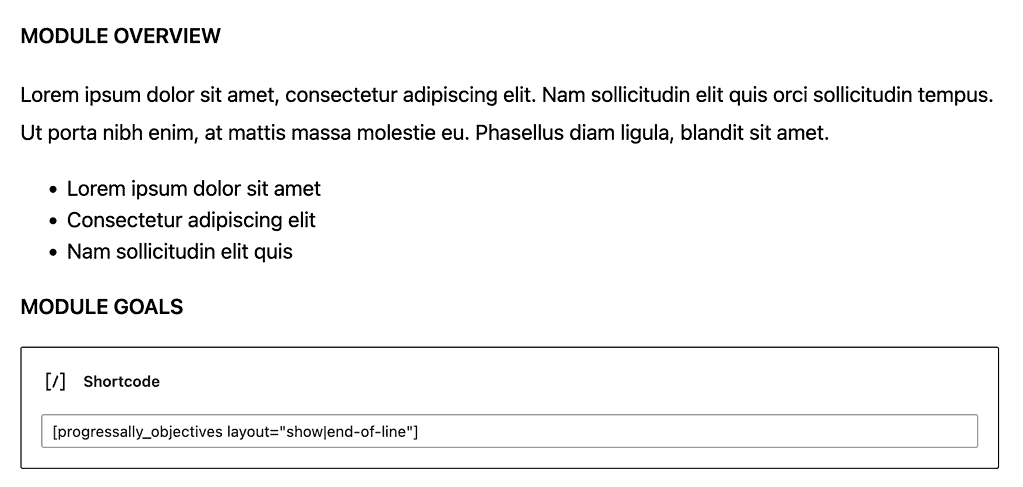
When you create progress tracking like this the goals will appear below your tabs in a list.

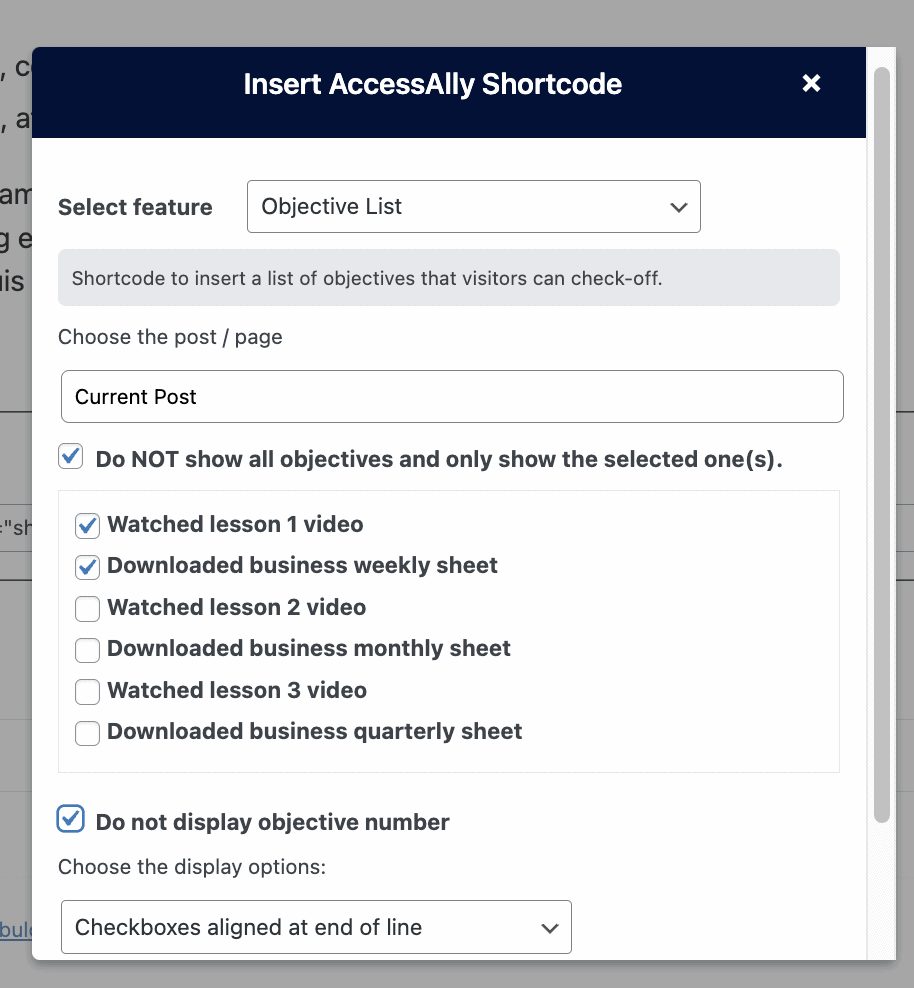
Advanced – lesson goals section
Separate lesson goals in each lesson tab. This works great for modules with a lot of objectives.
Step 1: Use the AccessAlly Shortcode Generator to get only the first lesson objectives from the list.
Step 2: Add the shortcode with lesson objectives at the bottom of each lesson tab.
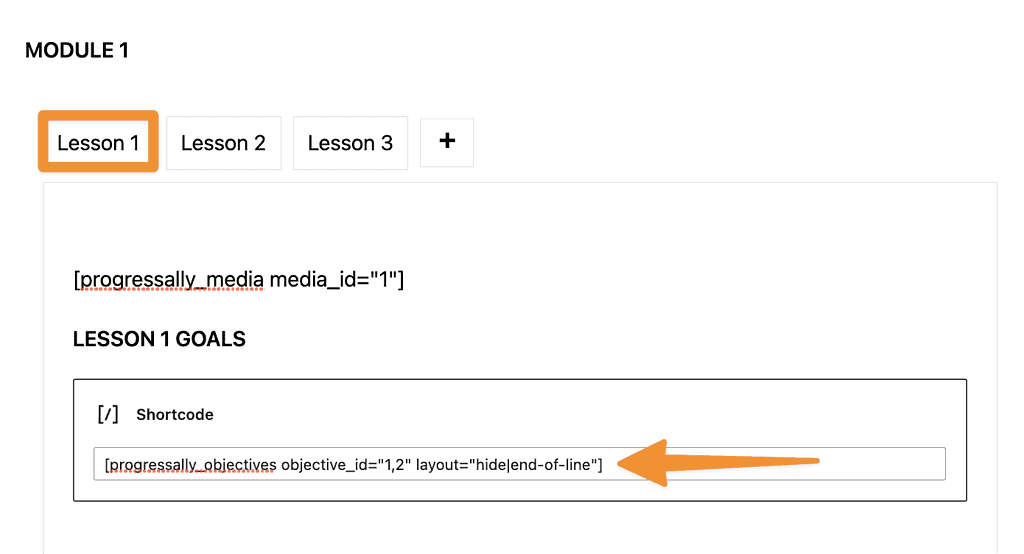
Step 3: Final view showing lesson goals.

