In AccessAlly Pro, you can create objectives that are linked to Private Notes. Follow the tutorial on this page to learn how to set it up.
ARTICLE CONTENT:
Step 1: Create the private note
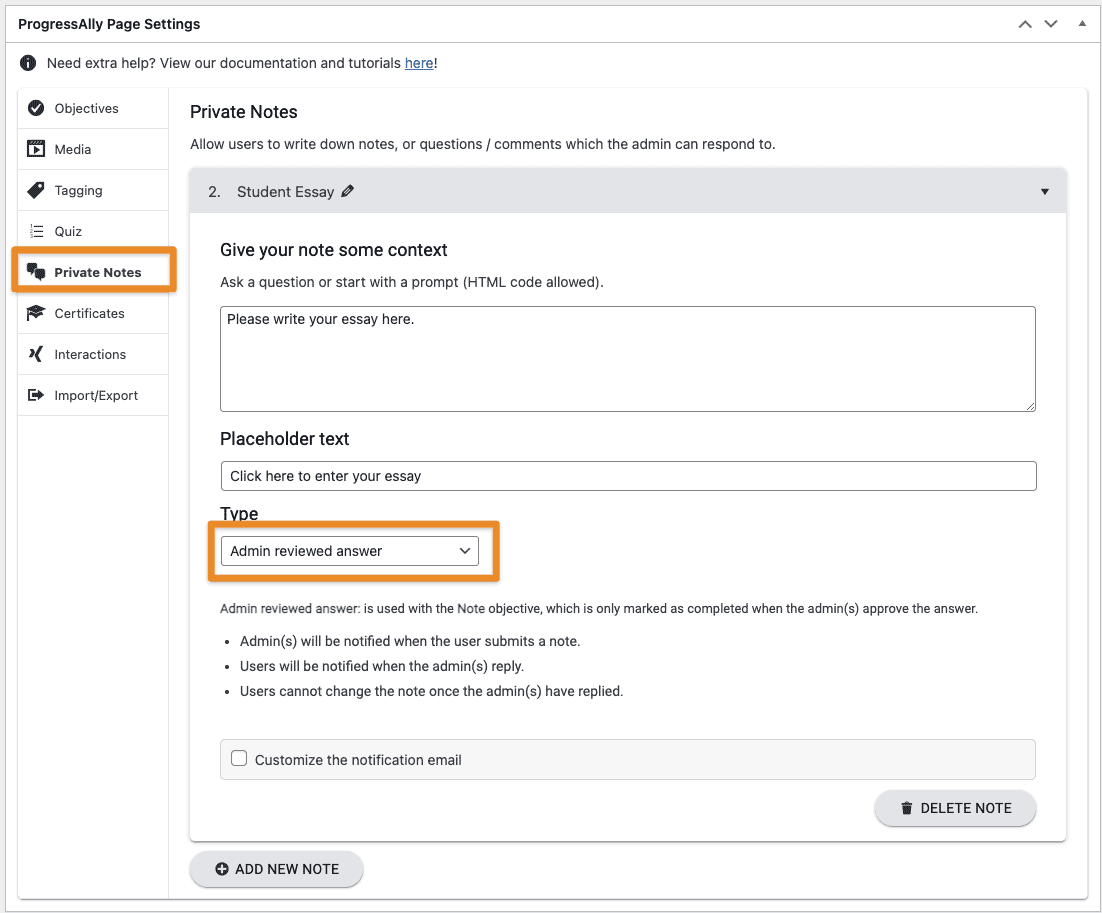
Go to the page you want the admin reviewed note to appear on. Scroll down to the ProgressAlly Page Settings area and click on Private Notes. Click on Add New Note. Name your note, add some context, and select Admin reviewed answer as the type.
Step 2: Create the objective
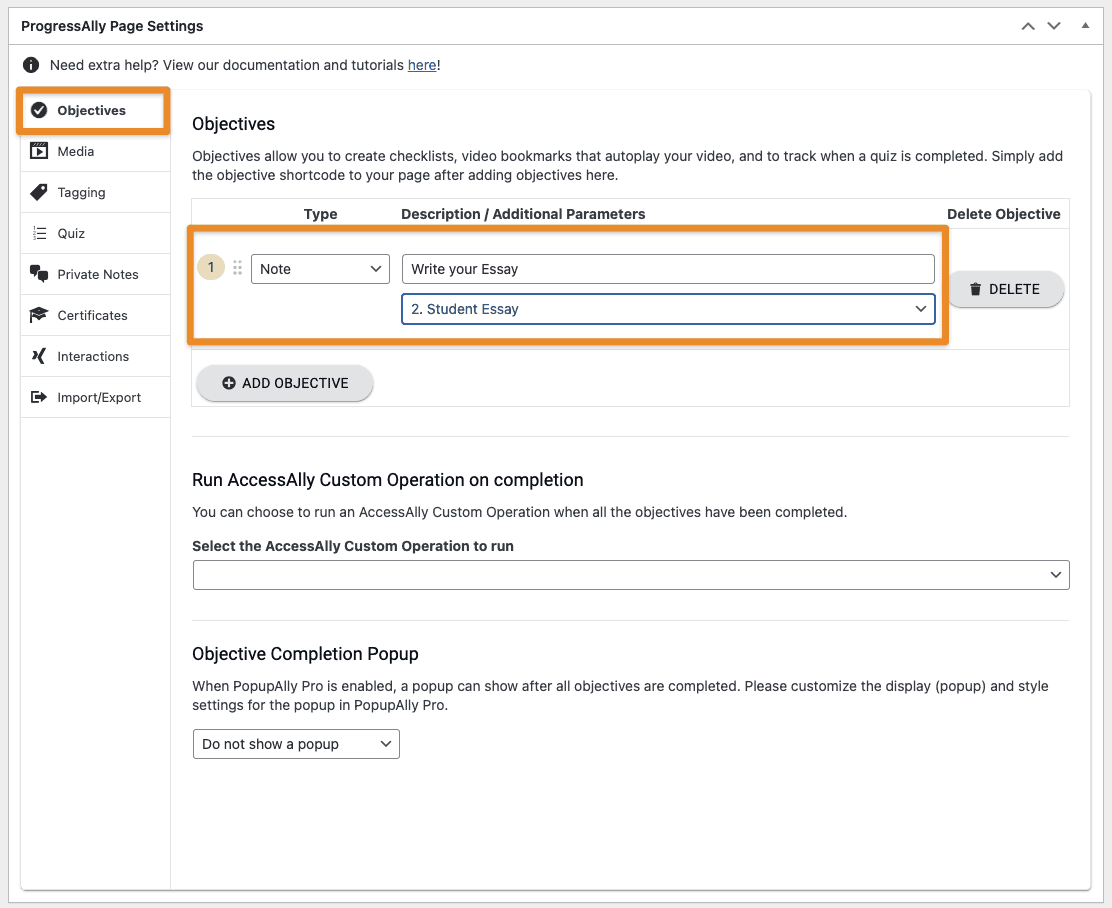
Click into the Objectives tab and then click on the Add Objective button. Change the type to Note, add your description, and then click the dropdown and select your previously created note.
Step 3: Add the objective and note to the page
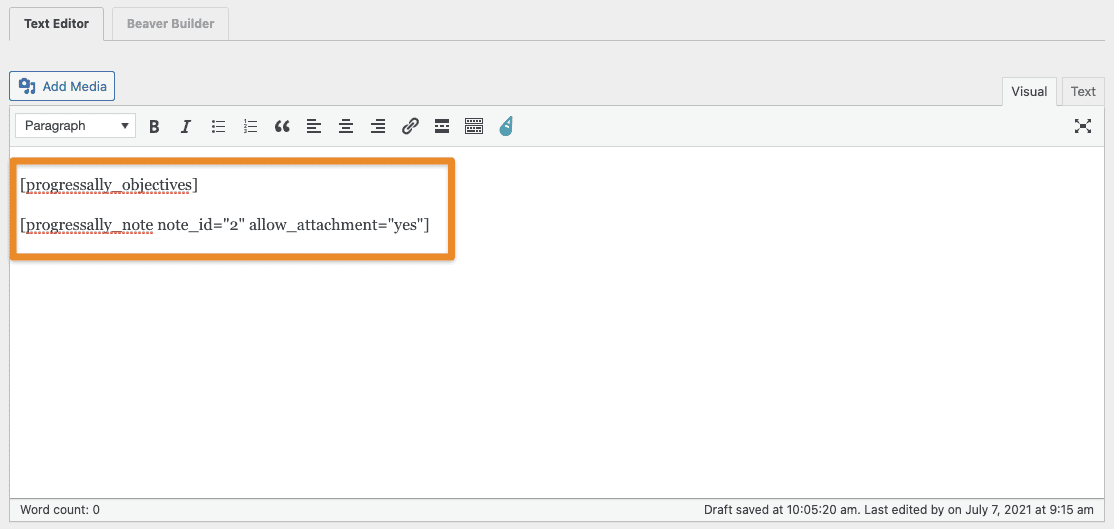
Scroll up to the content area of the page and click on the AccessAlly shortcode adder and add the objective and the note to the page. Then publish the page.
What the user sees
The user will see the objective and the private note on the page and can fill out the private note. In this example the student has already written their essay. Notice the objective has not been checked off. It will not be checked off until an admin approves the comment.
Approving Notes
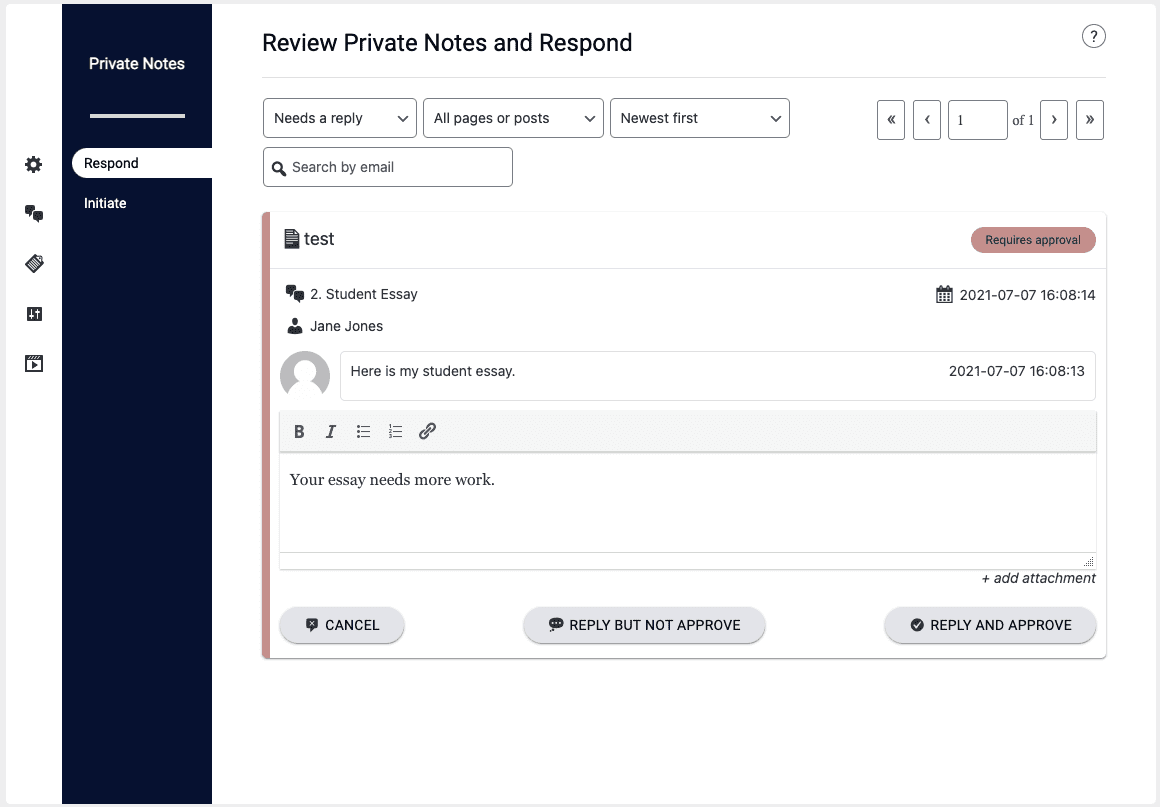
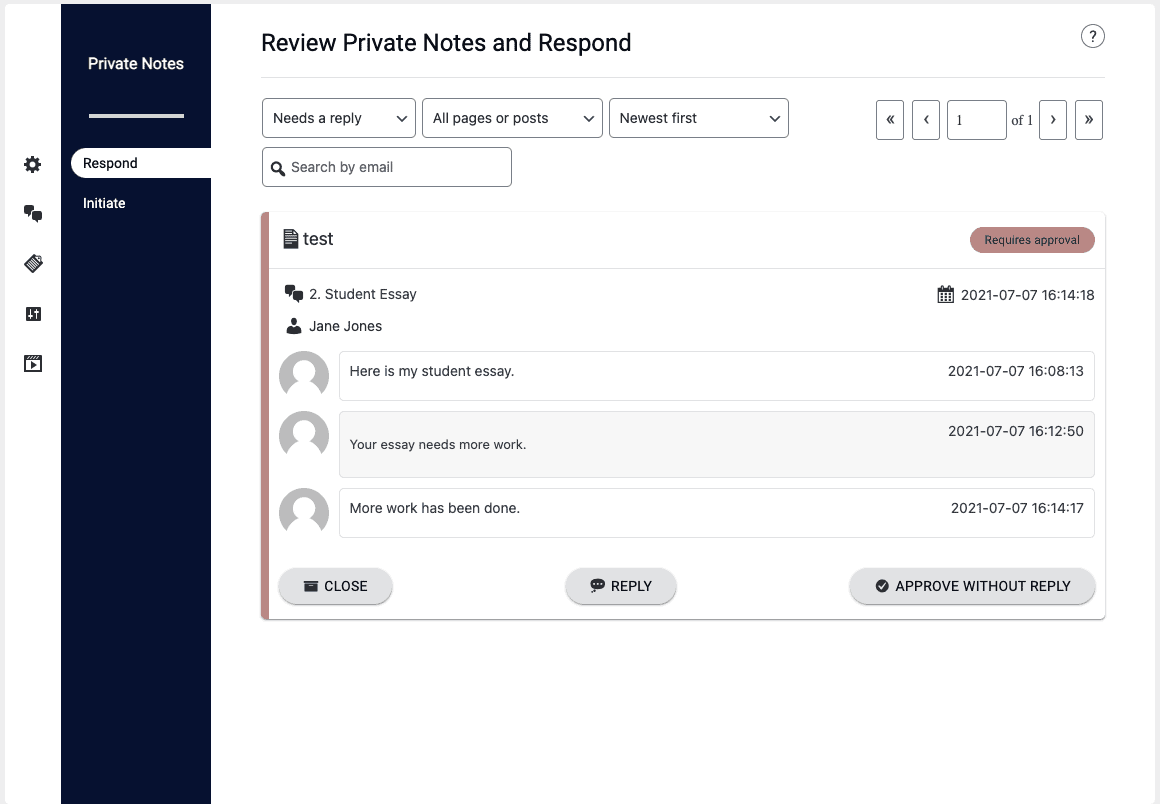
To see and approve student notes navigate to ProgressAlly -> Private Notes. By default you will see all notes that are waiting for a response. You can choose to approve without a reply or you can choose to send a reply with approval or without. In this example the reply button was clicked on and the comment was not approved.
When the note is not approved the user will see the comment and will be able to reply again. Here is an example of what the user would see and an additional response from the user. You will notice the objective is still not checked off.
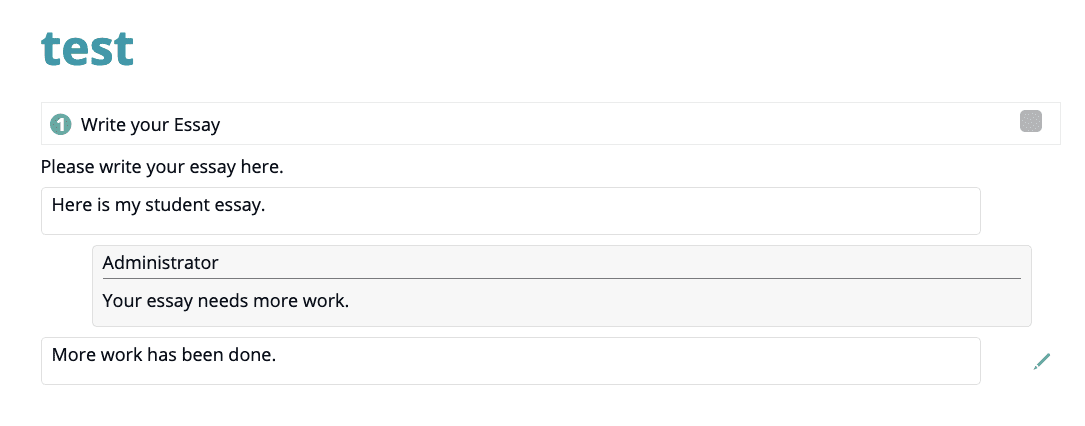 You can then see the new note and approve it or not again.
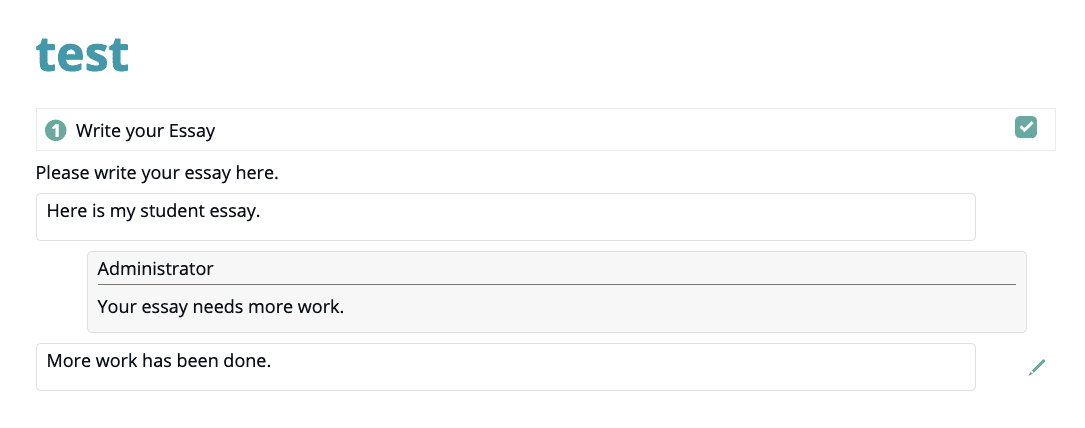
Once it has been approved the objective will check off automatically for that user as shown here.

