The Team Center offering template creates a dashboard for team leaders to manage team members, but what if you would like to create a place where team members logging in can see all available offerings for the team quickly and easily?
You can use the The Team Center Welcome Page as a Team Member Dashboard!
Get Support: Questions about this article? Join a Tune Up call or contact support.
ARTICLE CONTENT:
Prerequisites for Your Dashboard
Before you can create the team member dashboard you’ll need a Team Offering created in AccessAlly.
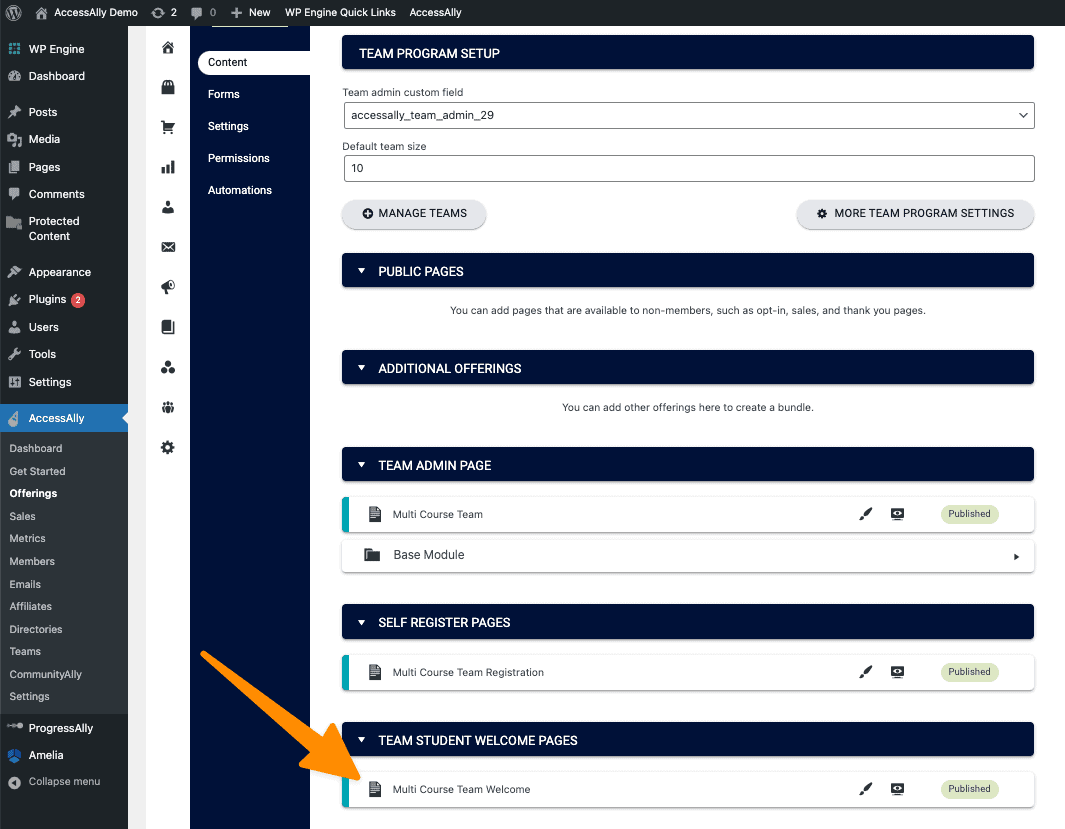
Where is the Team Center Welcome Page?
You’ll find this page in the content tab of your team offering under the Team Student Welcome Pages section.
Creating the Team Member Dashboard
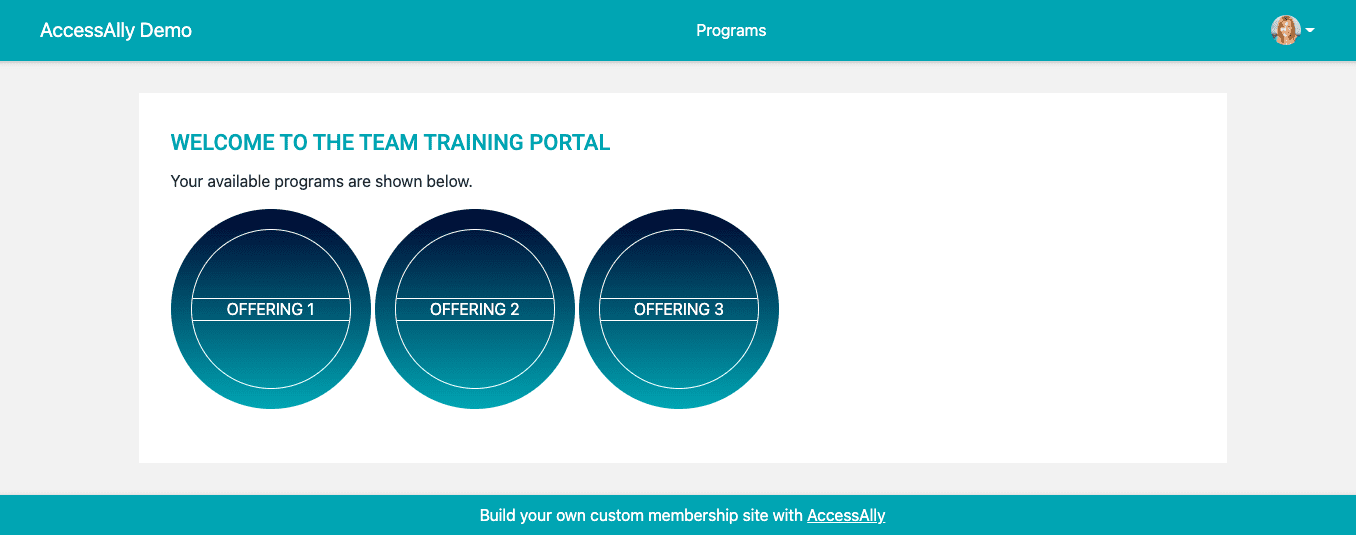
Here is an example of what a team member sees on their dashboard. All of the offerings the team leader has purchased for the team are in one easy to find spot.
Team Member View shown below.
Building the Team Member Dashboard
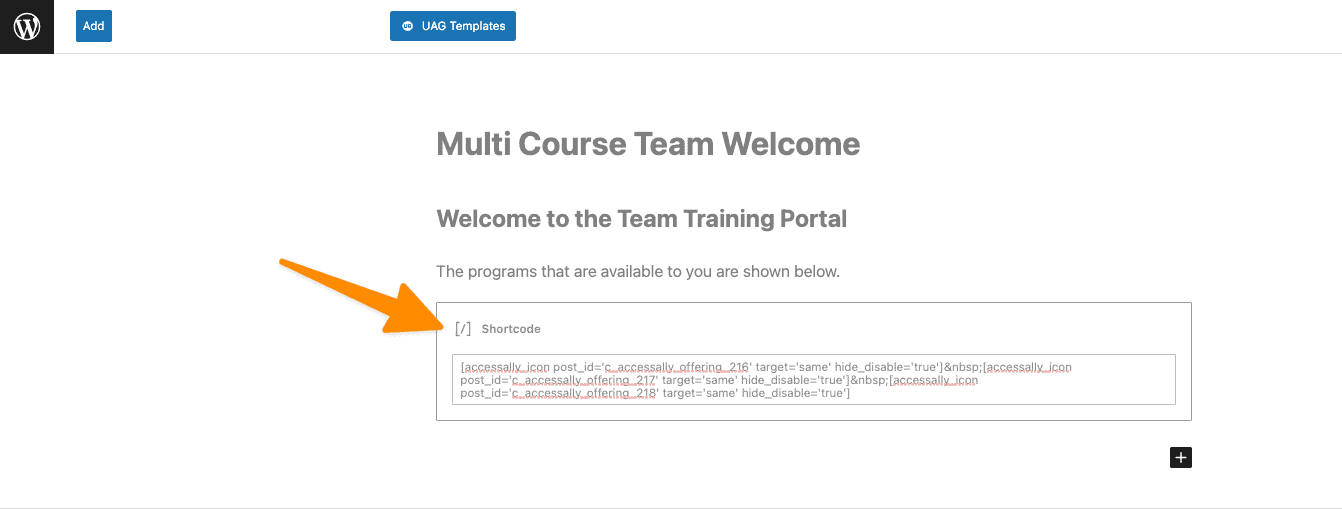
Use the AccessAlly Shortcode Generator to create individual shortcodes for all offerings purchased by the team leader. The options for the shortcode generator are shown below.
- Select Offering Icon
- Choose the name of the offering
- Set to do NOT show this icon if the team member does not have access to this program. This is great because only offerings the team leader has given to team members will appear on this page.
- Generate shortcode – you’ll paste this into the team member welcome page (the method will vary depending on your WordPress theme.)
![]()
Example admin view of the Team Member Welcome Page remember to add a welcome message or other important details to the page.
Team Member View When Logging In
It’s important to account for what the team member sees when they log in. Here are two popular options:
- Main Dashboard Page
- Team Member Dashboard
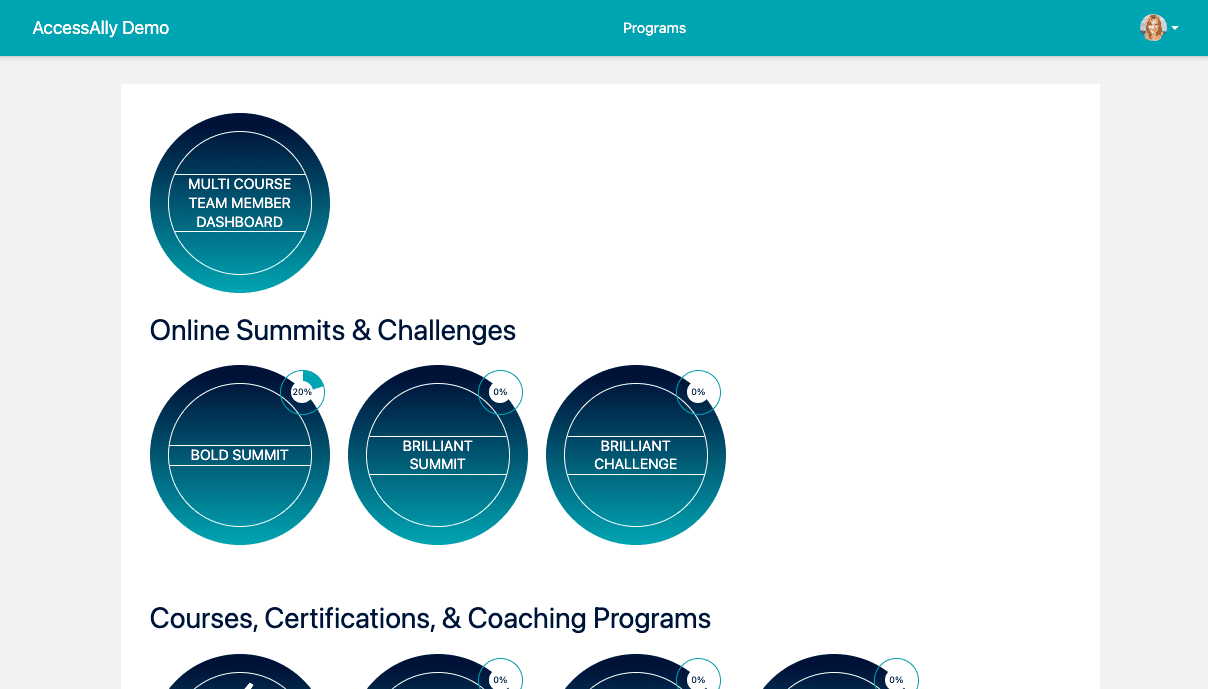
If you would like team members logging in to go to the dashboard page of your site you’ll need to place the icon for the Team Member Dashboard on this page so team members can click to access the Team Member Dashboard.
You’ll use the AccessAlly shortcode generator to build the icon for the team member welcome page (page in your team offering) and place it on the dashboard page of your site.
AccessAlly Shortcode Generator
![]()
Dashboard Page View
If you would like team members logging in to bypass the Main Dashboard and go directly to the Team Member Dashboard you will need to create a page redirect on the Main Dashboard page of your site.
Go to the Main Dashboard Page of your site, click edit page, scroll to the Redirect section. Add a new redirect.
- Logged in with additional conditions
- Team Member tag for your team offering
- Redirect them to the Team Member Welcome page
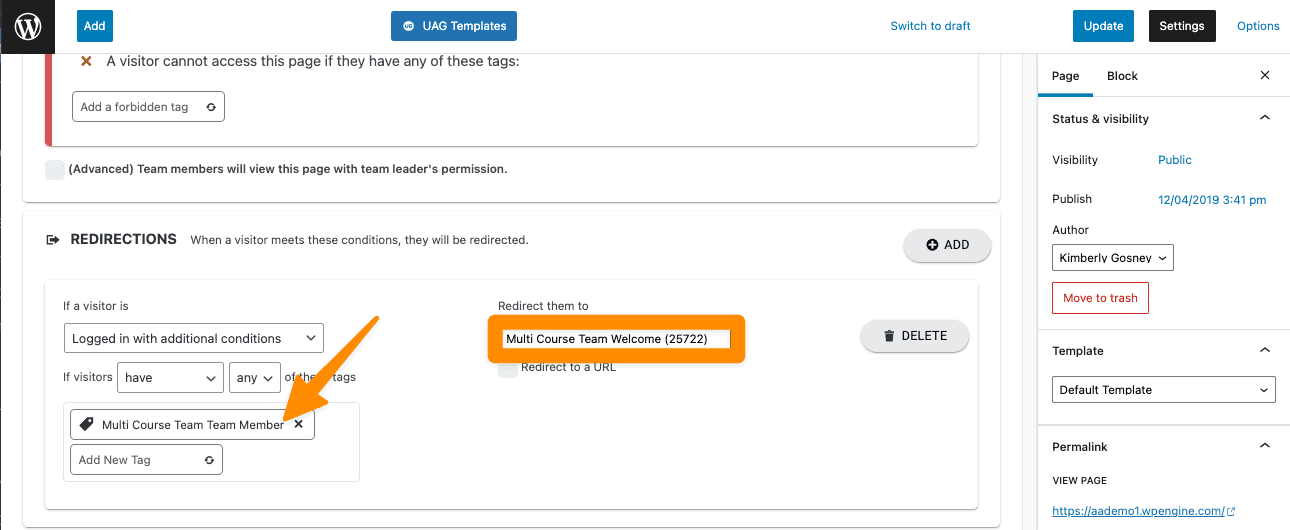
With this option when a team member logs in they’ll automatically be redirected to the Team Member Welcome Dashboard.
Frequently Asked Questions
Below you’ll find questions asked about this article.
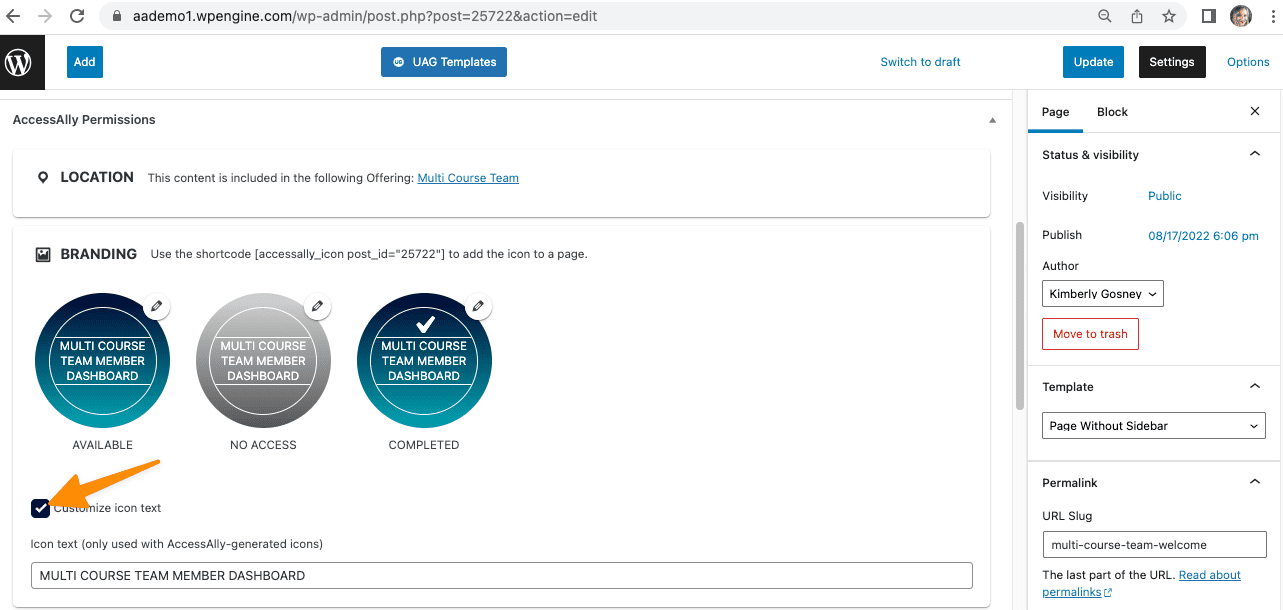
If you are using the AccessAlly gradient icons you can change the text by visiting the team member dashboard page. Look for the customize text option.
If you are using custom images instead of the gradient icons clicking the pencil by the available icon will allow you to upload a photo for the icon on this page.
Terms Used in This Article
Team Member Welcome Page
This is a page in your team center offering that uses the Team Member tag. All members of a team need this tag to see this page.
Team Member Dashboard
Using the Team Member Welcome Page as a Team Member Dashboard allows you to show offering icons for specific offerings the team leader has purchased for the team members.
Dashboard Page
This is a key page that was created when you installed the AccessAlly plugin. It is usually located at: yoursubdomain.yoursite.com/dashboard/ and typically shows all icons for offerings in your site to allow for everything to be located in one central spot.
*Sites built prior to 2018 may have a different naming convention like /home.

