Learn how to install AccessALly on a multisite installation. On this page, you’ll find instructions for installing AccessAlly on a multisite and how to make sure everything is configured properly.
ARTICLE CONTENT:
When to use a WordPress multisite?
What is a WordPress multisite? It’s one WordPress installation that allows you to manage a network of different websites like domains and subdomains, all from the same dashboard.
Why choose to use a multisite? Depending on which website host you’re using, you may want to reduce the number of different WordPress installations that you have to remain on a more affordable hosting plan.
(Please note that both WPEngine and Kinsta do not allow a multisite installation on their Starter plans, but you can purchase an additional site for an extra $20/month from WPEngine or go on the 2-site Pro plan with Kinsta.)
Alternatively, you might find that managing just one WordPress installation is easier for you and your team. There are fewer things to manage: one user for all the sites, only one set of plugins to keep to date, etc.
Some people prefer to keep their WordPress installations completely separate to be able to move sites separately or make changes in a more isolated manner, and that’s also a valid strategy for choosing not to use Multisites.
If you’ve decided that a multisite is right for you, keep reading to learn how to set it up with AccessAlly.
Turning a WordPress site into a Multisite
Depending on which website host you’re using, turning a regular WordPress site into a multisite might be as easy as flipping a switch or asking your host’s support to do it for you. Or you could make some coding changes, if you’re comfortable with that method.
Turning a WPEngine site into a multisite
Follow these instructions for turning your WPEngine site into a multisite.
- Log in to the User Portal
- Click the unique environment name to convert
- Select Utilities
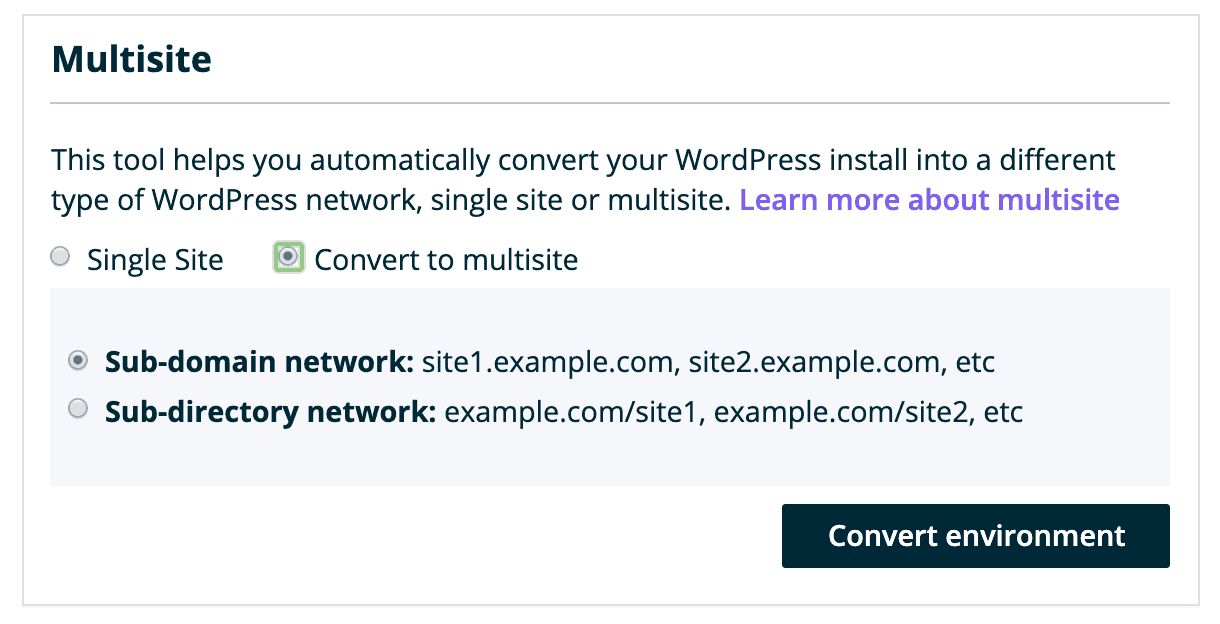
- Under Multisite, select Convert to Multisite
- Select your multisite type and click Convert Environment
You will want to choose the “Subdomain network” option.
Manually Turning a Site into a Multisite
Using FTP or your website host’s cPanel, locate the wp-config.php file and open it to edit it.
Then add the following line just before ‘That’s all, stop editing! Happy blogging’ in the file.
/* Multisite */
define(‘WP_ALLOW_MULTISITE’, true);
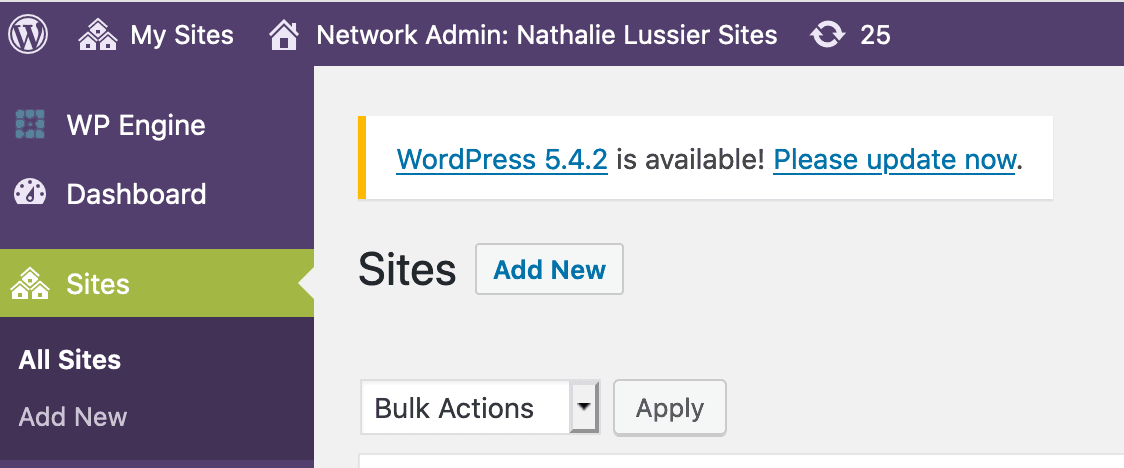
Once you hit save, and log back into your WordPress dashboard you’ll navigate to: Tools -> Network Setup.
That’s where you’ll select the “Subdomain network” option for your multisite.
Configuring Your Multisite
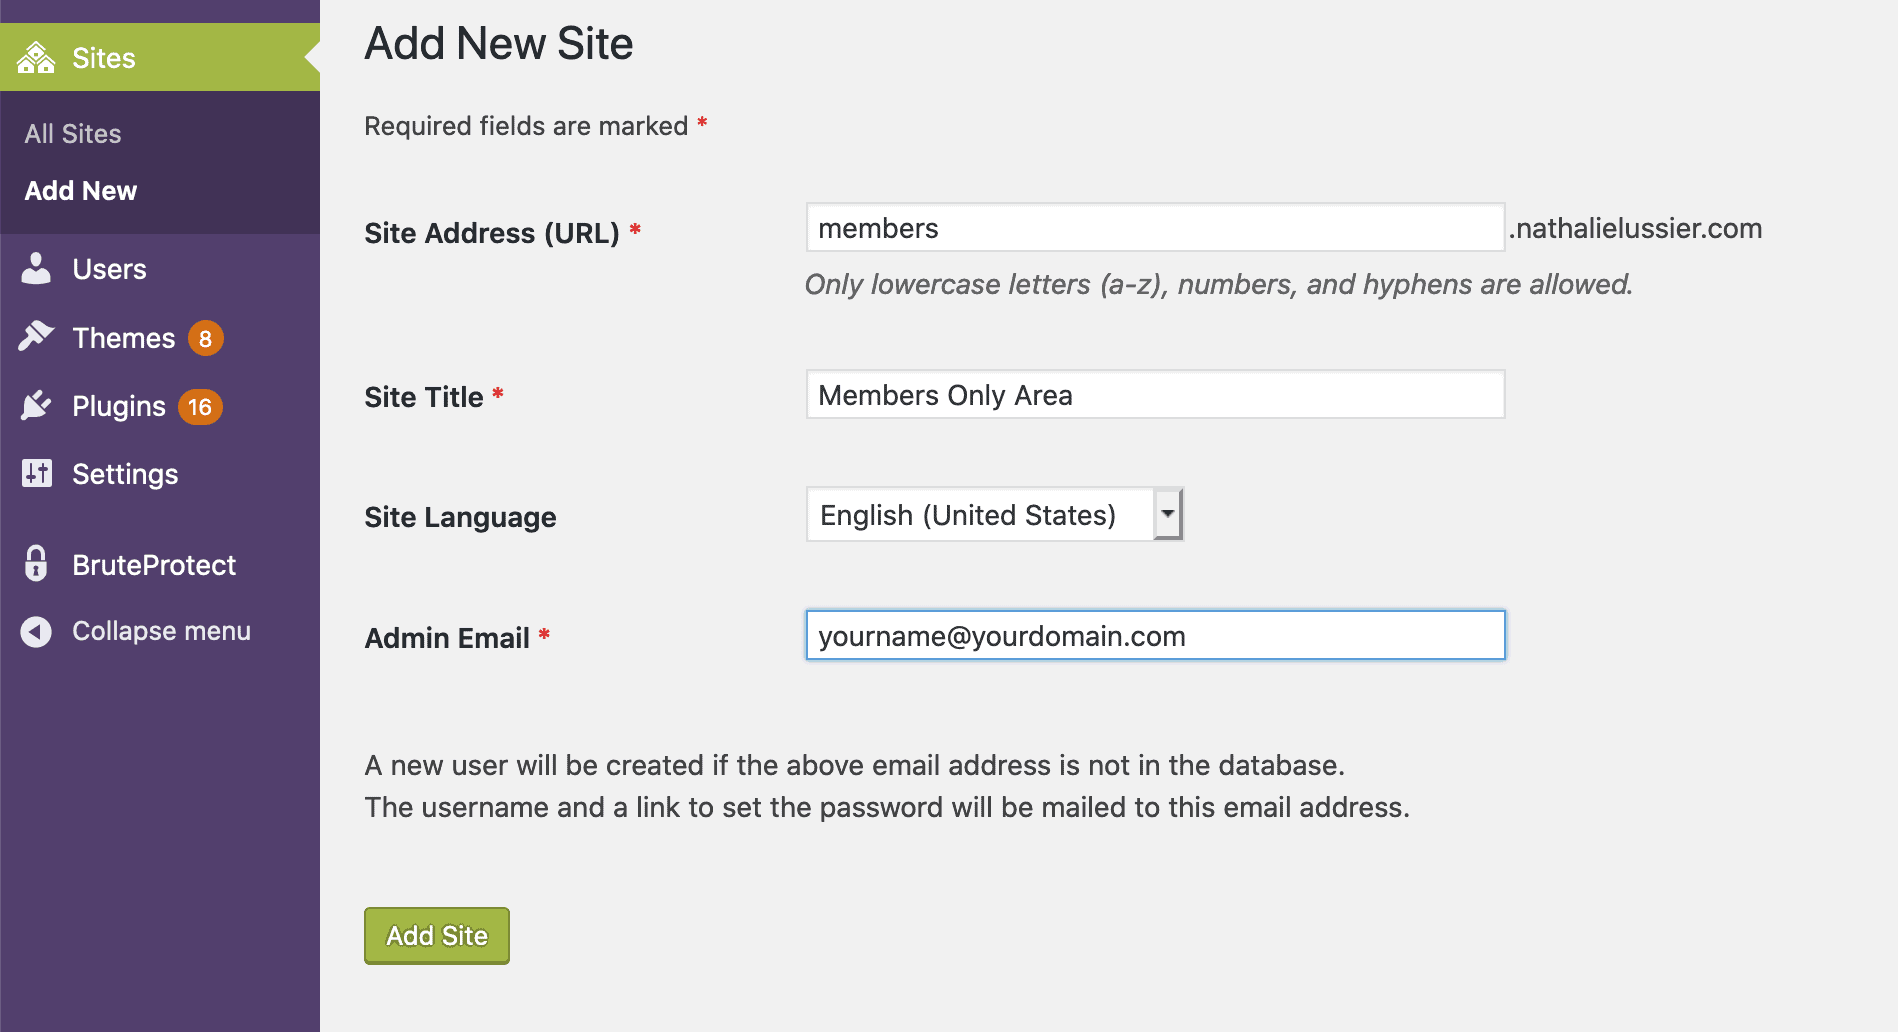
Setting up a new site for your subdomain
Now that your site is set up as a multisite, you’ll want to create a new site with your members area subdomain.
Enter the subdomain that you’ll be using for your members only area.
To make sure that your new subdomain works properly, you’ll need to follow the steps to setting the DNS settings through your domain registrar.
Install AccessAlly at the Network Level
For WordPress multisite you need to upload new plugins at the Network level.
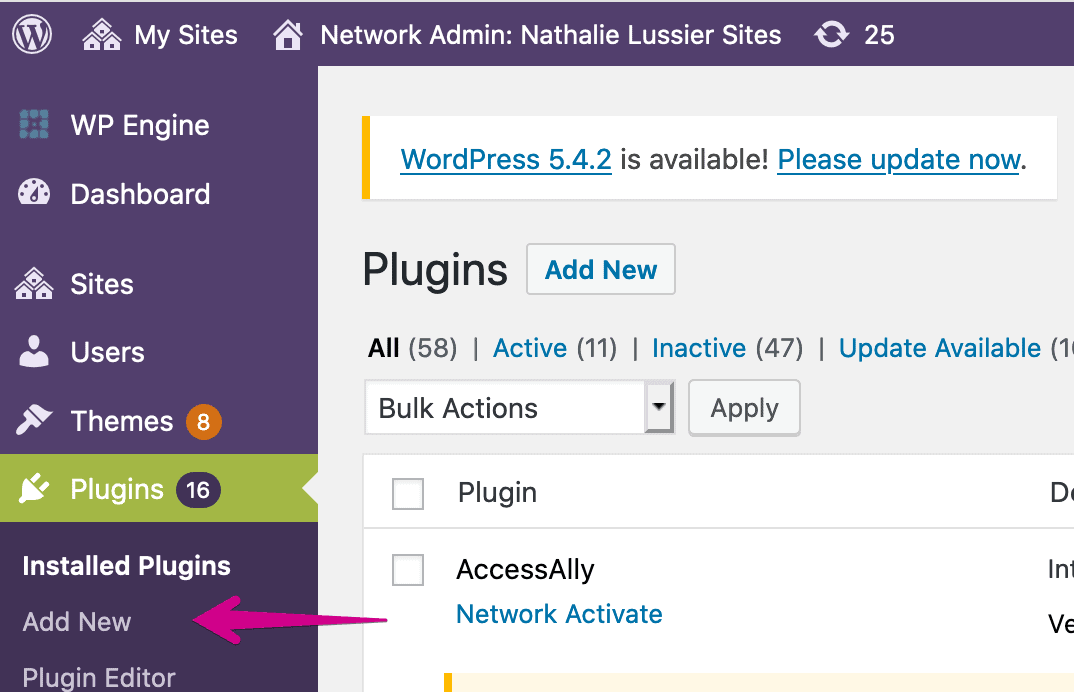
Upload the file as you would any other plugin file.
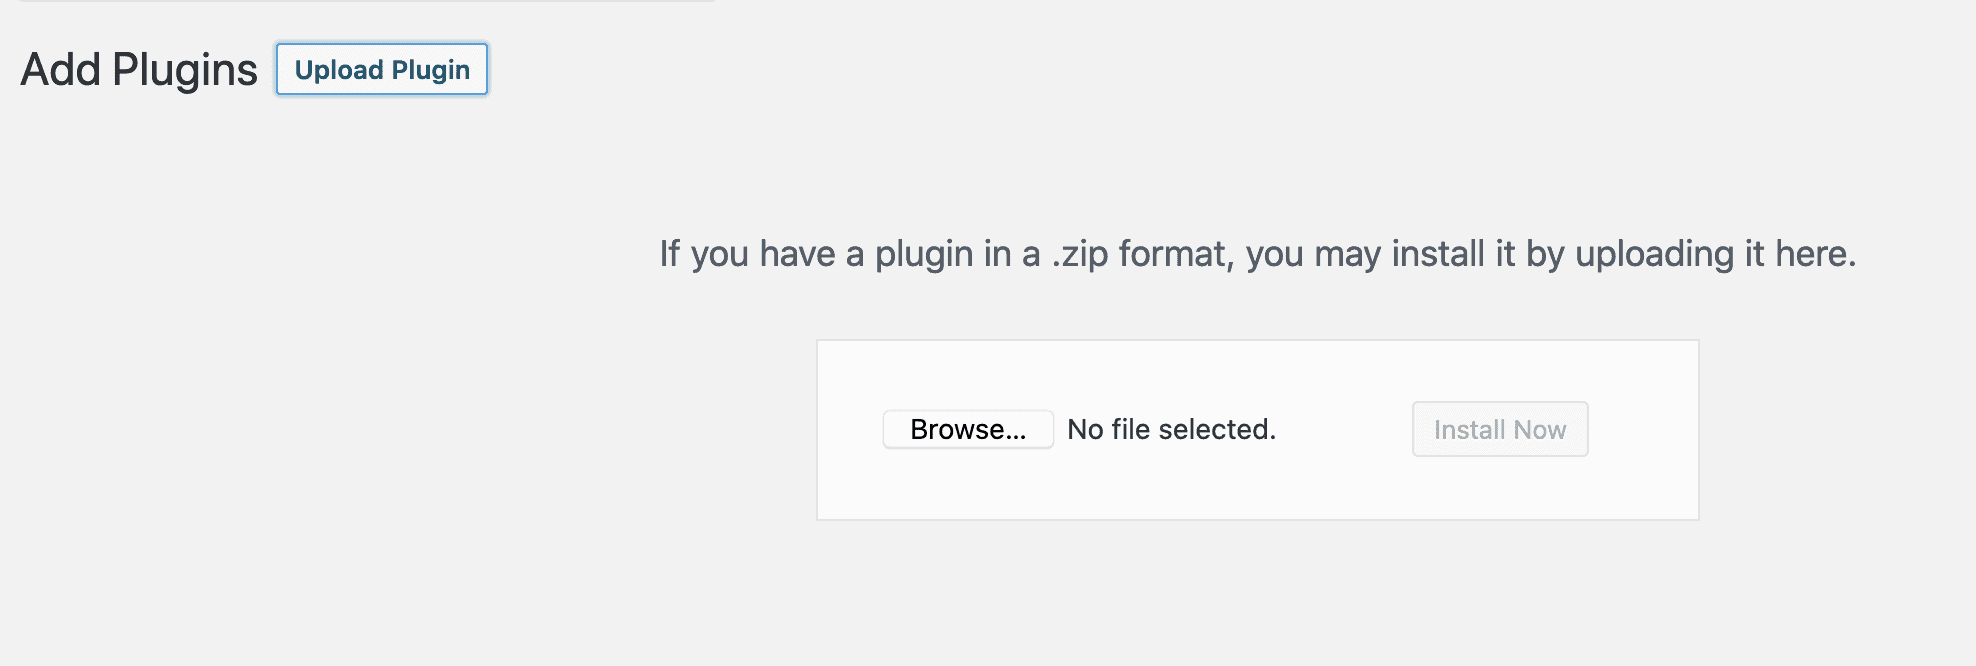
Don’t activate it immediately at the network level. Instead, navigate to the specific new site that you created, and activate it there.
Activate AccessAlly at the Subdomain Site Level
Navigate to the Plugins page for your subdomain on the multisite and activate AccessAlly there specifically.
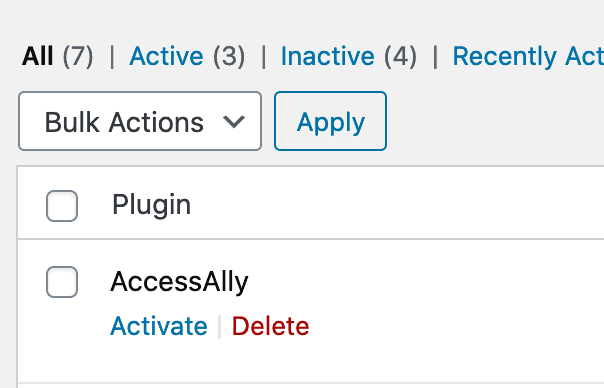
Now follow the rest of the steps for activating the plugin. From here on out, everything will work the same as it would on a single WordPress installation!
