In this article, you’ll see how to integrate Ontraport with AccessAlly and find other useful links from Ontraport.
ARTICLE CONTENT:
Setting up your Ontraport API Keys
Go to: Administration > Integrations > Ontraport API Instructions and Key Manager.
The API ID and Key settings will be located under AccessAlly > Settings > General Setup > CRM Integration after you’ve purchased the plugin. Save them to use when you’re ready to connect your Ontraport account with AccessAlly.
Click on your website’s name to open the Permissions editor. Inside the Permissions editor, you can select a Contact Owner from the drop-down menu, then check off any relevant permissions.

Create a Custom Field for Passwords
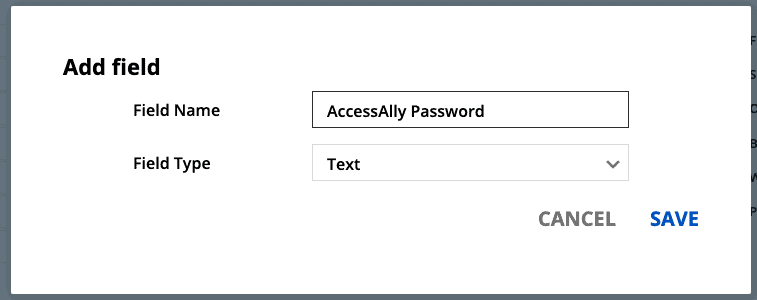
AccessAlly needs a designated field in Ontraport to store the users’ passwords. To create this field, go to: Contacts > Settings > Field Editor
Add a text field – you can name it anything you like, but make sure it’s descriptive enough to remember, like “Member Site Password,” for example. Then click Save.
Required Ontraport Form Integration
There are special cases where someone who has opted out of your email list in your CRM makes a new purchase. In these cases, AccessAlly uses an opt-in form that you create specifically for AccessAlly to re-add them to your CRM so you can deliver your goods.
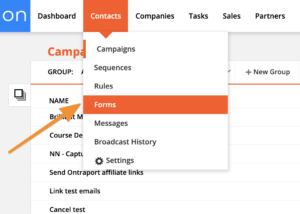
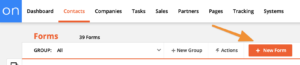
First go to Contacts > Forms.
Choose the “Create new form” button.
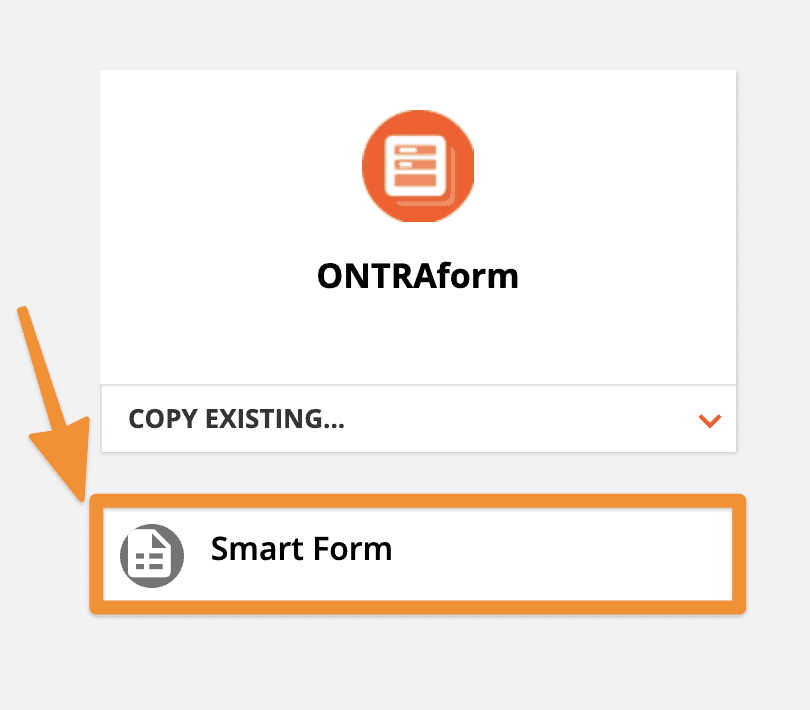
Now select the “Smart Form” option to create the simplest type of Ontraport Form.
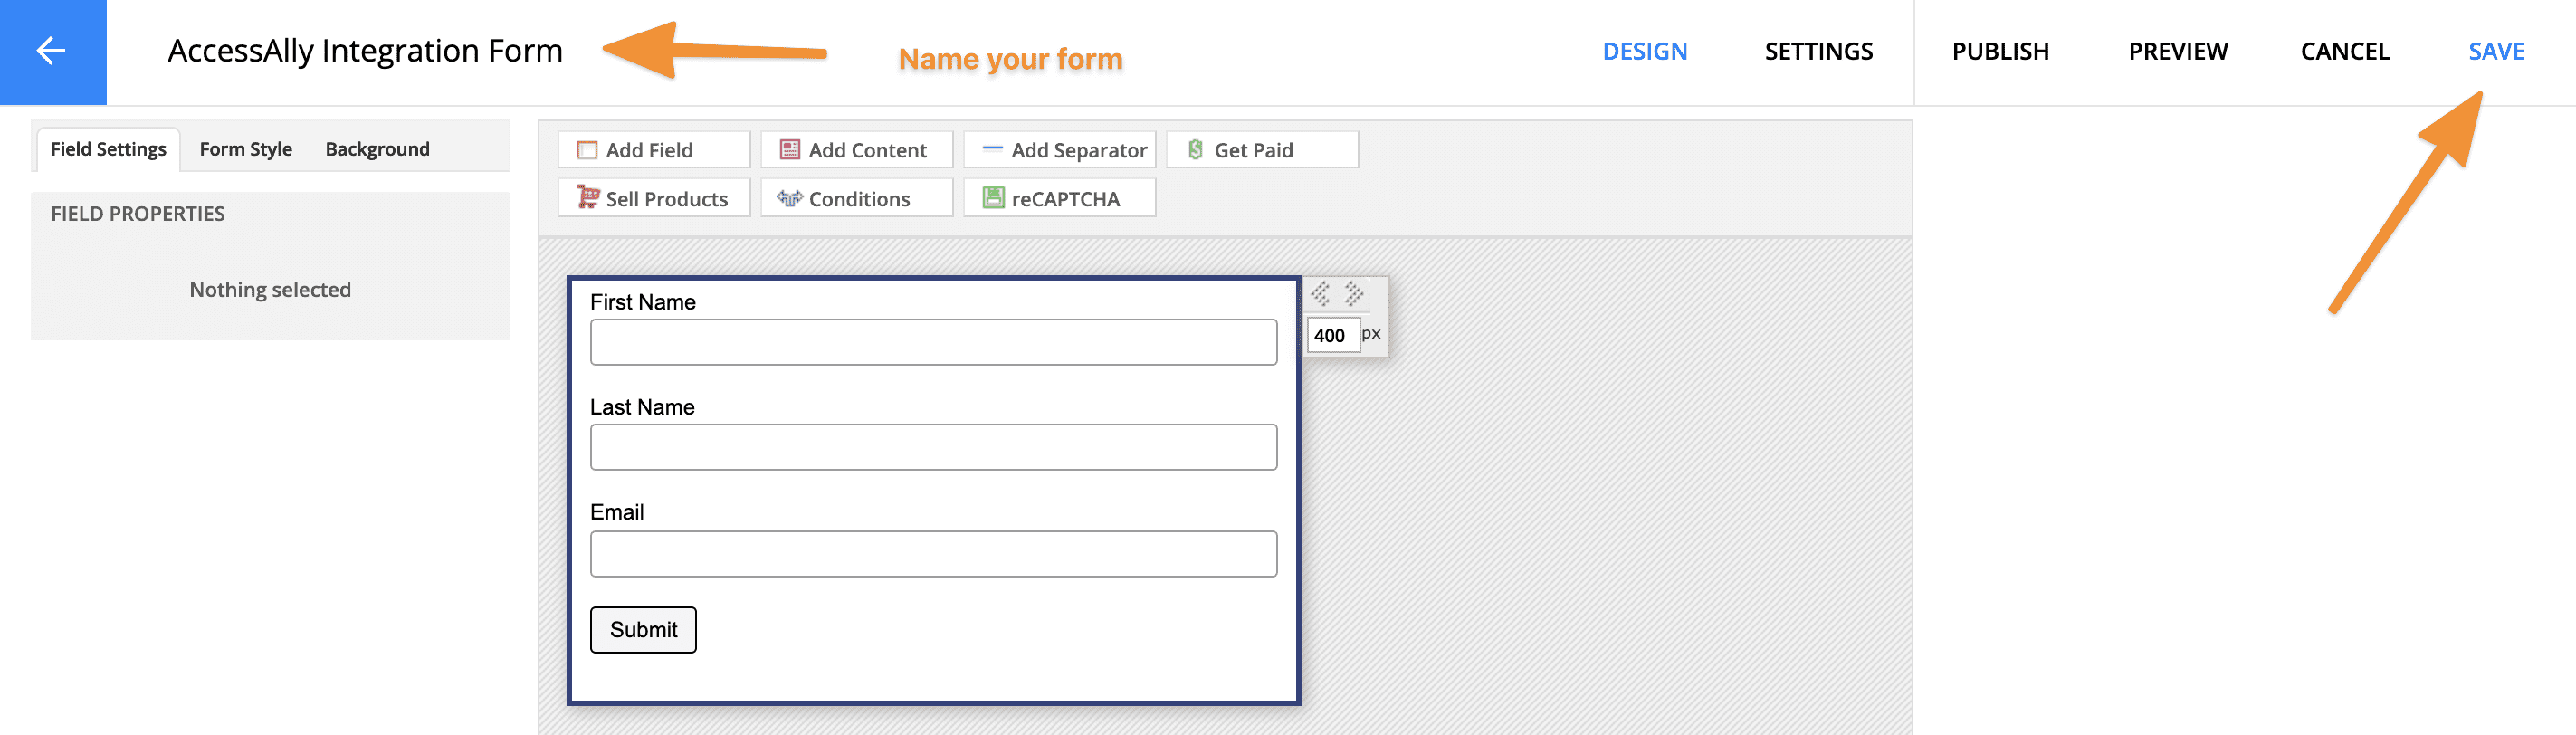
Here all you have to do is name your form so you can easily find it later, and hit save.
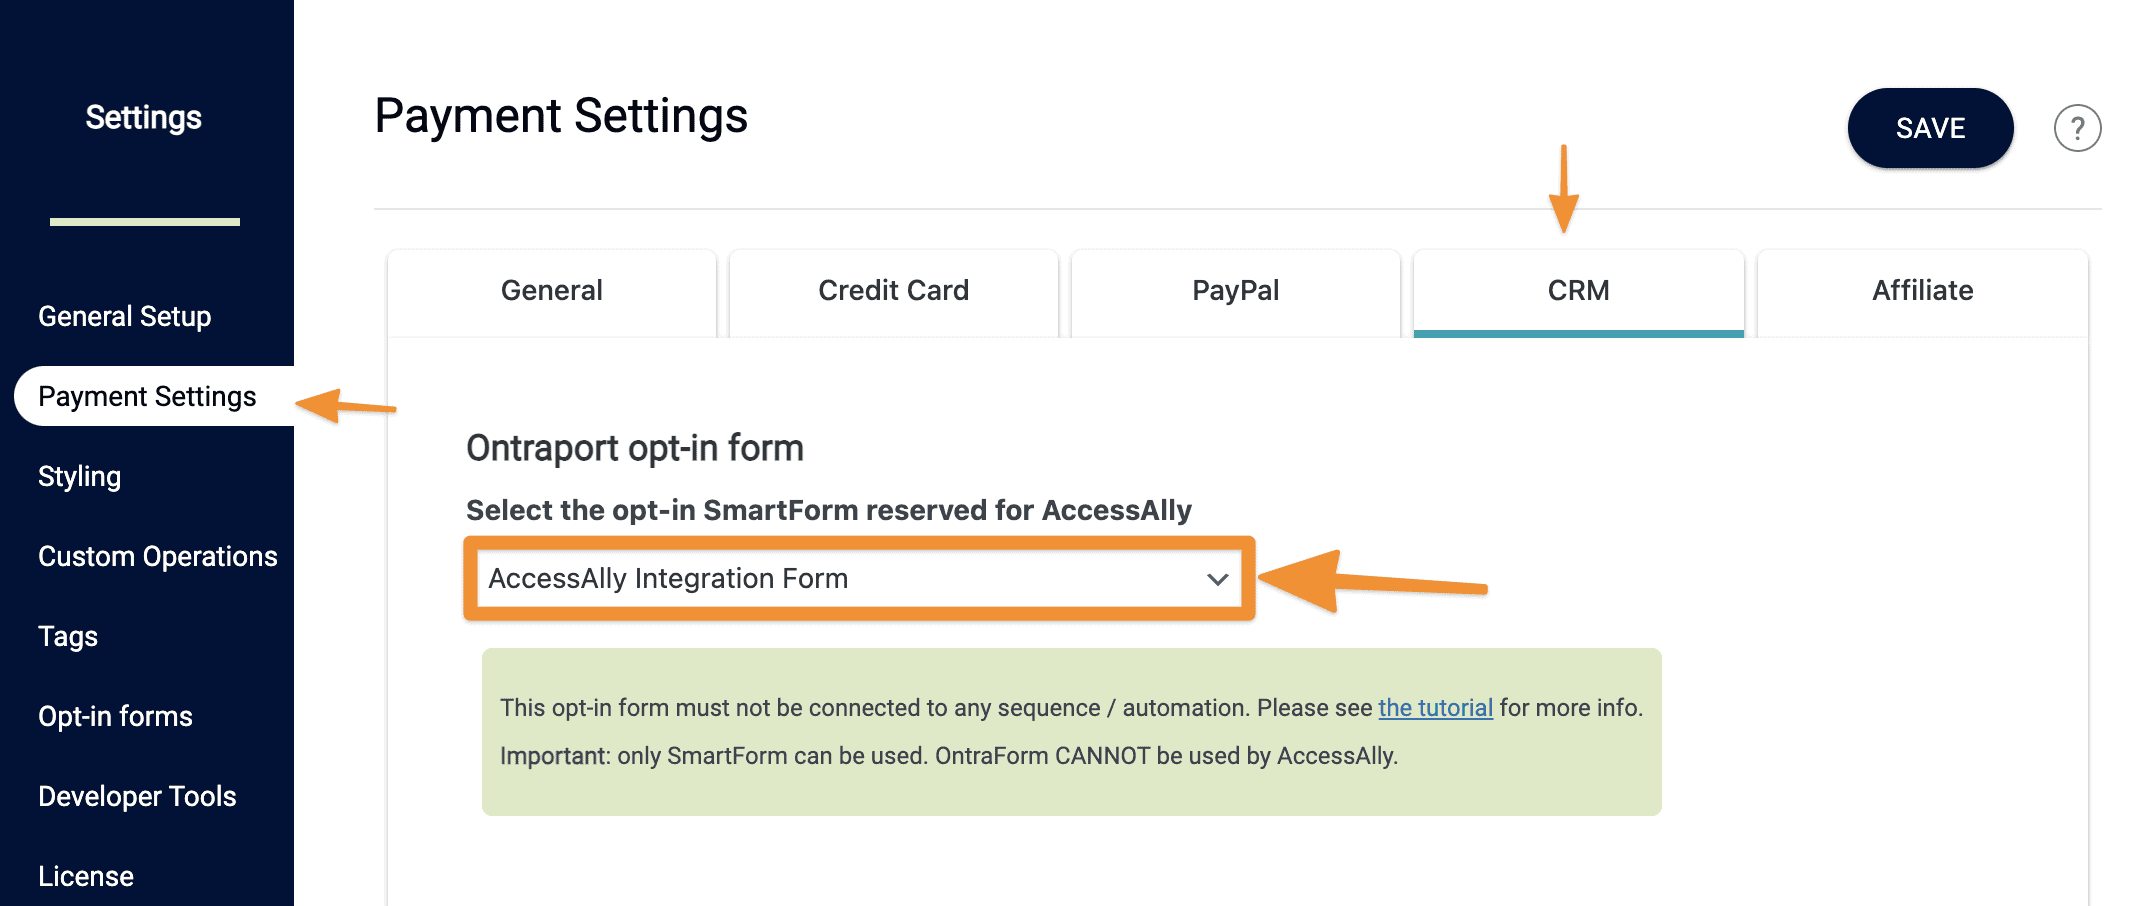
Now under AccessAlly > Settings > Payment Settings > CRM, choose the new Form you just created and hit save.
Learn More
Ontraport has also created an easy-to-follow setup guide available here.
Once you’ve finished the initial account setup, you can begin to dive through the Getting Started (very basic) and Using Ontraport (more advanced/comprehensive) sections in the Ontraport knowledge base.
Don’t be discouraged if it seems like there’s a lot to learn – there is! But presumably, you’ve chosen this system because of its advanced capabilities. It will take time and dedication to master the system. Take advantage of the help tutorials available within the Ontraport Knowledge base – and our own tutorials that will walk you through setting up the AccessAlly/Ontraport integration.
A Note about Test Accounts
For test purposes, we recommend setting up two test accounts in Ontraport and AccessAlly:
- One with all access (likely your admin) — this can be accomplished by creating a special “master tag” in Ontraport that you include on all of your pages and courses. As you’re developing your membership site, you don’t want to be accidentally locked out of any pages.
- One with student access — this will allow you to see and test your courses from a student’s perspective, and can be tested in an incognito window/browser when you’re setting up your site.
