ARTICLE CONTENT:
Service Authentication Key
For more details about Personal Access Tokens & Service Account Keys see this article from Keap. With AccessAlly, you’ll use the Service Account Keys option in your Keap account.
This is created in your Keap account under Admin > Settings (classic version.) In all other versions of Keap, you’ll find this under Settings > API Settings.
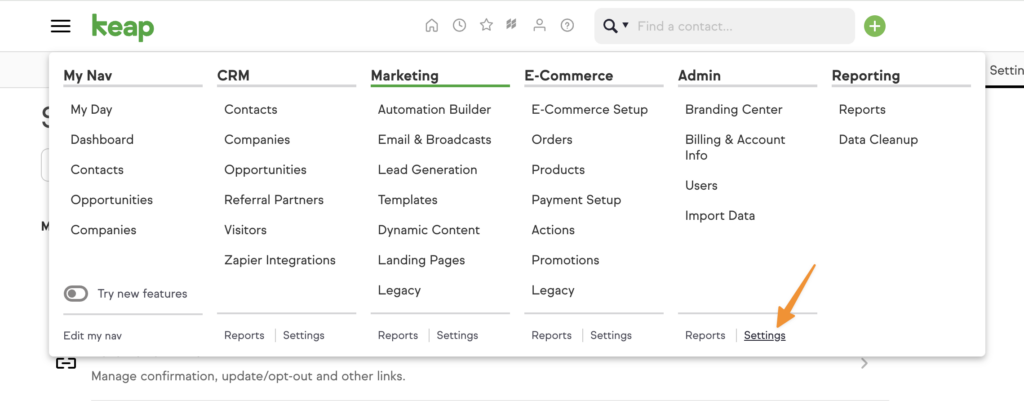
- Click API settings.

2. Scroll to the Service Account Keys section and click Add Key.

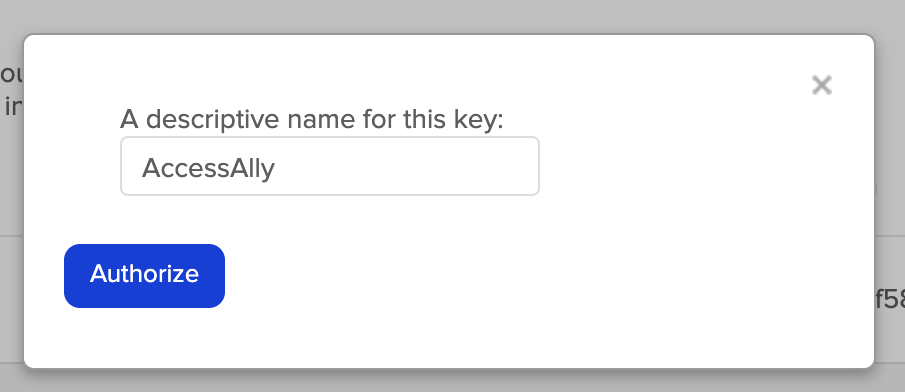
3. Add a descriptive name and click Authorize.
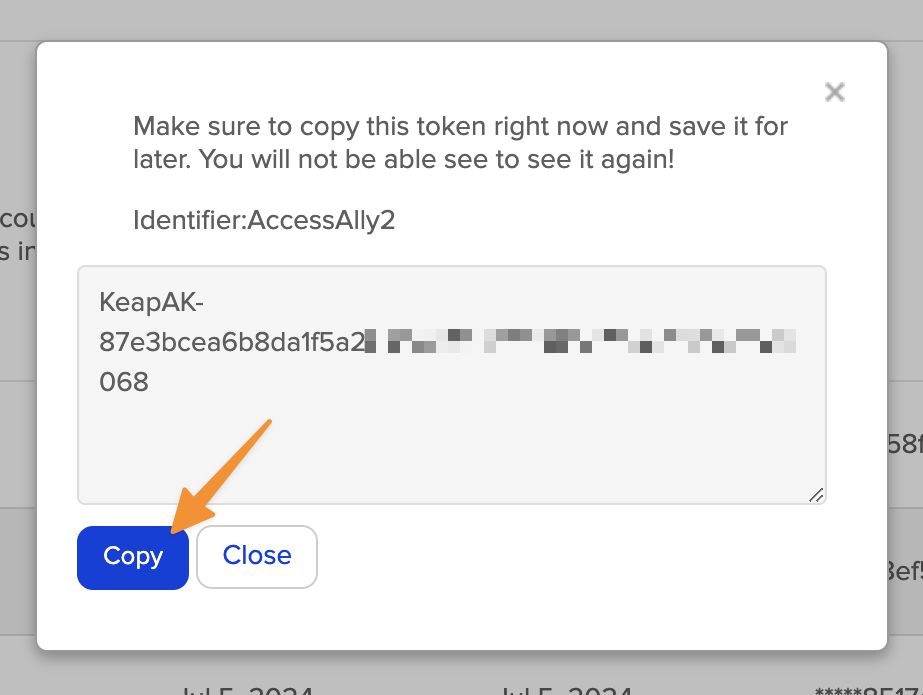
4. Copy the token to use on your AccessAlly site.
Add Service Authentication Key to AccessAlly
New AccessAlly Users
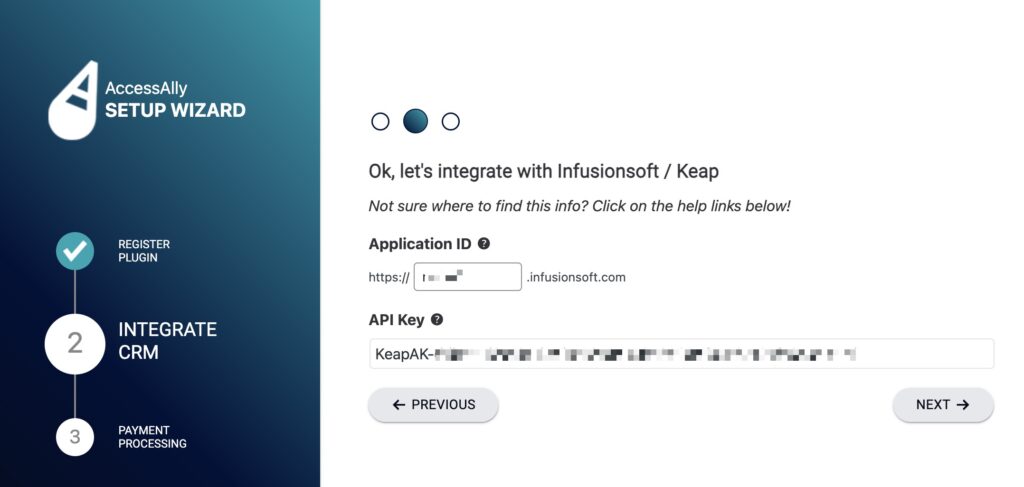
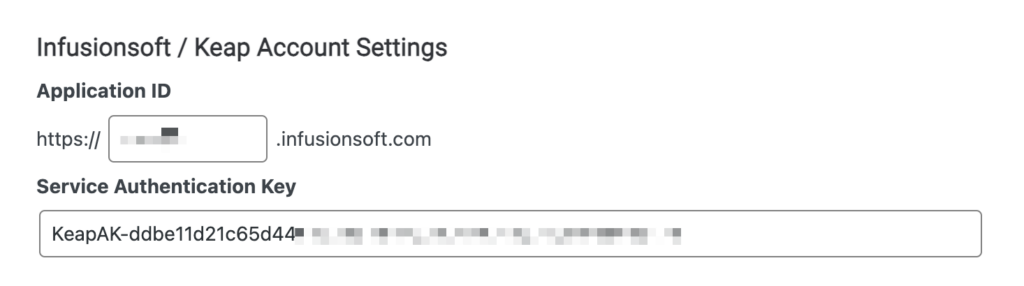
You will be prompted to paste in your Service Authentication Key by the AccessAlly Setup Wizard as shown in the image below.
Existing AccessAlly Users
AccessAlly > Settings > CRM Integration tab > and paste your key as shown in the image below.
About ProgressAlly
If your ProgressAlly plugin settings shows a dropdown to select the CRM system to use with ProgressAlly, switch this from your CRM to AccessAlly.
*This option is hidden from view if not applicable for your account.
About Webhooks
With the Service Authentication Key in place, it’s important to note when to use what type of webhook in your Keap automations.
We recommend using the aal_updateuser webhook to update large batches of existing users and the aal_genpass webhook to create new users.
See our list of webhook commands for more details.
Create an Opt-in (Integration Form)
Create a new opt-in form that will be used by AccessAlly. This form will not be connected to any automation sequences or campaigns.
First create a new campaign:
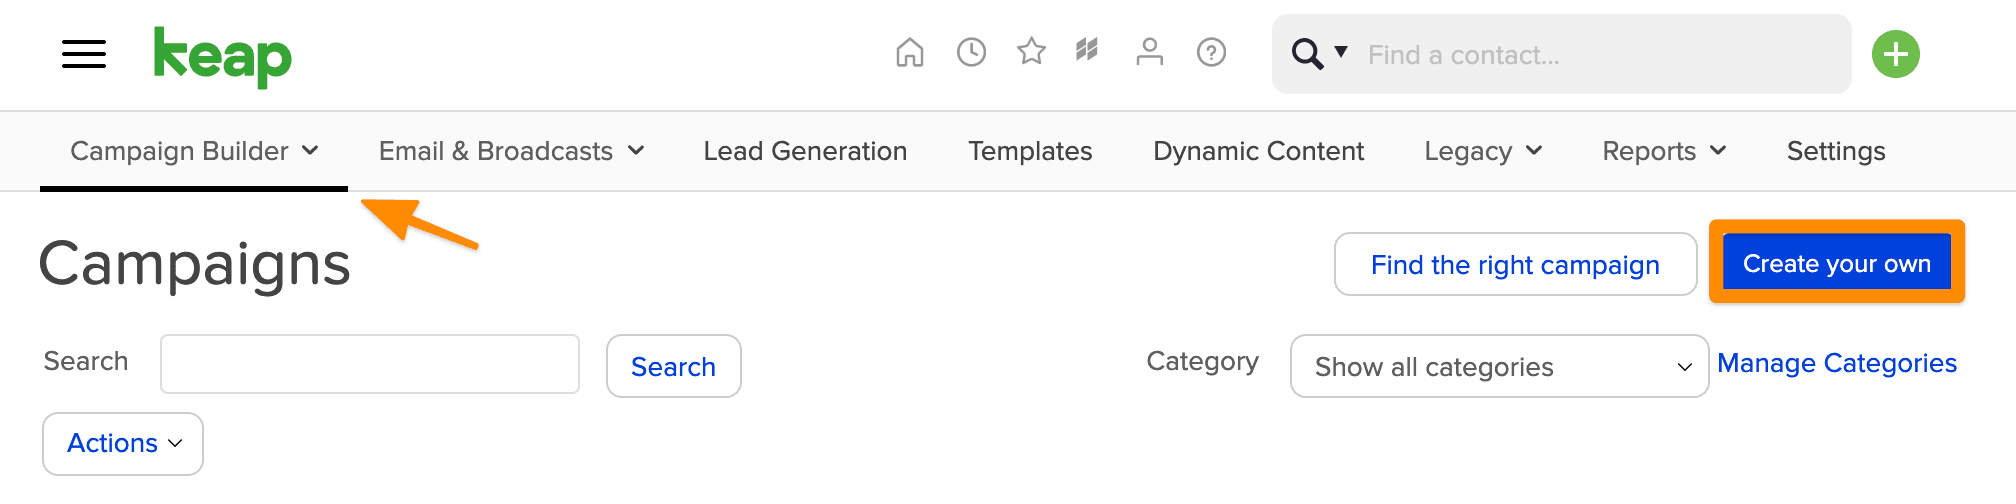
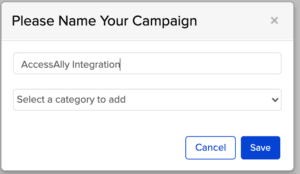
Name your campaign something that will remind you this is for AccessAlly Integration.
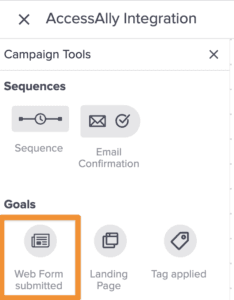
Add a “Webform submitted” option by dragging and dropping it into your campaign. Do not add any other elements attached to it, it should be on its own.
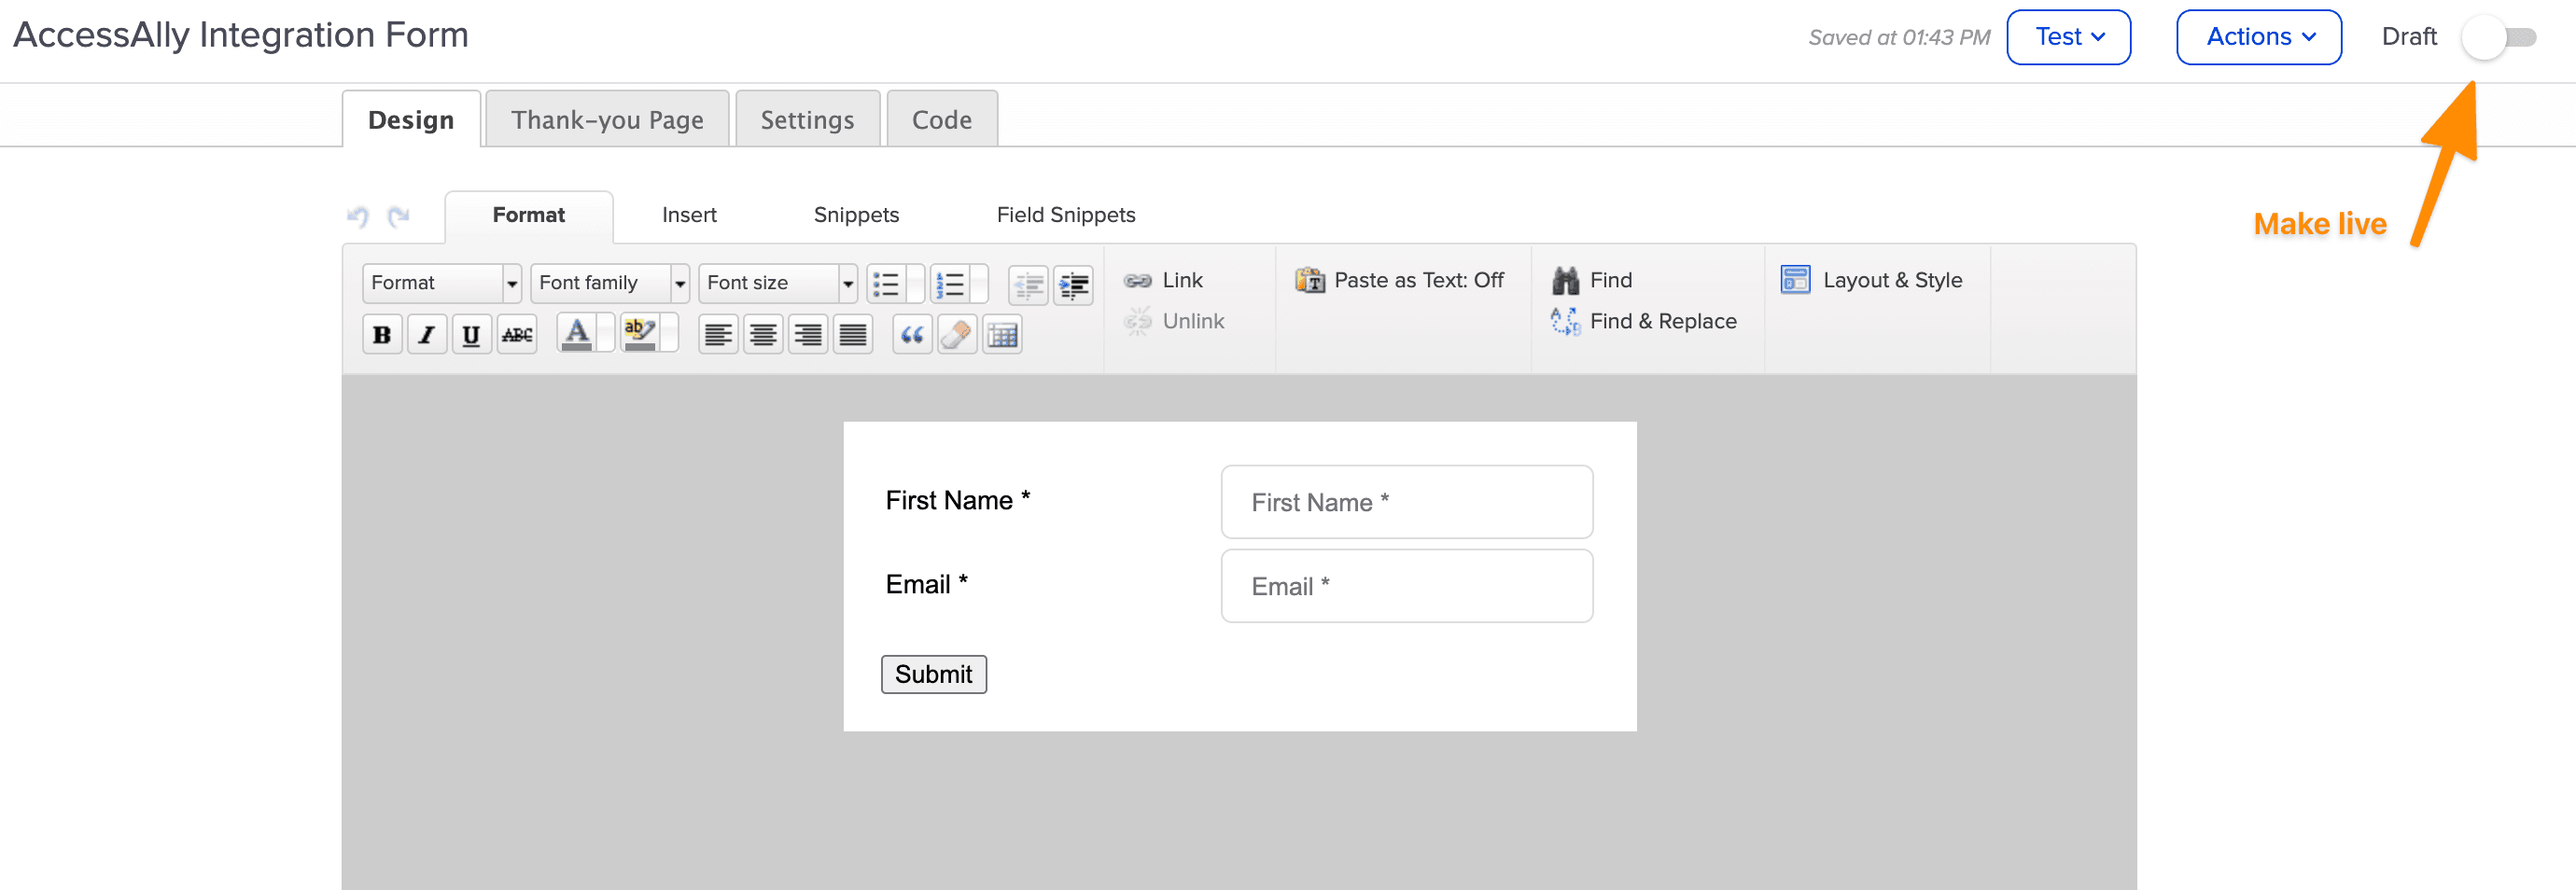
Name the form like AccessAlly Integration Form.
Edit the web form. You don’t need to make any changes to the default. Just make sure you switch from Draft to Live.
Then publish the campaign.

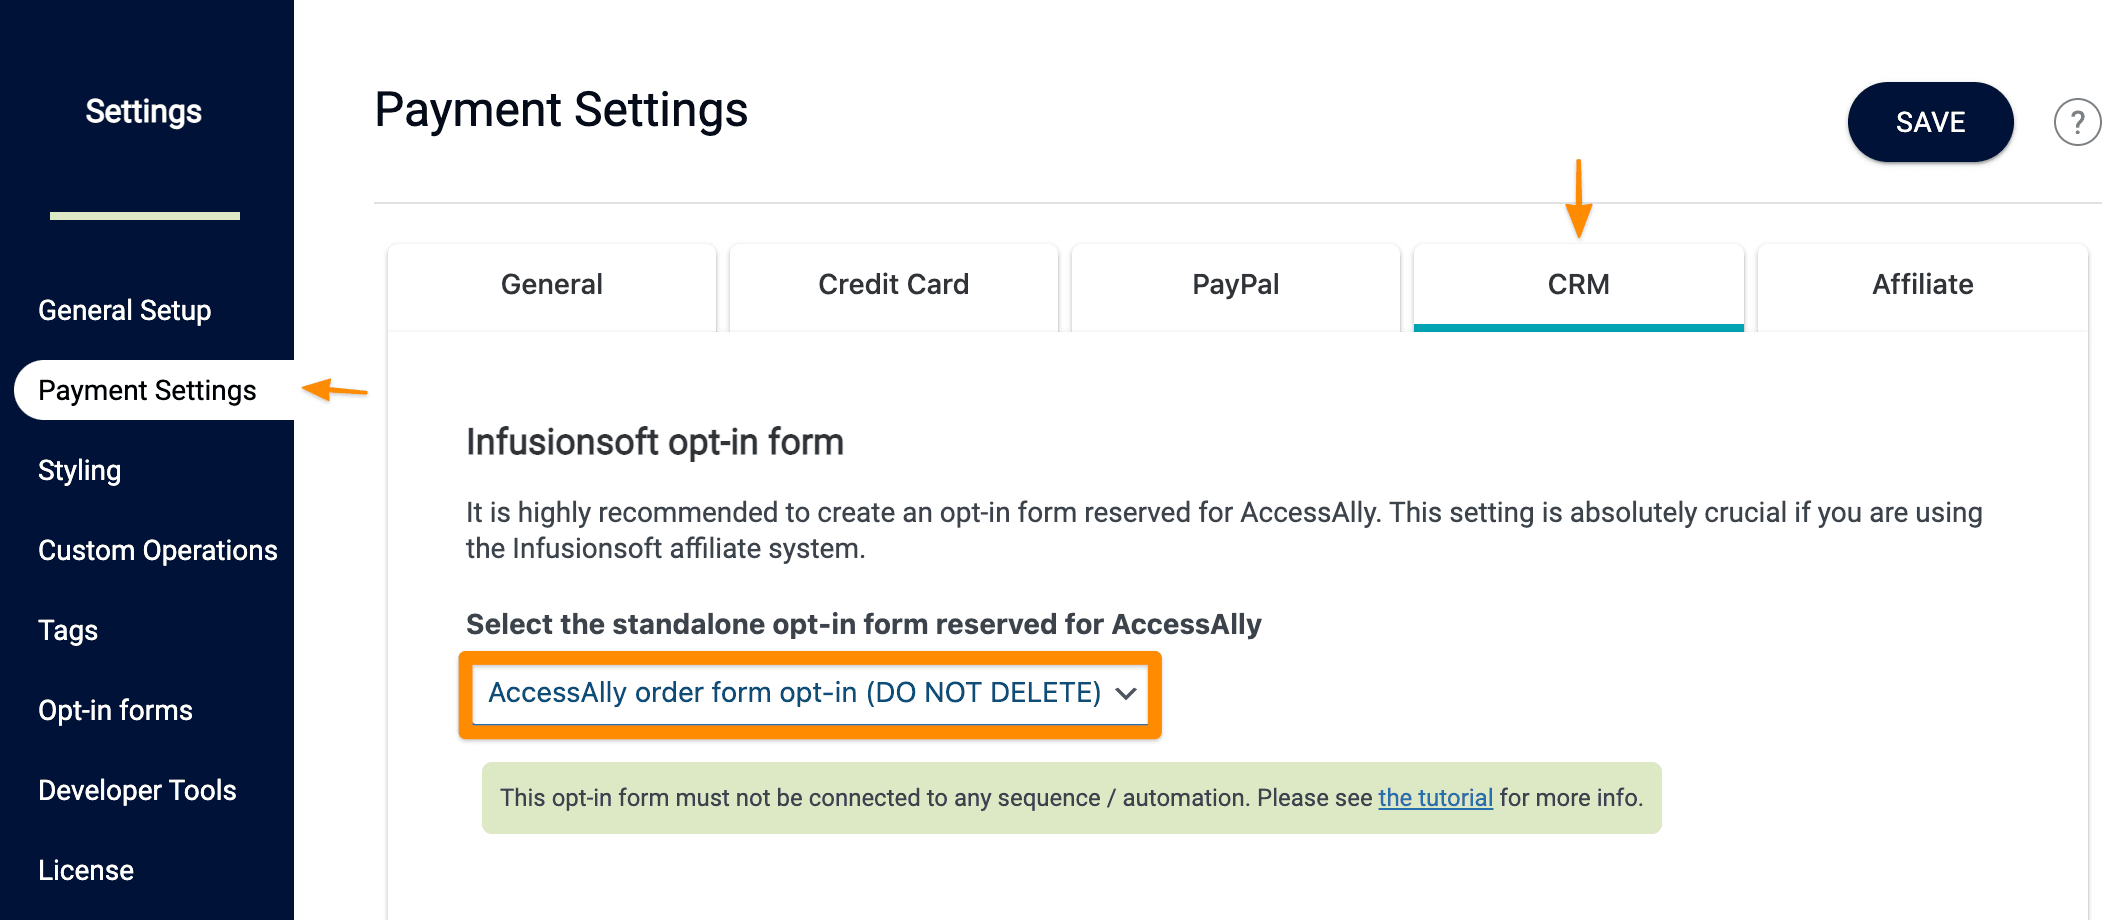
Now under AccessAlly > Settings > Payment Settings > CRM, choose the new Form you just created and hit save.
Password Fields
We recommend using the option to “not store passwords” in your CRM system as each CRM provider may or may not encrypt this information.
Infusionsoft Setup
The initial setup of your account is fairly straightforward. Infusionsoft offers an account setup checklist with step-by-step instructions to help you get everything set up and ready to go.
To learn how to use more advanced capabilities such as campaigns, e-commerce, contact management, etc., go to the Infusionsoft Help Center here.
The advanced capabilities of this CRM means that there’s a ton of stuff to learn – so be prepared to dedicate a few days towards learning your way around the system.
With some practice and patience, you can use the tutorials provided within Infusionsoft and our own site to master the basics of what you’ll need to create a seamless integration between Infusionsoft and AccessAlly.
Test Emails
For testing purposes, we recommend using two different emails so that you see what your customers see and what admins see.
- One with all access (likely your admin) — this can be accomplished by creating a special “master tag” in Drip that you include on all of your pages and courses. As you’re developing your membership site, you don’t want to be accidentally locked out of any pages.
- One with student access (test user) — this will allow you to see and test your courses from a student’s perspective, and can be tested in an incognito window/browser when you’re setting up your site.
