Once you purchase AccessAlly (Essentials or Pro), you need to install the AccessAlly plugin on your WordPress website.
ARTICLE CONTENT:
Step 1: Download the plugin .zip file to your computer
To locate the file, log into your AccessAlly account and go to AccessAlly > Download License.
Download the .zip file of AccessAlly and save it to your computer. Make sure to save it to an easily-accessed location, such as your Downloads folder or desktop.
If you have AccessAlly Pro, you will also want to install the ProgressAlly .zip file. Follow the same steps for both plugin zip files.
Step 2: Log into your WordPress site & install the plugin
The AccessAlly plugin can be installed the same way as any other WordPress plugin:
Log into your WordPress site: YOUR-SITE-URL/wp-admin
After the login is complete, go to Plugins > Add New > Upload Plugin
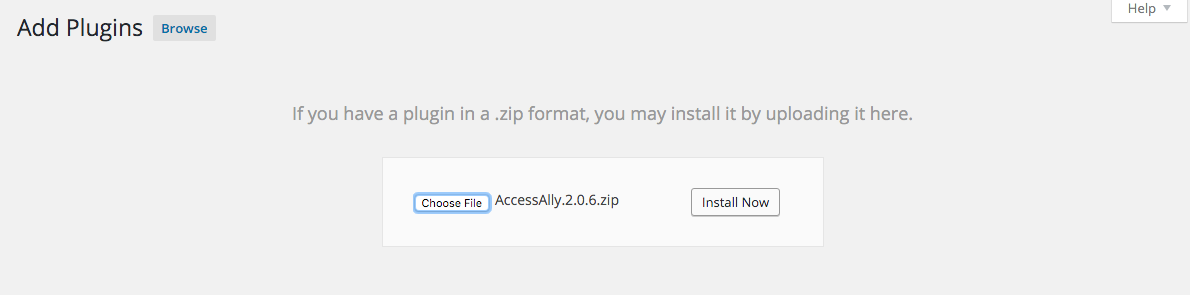
Browse for the AccessAlly .zip file that was downloaded to your computer, then click the Install Now button. After the file has been uploaded to your WordPress site, activate the plugin.
