Sometimes you need to create an additional tag-initiated webhook for Kit, and there’s no easy way to do that directly inside of the Kit interface.
ARTICLE CONTENT:
Setting up your First Webhook
Step 1: Configuration Settings
First, make sure you’ve already set up your first webhook inside AccessAlly > General Setup -> CRM Integration: Make sure your API credentials have been entered, then select the tag you want to use to create a new user and click on Create Webhook.

Step 2: Access Rules inside Kit
Go to your list of Kit Rules, and locate the tag + URL that you configured in step 1.

Click on the rule to see what your webhook URL should be:

https://www.yoursite.com/?aal_genpass=######(Your Site URL + AccessAlly Command + Handshake string)You can use this URL format when creating other Webhooks with the converter, and can find the full list of webhook commands here: Your Guide to HTTP Post / Webhook Commands & When To Use Them.
You have now created the first webhook that will create user accounts and passwords for your clients.
When UpdateUser Webhooks Are Required In Your Automations
If you are adding tags to existing users in the CRM, we recommend that you use the updateuser webhook, to prevent the integration from timing out or becoming overloaded.
This section of the tutorial walks you through each step of the process to create your own tag-initiated updateuser webhook for Kit.
Step 1: Create A New Tag
Inside Kit, create a new tag that will be used to trigger the updateuser webhook. (Example tag name: aa_updateuser)
Step 2: Enter Kit API in Webhook Creator
Next, get the API info from your Kit Account Settings. Add the API into the Webhook Creator Tool below:

Step 3: Create The Webhook
Once your API information is saved, new settings will be revealed. In the “Select the trigger tag” area, you can select the tag you created in Step 1 of this tutorial.
If you are not sure what your webhook URL is yet, follow these instructions to use the webhook generator.
Then, change the aal_genpass portion of the URL to aal_updateuser.
Step 4: Create Webhook
Click on the yellow Create Webhook button.
Adding the Webhook To Your Kit Automations
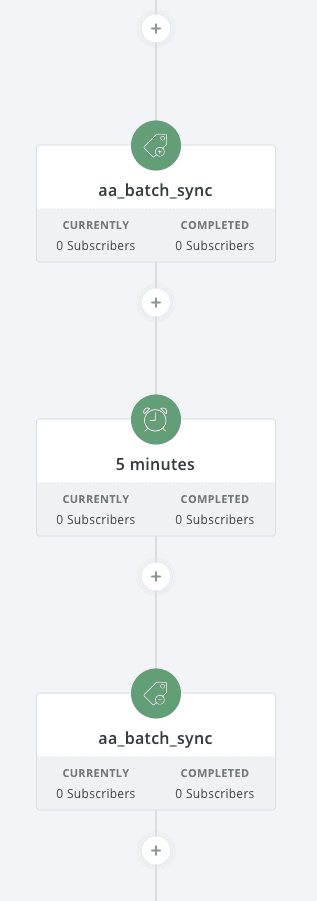
Step 5: Add the UpdateUser tag to CRM Automation
When building your Kit automation, you can now use the aa_updateuser tag instead of the generate user tag that you configured in AccessAlly’s General Settings area.
Step 6: Remove the UpdateUser tag
Finally, remove the aa_updateuser tag in your automation so that it can be run again whenever needed.