When you create your team through the AccessAlly Offerings wizard, tags for the team leader and team members are automatically created. You can use these tags to trigger an automation(s) in your CRM.
This is optional.
ARTICLE CONTENT:
Set Up Team Leader Automation in your CRM
When you initially created your team using the AccessAlly Offerings wizard, the team leader tags were created.
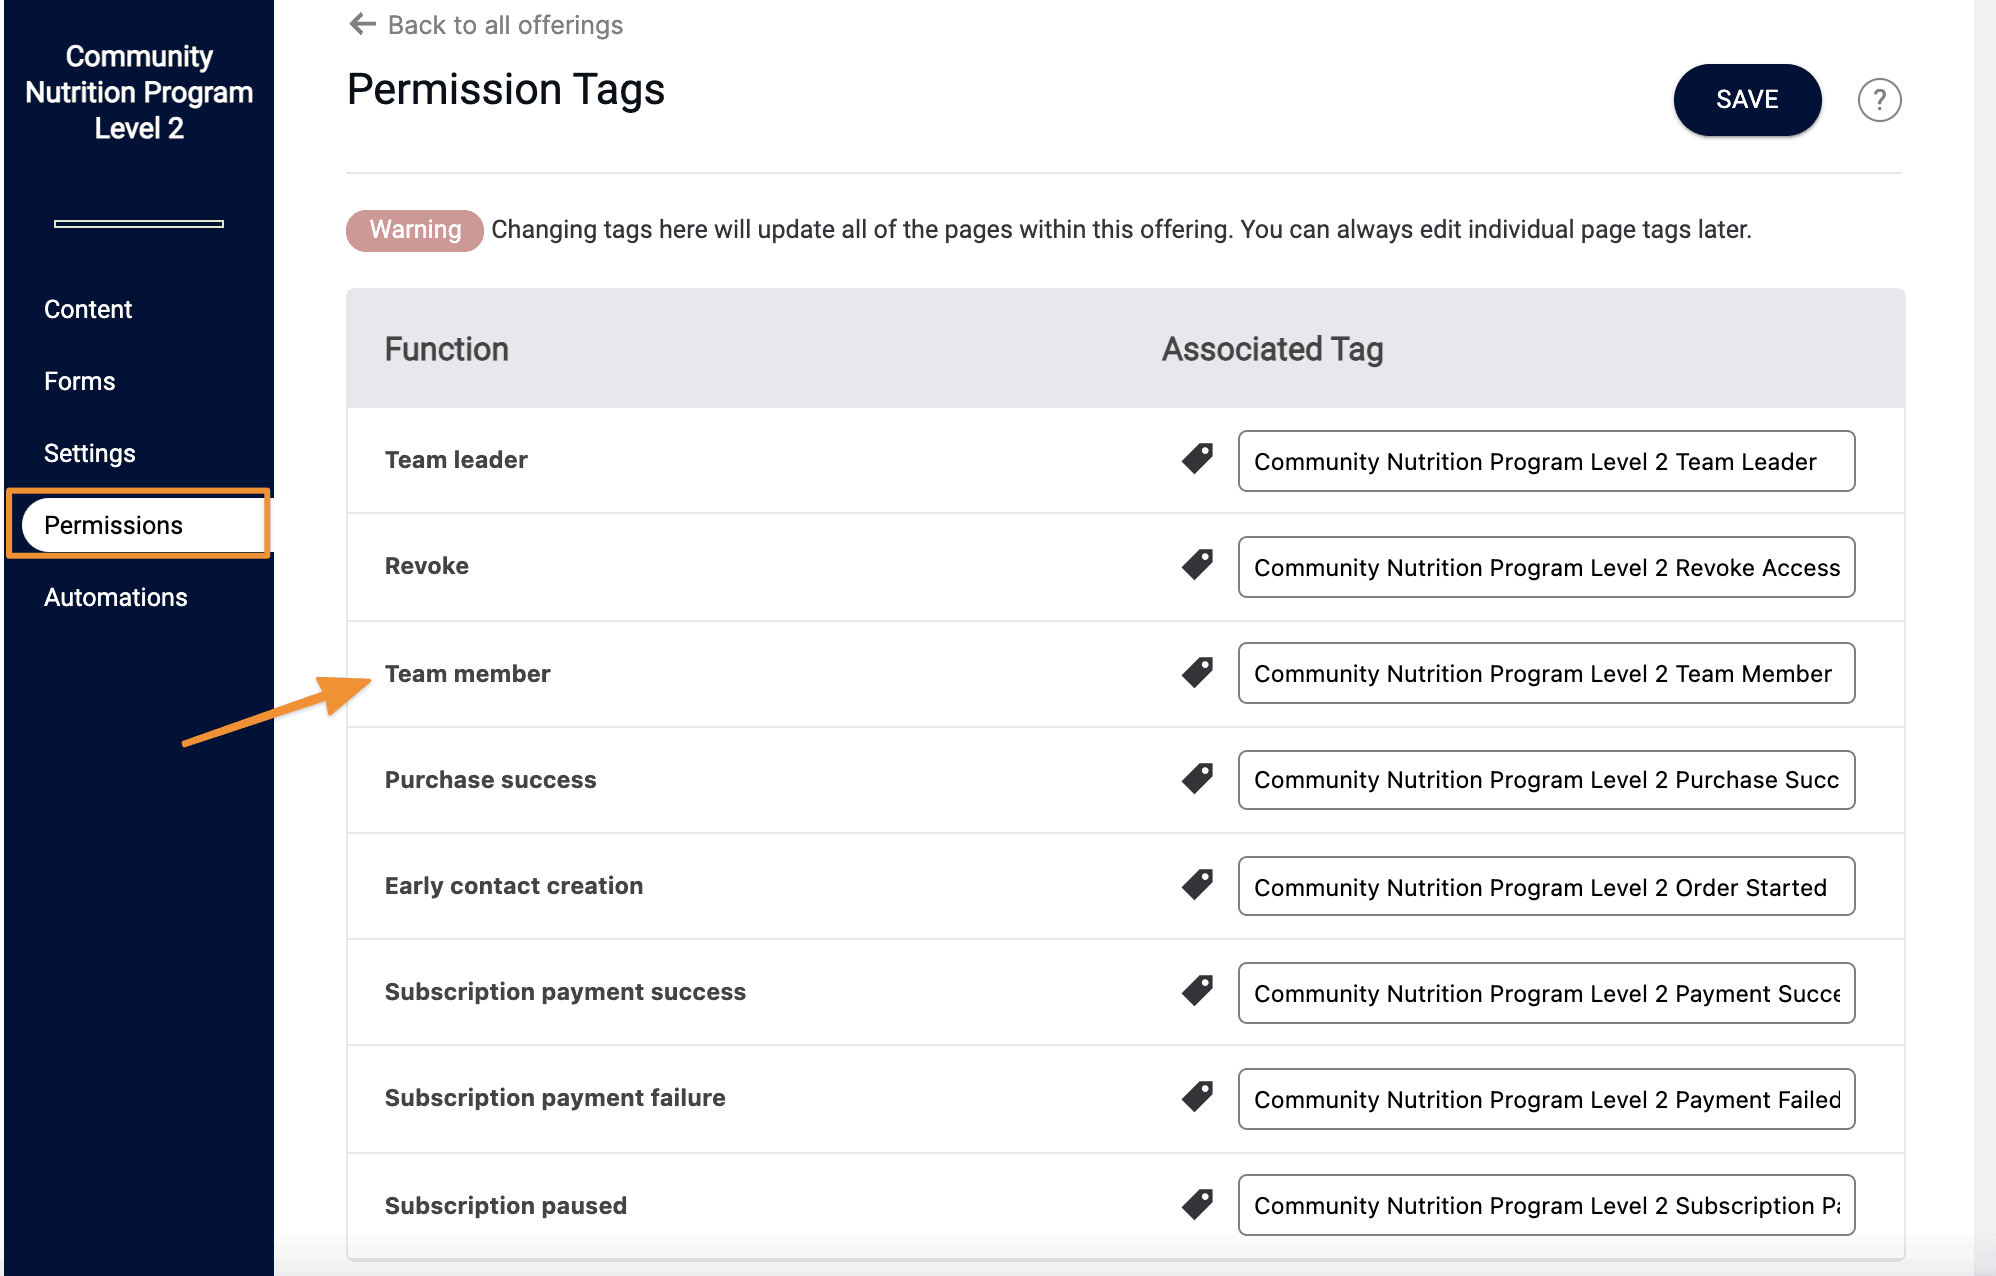
To see what they are, go to: AccessAlly > Offerings > Choose the team you’re working on > Choose Permissions > Find the team leader tag.
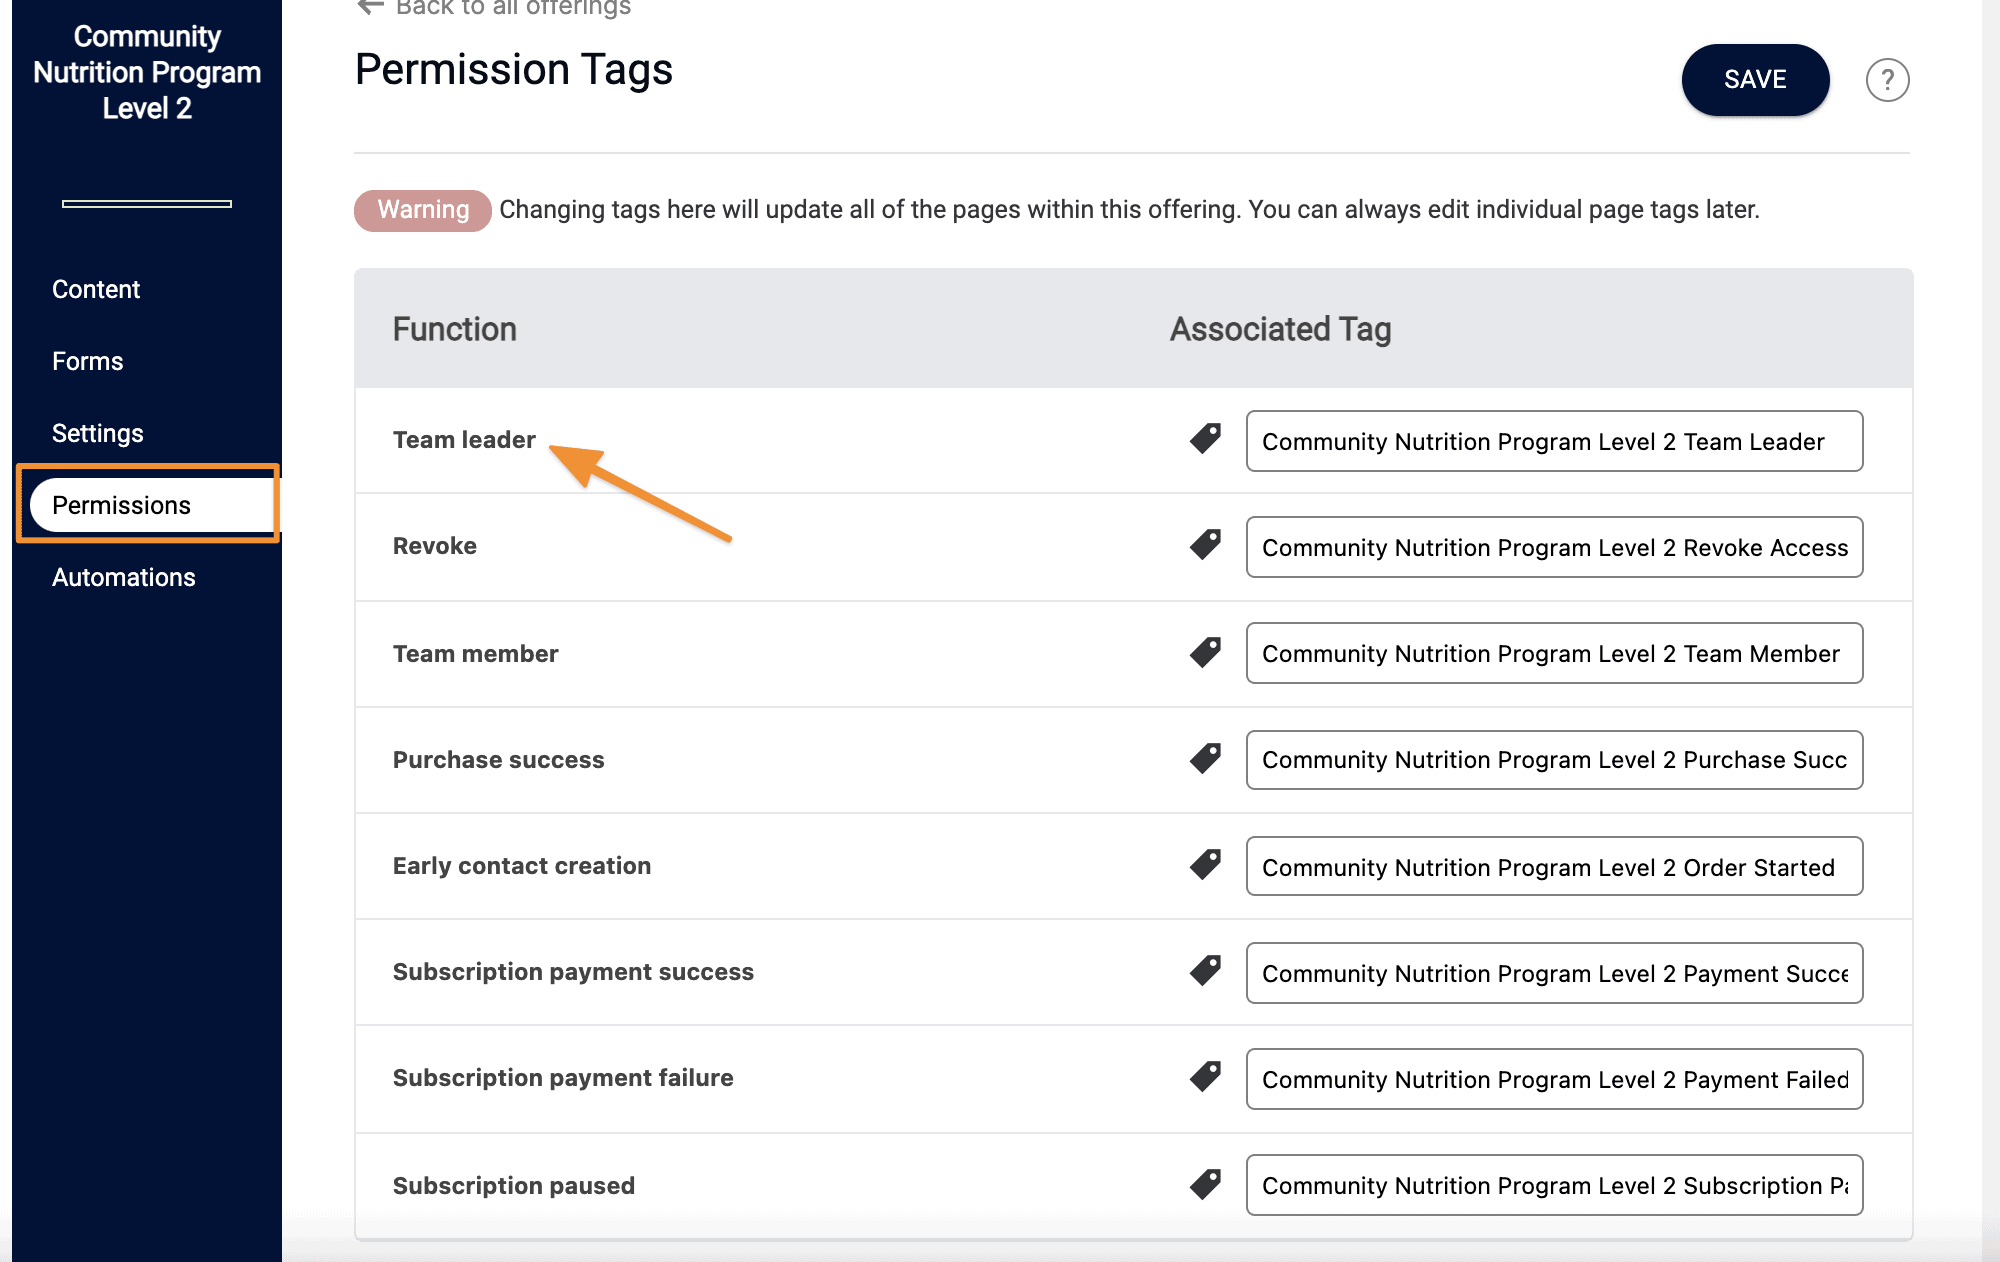
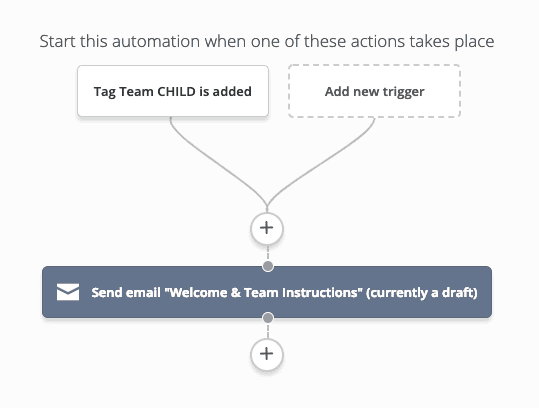
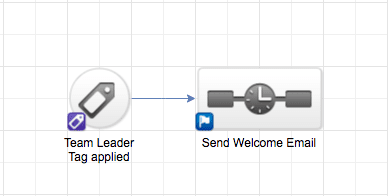
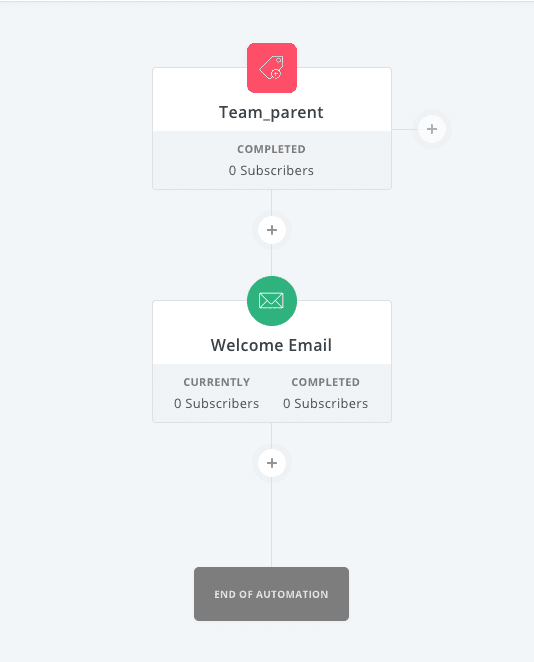
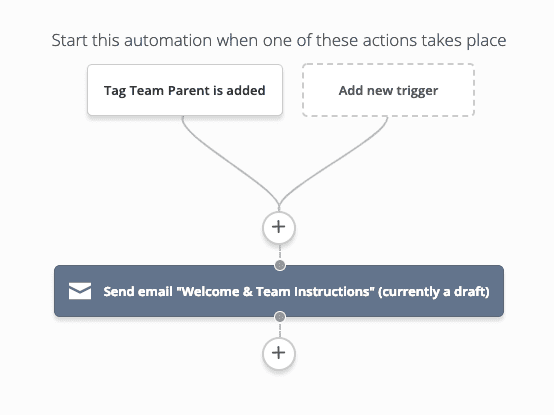
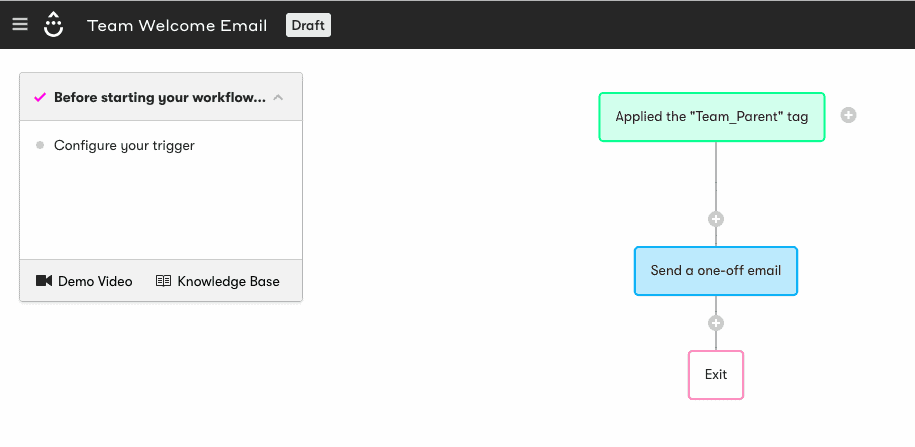
Use the team leader tag to trigger your team leader automation in your CRM.
Set Up Team Member Automation in your CRM
When you initially created your team using the AccessAlly Offerings wizard, the team member tags were created.
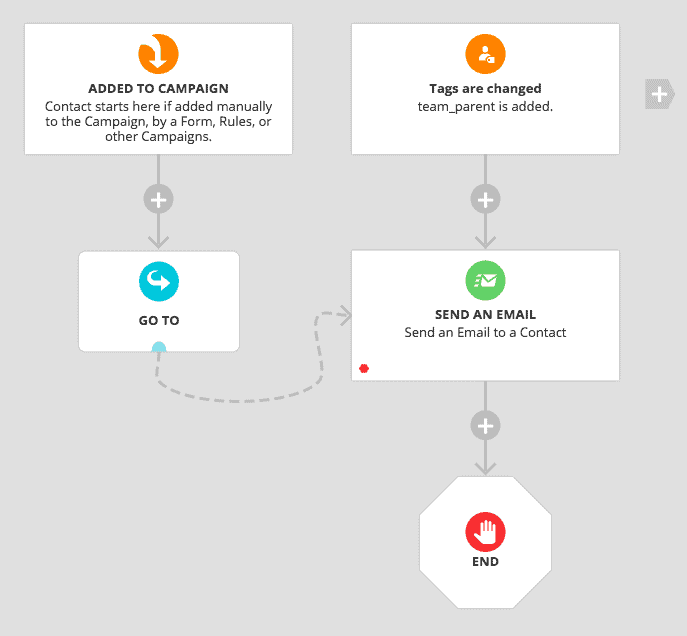
To see what they are, go to: AccessAlly > Offerings > Choose the team you’re working on > Choose Permissions > Find the team member tag.
Use the team member tag to trigger an automation in your CRM. A lot of people choose to send a ‘welcome to the team’ email that includes login details.