This video will walk you through each of the steps required to fully integrate AccessAlly with Kit.
ARTICLE CONTENT:
Important Kit Details
- In order to use AccessAlly with Kit you must be on a paid Kit plan. You can not set up AccessAlly when using the free Kit tier.
Add a Last Name Custom Field to your Kit Account
If you have a brand new Kit account we recommend adding a custom field to store the last name before installing AccessAlly.
Go to Kit > Subscribers (https://app.convertkit.com/subscribers/) and click on the name of a subscriber. You may need to add someone if you do not have any subscribers yet.
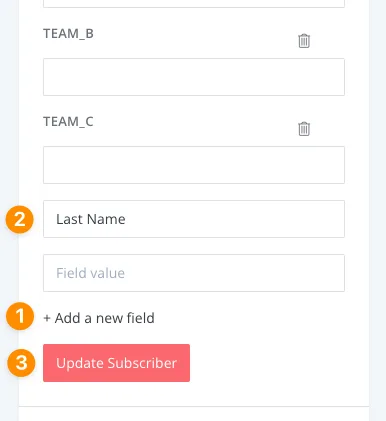
- Click “+ Add a new field“
- In the first box that says Field value type Last Name
- Click the Update Subscriber button
Finding Your Kit API Keys
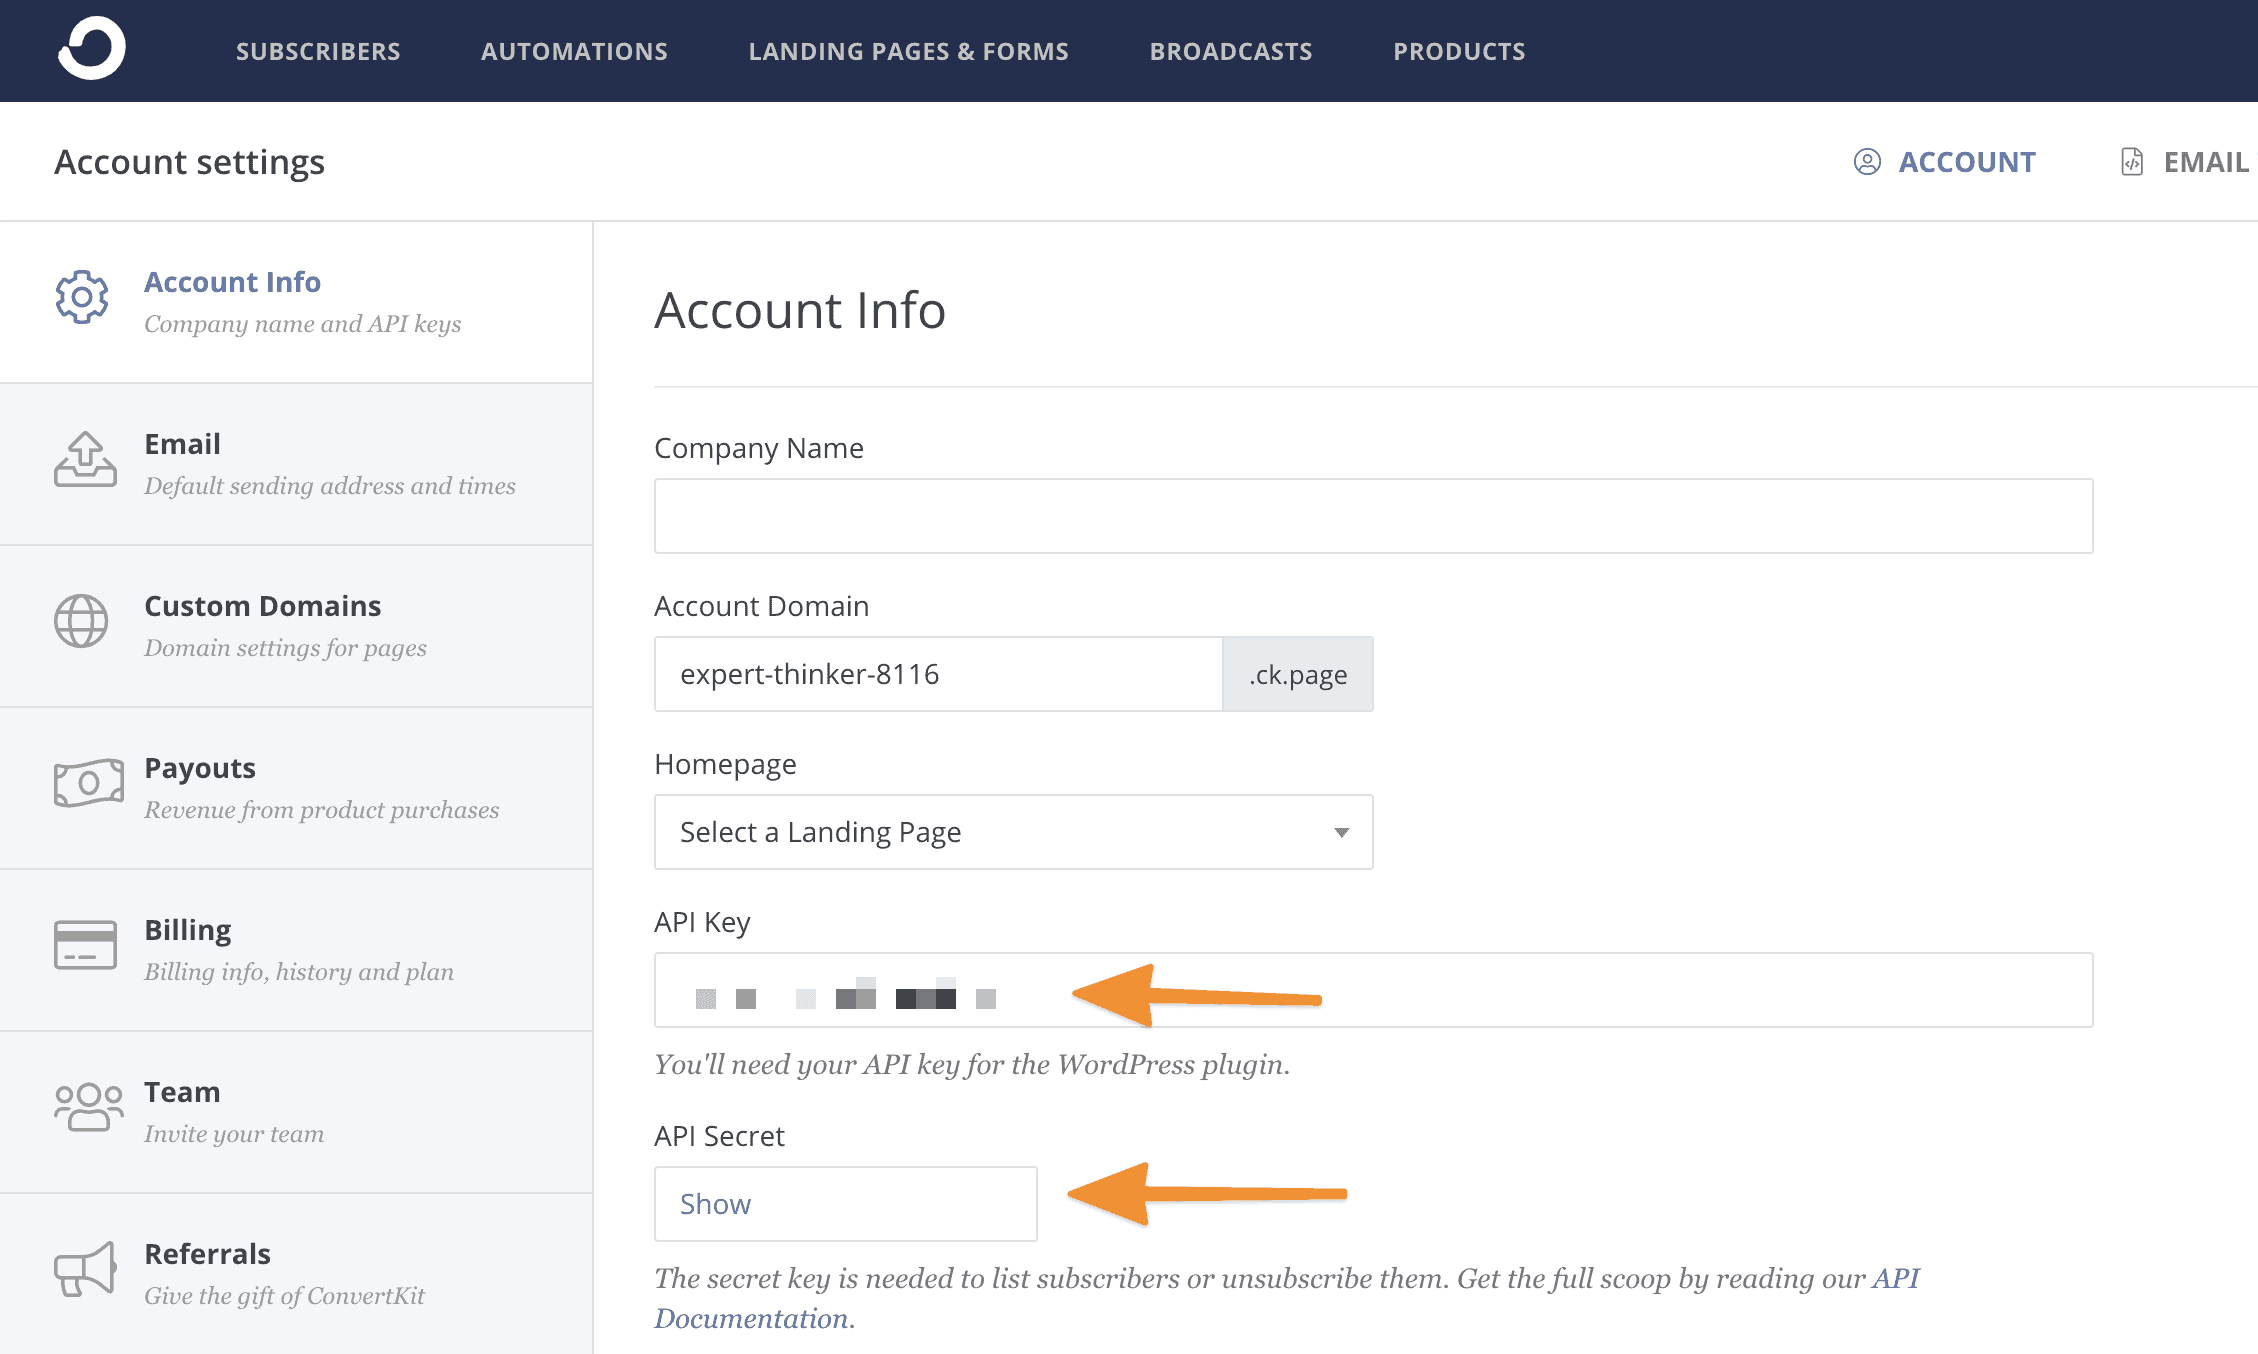
Login to your Kit account and go to Account Settings -> General.
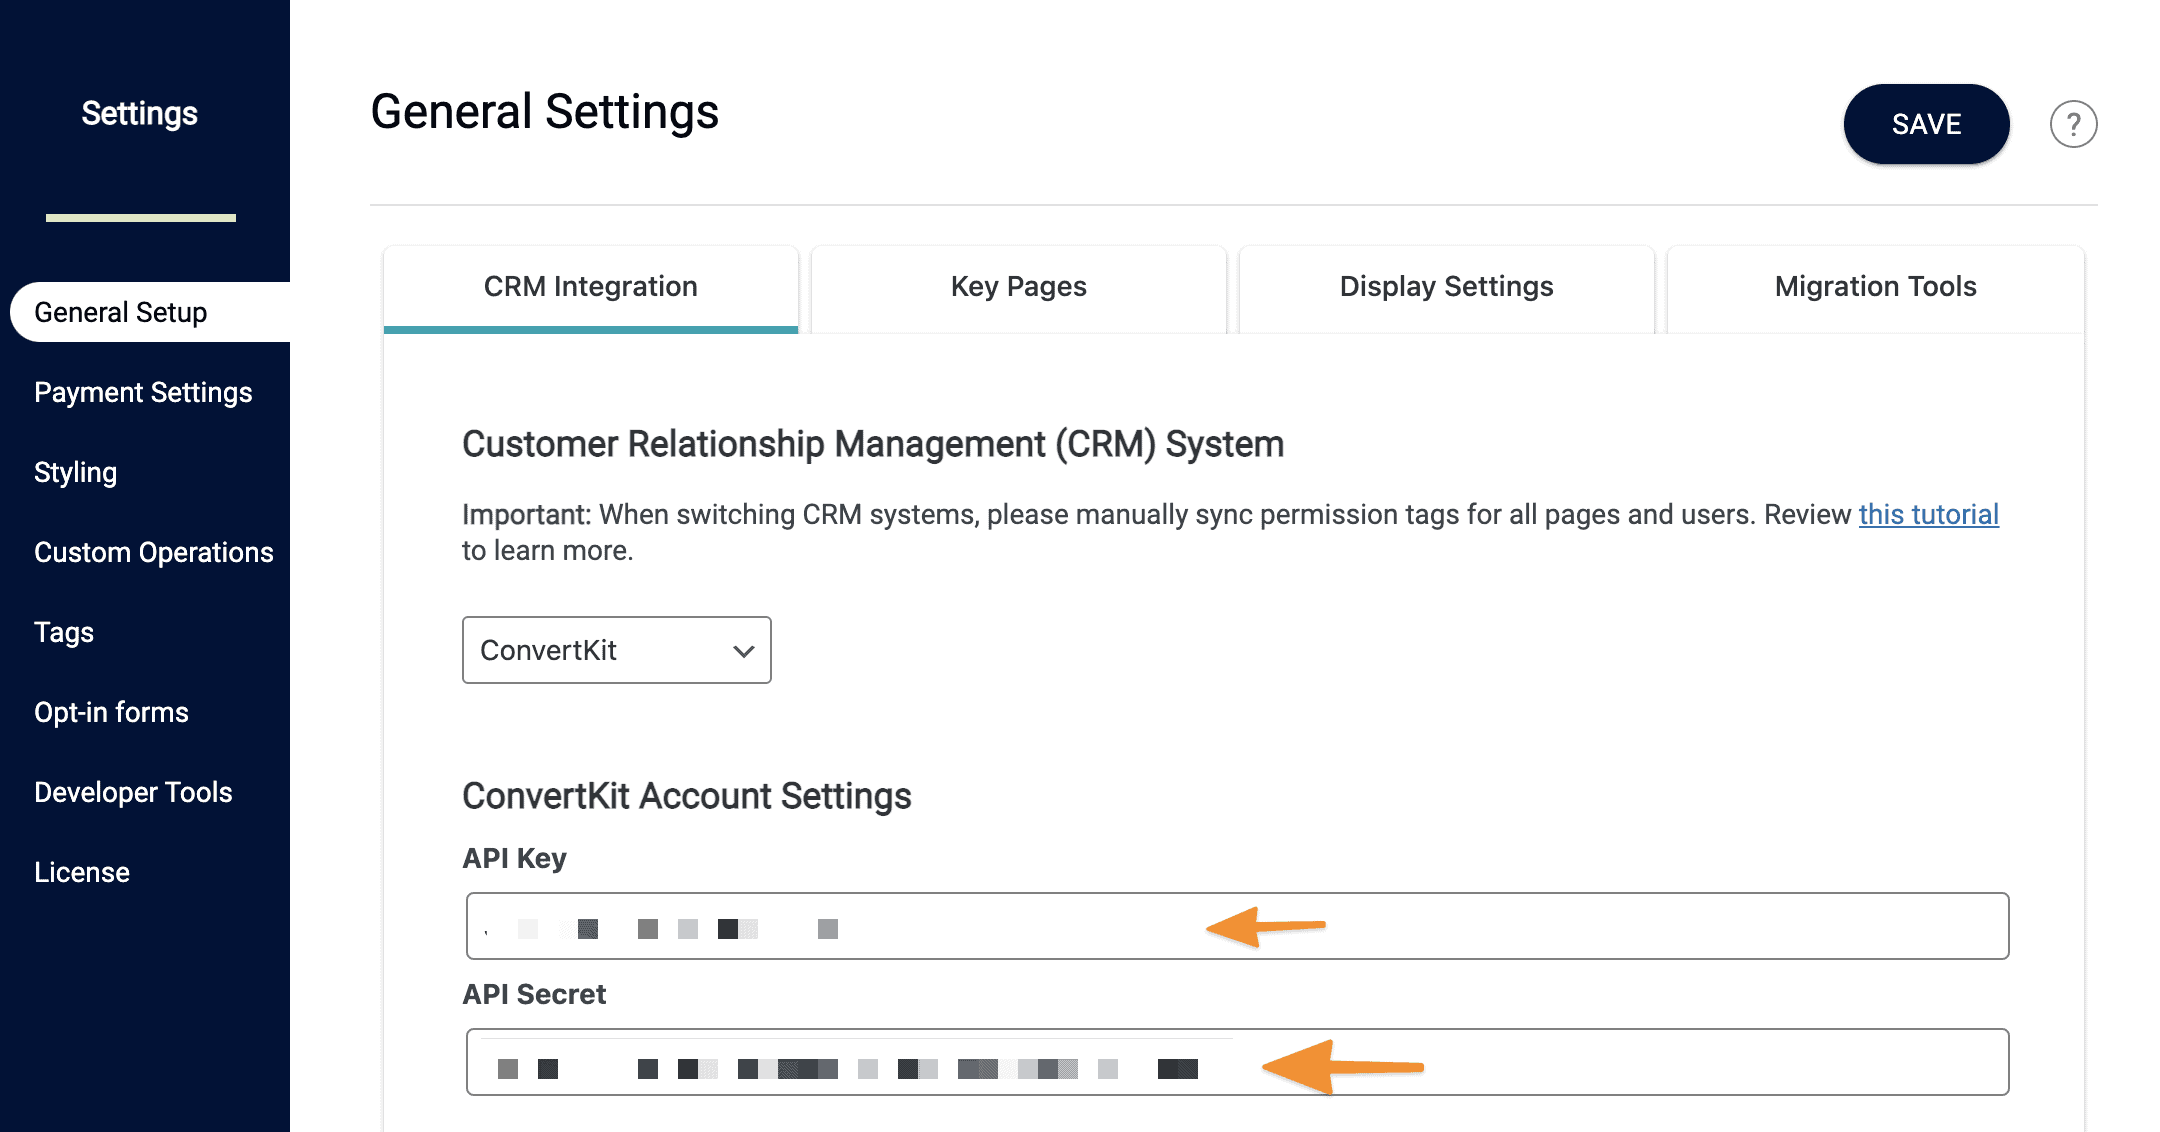
This is where you will find your API keys. You will copy the API Key and API Secret back into your AccessAlly Settings.
In AccessAlly Settings, save the API strings.
Required Form Integration
There are special cases where someone who has opted out of your email list in your CRM makes a new purchase. In these cases, AccessAlly uses an opt-in form that you create specifically for AccessAlly to re-add them to your CRM so you can deliver your goods.
First choose “Landing pages and forms” from the top bar.

Choose “Create New”.

On the next screen, choose Form.
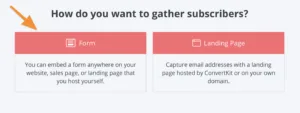
Select the Inline option.
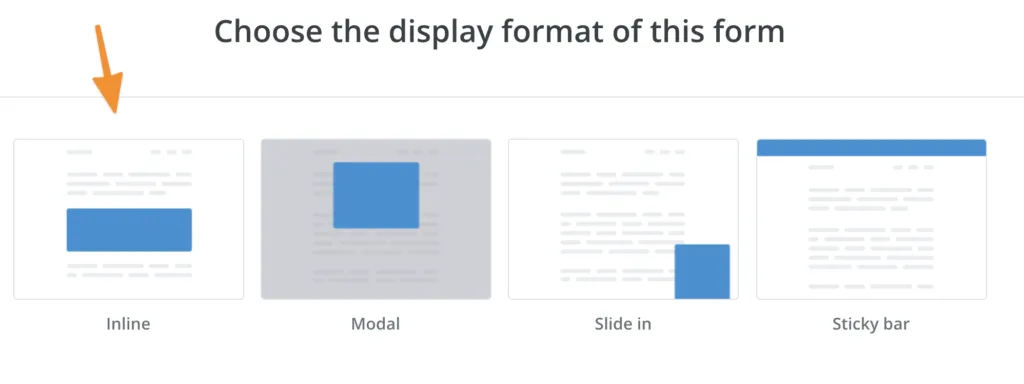
Next, you can choose any design since it won’t be shown publicly.
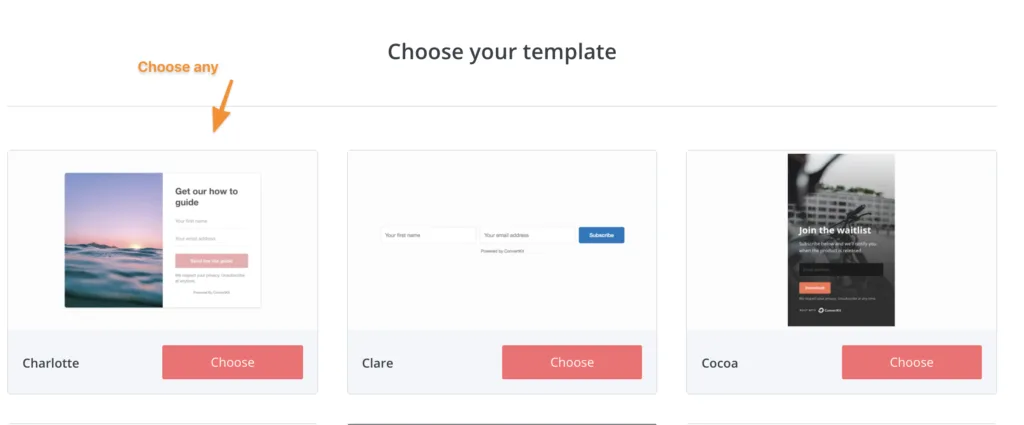
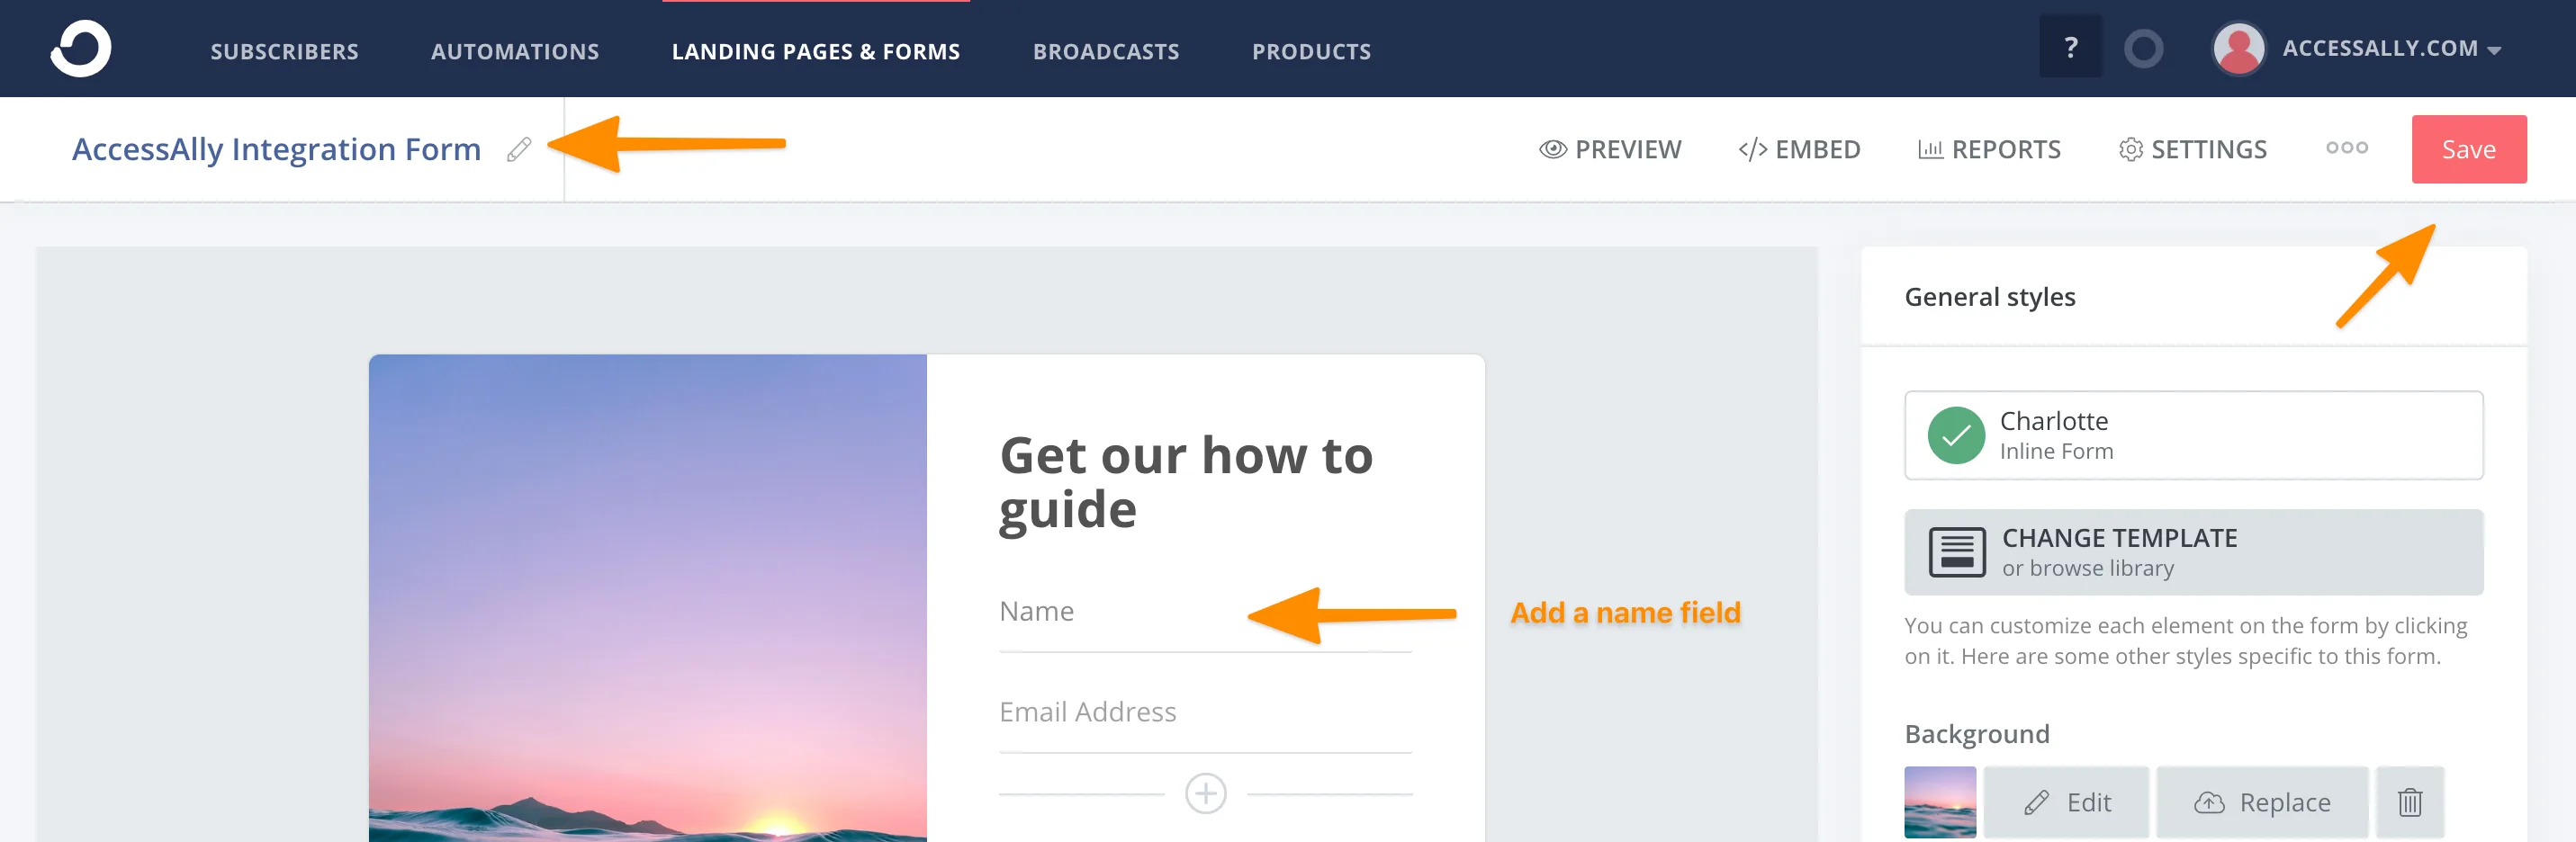
Name your form so it’s easy to find inside AccessAlly later. You should also add a name field that connects back into your Kit fields, so you have all the info you need.
Then click on “Settings” for your form. You have two options, under “Incentive”:
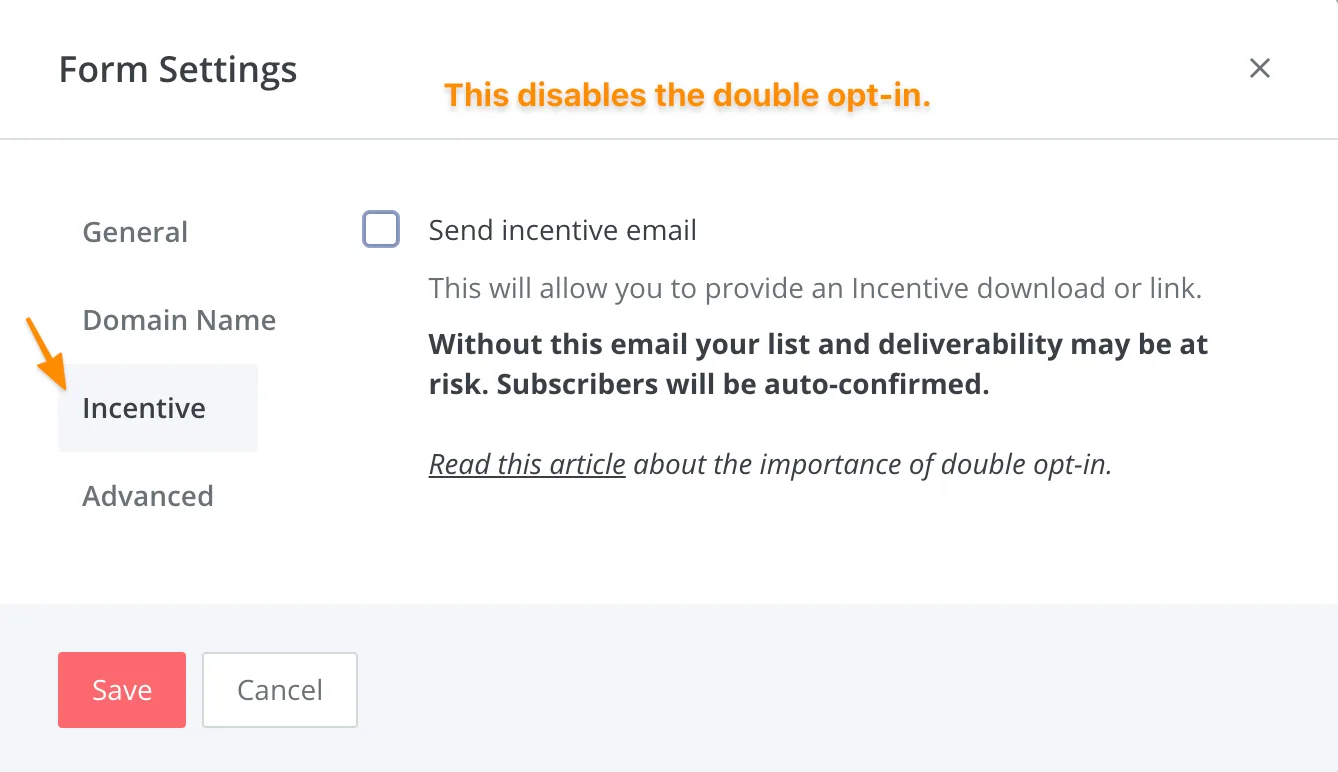
You can disable the incentive email which will turn off the double-opt in confirmation. This is the recommended option for order forms and taking payments through AccessAlly. This way people won’t need to confirm to receive their welcome email and access.
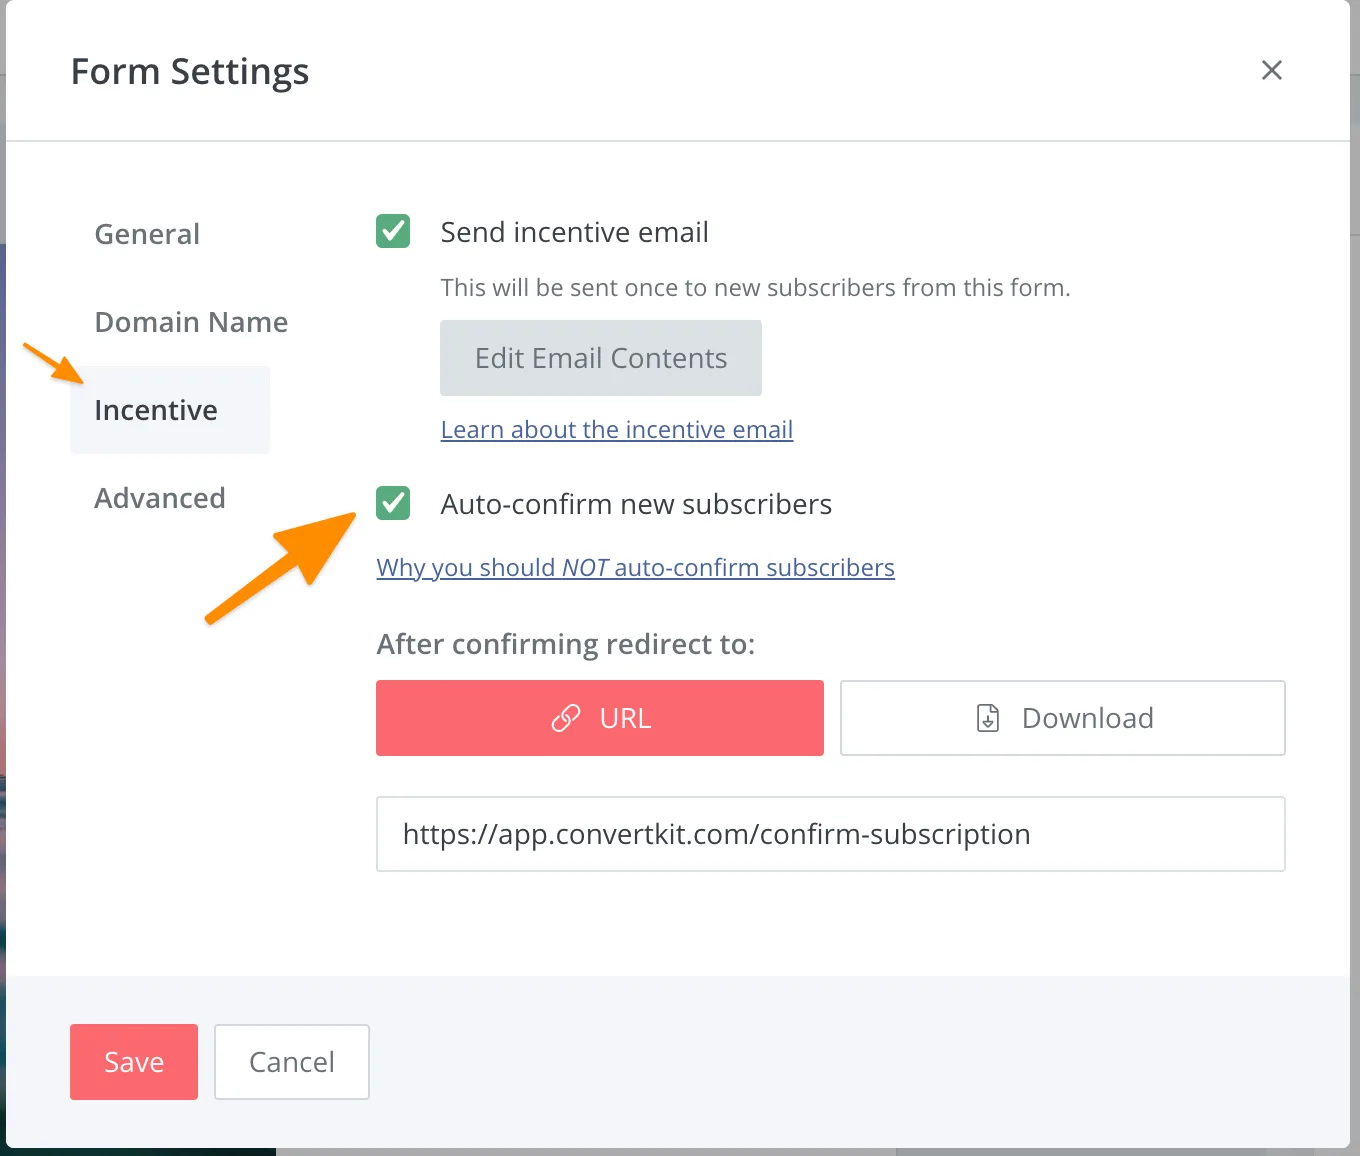
You can also keep the incentive email, but enable the checkbox to Auto-confirm subscribers, which will also help with getting people access as soon as possible.
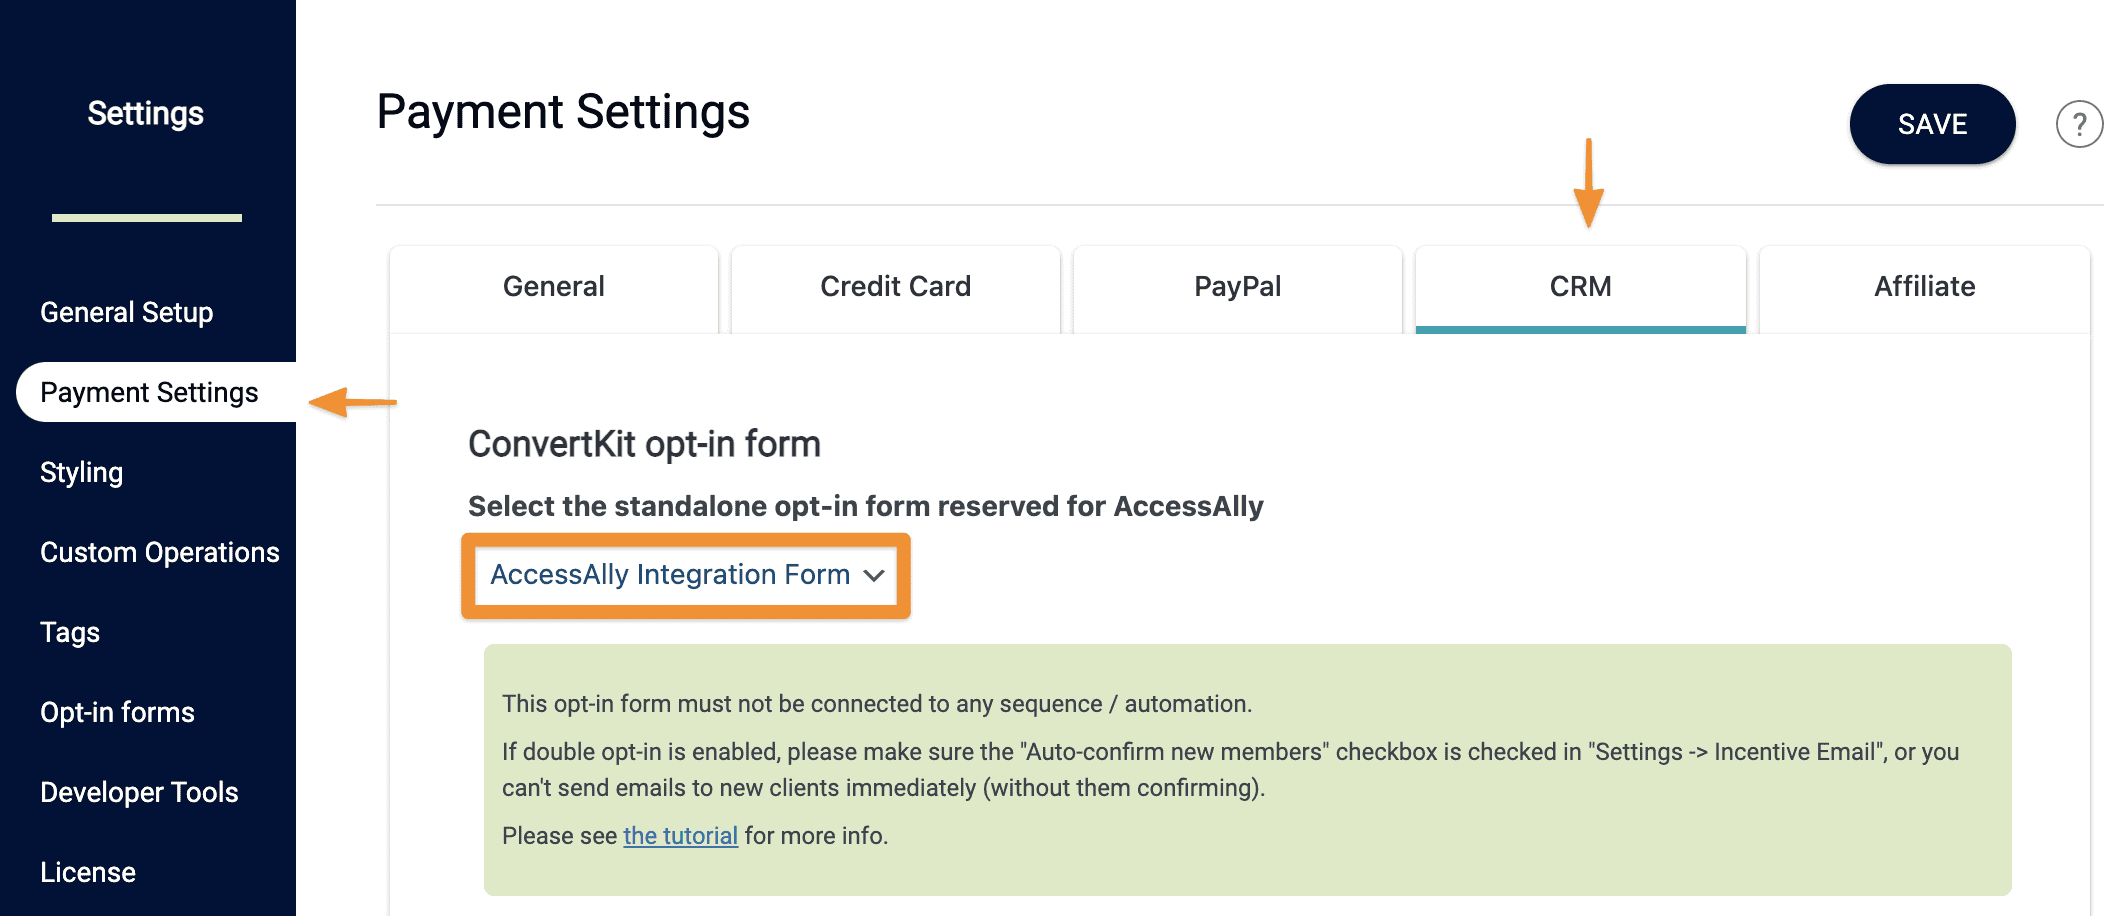
Now under AccessAlly > Settings > Payment Settings > CRM, choose the new Form you just created and hit save.