If you would like to limit the purchase of an offering by the number of people (10 spots) or by selecting calendar dates (cohorts) you can do that using AccessAlly version 4.0 and above.
This feature has two parts the waitlist and the enrollment limit. Both are shown in this article.
ARTICLE CONTENT:
Add a Waitlist
The waitlist option redirects someone when there are no more available spots or the dates for enrollment have passed. This option has a form that applies a waitlist tag so you’ll know who wants in on your next round.
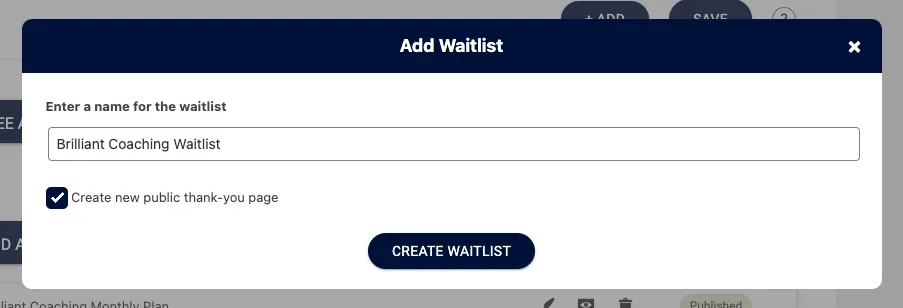
Go to AccessAlly > Offerings > Select Offering > Forms > “+ADD” > Waitlist
Choose and name for your waitlist tag and select create a new public thank-you page.
Your waitlist will appear as NEW. Save the offering to save the new waitlist.

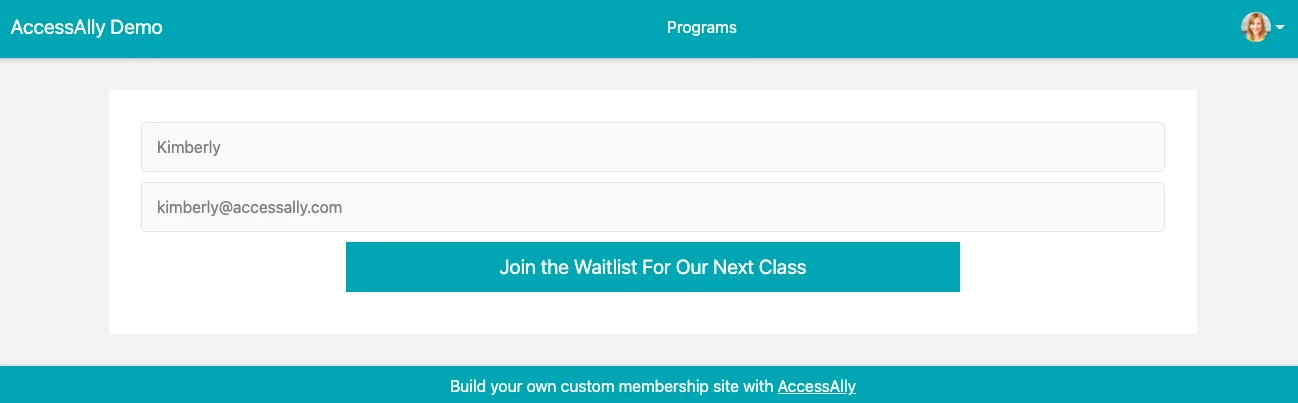
Click the view icon to see the thank you page with your waitlist form. The page will open in a new tab in your browser.
![]()
Here’s the default view of the thank-you page. This page will open in a new tab in your broswer.
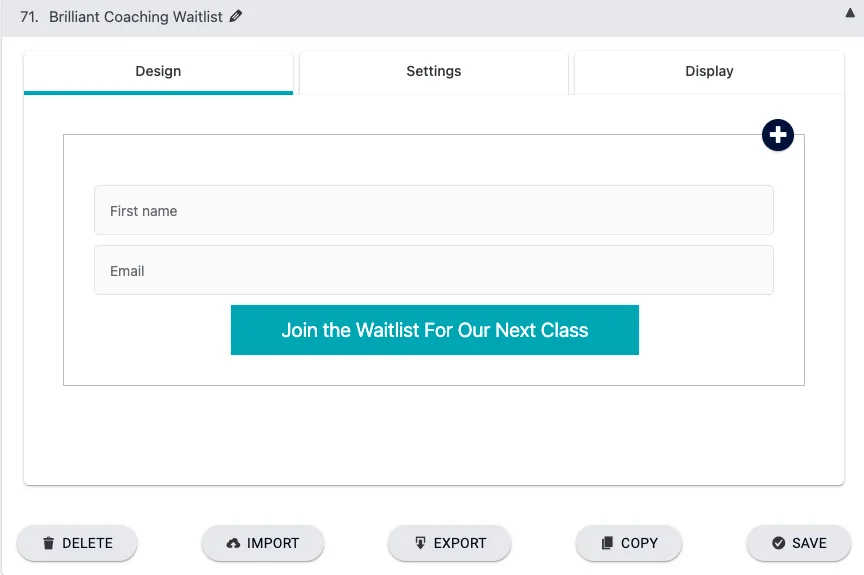
In the waitlists tab (still open in your browser) click the brush icon to view the form and make changes.

Here’s the view of the default form inside AccessAlly. This is the form that is shown on the thank you page. You can design the form, view the settings, and choose display options. Once you’re happy with the form click SAVE.
Adding an Enrollment Limit
AccessAlly > Offerings > Click Offering > Forms > “+ ADD”
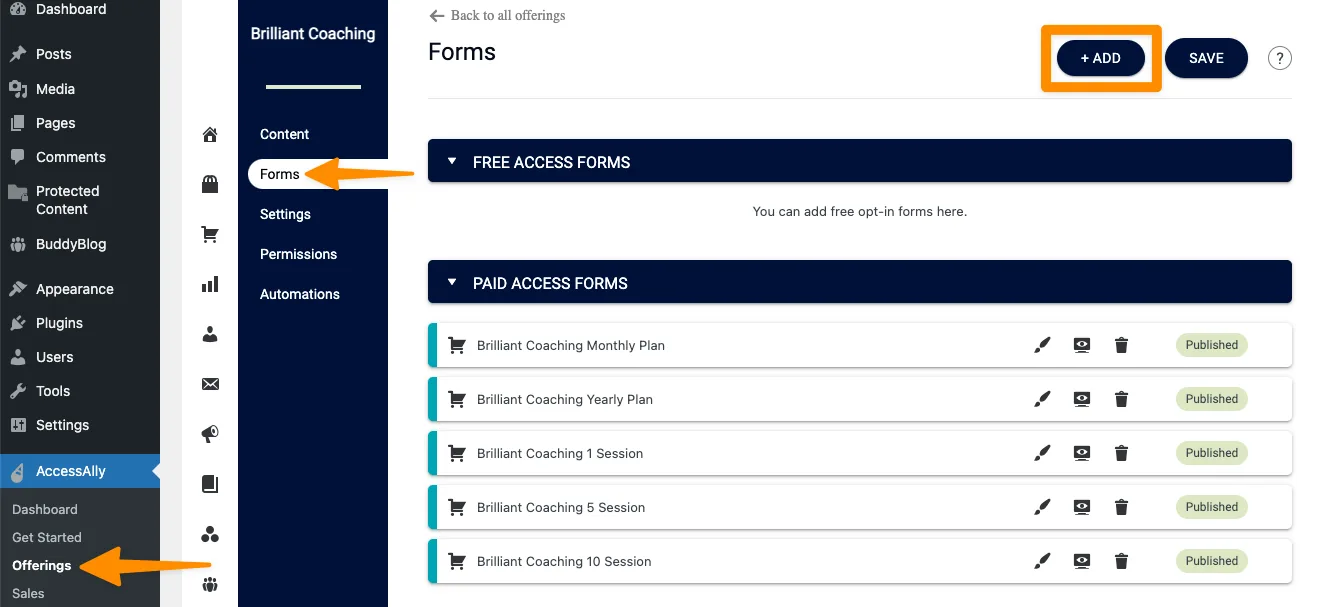
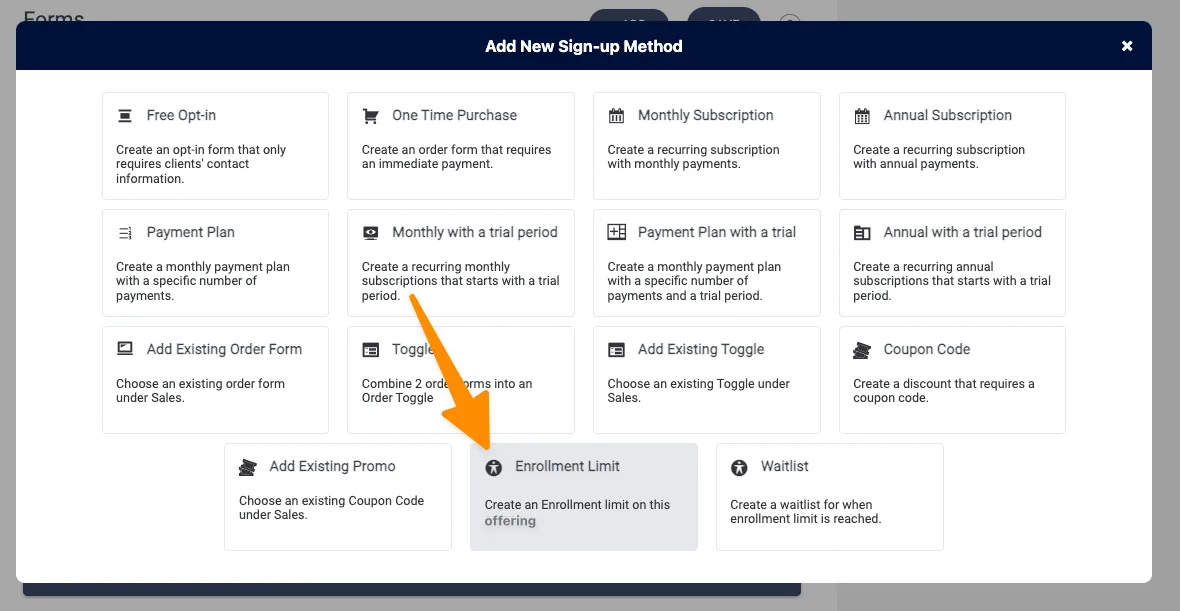
Select Enrollment Limit
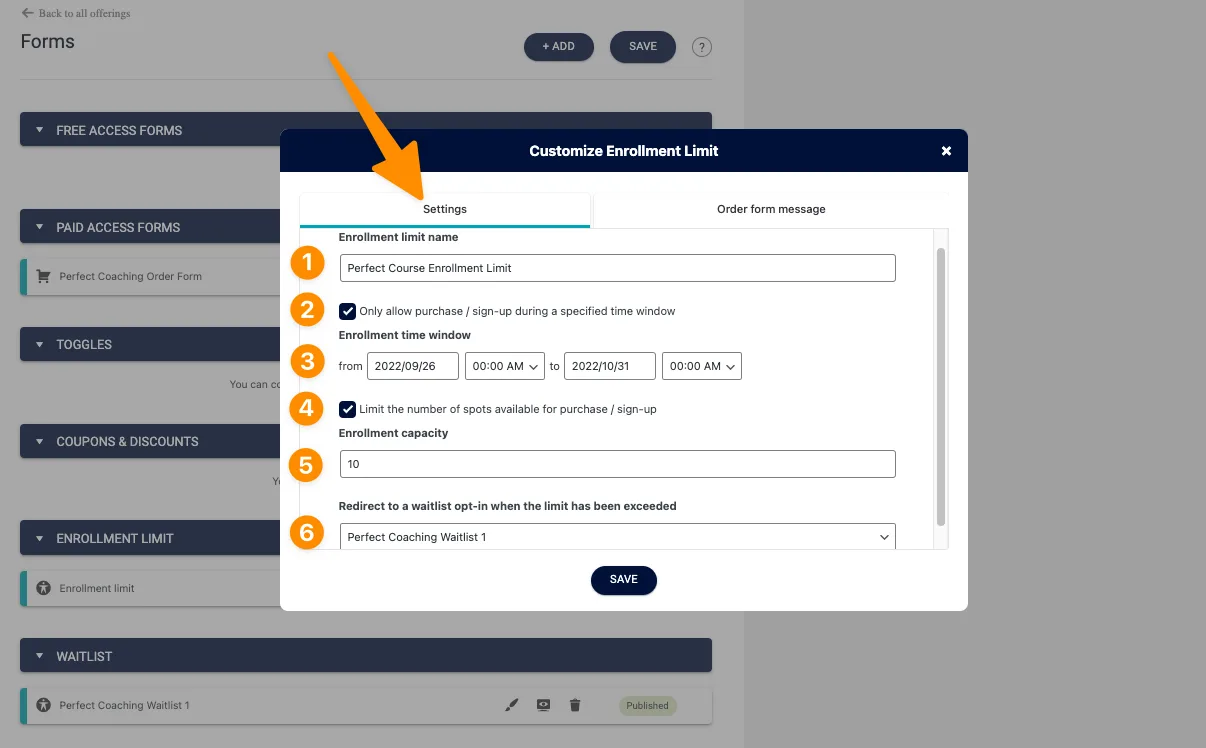
The following options are available under the settings tab. Review these options and make choices about what you would like to cap under enrollment.
- Enrollment limit name: what you would like to call the enrollment limit
- Enrollment time window checkbox: allows you to set open enrollment periods
- Enrollment time window: allows you to choose the dates for open enrollment
- Limit spots checkbox: allows you to set enrollment capacity
- Enrollment capacity: number of times this offering can be purchased
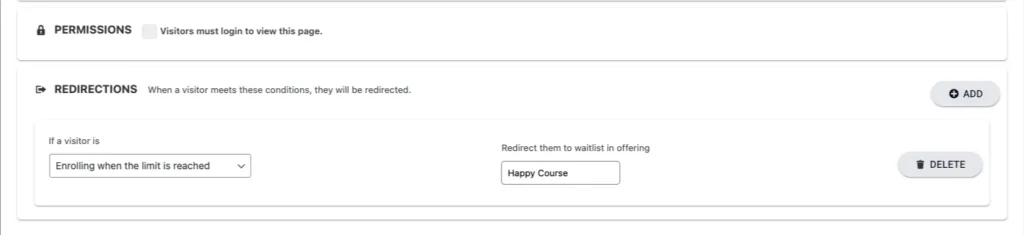
- Redirect to a waitlist: Allows you to select if you would or would not like the offering redirected to a waitlist when the limit or time has expired.
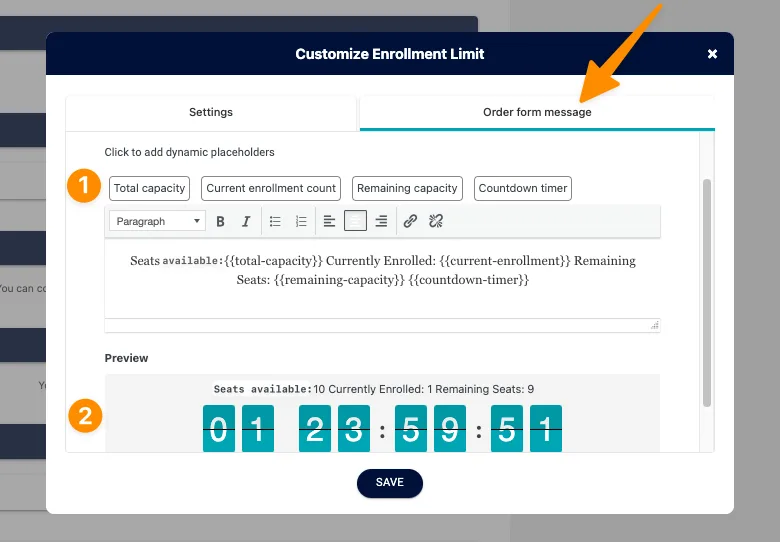
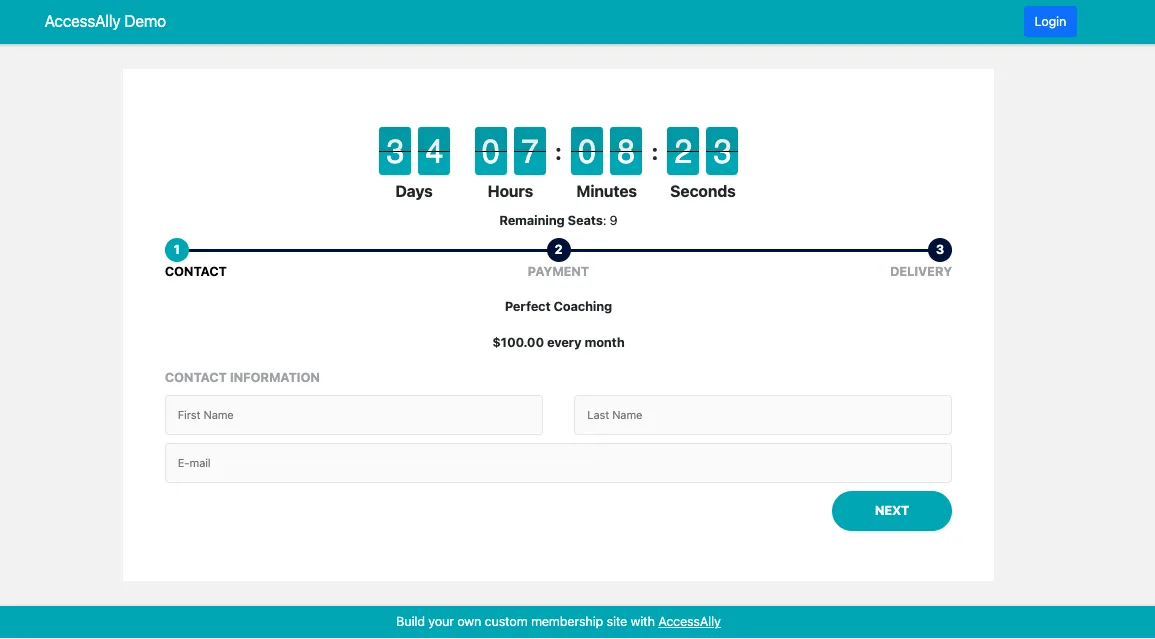
Create the wording that is displayed under the countdown timer and before your order form.
- Dynamic placeholder options: Add your desired wording and items like total capacity, current enrollment count, remaining capacity, and the countdown timer.
- Preview: See the dynamic placeholder options like they will appear on your site.
- Once you’re happy with the Order form message SAVE your changes.
If you need to get back to these settings again in the future you can click the brush icon under the enrollment limits section. The green indicators show if the offering is open for enrollment and how many spots have been filled.

Edit Order Form Template
You’ll need to add the enrollment limit to your order form design to ensure it shows when you preview the order form.
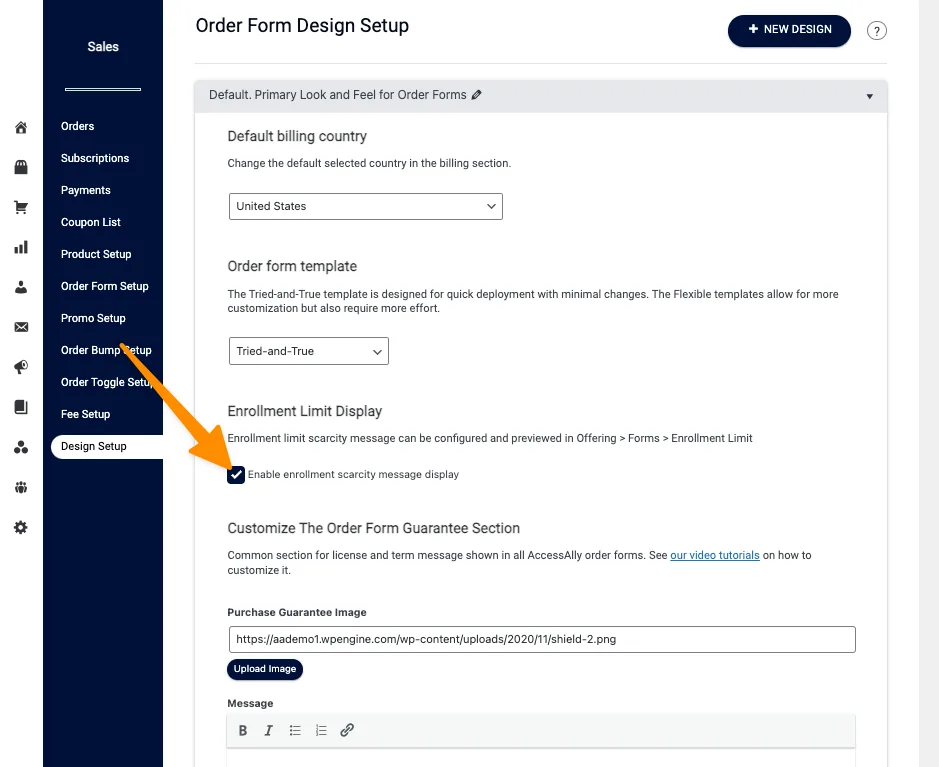
- Go to AccessAlly > Sales > Order Form Setup > Open the form > Order Form tab
- Click the Save and Preview to open the order form design template

Under the Enrollment Limit Display add a checkmark by “Enable enrollment scarcity message display” and save your changes. That is the only change you need to make with this order form design style.
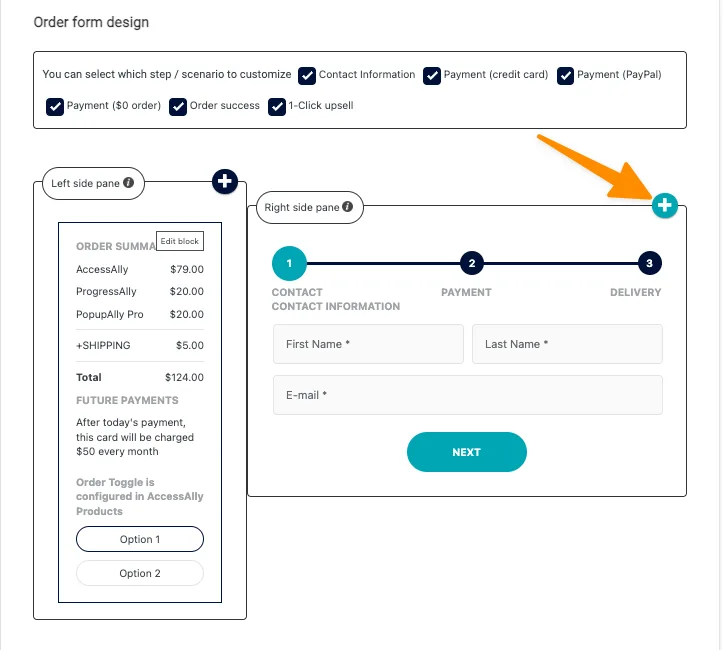
If you are using the order form design styles below, add a widget to your existing order form to display the enrollment limit options.
- Flex: two-columns (right)
- Flex: two-columns (left)
- Flex: full-width
- Flex: one-page accordion
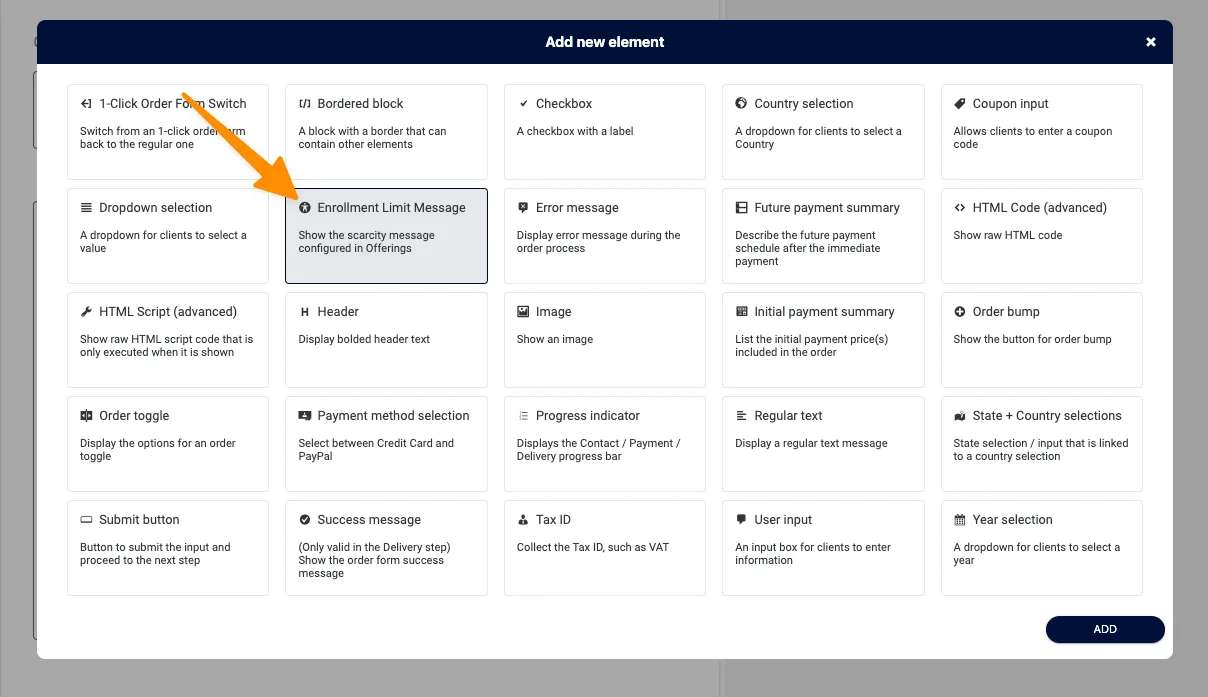
Click “+” in the panel that you would like to add the enrollment limit message.
Select Enrollment Limit Message and click ADD.
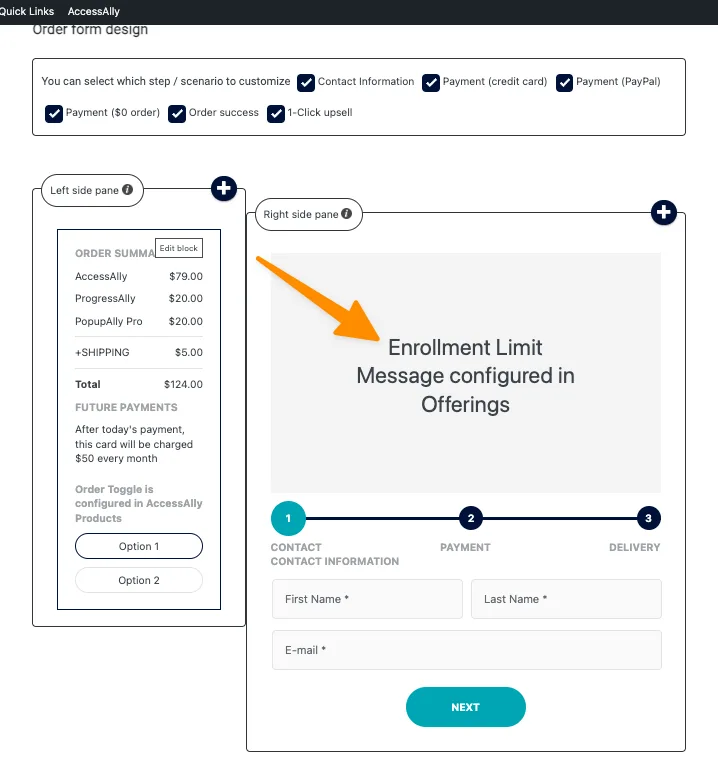
Your enrollment limit message will appear in the pane of your order form design. Save your changes.
View Your Order Form
Open an incognito window in your browser and visit your order form to ensure that the enrollment limit is displayed.
Example: Tried and True Order Form Design
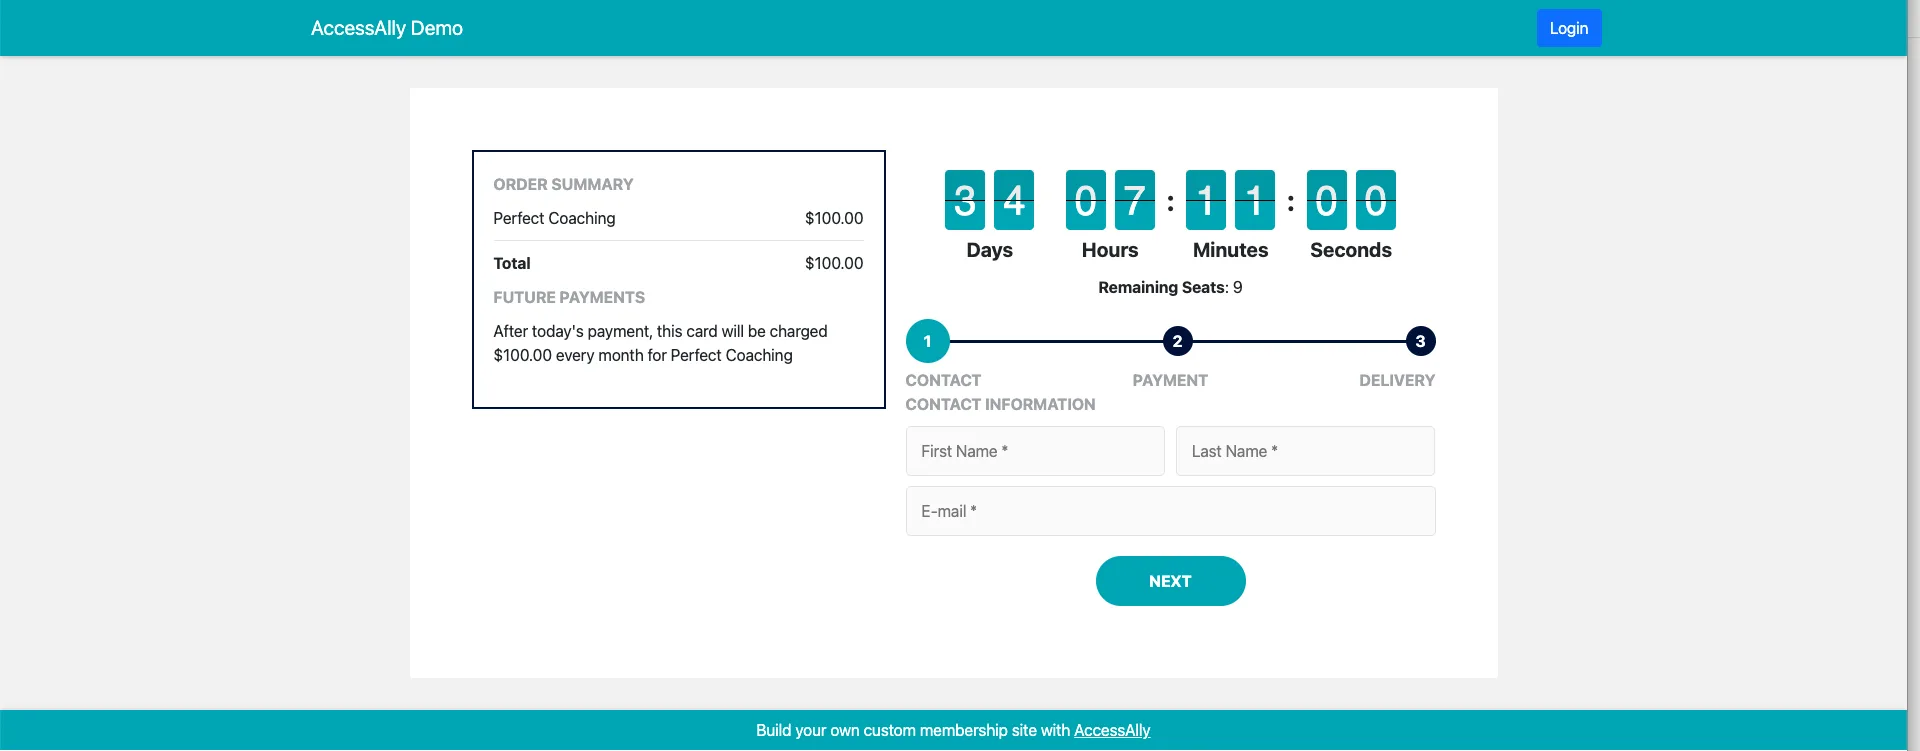
Example: Flex: two-columns right order form design
FAQs About This Article
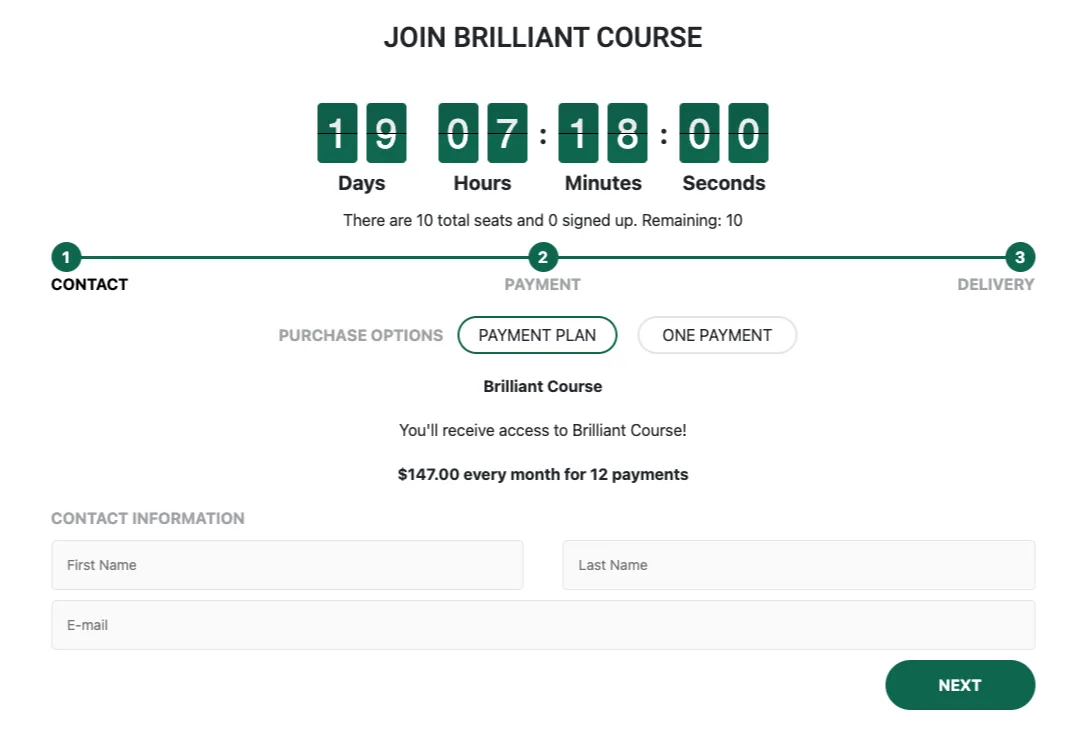
A: Yes it does. The timer and custom messaging for enrollment will appear above the toggle options. When customers make purchases each toggle option counts towards total enrollment limit.
A: Yes, you can! Go to the page you’d like to add the order form with enrollment limit to, use the AccessAlly shortcode generator to get the order form shortcode.
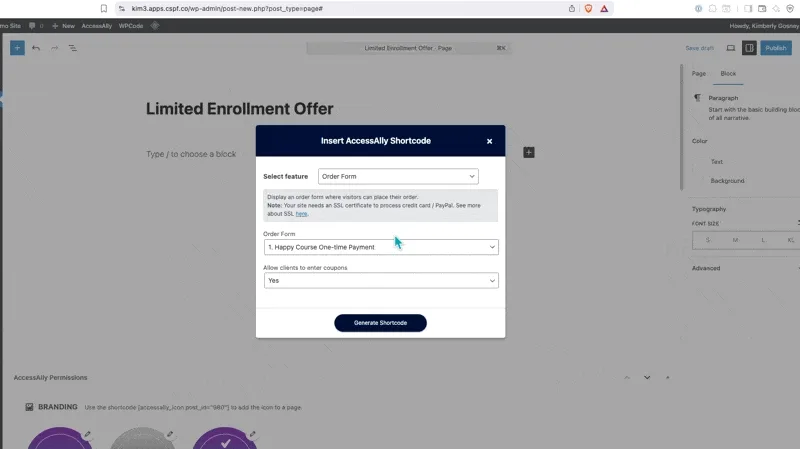
After adding the order form shortcode, create a redirect to the Waitlist.