We recommend creating a self-cancelation button for each subscription plan you offer. This button is placed on your My Orders & Subscriptions page.
ARTICLE CONTENT:
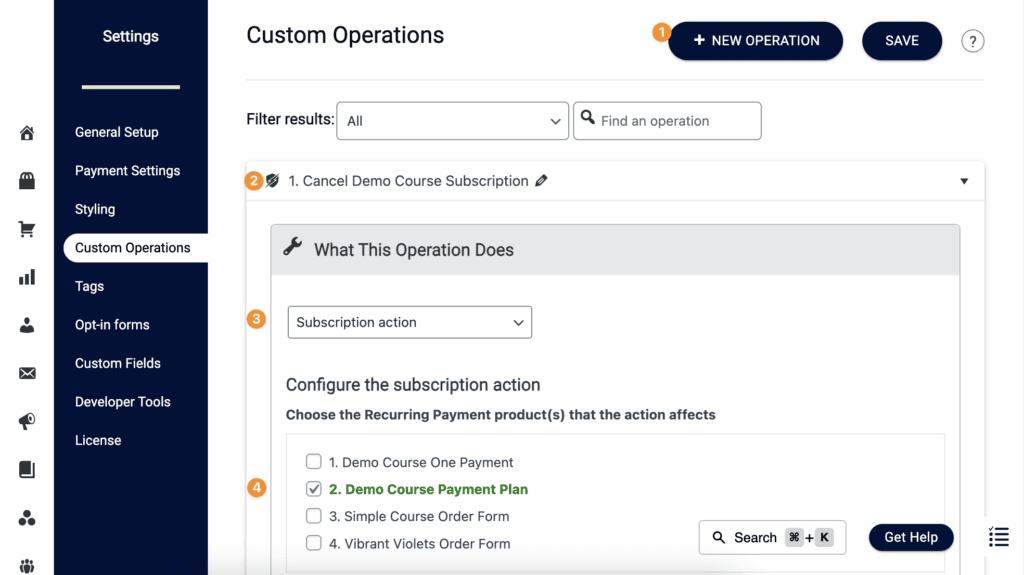
Step 1: Create Subscription Action
In AccessAlly > Settings > Custom Operations create a subscription action. Select the payment plan you’d like to use from the list.
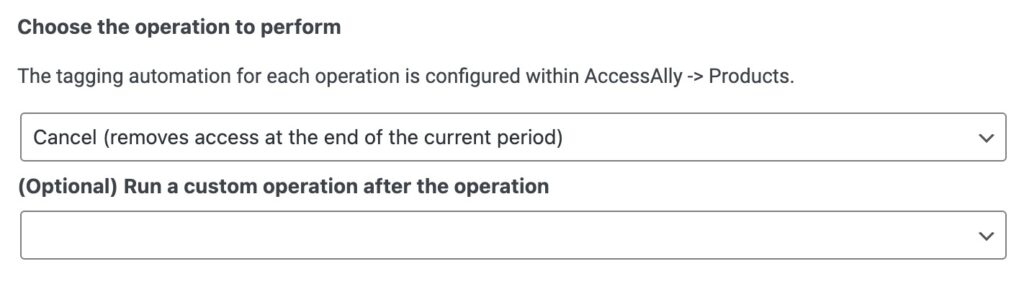
Step 2: Select Cancel
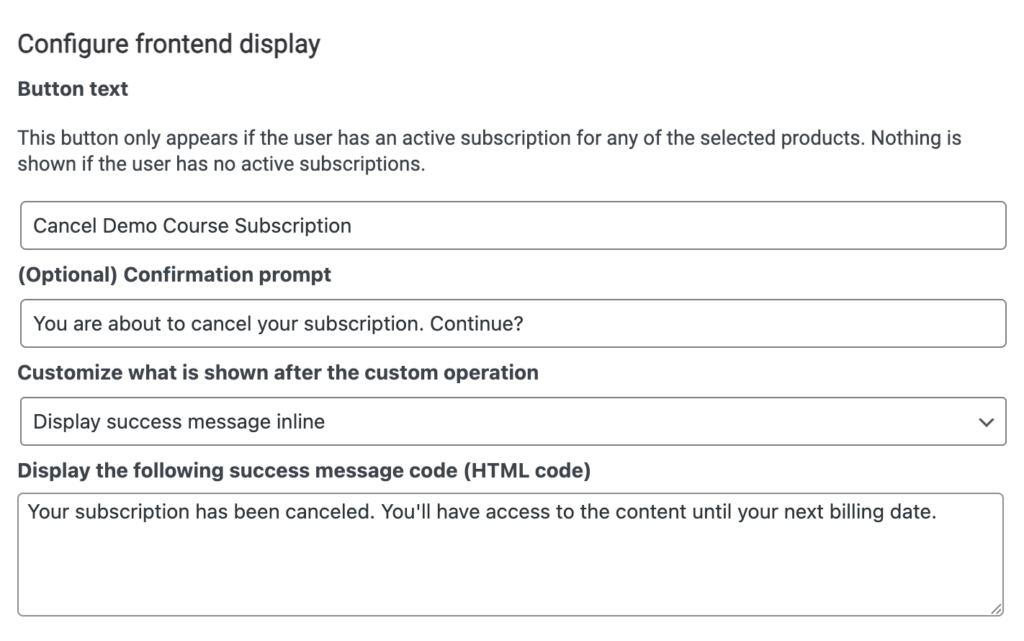
Step 3: Customize Button Text & Success Message
Step 4: Add Button To My Orders & Subscriptions Page
Step 5: Viewing Button
The is visible on the page when a member with an active subscription for that plan visits the My Orders & Subscriptions page.
Step 6: Repeat Steps for Each Recurring Subscription
You’ll need a new button for each recurring subscription or payment plan option you offer. For offerings with a 1 payment plan, you will not need a self-cancelation button.
When is Access Revoked?
With this option, the subscription will show as canceled.
This will stop billing payments and sending renewal reminder emails.
Revoking Access to Content
In addition, you need to revoke access to the content. This is a manual step.
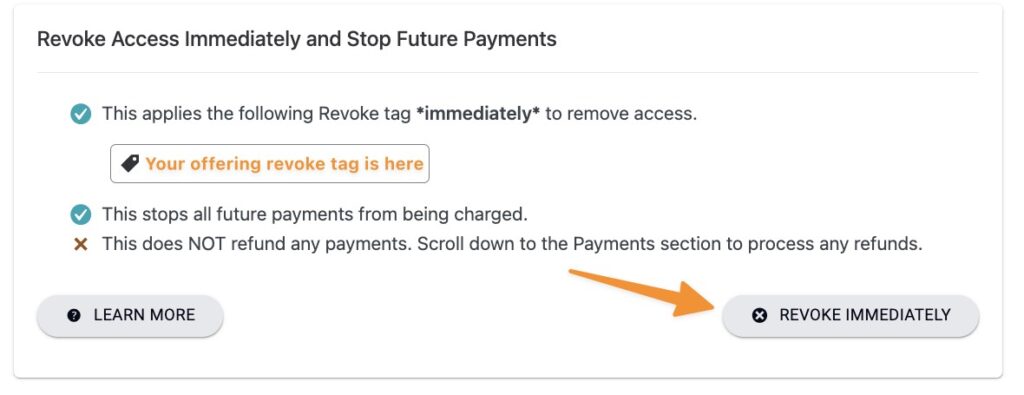
Example 1: Content the member receives is in a single offering – click “Revoke Access” (after the cancelation date has passed) as shown in the image below. This will remove access to the content in a single offering.
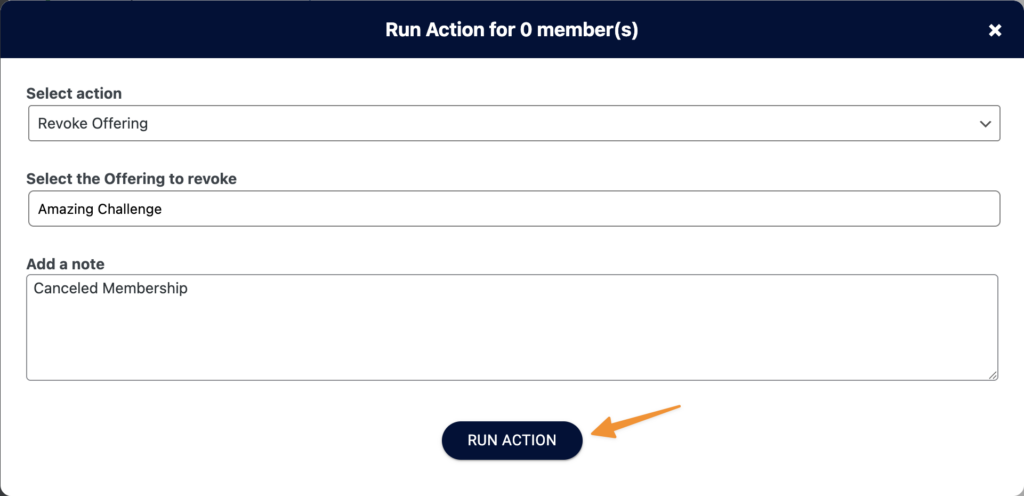
Example 2: Content your member receives is in multiple offerings, you can revoke access to these via the Members Tab.
AccessAlly > Members > Search by email address > Add checkbox by the member > Click button to run action for 1 member.
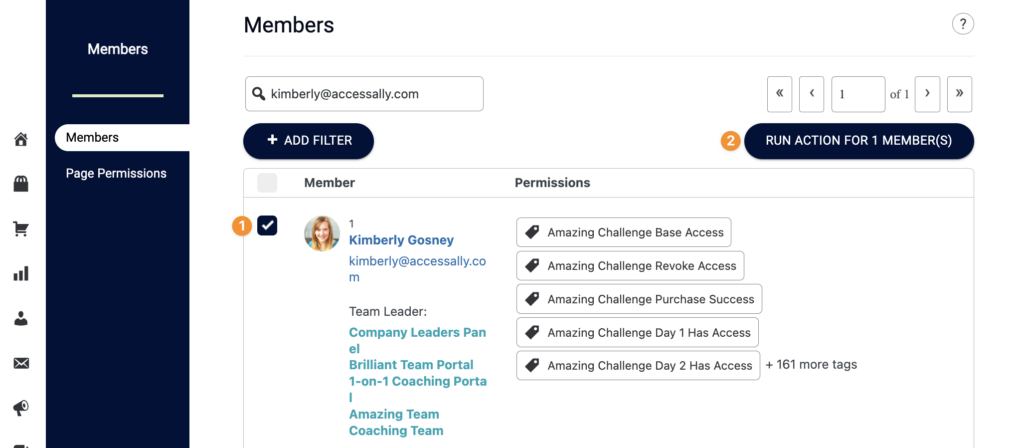
Then add the name of an offering to revoke access to it. You can repeat this step for any remaining offerings.