ARTICLE CONTENT:
When Merging Contacts May Be Necessary
If you have:
- duplicate contacts in your CRM
- the same person with two or more email addresses (for example a typo in an email address)
Terms Used in Article
The following terms will be used in this article to define contacts.
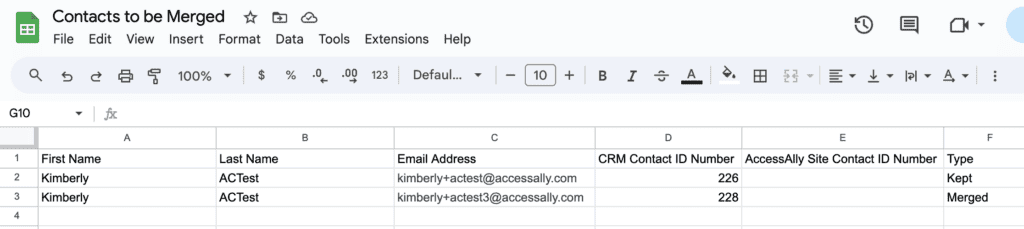
- Kept contact – the email address for the contact you will keep
- Merged contact – the email address for the contact you will merge then remove
Step 1: Contact Review
CRM Contact Review
In your CRM search by email address for the “kept contact” and note the Contact ID number. Do the same for the “merged contact.” Adding both to a spreadsheet is helpful.
AccessAlly Contact Review
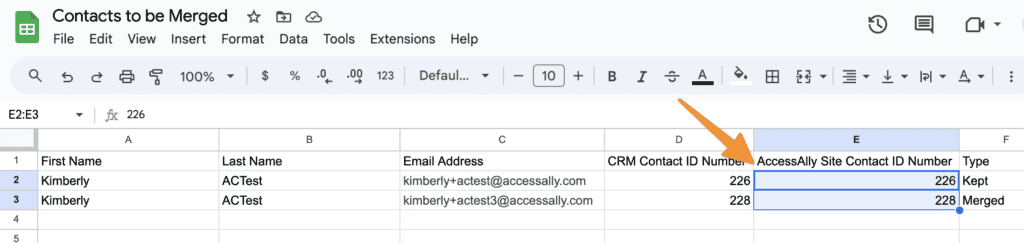
On your AccessAlly site go to AccessAlly → Members, enter the email address for your “kept contact” and check that the Contact ID number is the same as the one in your CRM. Add this number to your spreadsheet.
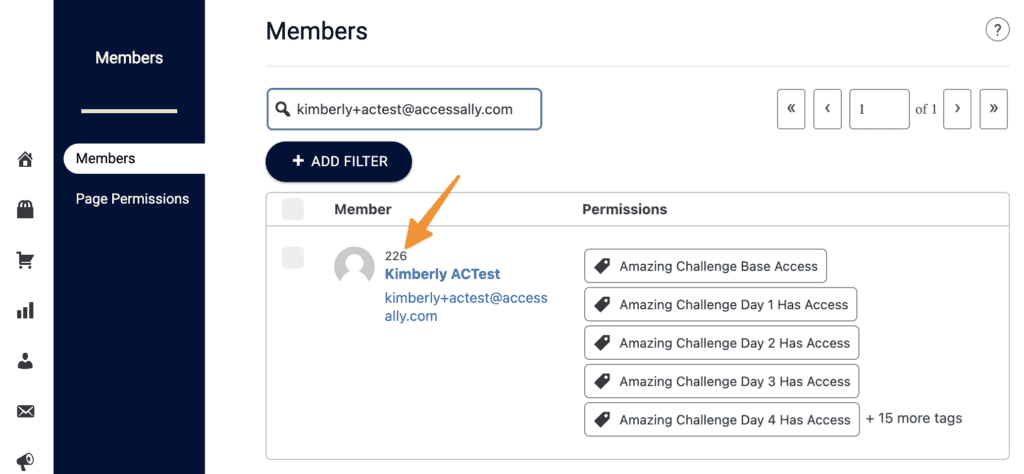
Repeat this step for your “merged contact” and add to your spreadsheet.
AccessAlly Order Form Review
If you are using AccessAlly order forms to process payments, it’s time to review orders for your “kept contact” and “merged contact.” Go to AccessAlly → Sales → Orders and search by email address.
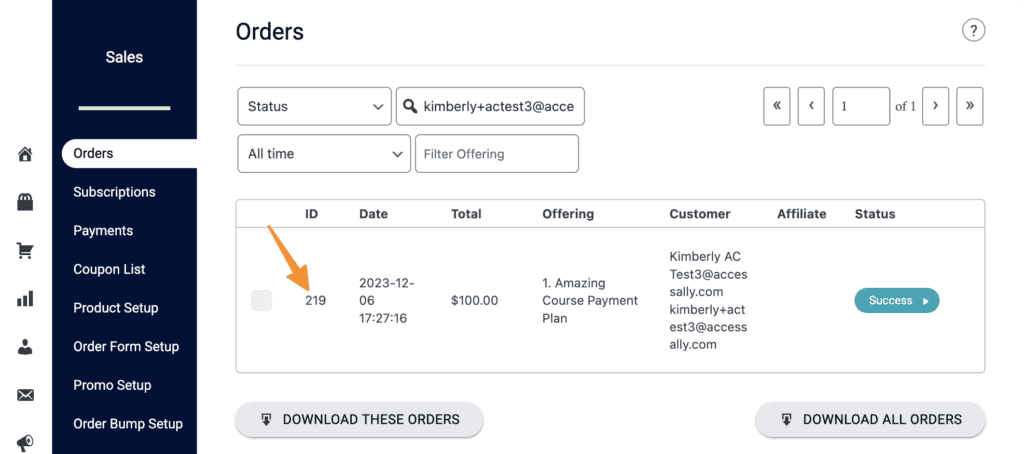
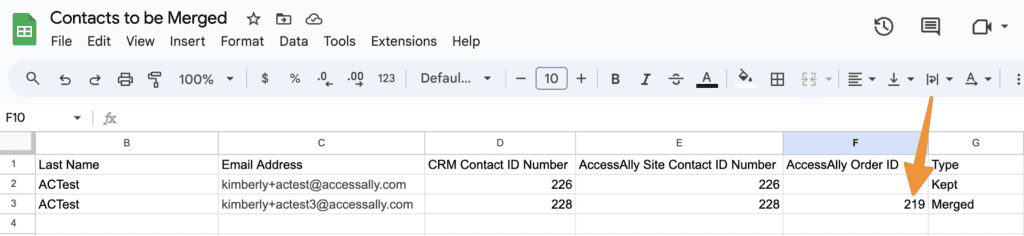
Add the order form ID number for each order form to your spreadsheet for both your “kept contact” and “merged contact”
AccessAlly Tag Review
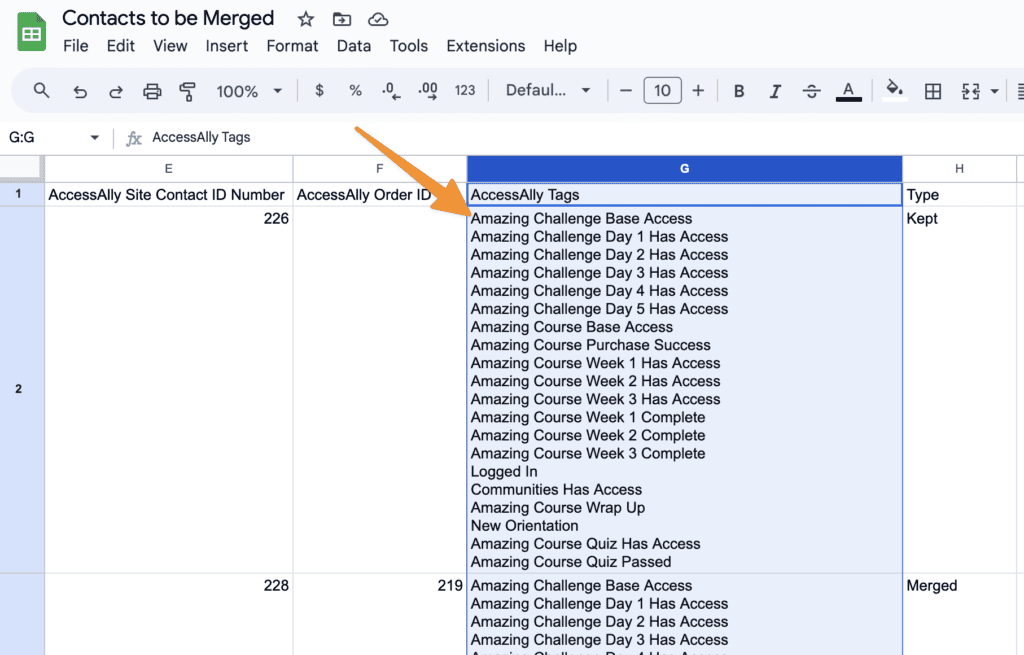
Now it’s time to review the tags for your “kept contact” and “merged contact” these will be added to your spreadsheet. There may be a large number of tags.
Step 2: Select Your Merge Option
Option 1: Merge a few contacts (great for a single contact)
Option 2: Bulk merge (for large number of contacts)
Option 1: Merge a Few Contacts
Infusionsoft/Keap
Follow the steps below to merge contacts when using Infusionsoft/Keap.
Step 1: Enable Merge Feature in AccessAlly
Go to: AccessAlly → Settings → General Setup → Display Settings → Merge Contacts Operation → check the box to Enable Merge Contacts.

Step 2: Merge Contacts
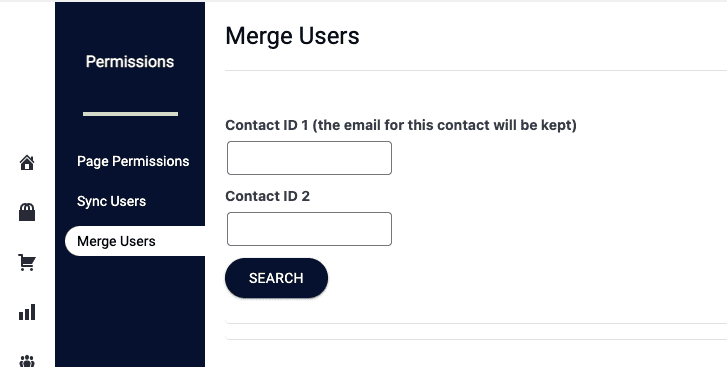
AccessAlly → Permissions → Merge Users
This will both merge the contacts in Infusionsoft/Keap and sort out the user login/tags in AccessAlly. It’s important to add Contact ID 1 as your “Kept Contact” and Contact ID 2 as your “Merged Contact.”
Step 3: Update AccessAlly Order ID
If you are using AccessAlly order forms to process recurring payments use the Modify Contact ID Tool. This will change the Contact ID listed on orders in AccessAlly from your “Merged Contact” to your “Kept Contact.” Skipping this step if using AccessAlly order forms will cause issues with recurring payment plans.
Step 4: Review Kept Contact
View the “Kept Contact” in Infusionsoft/Keap to ensure that this contact has all tags from both the “Kept Contact” and “Merged Contact” which should include all tags on your spreadsheet.
Step 5: Delete Merged Contact
If the “Merged Contact” is still a user on your AccessAlly site, you can delete the user. Go to Users → All Users → Search by the “Merged Contact” email address → Delete User.
ActiveCampaign and Ontraport
Step 1: Merge Contacts in CRM
Your CRM has the ability to merge contacts. See how to merge in Active Campaign or Ontraport. After merging visit your AccessAlly site to refresh your CRM as shown in the image below.

Step 2: Update AccessAlly Order ID
If you are using AccessAlly order forms to process recurring payments use the Modify Contact ID Tool. This will change the Contact ID listed on orders in AccessAlly from your “Merged Contact” to your “Kept Contact.” Skipping this step if using AccessAlly order forms will cause issues with recurring payment plans.
Step 3: Review Kept Contact
View the “Kept Contact” in your CRM to ensure that this contact has all tags from both the “Kept Contact” and “Merged Contact” which should include all tags on your spreadsheet.
Step 4: Delete Merged Contact
If the “Merged Contact” is still a user on your AccessAlly site, you can delete the user. Go to Users → All Users → Search by the “Merged Contact” email address → Delete User.
ConvertKit and Drip
Step 1: Manually Add Missing Tags
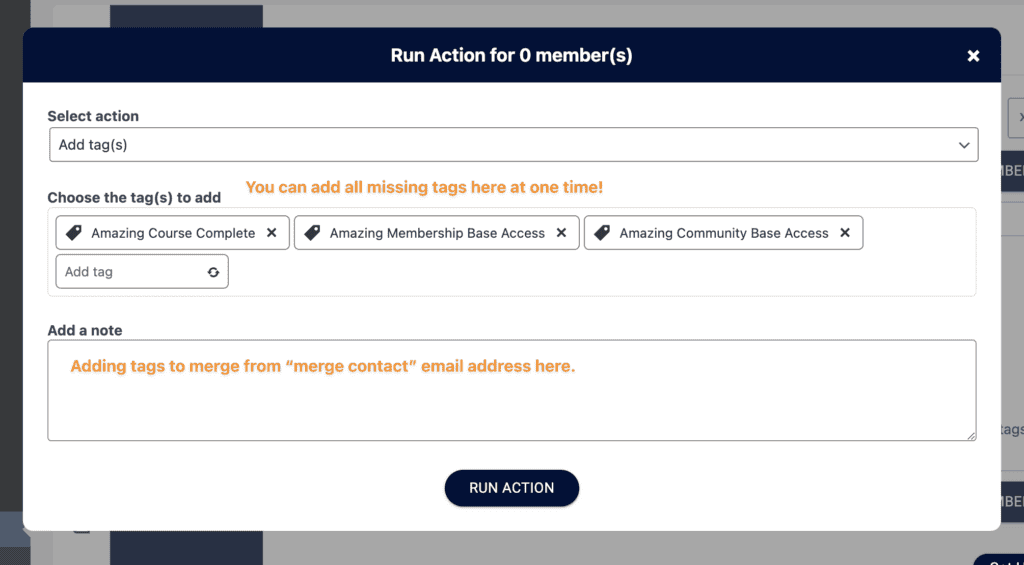
Go to AccessAlly → Members → Search by “Kept Contact” email address → Mark a checkbox by this contact → Click Run Action for 1 Member.
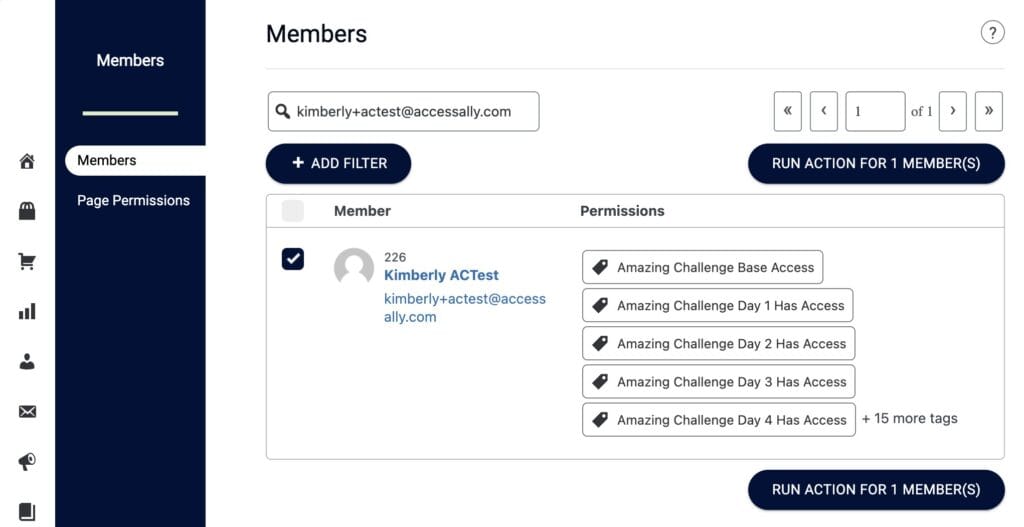
Add any tags missing from “Merged Contact” to the “Kept Contact” using your spreadsheet as a guide. When you add all missing tags here they will automatically sync to your CRM system.
Step 2: Add Kept Contact to CRM Automations
If there are any CRM automations or sequences from the “Merged Contact” that the “Kept Contact” needs. You’ll add those to the “Kept Contact” in your CRM system.
Step 3: Update AccessAlly Order ID
If you are using AccessAlly order forms to process recurring payments use the Modify Contact ID Tool. This will change the Contact ID listed on orders in AccessAlly from your “Merged Contact” to your “Kept Contact.” Skipping this step if using AccessAlly order forms will cause issues with recurring payment plans.
Step 4: Review Kept Contact
View the “Kept Contact” in your CRM to ensure that this contact has all tags from both the “Kept Contact” and “Merged Contact” which should include all tags on your spreadsheet.
Step 5: Delete Merged Contact
If the “Merged Contact” is still a user on your AccessAlly site, you can delete the user. Go to Users → All Users → Search by the “Merged Contact” email address → Delete User.
You can also delete the “Merged Contact” from your CRM system if desired.
Option 2: Bulk Merge (Large Number of Contacts)
At times it may be necessary to merge a lot of clients at once. This will walk you through that process. Bulk Merge is only available for Active Campaign, Keap Pro, Keap Max, or Ontraport users.
Step 1: Merge Contacts in CRM
Active Campaign, Keap Pro or Keap Max, or Ontraport you have the option to merge contacts.
After merging contacts visit your AccessAlly site to refresh your CRM as shown in the image below.
Step 2: Update Contacts with Invalid IDs
Go to AccessAlly → Members → Permissions → Sync Users → Click Start Update
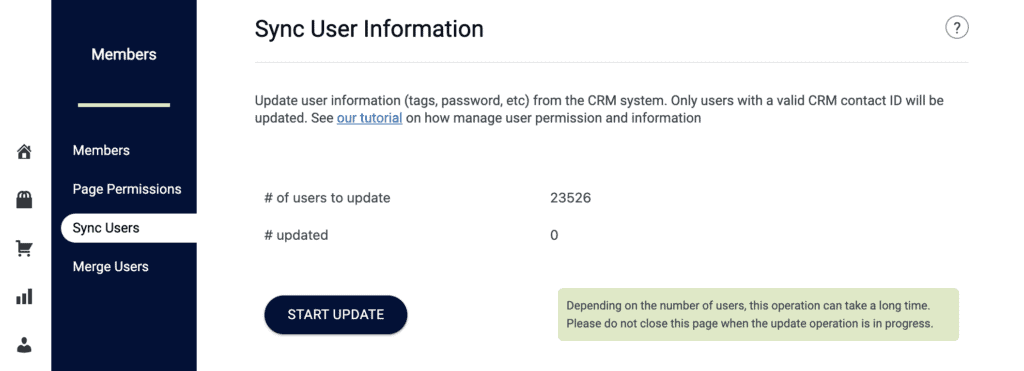
You will then need to delete all contacts that have an invalid ID. Refer to your spreadsheet created at the start of this article. You will need the “kept contact” and “merged contact” ID numbers from your spreadsheet for the next step.
Step 3: Update AccessAlly Orders
Once you have finished deleting invalid IDs and you have your spreadsheet you are going to need to update orders that belonged to those old IDs with the new IDs. See this article for instructions.

