Use the AccessAlly Drip Course template in the Offerings wizard to set up a drip-fed course easily. Here's how:
ARTICLE CONTENT:
More advanced drip scenarios
Sometimes the built-in flow for setting up a drip based course won't work for your situation. For example, if you want everyone to start the course on a specific date instead of based on when they purchase.
In this case, you will want to turn off the "drip release" inside AccessAlly and use your CRM's automation functionality to release each module.

So your modules may look like this:

Drip Automation Setup Inside Your CRM
After you've created your Offering, it's time to build out the automation inside your CRM.
Please see this tutorial: How to Set Up the CRM Automation for your offering.
Use this scenario for special cases where you want more automation options like starting a cohort on a specific date.
Giving Instant Access to Unlock Everything
However, in some cases, you might wish to give access to all modules of a dripped course at one time.
One of the most common scenarios for this setup is: an instant access upgrade, where a customer pays additional money to unlock all course modules instantly. (Often paired with a timed-release drip setup.)
This can be done inside your CRM automation. Instead of applying each module tag after a delay, simply apply the Instant Release tag to the user, which can be found in the Permissions tab of your Offering.

Releasing based on progress

Release a module after a user completes a quiz from the previous lesson - this is a helpful feature if you want to require your students to receive a passing grade on a lesson or module before allowing them to continue on through the course.
Learn how in this tutorial: How to Release A Course Module When A User Submits a Quiz
Drip Based on Start Date Without a CRM
You can catch our workshop replay to see this from start to finish (great for beginners) or skip to the written outline below the video.
If you're using AccessAlly Managed Contacts and you want your participants to start on a specific date you can release the offering quickly from the Members Tab with a few tweaks to your offering.
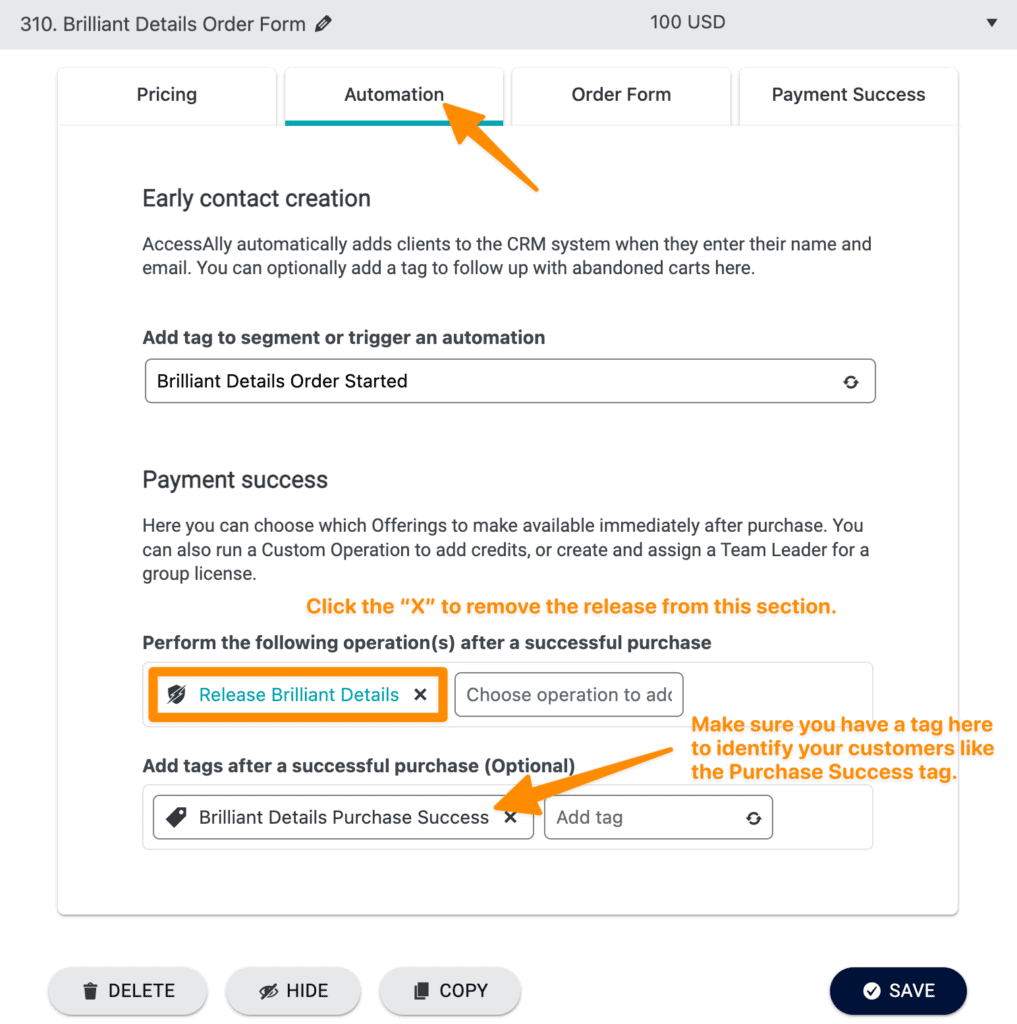
Remove release from the order form.
This prevents participants from getting access to the offering before your desired start date.
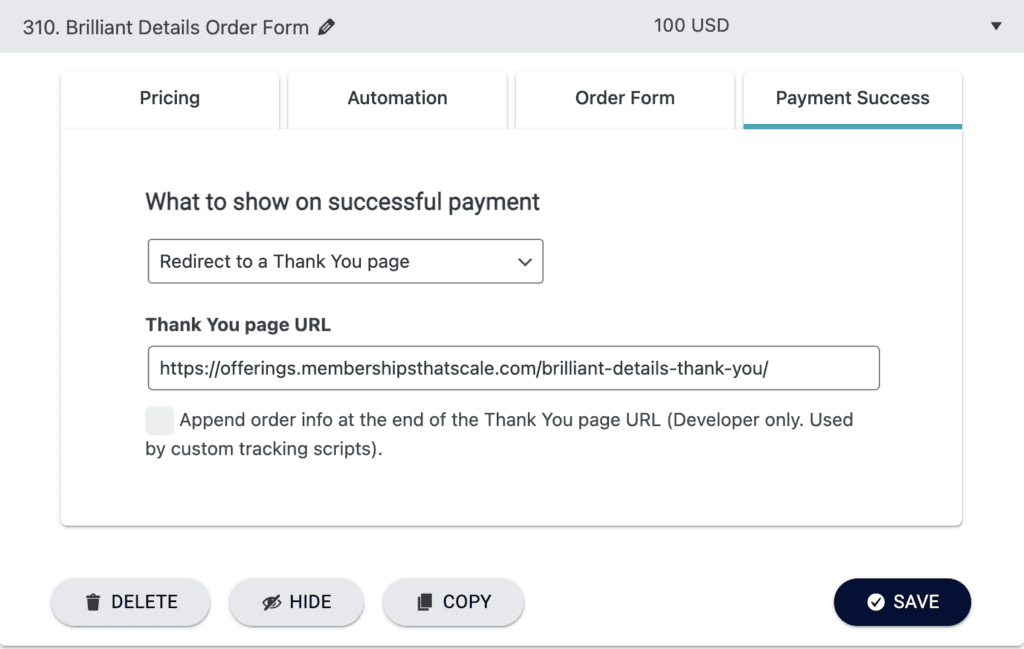
Add thank you page after purchase.
This shares important details on start date and confirms that the purchase was successful.
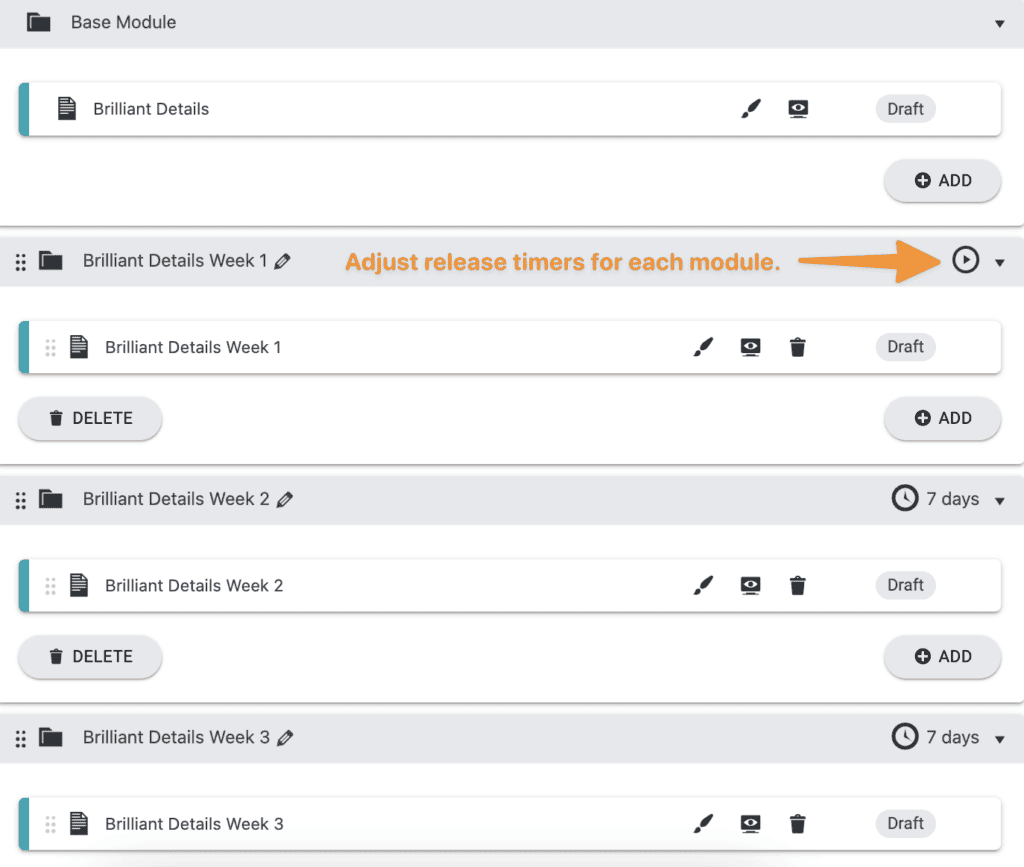
Adjust module release timer settings.
The release timers will be set for what you'd like to happen on the start date. For example, you could release the base module and first week of course content, then wait 7 days between each next module release.
Release offering on your desired start date.
When you are ready for everyone to start the course go to AccessAlly > Members and apply a filter to find everyone with the Purchase Success tag for your course.
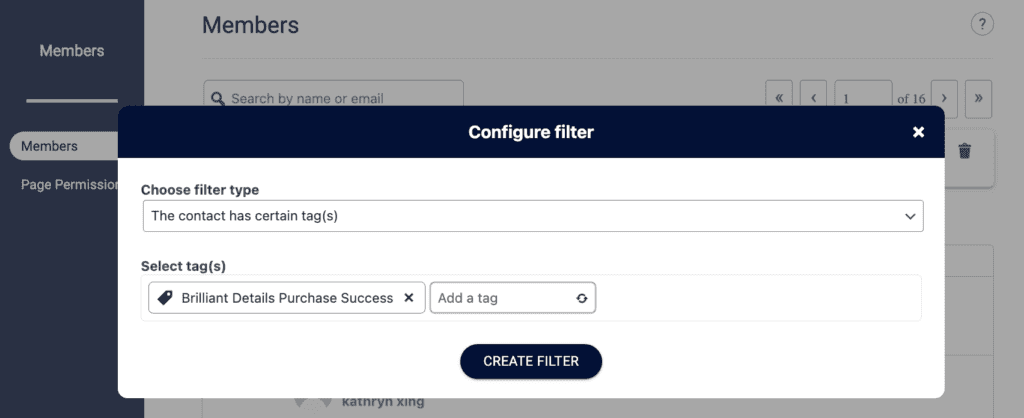
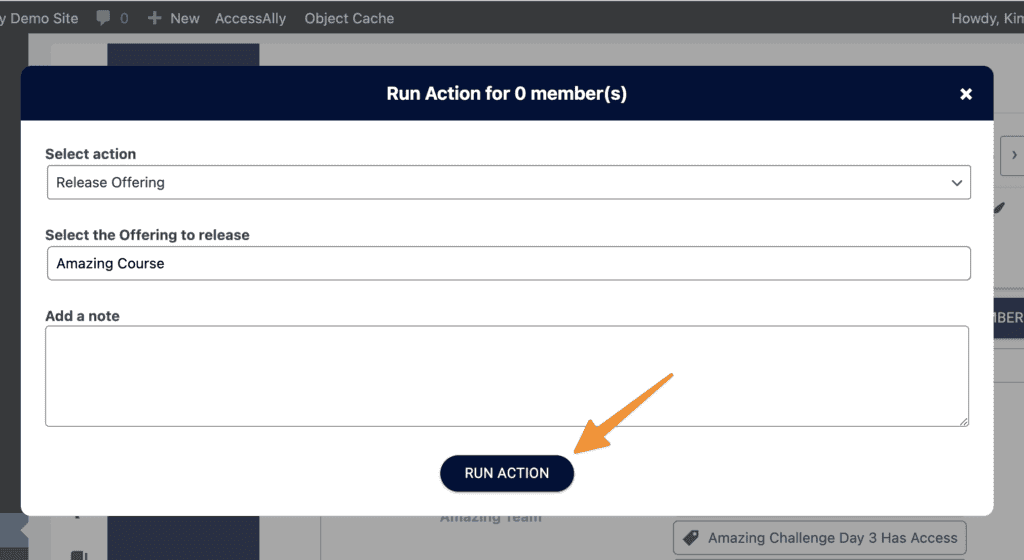
Select all members and click "Run Action"

Run Release Offering Action